
Blinsky's Toyshop is our take on what happens to Blinsky and Piccolo during, or after the Curse of Strahd campaign. Blinsky, the toymaker in Vallaki with the cute monkey wearing a pink tutu, received a large inheritance from a long-time client. The client, Obtavius Swat, a retired adventurer and avid collector of toys, left his entire estate to Blinsky. The estate included coin, precious gems, art, and his collection of toys, some made by Blinsky and others he acquired during his travels. Blinsky used the fortune to pay a wizard to create a small island in the middle of Lake Zarovich, located just outside of Vallaki. He then paid masons and workers to build a fantastic new toyshop, which he designed to be an experience for both the young and old alike. Though the number of children in Barovia was increasing, mostly imparted to the devil Strahd’s downfall, Blinsky wanted to touch the inner child of the adults in the city. He wanted happiness. He wanted smiles. He named the castle Blinsky’s Toyshop of Marvels. One of the toys, a small silver tiara kept in a black satin-lined ivory jewelry box, was such a lovely piece. Blinsky couldn’t stand the thought of leaving it in the box. He already had enough gold and losing the small tiara wouldn’t be a large loss, so he decided to give it to his monkey – Piccolo (see Creatures of the Toyshop). He smiled at the thought of her running around in her pretty, shiny tiara. Sadly, as Barovian luck would have it, trapped inside the tiara is the sole of an evil gnome wizard named Aribetha Strangge. In his old age, Obtavious Swat forgot that he and his fellow adventurers used the tiara to imprison the gnome’s soul. Yesterday, when Blinsky placed the tiara on Piccolo’s head, silver tendrils cascaded from the tiara and into poor Piccolo’s skull, allowing Aribetha to control the monkey. Now, Aribetha has incapacitated Blinsky in the toyshop’s tower, brought many of the toys to life, and imprisoned or killed many of the workers and customers. The adventure includes costumes (which the character may wear), Strahd Hand Puppets, and a possessed Piccolo.
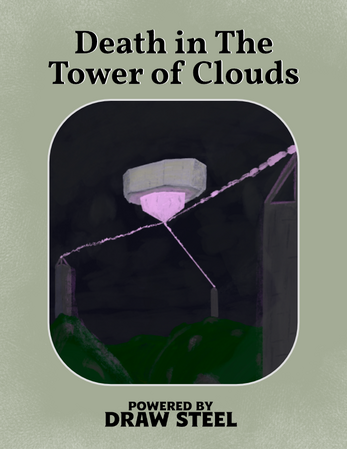
The tower is compromised. The guards silent. The constructs out of control. A storm of decay is gathering around The Tower of Clouds. Will your heroes be able to get inside the prison and stop a dangerous necromancer from completing her ascent to power? Death in The Tower of Clouds is a one shot adventure for level 4 heroes powered by Draw Steel. In this adventure you will take your players to a flying prison taken over by a necromancer. The prison has multiple ways to enter and move around, making the adventure a dungeon crawl in the sky. This adventure contains: - A 3 page PDF with everything you need to run the adventure - Stat blocks for all monsters - Encounters designed for 3 heroes - Tactical map of The Tower of Clouds in player and director versions

It is time to put a stop to the marauders! For years the coastal towns have been burned and looted by the forces of evil. You and your fellow adventurers have been recruited to root out and destroy the source of these raids. But beware, hundreds of good men and women have been taken by the slavers and have never been seen or heard from again! First part of Scourge of the Slave Lords (A1–4) TSR 9039
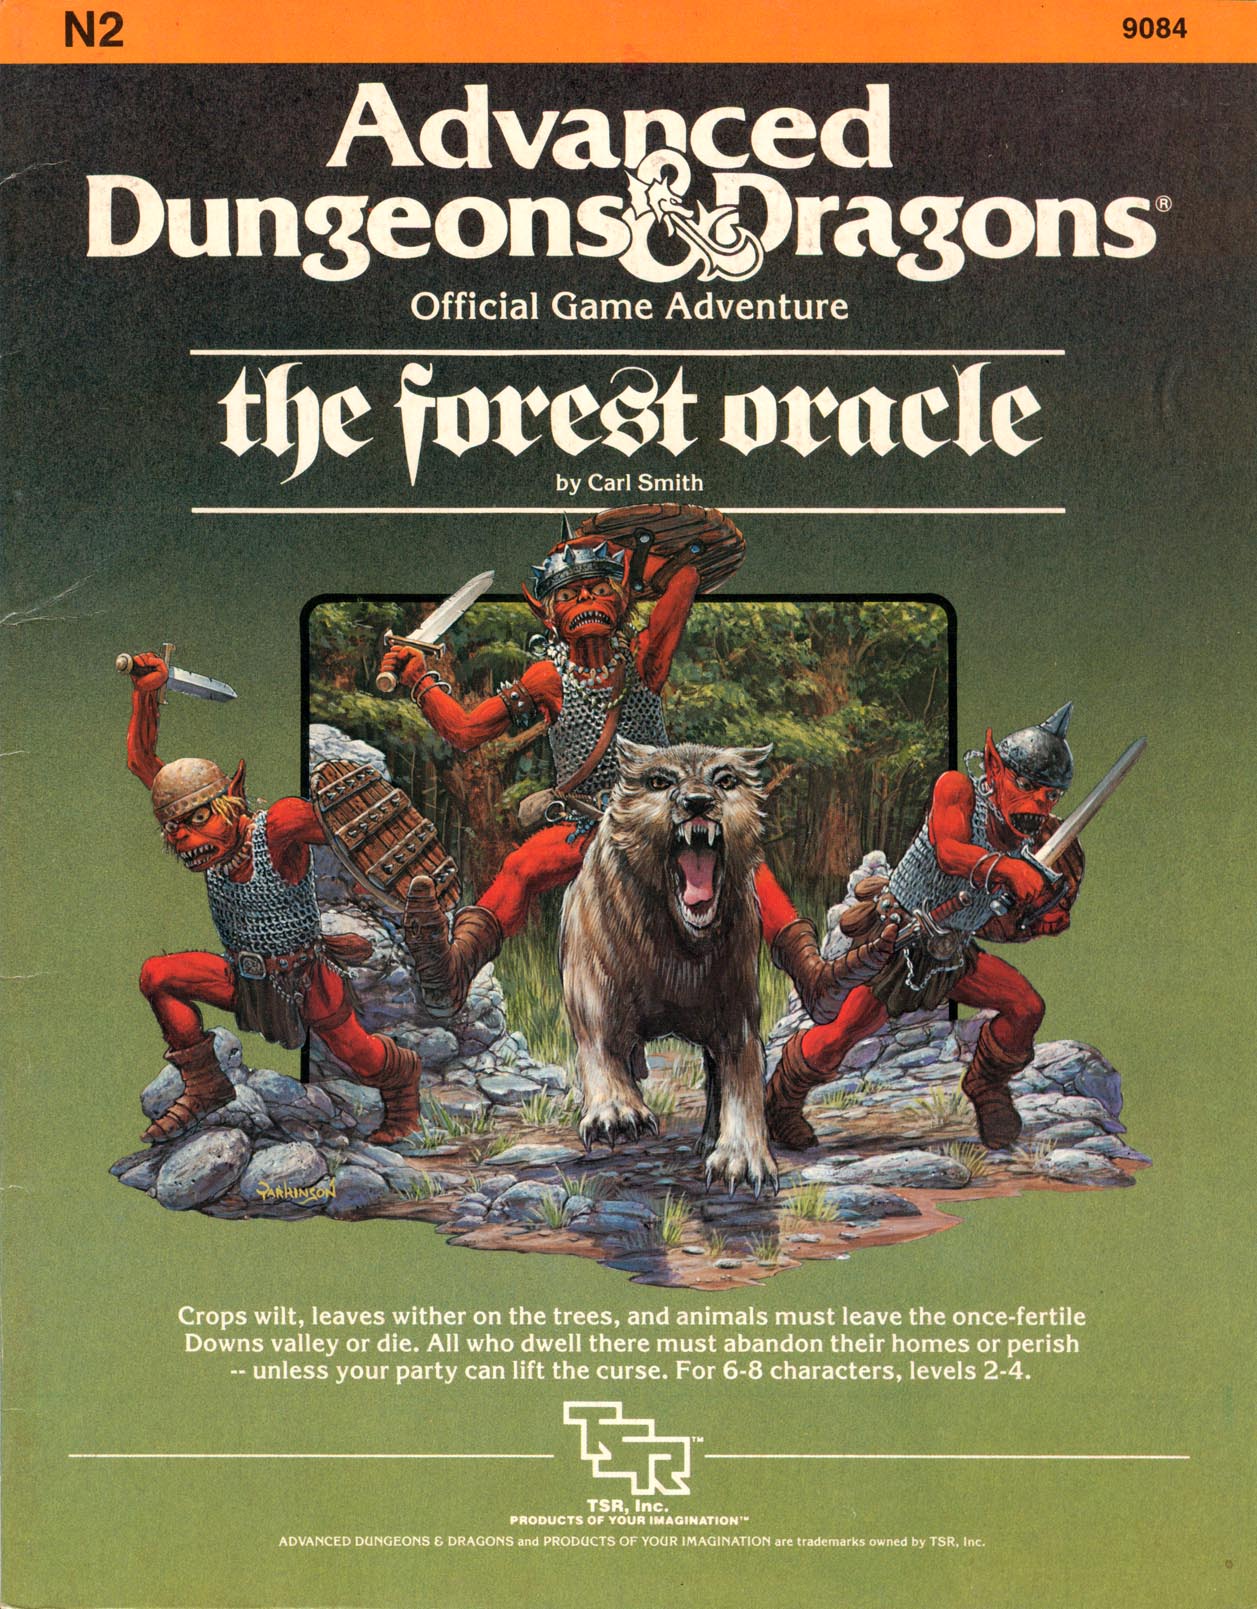
Crops wilt, leaves wither on the trees, and animals must leave the once-fertile Downs valley or die. All who dwell there must abandon their homes or perish-- unless your party can lift the curse TSR 9084

The Fortress of the Yuan-Ti describes a fortress build into a cliff side and the slave village outside. The Adventure is the third of three but can easily be played by its self. The adventure revolves around the players discovering the dark plot to revive the demon Sertrous and then stopping it. The adventure describes the outside, inside, and hanging towers of the fortress. The adventure concludes in a forth extra-planer tower were you fight the boss. It also includes 4 sidetracks from portals that explain how they get the materials for the ritual. Final part of the Barrow of the Forgotten King series.
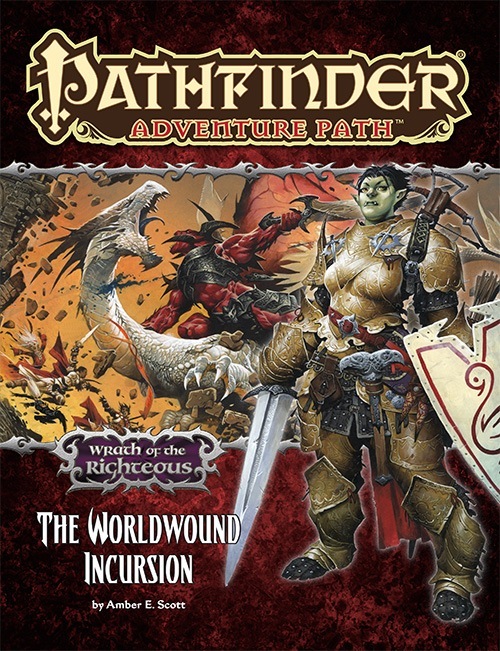
For more than a hundred years, the demon-infested Worldwound has warred against humanity, its Abyssal armies clashing with crusaders, barbarians, mercenaries, and heroes along the border of lost Sarkoris. But when one of the magical wardstones that helps hedge the demons into their savage realm is sabotaged, the crusader city of Kenabres is attacked and devastated by the demonic hordes. Can a small band of heroes destined for mythic greatness survive long enough to hold back the forces of chaos and evil until help arrives, or will they become the latest in a long line of victims slaughtered by Deskari, the demon lord of the Locust Host?

On the night of the rare Witch Moon, a binding spell placed over the mighty devil Tchernabog finally breaks. Will the characters be able to survive the night of boiling hellfire, furious undead, and diabolical mayhem Tchernabog orchestrates from atop Devil's Peak? Night on Devil's Peak is an apocalyptic, events-based survival adventure for 6th-level characters. It takes about 5-6 hours to complete and includes: -The awakening of a CR 24 devil, mighty Tchernabog! -A powerful holy relic the characters can wield in battle -Two diabolical new monsters: Tchernabog and giant flaming skeletons -Combat cards for each monster, PC, and special treasure -Gorgeous digital maps (with and without grid) for virtual table tops

While doing due diligence going over some dusty tomes you have discovered a scrap giving you a clue about some magical items in a strange obelisk somewhere in the vicinity. The adventure takes the PCs across the Torgoth’s Causeway into the frontier. A few coins to a local sage and you will have a better idea on where to go…or so it would seem.
In the dark days of the Chaos War, a band of heroes sets forth to recover the famed Chaos Reaver - a sword said to possess the power to banish creatures of Chaos from the land. Converted to 3.5e from the original SAGA version published in Polyhedron UK #7 (1999).
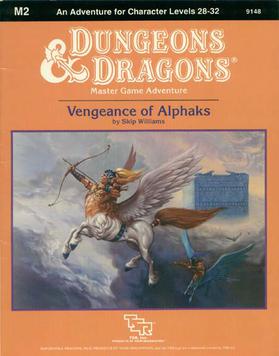
Centuries ago, the despotic Alphaks, ruler of Alphatia, was banished to another world. From his own sphere of entropy he learned to manipulate men, and now seeks revenge against the human race. The volatile region of Norworld, a perennial battleground between Thyatis and Alphaita, draws Alphaks's attention. The already existing frictions, small-time political players, and petty vengeances are the sparks Alphaks will use to ignite a huge war that will destroy man-kind. This is an adventure of politics and diplomacy, of treachery and treason. Only courageous and bold actions can save Norworld from the horrors of war and liberate its people from oppression. The Vengeance of Alphaks may be played as a sequel to module M1, Into the Maelstrom, or separately. The D&D Master Set Rules are necessary for running this game. TSR 9148
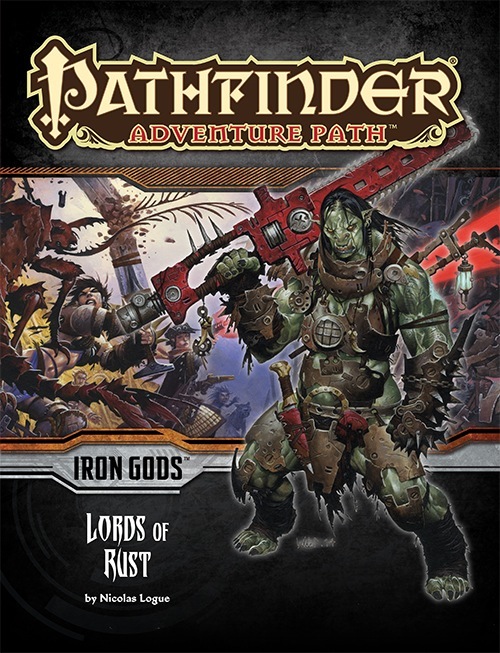
The heroes of the town of Torch follow a trail of clues to the sprawling junkyard known as Scrapwall, where bands of desperate and violent brigands vie for control of the technological remnants found within. The Lords of Rust dominate Scrapwall, and their swiftly rising power threatens more than just the town of Torch, for this gang has the support of one of the terrifying Gods of Numeria. What slumbers fitfully beneath the wreckage of Scrapwall could catapult the Lords of Rust into a new level of power if they're not stopped!

A nearly-penniless merchant wants heroes to secure and return priceless heirlooms. But can they do it with goblins all around, raiding and pillaging? Can the heroes reach a peaceful settlement with the raiders, or will they wreak mayhem and slaughter? Find out in Eastbarrow! This package (adventure, maps, and handouts within) forms a complete module for use with DUNGEONS & DRAGONS® 5TH EDITION RULES. It is especially designed for Dungeon Masters to initiate play with a minimum of preparation. Also includes full-sized maps for the VTT of your choice! Old School Look and Feel!
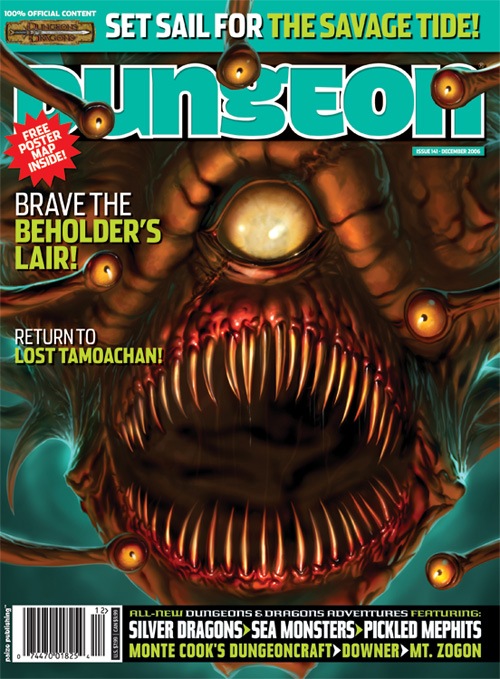
All ocean voyages are fraught with peril, yet a voyage to the infamous Isle of Dread might seem to some old salts to be a deliberate goading of the gods of the sea. Many of those who have attempted the voyage before managed to return to civilization often choose not to speak of the trials they experienced on that dangerous route, yet those whose lips can be loosened by a draught of grog whisper amazing stories... tales of pirates, sea monsters, terrifying storms, and perhaps most harrowing of all, of a strange and sinister land without land, a floating graveyard of dead ships mired in a sargasso the size of an island. This place has many names, but its most well-known may be it's most apt - Journey's End. "The Sea Wyvern's Wake" is the third chapter of the Savage Tide Adventure Path, a complete campaign consisting of 12 adventures appearing in Dungeon magazine. For additional aid in running this campaign, check out Dragon magazine's monthly "Savage Tidings" articles, a series that helps players and DMs prepare for and expand upon the campaign. Issue #350 of Dragon magazine features a regional guide to the seafaring environs the PCs can expect on the journey to the Isle of Dread. It’s time to bid farewell to the city of Sasserine as the PCs board the Sea Wyvern for a 3,000-mile voyage south into the uncharted waters of the Vohoun Ocean. Their destination: the Isle of Dread. Pgs. 16-48

The Frog People were never a threat before, more of a nuisance really, they would show up once a year steal a few things and drink some ale. Then they would be gone. This year though they did not leave and now they are taking people! The town needs help and it has found it in you and your friends.

A strangely delivered advertisement has led you to a sage named Demetrios. He needs a rare component to complete a desperately needed potion. The journey to retrieve it will take you through a large, unexplored swamp to a ruined keep, the former headquarters of a vile cult that once claimed the lives of many innocent youths. You cautiously accept the mission... To solve the mysteries of "Baltron's Beacon," the characters must excel in handling wilderness, building ruins, traps, puzzles, and new monsters. This adventure, originally designed for tournament use, is now available for your own campaign. TSR 9152
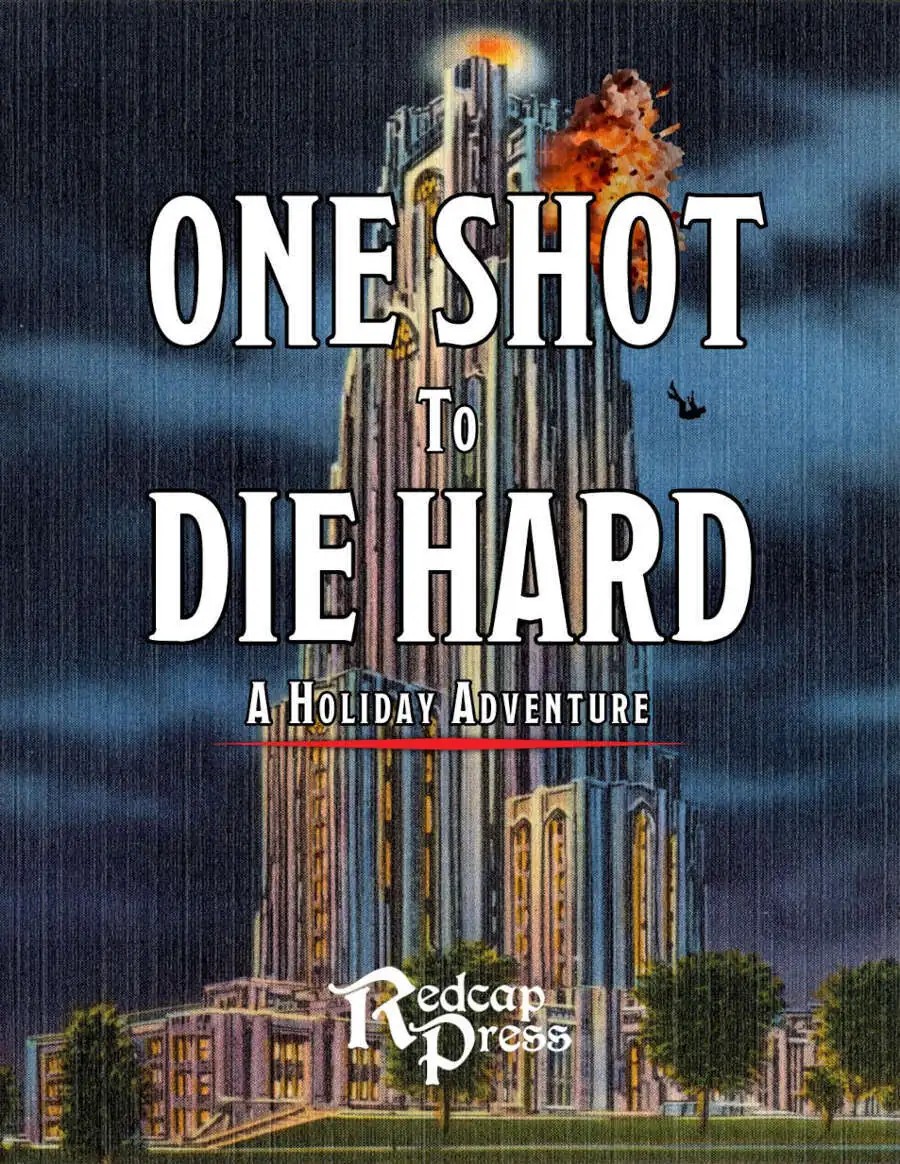
Throw your party into an action movie in this pulse-pounding, single-session adventure inspired by Die Hard. This adventure sends your party to celebration of the winter solstice, on the top floors of an archmage's tower. When a group of mercenaries led by a revenge-seeking criminal mastermind crash the party and take the guests hostage, the adventurers are plunged into their own real-life action movie. Yipee Ki-Yay! General Features - Designed for a level 3 party - Playable in 3-4 hours (and playtested) - Gritty and dangerous; the party starts without any weapons or spellcasting and must ambush the mercenaries to arm themselves. - Includes 8 new magic items and 3 new stat blocks. - 7 fully-mapped floors of the wizard's tower, modeled after the floorplans of the real-life building where the original Die Hard was filmed. Why Players Will Love It - Your choices matter! This is not a linear adventure by any means. You're dropped in a dangerous situation, deprived of your gear, and what happens next is up to you. - You're in an action movie! Ever wanted to crawl around air ducts or up elevator shafts, or swing from a roof and smash through a window? Now you can! - Deadly, but with a safety net. The first to die gets a fun surprise, and stays in the game. - Fun loot! If you continue with these characters after this adventure, you'll have some fun new toys to play with. - It's Die Hard! If you're a fan of the movie, you'll be a fan of this adventure. Why GMs Will Love It - It's flexible and easy to run, and rewarding without being overcomplicated. - A quick-reference page contains all the information you might need at a moment's notice, including suggested on-the-fly combat encounters, NPC names, and a cast list with roleplay suggestions for each character. - A plot checklist to help keep you on track during the game. - Most importantly, information is right where you expect to find it.

𝐏𝐚𝐫𝐭 𝟒 of the Tower of Bondage “The Middle Tower” introduces Olive Slime and Slime Creatures from notable 1e AD&D fame as well as another of Aumvor’s tortured servants. In this adventure you will go deeper into the tower and find: ● 26 encounters ● More enslaved wraiths ● More traps ● More slime ● More phylacteries ● More danger Discover the Undying One’s library and find tools needed to defeat him, if your players are to escape the tower alive. This release also includes a side view of the tower to better understand the layout of the dungeons. 𝐀𝐥𝐬𝐨, 𝐟𝐨𝐫 𝐭𝐡𝐨𝐬𝐞 𝐰𝐡𝐨 𝐮𝐬𝐞 𝐑𝐨𝐥𝐥𝟐𝟎, 𝐜𝐨𝐦𝐢𝐧𝐠 𝐬𝐨𝐨𝐧: Roll20 Map Pack for Roll20, featuring plain maps for players, without the secret doors and other goodies marked. Coming very SOON. Look for it on DM’s Guild.
The legacy of Dr. Frankenstein lives on as the handiwork of a rash young scientist responds in an unexpected manner. An angry lover and an evil monster. The party must stop this monster before he kills the young lovers.

The small village of Angst in western Famore has a humanoid problem. A missive on the message totem is calling for help to dispatch these pesky raiders. It is believed that they are working out of the abandoned Opair Keep. Locals gasp in amazement as the locale is well known to be cursed!

This adventure can be used in any setting that features landowning nobility as a social class. It focuses on the Firebird, a mythical creature from Slavic folklore similar to the phoenix. The characters begin inside a tailor’s shop where they’ve been gathered by Pero Toporov, the best tailor in the city of Krylo. The city is ruled by the confident and insensitive Baron Yuri, who commissioned Pero to create a beautiful cloak woven with the feathers of the Firebird, a creature known for its healing powers. Pero agreed on the condition that their work would be used to aid Yuri's citizens, who have been sick and ailing under Yuri's restrictive rule. Instead, the Baron took the cloak for himself. Pero is hiring the adventurers to help them break into the Baron’s fortress and steal the cloak back without being caught. The characters find a way inside the fortress and break into the dungeon, where the cloak is supposedly hidden away. Within the dungeon, the party finds the Firebird itself locked in a golden cage where Baron Yuri—wearing the magic cloak—is antagonizing it. Baron Yuri attacks them to protect his treasure and is not open to negotiation. However, the characters may try to befriend or capture the Firebird. If they sway the bird to their side it may help them fight the Baron. Once Baron Yuri is defeated, the characters can take the cloak for themselves or return it to Pero. Dethroning the Baron earns them the gratitude of the city’s people. If they return the cloak, Pero pays the adventurers and assures them that the cloak will be used for good from now on. Pgs. 173-179