
A mad necromancer imprisoned in a sanitarium has died. Now he has come back as a powerful undead wizard. His lunacy was only increased by his death and he has turned all the other inmates into his undead servants. Now the sanitarium is under his control. A traveling group of adventures must put a stop to the necromancer before his evil madness spreads.

To Hell and Back Again is the perfect adventure for new players and veterans looking to experience Dungeons & Dragons in a new way! It's written as a solo adventure, where choices have gigantic consequences, but it also provides balanced rules to play with a group or a Dungeon Master as well! This 80 page adventure features: - A heart-pounding origins story that fits perfectly as either a prequel to Descent Into Avernus, a stand-alone adventure, or into your ongoing fantasy campaign. - Beloved characters like Lulu the hollyphant, Mad Maggie and her redcap gang, the archdevil Zariel, and many others brand new to this adventure. - Infernal War Machines, and exciting encounters with unique stat blocks. - Innovative Destiny and Traits mechanics that make your choices really matter. - A ton of possible outcomes that will fuel your character's many adventures to come! - Four gorgeous sample characters, with interactive character sheets designed to be new-player friendly so that you can jump right into the story if you'd like. - A community survey when you finish so that you can see how your outcomes and choices compared to other players!

The journey continues on the high seas as the ship crosses the equatorial reach and heads into waters rarely visited by the children of the North. While plying the trades far off the coast of the mysterious T'ung Empire, the characters encounter a derelict ship caught in a thick seaweed sargasso. The ruins of the craft point to Molo and his deadly plot, and the chase continues to a new port of call, that of Distant Turtle City. Can the city be freed of Molo's dark influence? Do the brave adventurers have what it takes to challenge shade ninjas, ogre magi, bushido goblins, and even a rumored eye tyrant? Only time and dice will tell! This adventure is formatted to both 1E & 5E gaming rules. Also available in PDF.

Into the void. It all started with two wizards feuding now a sphere of annihilation and a daemon princess threatens the whole town. It is up to the party to stop things before the city is destroyed. Pgs. 24-47

Rumor has reached your ears that the legendary Amulet of Rafael is in this region. Further investigation has revealed that a reclusive nobleman in the north called Xantus is currently in possession of the item. While details are sketchy about the item, it is well known that quite powerful in the hands of a mage. You decide that you will go north and locate the “Ice Lord” and see if he is willing to part with the item.
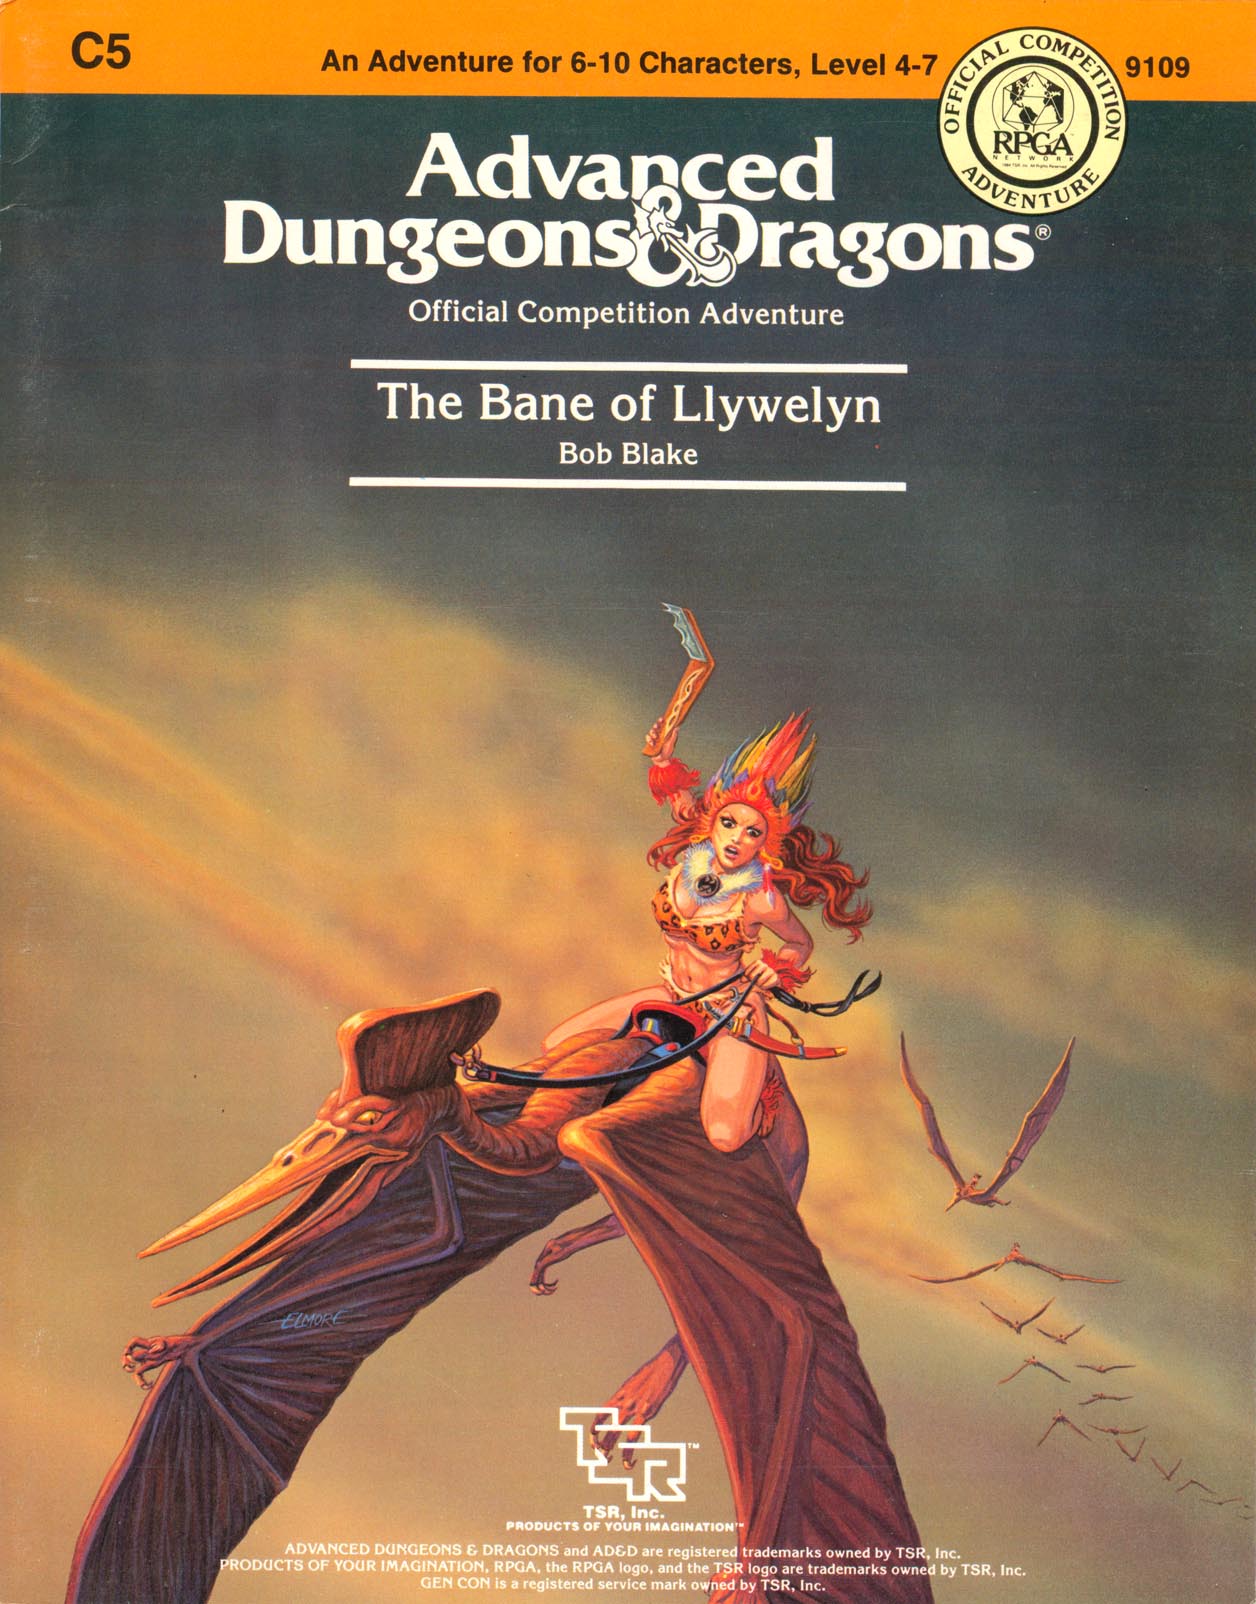
Excitement and unrest grip the land of Pellham. Two hundred years ago, the royal line of kings was deposed and replaced by a High Council. The current council is well-meaning but hopelessly incompetent. Everyone agrees that a drastic change is needed for the kingdom to survive. The ancient Prophecy of Brie foretells that in Pellham's darkest hour, a king from the past will return to restore the kingdom. The time of the prophecy is now. All is in readiness: the symbols of the ancient kings have been recovered, the keys to the royal tomb are in hand, powerful magics to revive the long-dead king have been secured at great cost. Only one problem remains... no one knows where the king is buried! The Bane of Llywelyn concludes the epic adventure of the Prophecy of Brie -- can YOU insure that the quest will be a success? The adventure can be played as a separate adventure or as the second part of the Prophecy of Brie series. TSR 9109

Driven by Molo of the Five Wives, this adventure revolves around a test to determine membership into the famed Wizard's Conclave. Does the party have what it takes to pass this test, thus gaing them much needed access to the Conclave's resources? This adventure is formatted to both 1E & 5E gaming rules.

It's a horrible time to have a curse! Each wielding a powerful item to a family legacy, your players are a group of young adventurers who barely survive an attack on their order of vampire-hunters by agents of Dracula. After escaping, they discover Dracula has placed a curse upon the land which makes restful sleep difficult outside of hallowed areas. Dracula, "alive" on another plane but dead on this one, must be resurrected so they can kill him, end the curse, and avenge their dead. To accomplish this goal, the player characters must journey through forest, marsh, hill, and underground paths to retrieve relics of Dracula's last life from keeps and fortresses overrun by monsters and the undead. If they can resurrect him, he will be weak and easy to kill... but the adventurers aren't the only ones who want Dracula on the Material Plane, and Dracula is not the only vampire in the world. Gameplay overview This adventure takes the players from 2nd through 9th or 10th level on a milestone basis as they choose where to travel in what order to retrieve what they need. Starting at a happy gathering at the Belmonte Order, which the characters are hereditary members of, the campaign kicks off with a bang as the group retrieves their chosen legacy items, salvages what other gear they can in a race against time and a growing number of foes, and then escapes to begin their quest. In addition to the six main "dungeons," there are two optional regional lairs, traveling vampires, and many foes along the way. Most of the towns in the area have managed to survive, providing points of light at which the party may stop, long rest safely, acquire supplies, and socialize. Travel is hazardous! 5e classes are balanced for resource management across a 5-8 encounter adventuring day. The campaign is designed to have a semi-variable flow of encounters as the party traels around the area. Encounters grow progressively more difficult as time passes and the party spends more time within a region. These are not random encounters rolled on a table, but encounters designed to be unique to each area's geography, combat terrain, and mix of foes. As the party spends more time in a region or revisits it, the encounter difficulty increases. Dracula's curse requires a Constitution saving throw to successfully long rest outside of Hallowed areas (towns). The difficulty scales up over time, forcing the party to balance speed and safety as they try to accomplish their goals without pushing beyond the limits of what they can handle. The game concept, general map layout, and some enemy distributions are loosely inspired by Castlevania II for the NES, one of the forerunners of the "Metroidvania" genre. Dracula's Curse is indeed a game in which the forests are dark and full of monsters, and every night is a horrible one to have a curse. Includes 15 Legacy items, from weapons like whips and swords to a shield, a belt, or a decanter of holy water 60+ enemy statblocks 8 unique dungeons with unique layouts & challenges 5 inhabited towns with multiple named NPCs 100+ travel encounters (expect to use 30-50%) The module is printer-friendly with no artwork and straightforward grid maps for location-based encounters which require one.

Aumvor is aware of the intruders and sends a warning with a powerful fire ball. Satisfied that the party has lost interest, Aumvor returns to his vault where he can safely leave his remains and travel the planes in search of greater power. Perhaps the PCs that survive the blast may have the upper hand. Growing closer to the final chapter, the party of adventurers will find that the only way out is into the tank for a swim. Aumvor the Undying has hidden here in this dungeon for centuries, waiting for his chance to resurface as the emperor of Netheril. The time has passed slowly and Aumvor’s powers are waning. He has hidden phylacteries well, but what use will they be if he has no vessel I which to dwell. Aumvor makes a final effort to kill the party before returning to his vault to wait in ambush for them. In “𝐏𝐚𝐫𝐭 𝟓 The Lower Tower”, you will find the secret at the bottom of the tower, 16 exciting and deadly encounters, and a lot of zombies floating in cadaver soup. Ever fight zombies while swimming and dodging specters? Here is your opportunity. Also coming soon, Roll 20 Map Pack for The Tower of Bondage.

A four-hour adventure for 5th-10th level characters. The enemy is revealed, but time short and if you are not successful in your mission to Mount Baratok, love will never die. Part fourteen and the finale of Misty Fortunes and Absent Hearts. In an effort to locate the evil witch Esmae Amarantha, the party must work to enable a tarot card reading by Jeny Greenteeth, a quixotic hag. However, finding casters to aid Jeny in her ritual is its own ordeal, and even if they succeed, there is still the task of venturing to Esmae's ritual site and putting a stop to her plans.
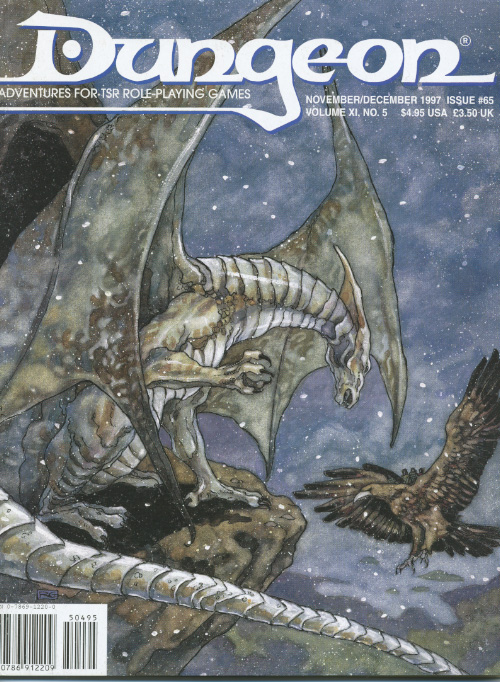
If the ravens die, Crawford Manor falls. Soaked from the storm and weary from travel, the adventurers seek shelter for the night at the manor house on a hill. The PCs are shown rooms to change into dry clothing, and invited to dine with Lord Crawford this evening. Dinner is interrupted by a woman's scream from a nearby room: Corbett, the master-at-arms has been murdered! This adventure is an atmospheric murder mystery set in a manor house. While it's setting-neutral, it would be a good fit for a Ravenloft setting. Pgs. 52-64
Can you navigate fairy-tale intrigues among fey and living nightmares without getting trapped in the tale? Fight your dreams in the twelfth adventure of the Across Eberron: Convergence Manifesto adventure path with this adventure for 7th level characters. Written for use with either Eberron: Rising from the Last War or the Wayfinder's Guide to Eberron by Keith Baker. Adventure Summary: Using his recently acquired Aethervane, Provost Faurious locates the only connection between the material plane and Dal Quor, a feyspire called Taer Lian Doresh that exists simultaneously in both planes. The player characters are sent to retrieve a powerful artifact, the Mind’s Eye, the petrified eye of a kalaraq quori. As the party enters the feyspire and negotiates with its eladrin lord, what are they willing to give up in return? Negotiations unveil a far deeper story, centered around the machinations of the Inspired of Riedra and the kalashtar they persecute. Can the characters navigate the shifting stories of nightmares and dream-touched fey for possession of the Mind’s Eye?

Greatwall is in peril - not from military forces of Iuz, but from lack of goods and supplies. Caravans from Willip have ceased thanks to increased dangers on the Willip Critwall Grabford Trail. As the key fort positioned to contain the Iuzian flood, Greatwall is a strategic necessity. Its failure would mean a major incursion along the border. Your characters are hired to escort a caravan from Greatwall to Willip; if its merchants are afraid to come to the fort, the fort will go to them. This should be simple, cut and dried guard job. Right? Of course not. There are many surprises in store for your little caravan, and your characters will need to keep their wits about them day and night in order to make it to the other end. Secret plans are afoot, conspiracies are brewing, and nothing is as it seems while on the Border Watch. This module uses information presented in the From the Ashes boxed set and the Iuz the Evil accessories. However, ownership of these two products is not necessary to play this module. TSR 9406

Taag'thrith, born a gith but transformed into an illithid by ceromorphosis, has been finally found purpose: the assimilation & understanding of all knowledge. Taag'thrith plans to unleash a 10th level spell that will grant him just that-at the cost of all sentient life on the Material Plane. Will the heroes be able to traverse the dangerous corpse of a dead God, find Taag'thrith's aqueous lair the Eternal Spirals, & pit their foes against one another in order to destroy the foul lich once and for all? Or will they fall prey to the threats trapped within the Eternal Spirals & sink beneath the surface forever? They Came from the Deep is the second installment in Pretty Little Liches: a trilogy of adventures centered around three unique liches and their lairs designed for high-level play. These three lairs and the surrounding regions can be run independently as individual adventures or tied together into a mini-campaign that centers on the destruction of the Green Hand, an organization of dangerous liches.
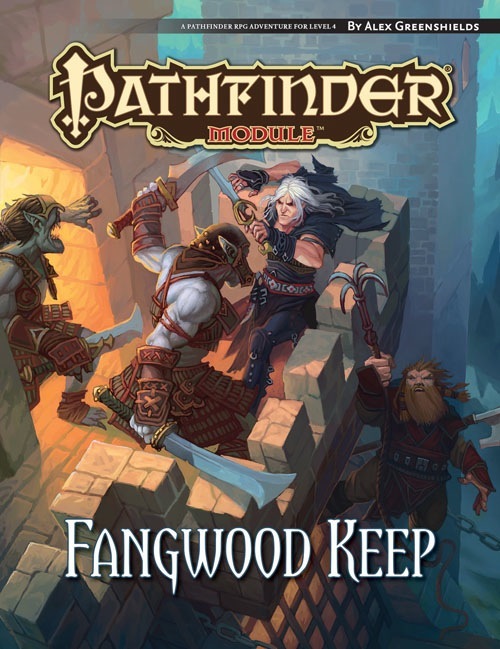
Fangwood Keep has changed hands innumerable times since its founding decades ago on the border between the warring nations of Molthune and Nirmathas. Over the years, both countries have sacrificed money and soldiers in an effort to control the fortress along the Marideth River valley, both for its tactical location and for its secure defenses. Recently, however, the battles around Fangwood Keep have dwindled to a trickle as Nirmathas has firmly rooted itself in the surrounding valley, allowing the tide of war to shift elsewhere and peace to settle at last over Fangwood Keep. This respite was shattered by the arrival of a renegade Molthuni commander named Pavo Vos. Obsessed with capturing Fangwood Keep and unraveling the fortress’s mysteries, the defecting lieutenant unlawfully used his platoon to secure the castle, much to the ire of both the Molthuni and Nirmathi governments. Now the task of bringing Vos to justice and reclaiming Fangwood Keep for Nirmathas lies solely in the PCs’ able hands.

While exploring for hints of the Kobolds lair, an unexpected plea changes everything. This is the fourth and final adventure in a miniseries with the following adventures being: A Chance Encounter The Mystic Circle An Urgent Rescue In addition to the adventure, there are a few of maps of the adventure area as separate jpeg files. There is also a printer friendly version of the adventure.

The tournament of the bloody stones has come to Taux, and the streets are said to run red with the blood of the combatants. Now, amid the crackdowns of the Sturgeons and the secret duels of the three great fencing schools, the heroes must once and for all solve the mystery of the House Vash blood feud. Taking on the guise of foreign swashbucklers, all must brave bloody single combat, pirates, ravenous cursed lowl, and evne magical reverberations from distant Roslof Keep! Complete the Adventures of the Emperald Serpent trilogy with this module. This adventure is formatted to both 1E & 5E gaming rules. Also available in PDF.

Beneath the blood moon, a dark monastery appears for one night atop a high plateau. Inside its walls, the mighty black lotus flower reaches its full bloom. Can the characters steal inside the monastery, defeat its sorcerous guardians, and claim the blossom before the sun rises? Monastery of the Shadow Sorcerers is a fiendish sword-and-sorcery adventure and includes: -An extra-planar monastery brooding beneath the blood moon -Sorcerer-monks who move like smoke and strike with fire and blade -Combat cards for each monster, PC, and special treasure -High-quality digital maps for use with virtual table tops

A strangely delivered advertisement has led you to a sage named Demetrios. He needs a rare component to complete a desperately needed potion. The journey to retrieve it will take you through a large, unexplored swamp to a ruined keep, the former headquarters of a vile cult that once claimed the lives of many innocent youths. You cautiously accept the mission... To solve the mysteries of "Baltron's Beacon," the characters must excel in handling wilderness, building ruins, traps, puzzles, and new monsters. This adventure, originally designed for tournament use, is now available for your own campaign. TSR 9152
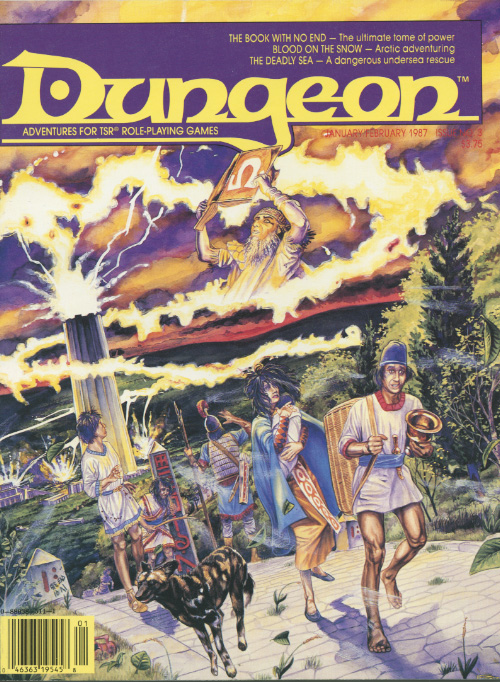
A desperate rescue beneath the waves. The Deadly Sea is an oceanic quest for 4-8 characters of 4th-7th level in the AD&D® game. The use of magical items or spells which aid undersea combat, movement, and breathing is strongly advised. The ability to open locks is also helpful, as are mariner skills and knowledge. See additional notes in the section ‘‘For the Dungeon Master.” The adventure begins at a seaport which the Dungeon Master should name and develop as desired, to fit the circumstances of his campaign. The names of other areas may be changed to fit the campaign as well. This module requires some detailing and planning prior to use.