
Step into the nightmarish bog where there are only two options: fight for your freedom... or be doomed to wander endlessly in through these dreadful wastes until your death. Do you have what it takes to defeat the vengeful hag and break free from this prison?
Wednesday's child... It's a blessed event only if you can end the curse in time. People have been disappearing form the town of Monetenapoleone and a swamp has appeared blocking the towns trade route. It is up to the players to find what is causing all of these strange events and to stop it. Pgs. 32-49

The Stranger Stone, a rock that is to be used in a ritual to save the town of Berribury, has been stolen. The characters must track down the thieves and retrieve the Stone. A Four-Hour Adventure for Tier 1 Characters. Optimized for APL 3
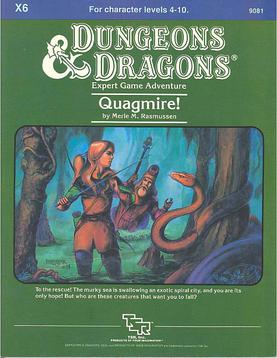
Swamp creatures! They surround you now as you move slowly through the gurgling muck. How will you reach Quagmire now? Each day, the hungry sea swallows more of the ancient port city. A fierce fever ravages its people, and now - these foul monsters! Their beady eyes glimmer from deep within the tangled vines. Are these the creatures that have blockaded the city, turning away the ships that are the city's lifeline? Are these the scum that are starving the people of Quagmire, threatening an entire race with extinction? These creeps? Let's clean this jungle out! Quagmire includes a large-scale map that expands the D&D world and introduces new areas to explore. The adventure also includes new magic items and a special, expanded monsters section. Hurry! Hoist your colors, saddle your horse - go, before the city by the sea becomes the city beneath the sea! TSR 9081

A temple once devoted to Solonor Thelandira deep in the elvish lands has been taken over by troglodytes during troubled times. Whilst the heroes of the realm were fighting elsewhere, a dark, abyssal evil was summoned into being. Can the characters purge the evil from the once sacred shrine? Will they be devoured by The Glutton?

In lieu of a monetary reward for their latest adventure, the PCs have been 'gifted' land ownership in the form of a former religious holding on the coast. While the party cannot collect taxes, they can rennovate the building and use it as a base of operations as they adventure around the Katorian Sphere. Best of all, it sits on a vineyard!

Lore of Aetherra: The Lost Druid is an award-winning 5th Edition adventure designed to bring characters from level one to five, and is the first in an expansive 4-book saga of science-fantasy adventures that will take your players to level 20. Fano. Things here haven't always been so grim. Time and chance have conspired to transform this once magnificent city upon the lake into a run-down sanctum for the destitute and depraved alike. Those who would see Fano renewed seek a lost druid who brings with him the hope to restore the city to its former glory and awaken the ancient technology hidden deep within its constructs. Could Fano's awakening usher in a new era of peace and prosperity, or will it unearth a conspiracy lurking in the shadows? Lore of Aetherra: The Lost Druid is a 5th Edition adventure designed to bring characters from level one to five, and is the first in an expansive 4-book saga of science-fantasy adventures that will take your players to level 20. A uniquely immersive RPG experience, The Lost Druid employs a myriad of digital content that can be experienced using the Alchemy RPG platform. Enjoy a cinematic storytelling structure, breaking chapters into scenes supplemented by expansive soundscapes, dynamic musical scores, voice-acted flavor text, and environmental motion graphics. 2023 IPPY Awards Winner: GOLD in Reference Product Contents: Over 250 Pages Over 2 hours of Audio Content 5 Premade Player Characters 6 Side Quests 7 Tavern Mini Games 35 New NPCs and Monsters Maps: 8 area, 1 city, and 1 region New Backgrounds, Spells, and Magic Items Over 60 NPC Profile Blocks AI Combat Tactics for Every Encounter Published by HITPOINT Press

Candon Shaman of the Dark Fen is a companion adventure made to go along with the events unfolding prior to the core adventure found in Folio #14 (WS1 Isle of Jade). It contains the information needed to run a side adventure that will help characters gain a degree of experience before setting out into the interior of the Isle of Jade. After moving into the swamps of the southern coast the party becomes aware of a threat to the native village that now repairs their vessel. A Candon shaman, roused by the corruptive magic of the Necrotic Pearl, is raising a force to destroy the town and only the players have a chance of stopping the Candon before his forces grows to a size they cannot handle. The islanders fear some dark power has corrupted the Candon lizardmen of the lowland fens. If their shaman leader has fallen to the side of darkness, it is only a matter of time before his calls for war are answered by the fern goblins. Can the adventurers stop the shaman before his summons can be answered? This adventure is formatted to both 1E & 5E gaming rules.

The heroes arrive at the eponymous Keep on the Borderlands, a fortress on the edge of civilization built to stave off the chaos and evil of the wilderness. Using it as a home base, a party can make forays into the surrounding wilderness, encountering monster and marauder alike. The centerpiece of the adventure is certainly the CAVES OF CHAOS, a network of tunnels and caverns found in the walls of a nearby but isolated ravine. It is here that hordes of evil humanoids have made their home. Through combat and negotiation, the players can try to explore and map out these caves, perhaps with the aim of accumulating valuable treasure or even cleansing the land of evil creatures. However, even the Caves are not all they seem. Beyond the goblins and kobolds lurk dark horrors: cults dedicated to fiendish chaos and a Minotaur's enchanted labyrinth await the unprepared adventurer. But for the hero who is brave, clever, and fortunate in equal and sufficient measure, great treasures and glory await in the Caves of Chaos that lie beyond the Keep on the Borderlands! TSR 9034

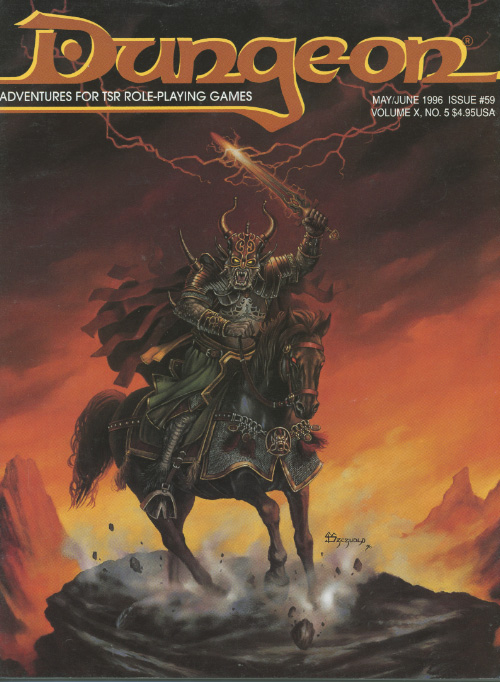
"The creatures are just too intelligent, too crafty, and too strategy-minded to "rampage." Rampaging brings the wrath of oath-bound knights, powerful mages, and divinely-protected priests. Why would a dragon want such attention, unless it had some special secret, or unless it was insane? Or both. The northern reaches of the Derideth Swamp were once plagued by a rampaging dragon. This black dragon, named Storamere, took a mad glee in attacking human villages, wiping out orc camps, driving off the lizardfolk, and decimating farmland. He met his untimely end, though, in an ambush devised by the monks of the Order of St. Chausle. Storamere died with a curse upon his draconic tongue: "you could not have defeated me in my lair," he told his slayers. "I am forever invincible in my lair." Now Storamere is back, with a horde of his misshapen half-dragon offspring, to have his vengeance. All that remains of the once-heroic monks are two old men driven mad by their last encounter with the black dragon, so it falls to a band of adventurers to again defeat the mighty dragon -- this time in his palace, where the boastful Storamere claims he is at his strongest." Includes maps and damage rules for navigating Storamere's lair, a semi-solid palace made of a dangerous, corrosive liquid five feet thick and located on the ethereal plane. Most of the monsters in the lair have the Half-Dragon template applied. Published by Atlas Games

For as long as men remember, the Lord of Evil Amphibians carried out unspeakable rites in his squatting temples situated far from civilization. Tales of human sacrifice, squirming servants, and rich but loathsome treasures were whispered of his followers. Now, unexpectedly, his servants have seemingly vanished, leaving behind their fanes to molder in the marshes. A brave band of adventurers gathers to explore one such tabernacle, eager to discover what riches—and terrors—the Lord of Evil Amphibians has left behind…

Take the adventuring party on a journey through a nasty, smelly swamp as they follow an exotic map which (they hope) leads to a grand treasure. Unknown hazards, NPCs, adventure, and creatures stand between them and the X that 'marks the spot' on the map. This adventure includes: •Custom art •8 hand-drawn maps (color and black & white included) •3 new creatures •1 new magic item •Includes a printer-friendly version of the adventure. Into the Belly of the Beast runs smoothly as-is, but an additional 8 encounters are included. These encounters can be used to lengthen the adventure, or they could used separately and added to your own campaign.
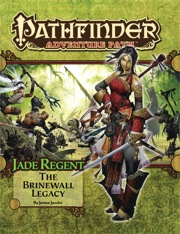
The town of Sandpoint, Varisia, Inner Sea Region has put out a bounty on the nearby tribe of Licktoad Goblins in retribution for the goblins raiding traders and travelers near the quiet town. The party takes up the bounty and ventures into the swamp; eventually finding the goblin village in ruins and it's inhabitants scared in it's burned huts. The party finds out; either through investigation of the ruins or the goblins themselves; that a group of skeletons with eastern arms and armor had ransacked the village and took a stash of fireworks that the goblins stole from an old shipwreck. The party then makes it to this cave and finds it empty except for a half dozen skeletons. Further in past the skeletons is their leader, a skeletal samurai who fights the party in an attempt to defend his treasure. The treasure turns out to be a letter that reveals that secrets of the Kaijitsu family; the same family their good friend Ameiko who runs the Rusty Dragon inn belongs to; that lies in wait in the abandoned town of Brinewall to the northern boarder of Varisia. Ameiko along with several other important NPCs with a caravan north. It's recommended that GMs create encounters for the caravan trip north as it's essentially 3 weeks of travel with nothing in it. It's also recommended that GMs completely ignore caravan rules; they're not flushed out and they're not fun to run. The party and the caravan reaches the abandoned town of Brinewall where their friend Ameiko becomes possessed and is thrown into a coma; where the other NPCs agree to take care of her while the party explores the town and castle. The castle is a three floor behemoth of a dungeon populated by Dire Corbies, Troglodytes, and various other monsters all under the leadership of Kikonu, an Yamabushi Tengu Oni. The goal of exploring Brinewall Castle is to find the two keys to the vault; one of which is on the Yamabushi Tengu while the other is on a Half-Fiend Decapus that lives in the basement of Brinewall. Once the PCs enter the vault they find the Amatatsu Seal; one of the seals that cement authority to one of the ruling houses in Minkai of Tian Xia; as well as several visions that show that Ameiko Kaijitsu is the rightful heir to be ruler of Minkai and that they'll need to travel north to do so. Such ends the first book of six.

Frequent visitors know that the Adurite culture once ruled a large portion of the known world but has now all but disappeared. In this adventure a relic Golem that guards a shrine has been duped and gone on a rampage. This adventure was originally created for a “filler” adventure on a day when the entire party could not adventure. Spoiler alert the Golem is not the worst thing the party will face! At 29 pages this adventure has a little bit of everything.

When the hunters become the haunted. Some haunted houses are best left unexplored. The third adventure in the 'Mere of Dead Men' series! Pgs. 48-71
Goblin attacks have always plagued the farmers and merchants who live and travel along the roads leading to Whitesparrow. But a recent rash of new attacks are something different. The goblins of one particular tribe have gotten particularly smart, attacking with careful tactics and cunning ambushes. The village guards haven’t been able to outwit the goblins, even when laying traps of their own and hiring mercenaries to stop them. Even as goblins go, Rosethorn isn’t much to look at. He’s small and runty, and yet a lucky break placed him in charge of the Brownleaf goblin tribe. When he claimed a powerful magic relic from a dead wizard three months ago, Rosethorn found his intellect multiplied many times over. The world began to make a more intricate kind of sense to him, and he saw patterns in the ways other folk traveled the roads. After hiring a spy in Whitesparrow to tell him which wagons to pursue, Rosethorn cunningly bribed the wagons’ guards to throw battles in the goblins’ favor. He then moved the lair of the Brownleaf tribe away from their dank caves and into the ruins of the Bearded Man—an enormous dead tree at the center of the Howling Wood. There, Rosethorn continues his campaign of ambush against the foolish villagers, increasing his wealth and power with each robbery.
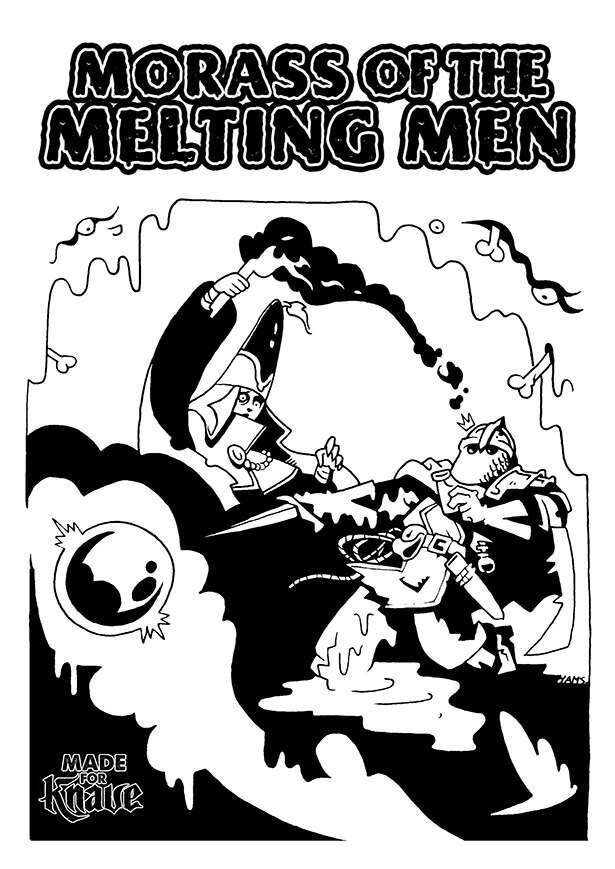
In these lands of eldritch goo, it's a fine line between victory and a sticky situation Tzork, the sentient globe of glass, wasn’t exactly born from a grand spell—it was more of a cosmic "oops". After a backstabbing disciple named Theridus offed his master and snagged the relic, he promised his followers unimaginable power. But instead of turning them into terrifying demons, Tzork turned them into puddles of goo. Now, the once "glorious" cult's mansion is less a temple and more a swamp of melted, failed adventurers, attracting only the most reckless of treasure hunters. 'Morass of the Melting Men' is an adventure for Knave 2e, suitable for low-level PCs. The adventure revolves around an extremely powerful sentient magical item that has gone out of control, melting all the nearby people and turning what was once an evil temple into a swamp of slime, filled with bones and eyeballs. In Morass of the Melting Men, players enter a location flooded with a magical liquid exuding chaotic energy. The longer the PCs remain within the swamp, the more they suffer the unexpected effects of this alien magic. Step inside this morass if you dare — goo and treasure awaits... but mostly goo What you'll find here: A complete 40-page adventure A 20 room dungeon map Several new (and bizarre) magic items such as the magnificent Tray of Force and the powerful Theridus' Head. Several wild random tables of weird and gooey outcomes
Barovia has long suffered under the rule of Count Strahd von Zarovich, but the evil that plagues this land extends well beyond the walls of Castle Ravenloft. See what keeps the good citizens of Barovia awake at night.

A shadow hangs over the dark and dreary town of Squill. Townsfolk are being murdered in their beds without any explanation and the local graveyard has become a dangerous, haunted place. Consumed by fear, the men and women of Squill have begun casting evil glances at a young orphan boy. The victims, it seems, all had links to the lonely child, and none of them were good. A local priestess, however, wonders if the heart of the darkness consuming the town lies in a necromancer slain nearby only a few months ago...
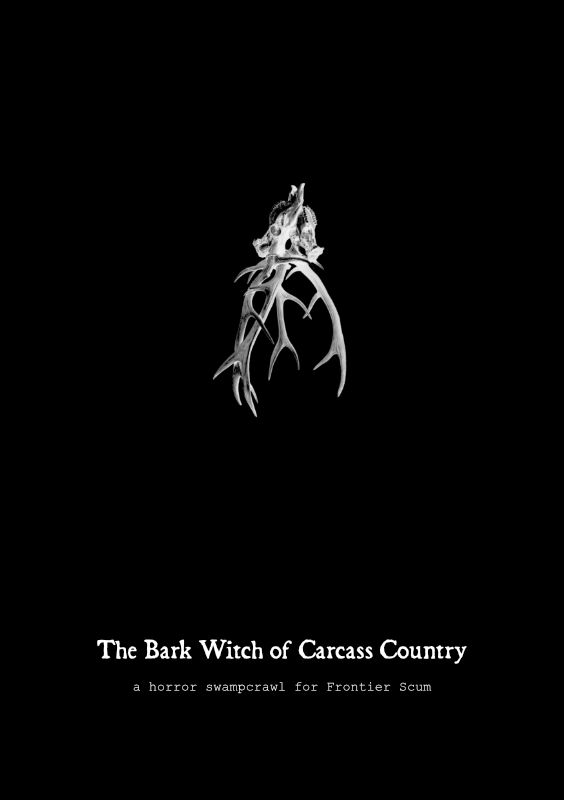
The Bark Witch of Carcass Country is a procedural pointcrawl for FRONTIER SCUM. It consists of tables encompassing: Adventure hooks to lure scum to the swamp Antagonist motivation to add depth and guide the story Locations that provide (un)safe spaces for PCs Exploration via an overloaded, exploding encounter table that escalates the plot Mundane and strange creatures with full stat blocks Signs of the Bark Witch to sow dread and chaos The module can be run purely randomly, as a pick-and-choose toolkit, or anywhere in between. Depending on the rolls and approach, it works as a one-shot or a multi-session adventure. The Bark Witch of Carcass Country is an independent production by Walton Wood and is not affiliated with Den of Druids. It is published under the FRONTIER SCUM Third-Party License. FRONTIER SCUM is copyright Den of Druids