An adventure for 3-4 characters of Levels 3-4 exploring a ruined temple in a deep forest, with new monsters, new magic items, and all new original art. Deep within the Forest of Legressia lies a ruined temple of a long forgotten goddess. This ancient, crumbling temple is rumored to contain an artifact of the faith deep within its bowels, but also to be guarded by a shadowy malevolence. Your party has been tasked with reconnoitering the temple and retrieving the artifact. Great rewards await those courageous (or foolish) enough to delve into the Shadowed Temple of the Forgotten Goddess... https://www.drivethrurpg.com/product/475049/OSR-One-Shot--Shadowed-Temple-of-the-Forgotten-Goddess?src=hottest_filtered The adventure includes: 5 fully fleshed out encounters within the temple. Traps, monsters, riddles, and mysteries abound Four new monsters, two of which are variants of the shadow-bound Umbrathi, charged as guardians of the temple's secrets Harvesting and crafting options, for defeated and destroyed foes A new magical item, the Amulet of Redemption Lore connected with the world, including tie-ins to adventures to come A professional battlemap/sitemap from the superb Silver Compass Maps Incredible orginal artwork from Simon Underwood and Carlos Castilho Map Pack: includes gridded and ungridded versions of both GM maps and player friendly maps. Also includes VTT compatible maps
People have been going missing in Oreskos. Merchants never finish their rounds, and leonin disappear during their hunts. At the center of this conspiracy sits a lone tower, and on its throne a vicious lamia seeking to claim the grasslands as her kingdom. The Oreskan Lamia is a 3rd level Greek mythology inspired 5e adventure, for use with the Mythic Odysseys of Theros setting book.

Every priest in the city dreamed last night of a forgotten temple carved into the side of a nearby mountain. In the dream, a storm raged deep within the temple, and the dreamers knew instinctively that evil forces sought to unleash that storm upon the surrounding lands. Pgs. 120-125

A strangely delivered advertisement has led you to a sage named Demetrios. He needs a rare component to complete a desperately needed potion. The journey to retrieve it will take you through a large, unexplored swamp to a ruined keep, the former headquarters of a vile cult that once claimed the lives of many innocent youths. You cautiously accept the mission... To solve the mysteries of "Baltron's Beacon," the characters must excel in handling wilderness, building ruins, traps, puzzles, and new monsters. This adventure, originally designed for tournament use, is now available for your own campaign. TSR 9152
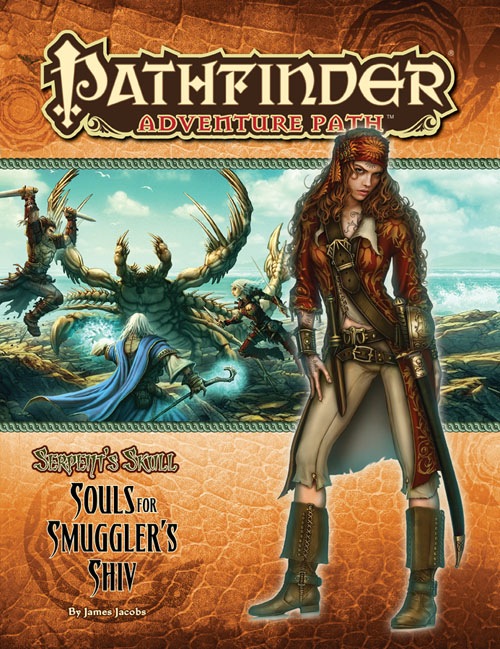
A deadly storm shipwrecks the passengers and crew of the Jenivere upon infamous Smuggler’s Shiv, an island off the coast of the jungle realm of Sargava. If they’re to have any hope of escaping the notorious pirates’ graveyard, the survivors will need to band together to outwit the isle’s strange beasts and legendary menaces. But can the PCs unite the swift-to-squabble castaways, especially when several seem to have mysterious goals of their own? And does Smuggler’s Shiv hide secrets even deadlier than its desperate denizens? This is part one of the Pathfinder Adventure Path "Serpent's Skull", but can be played as a standalone adventure that lasts approximately 10 four-five hour sessions. Great for first time dungeon masters. This is not a seafaring adventure. The PCs are shipwrecked on an island for the entire duration. This adventure ends with (hopefully) the PCs finding a way off the island (reaching level 3). It is therefore a great starting adventure with a definitive conclusion. After this module, you can continue with part two or change into your own homebrew.

With your fame building in the Great Plains of Dorack you have received word of an abandoned temple that has been showing signs of life. Years ago the followers of the old deity Sobek built a temple to honor him. The cult died out after a successful raid by Plainsmen who looted the complex after killing off the monks who inhabited it. A few days after the temple sacking the chieftain responsible for the attack fell ill and died of a mysterious disease. As it was believed a curse befell the warlord, the area was abandoned and considered taboo. Lately strange lights have been seen near the old temple and a giant stone alligator has been spotted in the area. The Plainsmen cannot go to the area as the old taboo is still in place and have asked your party to investigate.

Come: the land of Sri Raji and the ancient rakshasa, evil masters of illusion and shapeshifting, await! The Web of Illusions module is a 64-page adventure featuring an exemplary full-color map. Players travel through the deadly land of Sri Raji, an Eastern Indian domain of jungles, savage tigers, and lost temples. Also depicted in the AD&D™ rulebook, Legends & Lore. TSR 9415

There is a curse laid on everything in that place! Cursed, you hear me? Cursed! Up on the mountain is a house by a cemetery, haunted by the memories of atrocities past. The cult on the mountain is long gone, yet the music of weirdling death carries on the wind. The mountain is cold. So very cold. And the greedy and the foolish will march bravely up the mountain for gold and glory. …but are they worth your soul? You Are Doomed Death Frost Doom is the adventure that launched Lamentations of the Flame Princess in 2009, and this anniversary edition has been fully revised by Zak S (Red & Pleasant Land, Vornheim: The Complete City Kit) with all new interior artwork by Jez Gordon. An adventure suitable for low-level characters for use with Lamentations of the Flame Princess Weird Fantasy Role-Playing and other traditional role-playing games.

Tyger, tyger... A search for a small child in the woods outside of the town of Launise, a case of mistaken intentions, and the despoiled ruins of a forgotten goddess of magic. Cursed is the beast that stalks the Black Forest in... Orange and Black! Pgs. 66-71
In what became known as the Age of Madness, an astral lich calling himself the Crimson Hand descended from the sea of stars, setting his fell gaze upon Gaea. Her red moon he made both his temple and his phylactery, and from there he sought to enslave those who would be ruled and devour those who would not. The Ancients of the four corners of Gaea united their knowledge against this threat, constructing a colossal golem, and inscribing the four POWER WORDS upon four scrolls. These scrolls they fed to the colossus, who ascended to the crimson moon in an instant. The sages of the realm watched as the flashes of battle signaled in the night sky, ending as the crimson moon itself split in half. The lich and the colossus were destroyed, and the Age of Madness was ended. Millennia have passed, and now a new threat rises from the netherworld. The four POWER WORDS have been forgotten, lost among the shattered remnants of the moon. The sages have once again united what remains of their power, this time to teleport a paltry handful of crusaders to retrieve the lost scrolls before the world is doomed.

Within the jungles of Chult is a vast expanse of ash. While a red dragon is known to reside deep within the Land of Ash and Smoke, it is far from the deadliest of its denizens. Deeper still is a pit filled to the brim with pure evil. None who have sought out its secrets have survived to tell its tale. Will you be more successful than they?

Tomb at the Dragon's Spine is a companion adventure made to go along with the events unfolding during the middle sections of Folio #14 (WS1 Isle of Jade). It contains the information needed to run a side adventure during the Isle of Jade. Many centuries ago, in an age forgotten, the last of the great sea dwarf masons died on the Isle of Jade after helping construct some of the final Corsair structures the world will ever see. Now, his tomb rests on the heights of the Dragon's Back, and evil has crept into the tomb. Only the brave few might now pass the threshold for the treasures that certainly lay within. While crossing the deadly 'Dragon's Spine' of the island's interior, the party encounters a darkness at the heights. Within the ancient stones the tomb of one of the last sea dwarf master masons rests. Has the corruption of the island reached the tomb? Only exploration will reveal the truth, and the treasure. This adventure is formatted to both 1E & 5E gaming rules.

The PCs are hired to escort a merchant boat to Rygar, a new settlement that has sprung up on the banks of a tributary of the Neverwinter River deep in the Neverwinter Woods. The mud of Rygar is much desired by potters for its physical attributes, but it is also desired for a mating ritual by a tribe of lizardfolk. What happens when the lizardfolk show up to roll in the mud? This product now contains Part I: Into the Mud, and Pat II: Out of the Mud. It includes new monsters, a new settlement with brief descriptions of many of the townspeople and buildings, maps, new feats, and new weapons.

Rumors and legends surround a hidden temple dedicated to the god of Magic, Ileaeni. This lost shrine is supposed to be in the Border Hills but no one, not even a legendary general has been able to locate this famed location. While long rumored to hold a supply of magical items no proof exists of this temple aside from notations in old scrolls. Myth or real you and your party are interested in exploration and treasure…this sounds like it may be right up your alley.

The chapel, once populated by the priests and priestesses of Eldath has now been desecrated by cult of necromancers who sought its secrets to prolonged life. They soon discovered the bodies of the chapel’s clerics they slew, and those interred in the catacombs below, were unnaturally strengthened and preserved by the chapel’s white waters. Their bodies were soon used to create powerful undead. Seeing this desecration of her followers, Eldath stemmed the flow of her life-giving waters. The cultists remain in her chapel, seeking to corrupt the well and harness its powers for their vile plans. Published by Arcana Games.

Nightmares that kill, a mysterious thief that only steals knick-knacks, tales of a huge beast terrorising fisherfolk, an inn with disappearing guests, discoveries of hidden magic portals and rumours of an assassin at large: None of these things are enough to stop the ever-flowing tide of traders and travellers crossing the Bridge of Fallen Men, but its protectors - Cormyr's Purple Dragons - are short on time, and courage... ...will adventurers answer the call?
The Temple of Tesh-Yatra is a setting-neutral dungeon delve for a party of 6th level adventurers, inspired by the classic funhouse dungeons of yesteryear. The dungeon takes 6-10 hours to fully explore. It features a high proportion of non-combat encounters: puzzles, exploration, and the occasional deadly centrifuge. The ungodly fusion of a mad scientist’s lab and a planar temple, the dungeon includes an encounter that can launch your players into the Nine Hells – for a price... The Temple of Tesh-Yatra includes two new constructs to use in your game: the sinister Maimers, and the enigmatic Skorverra; as well as a new magic item: the Amulet of Tesh-Yatra, an artisan’s dream! The Temple of Tesh-Yatra also comes with a VTT battlemap (transparent PNG format). The Temple of Tesh-Yatra was originally set in the Outlands, as an extraplanar dungeon. But given its self-contained nature and the Temple's age, it is well-suited to any wildnerness, and would work equally well seeding a hex crawl.

The Land of Ash and Smoke. Once a hellish landscape of volcanic activity, now a nightmare region that hosts one of the scattered Soulmonger fragments. The fragment’s burgeoning power attracted the attention of the Red Wizards of Thay and, thankfully, adventurers who are willing to risk life and limb to keep the fragment from these vile arcanists. Can you reach the fragment before the Red Wizards make off with it? The hunt is on. Part Two of the Broken Chain Series. A Four-Hour Adventure for 17th-20th Level Characters
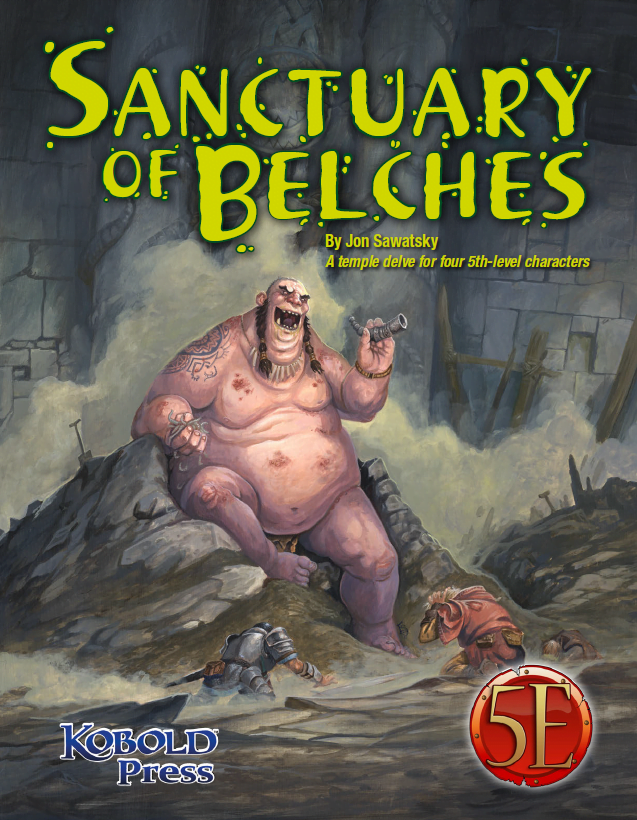
The trouble began several weeks ago when a duergar excavation team went to work in a long-abandoned temple. Drawn to the temple by stories of riches and artifacts, the duergar hired several giants as laborers before cracking the temple’s sealed doors. The largest of the giants, a loathsome Thursir mutant named Huppo, used his acidic vomit to expedite tunneling into the temple’s collapsed hall of worship. Then, Huppo found the horn—an unusual instrument made from a single piece of stone, with a mouthpiece so intricate only a master carver could have made it. The horn became the giant’s obsession. Seeing only the horn’s potential sale value, the dwarves demanded Huppo turn it over to them, but Huppo refused. To force compliance, the dwarves stopped feeding the gluttonous brute, but Huppo had already found his own source of food; in deep areas of the temple, worms were chewing out of the rocks, and Huppo ate them by the fistful. He also played the horn. Then, after several days of blowing the horn and devouring the strange worms, Huppo released a belch so noxious the dwarves had no choice but to lock him in a sealed chamber and carefully consider their next move. The horn’s call, however, had caught the attention of passing nomadic orcs. They set up camp outside the temple entrance in the hope of finding the horn and its player. That’s the current situation at the temple: the giant refuses to stop blowing the horn and belching out deadly clouds of stomach gas; the dwarves are frightened and edgy while their leader is obsessed with malevolent whispers; orcs are threatening to overrun the place; and the population of worms grows steadily as something awakens deep in the stone beneath the sanctuary of belches.

The characters, members of the Clifftop Adventurers’ Guild, have been tasked with acquiring the Chains of Mur’taal, an artifact tied to Thelanis, by their guild handler, Lhara. This artifact is the latest in a series that Provost Nigel Faurious has commissioned the Clifftop guild to retrieve for him. The adventure starts when the characters arrive in Rhukaan Draal via Orien caravan. They’re given a chance to explore a small portion of the city before they head to a local bar to meet their contact provided by Lhara. Accompanied by a local guide, they make their way to the Seawall Mountains, where they’ll have to follow clues and their intuition to find the Valley of the Hero, which conceals the artifact that they’ve been hired to obtain. In order to earn the artifact, characters must first pass three tests laid before them by the Story: The Test of Courage, the Challenge of Wisdom, and the Trial of Honor. Once they finish the tests and collect the artifact, the party heads back toward Rhukaan Draal. But there are Marguul forces in the area, and they don’t intend to let the heroes escape with a priceless piece of their folklore…