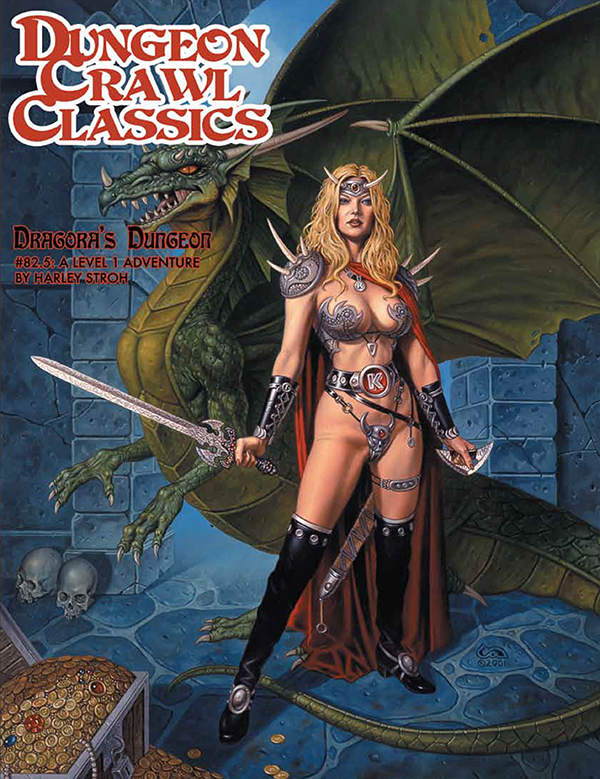
Eons past the fabled sorcerer-kings of Parhok perished in a rain of eldritch fire. But legends hold that one tribe survived the apocalypse, fleeing with their slaves to a hidden city, where the greatest enchanters of all time could sleep away the centuries, and awaken in a future age as rulers of a ruined land. Now once more the forbidden spells of the Parhok threaten the good folk of the Known Realms. A kingdom lies ensorcelled, a royal family ensnared by the forgotten dweomers of a long-dead race. When the best attempts of seers and diviners have failed, it falls to the heroes to save the kingdom. Have the sorcerer-kings risen to reclaim their bejeweled thrones? Or has a more sinister power bent their ancient magics to its sinister will? Only the most courageous and cunning of heroes will emerge victorious from Dragora’s Dungeon.

After resupplying equipment, health, and morale, you have heard of a job opportunity available at a nearby pub. After first missing out on the chance, your fortunes change and get the job. After boarding the Gnome airship, the “Marietta”, you head off across the sea to locate the captain’s missing brother. You find out you will be going into the jungles of the lost Pula Noa tribe. Rumor and legend surround these natives as having streets and buildings paved in gold, silver, and death! This adventure setting was designed for 5th Edition rules D&D for the Filbar Campaign for mid-level adventurers and DM. This adventure is easily adaptable to most any game and system. Save yourself some time and utilize it for a one shot adventure or a continuing campaign!

In "The Brazen Bull," whilst traversing one of the seedier neighbourhoods of Khromarium, your party are solicited by a greasy-haired Pict. He offers to sell you a sheaf of magical lotus that allows one to see the future or to brew potions that empower the imbiber with sorcery. He beckons you to follow Jeffrhim into a dilapidated building ...

Tyger, tyger... A search for a small child in the woods outside of the town of Launise, a case of mistaken intentions, and the despoiled ruins of a forgotten goddess of magic. Cursed is the beast that stalks the Black Forest in... Orange and Black! Pgs. 66-71
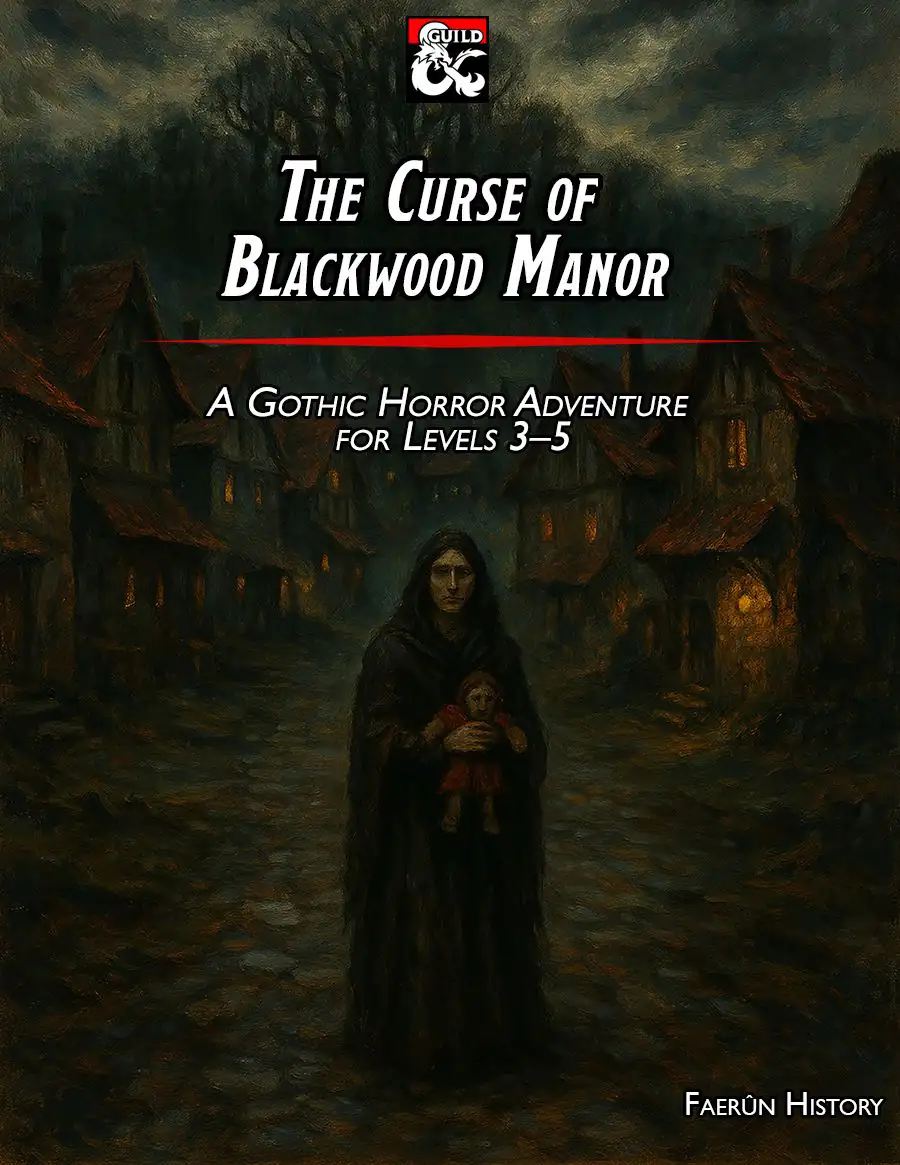
Gothic horror adventure for levels 3-5 set in rural Halruaa. Features a missing child mystery, cursed village, haunted forest, decaying manor, ancient green hag, fey bargains, tragic constructs, moral ambiguity, investigation, exploration, and multiple endings.

The Red Road is a quest for 2nd-level heroes. This quest is intended to be a one to two session, monster-of-the-week–style adventure: a memorable, early stepping-stone in the heroes’ career. The heroes can earn up to six Victories over the course of this quest. A mystery smolders in the village of Asher that'll lead the heroes on a breakneck race through the woods. Make every action count—every little misstep could inch you and many innocent people closer to a bloody end! The Red Road assumes you understand how to play and run Draw Steel.

Neither Man Nor Beast is set in the Ravenloft campaign setting, on the island of Markovia. It recounts a tale in which the heroes encounter all manner of beasts - some wearing human form, some animal, and many somewhere in-between. TSR 9499

Baron Rajiram’s forces have secured the Nelanther Isles and have scoured the Sword Coast for treasures. Now they have begun to explore a mysterious island that recently just popped into existence nearby. SEER seems to believe that an aboleth artifact is their goal. It is up to the adventurers, in competition with the baron, as well as aboleths, the Kraken Society, and the mysterious caretaker of the island, to locate the Eye of Xxiphu and avert catastrophic disaster.

The town of Warlorn is often thought of as a peaceful one. Not much happens there, and it is usually considered a place of peace were parties could convene to make truces or were the hurt could always come to find someone to care for them. Perceptions can often be incorrect however. The church of Ilmatter, God of Suffering, acts as an effective government in the town. Illmaters tenants are that to help all those who have suffered and to take on their suffering so that they may be healed. To them suffering is truly Holy, and to take suffering on from another is seen as the greatest way to prey to their god. Not everyone is as virtuous as a god, even his own followers, and humanity in taking on holy suffering is still left with desires; lusts that can be corrupted. When the Duchess of Manipulation who delights in corrupting church men spoke to the leader of this clergy of Ilmater, it was no difficult task for her to find a loophole in Illmaters word that she could exploit. If suffering was holy, then truly it should be those that do not yet understand Ilmater’s ways that should feel this suffering. Using a cultist of hers, she was able to create a child that could later be used as an ingredient for a portal right to her layer of hell. It’d be two birds in one stone; corrupt a devoted followers of a god she hated to later take their souls as her own, and create a portal that she could use to cross both herself and her armies to the material plane. When the players enter the scene, the child will have already been kidnapped, and the child’s mother will be hanging up fliers giving out a reward to anyone that can find her child. The players will find themselves needing to infiltrate the Church of Ilmater into its secret underground cult so that they can save the child and stop Glasya from finding her way to the Material Plane.

To Find the Immortals! The all-powerful Immortals have vanished! The quest to locate them has led across the Atlass Ocean and the land of Shahjapur, where moguls hunt tigers, un-touchables respectfully avoid higher castes, and holy fakirs perch immobile for years on end. In this land of shrines and elephants and shapeshifting assassins, resolution may lie at the end of the mysterious "Emerald River." But no one knows the location of this river and no map shows its bed. Does the answer lie within the Temple of Eight Sweet Winds? Hopefully so, for time grows short. The Immortals themselves must be found and enlisted - to stave off the approaching cataclysm called: NIGHTSTORM! Nightstorm is the third adventure for the D&D Hollow World Campaign Set. The Hollow World boxed set is required to play. This 65-page adventure fits easily into your existing campaign, either as a stand-alone adventure or part of the history-spanning Blood Brethren trilogy. These three lined modules can be played in any order - but the adventure ends here! This adventure is designed for four to six characters of levels 8 to 10. Easily Adaptable to the AD&D Game! TSR 9311

Buried in fire, but hardly dead. Only the Keep survived the destruction of Koralgesh, but few adventurers will survive the terrors that now stalk the lost Keep's halls. Players hear rumours of the Keep at Koralgesh and then traverse it to acquire the treasure within. Pgs. 45-64

The small town of Boldon, and its surrounding villages are afraid. Dozens of people are missing, some speculate lost to some nefarious purpose. A broken drunkard tells fantastic tales of an evil temple and the horrible things within. The rare few who know the legends and history of the region are beginning to think the dark times have returned; not seen since the fall of the first age of man. People are beginning to feel the icy fingers of fear closing in. The party becomes aware of these events, and is inspired to investigate. This leads them to a broken man who tells them a story of a lost temple. Has it been rediscovered by men seduced by its forgotten evil? The drunkard’s tale leads to others who might help the party discover more before they face The Lost Temple of Forgotten Evil. Published by Fat Goblin Games

The night air is chilly, but the crackling fire you've started warms your bones comfortably. Crickets chirp, and you smile up at the stars, glad for the quiet evening. There is a loud roar, and you are blinded momentarily as the campfire suddenly surges up into the air. The flames split down the middle, revealing an abyss that leeches the warmth from your soul. Out of this hellish place stumbles a black-cloaked figure clutching a scythe. Quickly, you reach for your weapons. The strange apparition staggers for a moment. Then, gathering its strength, it pulls back the hood on its cloak. Beneath is a bleached skull with stars for eyes. "I am Azrael, Lord of the Undead," it hisses. "Or rather, I will be Azrael, after time itself has died." Even as Azrael speaks, decay begins to eat away at its body, and the god shudders. Holding one arm up to watch as tiny fissures form in its bones, the deity sighs, "Ah, sweet Entropy, come to claim me at last." It's gaze sweeps back to you. "But no, not just yet. First, I must set events in motion." Weakness begins to overcome Azrael, and it sinks to one knee. "Long ago, I became the most powerful of all the gods, in spite of my enemies' efforts to stop me. Delirious with power, I destroyed the other gods and eventually fell to feasting upon the souls of their worshipers. After devouring every living creature, I consume the planets and, eventually, the stars themselves, until I was left alone, in darkness." The god struggles to finish its message as its bones turn to dust and blow away, "Unexpectedly, I felt remorse for what I had done. I grieved for the universe I had destroyed, but I lack the power to recreate it. So, I have come to you, to beg you to do what I cannot." Azrael reaches into its cloak and produces a leather sack. "Take these items and use them." As Azrael dissolves, it gasps out, "Kill me tonight, or tomorrow will never dawn." All that remains is a pile of dust and a leather bag.

Tomb at the Dragon's Spine is a companion adventure made to go along with the events unfolding during the middle sections of Folio #14 (WS1 Isle of Jade). It contains the information needed to run a side adventure during the Isle of Jade. Many centuries ago, in an age forgotten, the last of the great sea dwarf masons died on the Isle of Jade after helping construct some of the final Corsair structures the world will ever see. Now, his tomb rests on the heights of the Dragon's Back, and evil has crept into the tomb. Only the brave few might now pass the threshold for the treasures that certainly lay within. While crossing the deadly 'Dragon's Spine' of the island's interior, the party encounters a darkness at the heights. Within the ancient stones the tomb of one of the last sea dwarf master masons rests. Has the corruption of the island reached the tomb? Only exploration will reveal the truth, and the treasure. This adventure is formatted to both 1E & 5E gaming rules.

Madness in Freeport, the final part of the Freeport Trilogy, details the final confrontation between the PCs, the Brotherhood of the Yellow Sign, and Sea Lord Milton Drac. In Part One, the Drac invites the PCs to the Grand Lighthouse Ball. Careful investigation can reveal the secret purpose of the lighthouse. In Parts Two and Three, the PCs must recover a powerful artifact to thwart the Brotherhood's plans. They must pass through an infamous pirate's hidden caves, then search a sunken temple of the serpent god Yig. In Part Four, the heroes must enter the Grand Lighthouse, AKA Milton's Folly, in a race against time to stop the Brotherhood's world-shaking master plan from coming to fruition. (Bibliographic note: This adventure was originally written for v.3.0, and later updated to the v.3.5 rules. The revised versions of Death, Terror, and Madness in Freeport were reprinted in an omnibus edition, along with two shorter filler adventures, as The Freeport Edition: Five Year Anniversary Edition.)
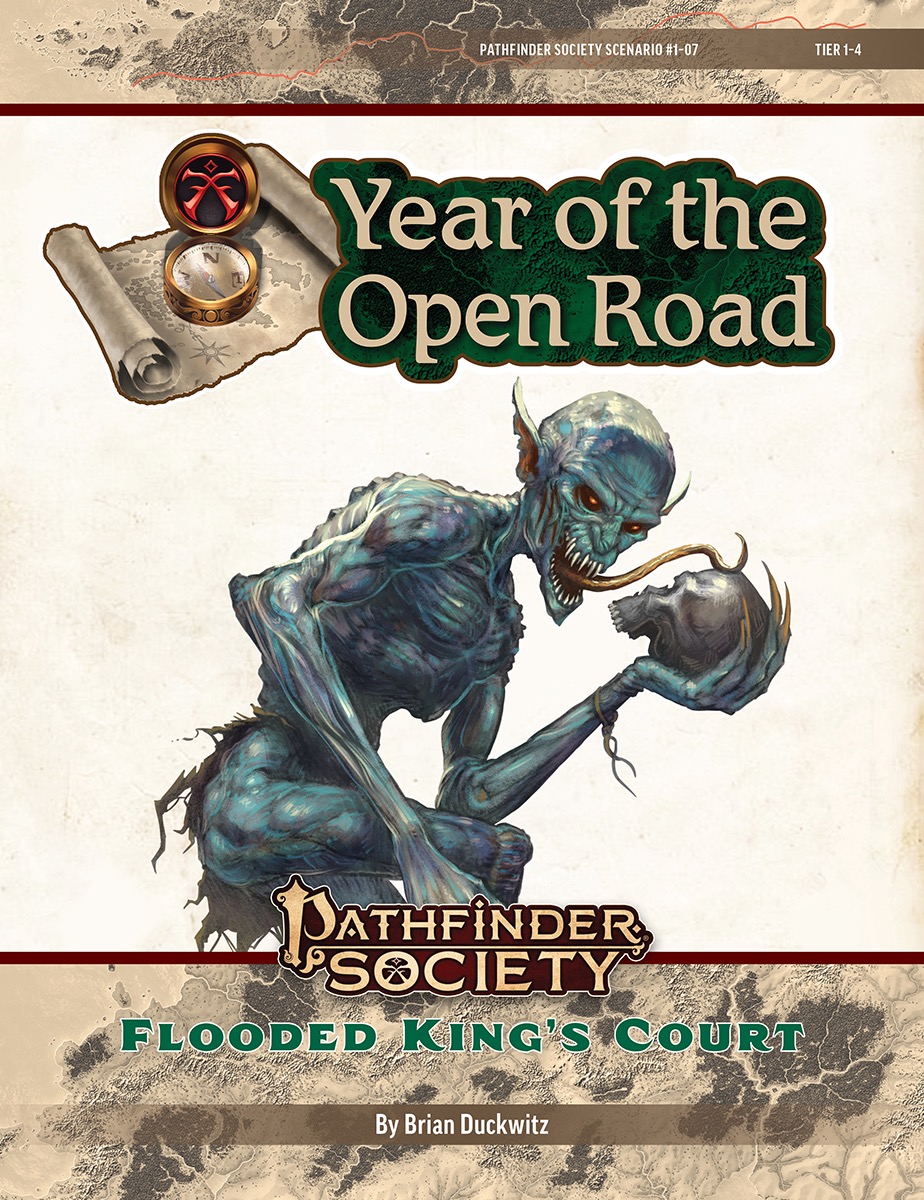
From a ruined theater in the run-down Puddles district of Absalom, a goblin hero and self-styled king rules over the nearby goblins. Shifting foundations beneath the playhouse have revealed ruins from Absalom's early history, and the goblin king has put out a call for explorers to search the area and clear out its dangers. The Pathfinder Society has answered the call. They aren't the only group that is interested, however, and they must prove themselves to earn the right to enter these lost chambers.

After a few adventures you decide to find safety in a city setting. Along the way to Morristown you discover a few abandoned villages causing to wonder what is going on. With further investigation you quickly discover that something sinister is afoot and begin to uncover an evil cult! Can your party rescue the citizens and put an end to the nefarious religion?
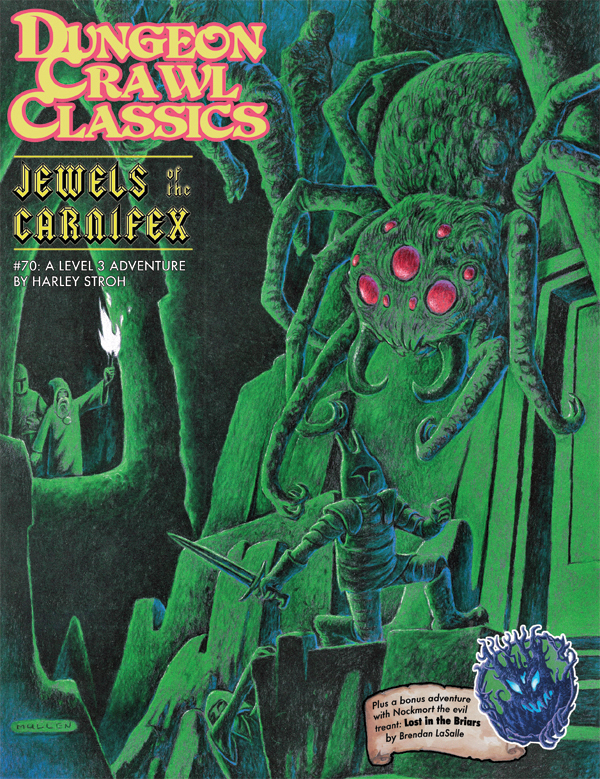
At the end of a forgotten back alley, in the weird and otherworldly marketplace of faiths known as the Bazaar of the Gods, stands the ruins of a forgotten chapel. Once the cult of the Carnifex was celebrated throughout the City of a Thousand Gates. But a band of holy warriors rose against the cult of executioners and torturers, casting down her signs and scattering her devotees to the winds. The fate of the cthonic goddess, and – more importantly – her fabled jewels remains a mystery…until this night. Set amid the sprawling decadence of Punjar, Jewels of the Carnifex offers low-level adventurers a chance to plumb the mysteries beneath the city’s soiled streets, explore forgotten crypts lavished with weird artifacts, and – for the quick and daring – claim the lost Jewels of the Carnifex!

Riches beyond imagination await! Buried decades ago, the great treasure of the notorious Captain Jadescale is waiting at the Mistcliff. Though the exact location of the treasure is unknown, it’s said that the owner of the Shore of Dreams has clues about the location, although nothing is ever that straightforward when it comes to treasure. Can you unearth the secrets of the treasure of Captain Jadescale or will you be undone by its mystery? This 3 - 6 hours adventure features: • 18 pages full with social encounters, dungeon crawling, puzzles and a hint of mystery • custom art and handouts for your players • custom map with a DM and a player version • custom TashMob paper miniatures • new monsters, npcs & magic items A Dungeons & Dragons adventure for characters of level 5 to 7.
In what became known as the Age of Madness, an astral lich calling himself the Crimson Hand descended from the sea of stars, setting his fell gaze upon Gaea. Her red moon he made both his temple and his phylactery, and from there he sought to enslave those who would be ruled and devour those who would not. The Ancients of the four corners of Gaea united their knowledge against this threat, constructing a colossal golem, and inscribing the four POWER WORDS upon four scrolls. These scrolls they fed to the colossus, who ascended to the crimson moon in an instant. The sages of the realm watched as the flashes of battle signaled in the night sky, ending as the crimson moon itself split in half. The lich and the colossus were destroyed, and the Age of Madness was ended. Millennia have passed, and now a new threat rises from the netherworld. The four POWER WORDS have been forgotten, lost among the shattered remnants of the moon. The sages have once again united what remains of their power, this time to teleport a paltry handful of crusaders to retrieve the lost scrolls before the world is doomed.