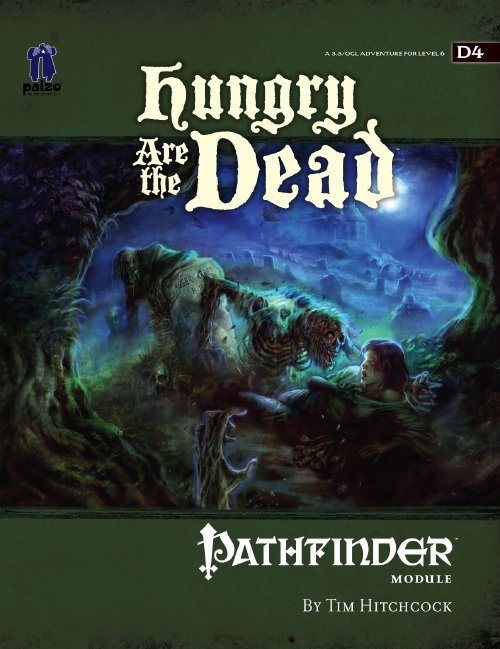
The logging town of Falcon’s Hollow has been through rough times—first a kobold tribe abducted the town’s children for an evil ritual, then an unknown force reanimated the defeated kobolds to attack the town. Now a horde of zombies approaches and a mysterious evil gathers power in the north, tainting wildlife and the buried dead, its presence hinting at ancient evils better left undisturbed.
Do you want to run or play an adventure where characters start at level 13 instead of ending at level 13, and actually get to progress to 20 like the rules say they should? Do your players like to travel far and wide, exploring a huge unknown area? Do your players like to change their plans on a whim, and travel somewhere other than where they told you they planned to go last session? Do your players feel like fighting against an empire at odds of 20,000 to 1? Do your players want to commit occasional acts of sky piracy? Do you want an adventure that is designed to handle players using Scrying, Transport Via Plants, and Teleportation on a daily basis? If you answered yes to some of these questions, this adventure may be for you. Check out the detailed preview packet, which includes a campaign log showing how this adventure has actually played out. WARNING: FULL OF SPOILERS; VERY LONG. Against the Idol of the Sun is an epic hexcrawl campaign designed for high-level play. Adventuring parties should start at about level 13, and will likely end the campaign at level 20 with multiple Epic Boons. As a hexcrawl, there is no set adventure path that the party must follow. There is only one encounter that's even close to plot-mandatory aside from the climactic battle. Anything else can be skipped or handled in any order. The players are free to move about the map in any direction at any time, limited only by the risk of enemy action and encounters. The DM, meanwhile, is encouraged to have foes react to and actively hunt the PCs once they become a threat. Along the way, they may find and explore a number of dungeons, including a millenia-old laboratory in the grips of a time distortion, several mines that were abandoned for good reason yet may hold wealth within, and other challenges appropriate for high-level characters. This module is heavy on Exploration and Combat, but the Social aspect of D&D also is necessary as the player characters meet new peoples, work to convince them that they can make a difference, motivate them to action, and create overall plans for the NPCs and factions to follow off-screen to support the players in their main assaults. The key set piece encounters, which are optional but highly probable, involve attacking well-defended temples in the centers of enemy cities. Planning for these attacks will require paying attention to reconnaissance, timing, the use of allies, how to enter, and how to exit and break contact succesfully when dealing with enemies that fly faster than most player characters can walk. The adventure does not include artwork, and the maps are basic.

The characters will investigate a grim mystery in the elven village of Alkai Tor, hunt for answers in a lethal swamp, and finally confront a desperate killer in the Temple of Shattered Minds itself.

Decades ago a group of adventurers saved the town of Logan’s Bluff from a humanoid incursion. While the battle ended in a victory, the cost was high when the party lost a valued member of their group. In his honor his comrades and grateful citizens built a tomb over his final resting spot. In the decades since the battle peace has reigned but has recently waned with the advent of more humanoid sightings. Some have wondered if Forstal’s tomb is drawing the humanoids back for revenge.
This adventure can be used as stand-alone or continuing the arc started by Death in Freeport. Terror in Freeport leads the PCs deeper into the intrigue they began to glimpse in Death in Freeport. The investigation takes them from the corridors of power to the bowels of the underworld, with terrifying insights into who really controls the city. They discover that the Brotherhood of the Yellow Sign has its claws in the town's power elite, but thanks to some clever camouflage by Sea Lord Drac. they may not find out just whom the serpents control until it's too late. As the adventure begins, the PCs are contacted once more by a very nervous Brother Egil. He tells them that while staying with Lucius one evening, he awoke to find a burglar in the roomstealing a scroll. Egil is certain that the Brotherhood have penetrated further into Freeport than anyone imagines. He wants the PCs to investigate Milos's other ties to the city and find out what's being done about the temple of the Unspeakable One. The PCs search the cultist's lodgings and discover it has been carefully gone over, and several possibly incriminating books are missing. But the burglars overlooked one thing: a Tome with a diagram of the Lighthouse of Drac sketched onto the back page, marked with the letter V. Upon leaving Milos's lodgings, the PCs come upon a gang of orcs beating up a hapless messenger. They lend a hand, only to discover they've been tricked - the messenger makes off with Milos's book! A chase through the back streets leads them to the boarded-up building the y discovered in Death What they find isn't encouraging. There is a guard posted out front, courtesy of "V"- -Verlaine. head of the Captains' Council. Meanwhile, down below, the cultists continue to have the run of the caverns-— in fact, they have been shipping their unholy relics to Verlaine's own home!

Adventure awaits both AD&D & 5E D&D players looking to take on the challenges of a Steampunk style setting! Using Gary Gygax's notes from the original AD&D DMG under 'Sixguns & Sorcery' and incorperating them into the setting, this introductory gazetteer and adventure will give players the opportunity to use the Nameless Realms (Roslof Keep & Taux) as the backdrop in a later age, The Gun Kingdoms. Secure a ship, find a crew, and take on the xenophobic and apocalypic setting as you try to deliver a spy back to the government she stole from. Will your players become part of the 'greater good' of the new world government, or will they become its opposition, striving to help the dying race of the Enlightened? Only time will tell. This adventure is formatted to both 1E & 5E gaming rules.

In the beginning, a pair of sphinxes — one male and one female — guarded a desert temple in relative peace. They watched over a vault that held a magical ring that could change the world. The androsphinx — Bazymoros — succumbed to corruption; he denounced the trickster god who created him. Bazymoros forged a pact with the demon god, Baphomet, becoming violent and sought to claim the item in the name of his patron. In an effort to save the world, the gynosphinx Asmuzi defeated him. She locked Bazymoros away, never again to see the light of day. The androsphinx remained as an example of what not to become. It has been so long since this battle that much of the knowledge of Bazymoros has disappeared from the collective memory of the races that inhabit the world. All that remains is the knowledge of the dangerous gynosphinx made from the flesh of human and creature. . . and the treasure she keeps.

A beloved priest has gone missing, and sinister trouble stirs beneath the Church of St. Terragnis. Can the heroes rescue the victims of an age-old evil before it claims more innocent lives?

A small valley in the Basalt Mountains is home to a small farming community and a priory for the deity Enyndeth. Here young acolytes study to be full-fledged clerics of their faith. The priory was built into the side of one of the mountains when the community specialized in mining. This town should be able to provide road weary adventurers a reprieve from problems….or will it?

For months, the dreams of the people of Emystrell have become dark and terrible. It seems their nightmares have come to life as in recent weeks, people have mysteriously gone missing, vanishing in the night without a trace! Everyone is too paralyzed by their own despair to do anything or venture far from the safety of their homes. Emystrell is on the brink of collapse. The baron is offering a handsome reward to anyone who can show proof of the end of whatever evil curse that has taken hold of their town. This adventure is designed for a party of 3-5 heroic characters from the 2nd to 3rd level. It has elements of mystery and investigation in the first section which can be detailed and highly involved for groups that enjoy the process of searching for clues and solving mysteries or just as easily glossed over for groups that are more tactics focused. The second section of the adventure features the dungeon: a labyrinthine complex of an ancient elven crypt which the thieves guild has used as a base of operations for a decade...until the serpent worshipping cult arrived. The third section of this book is the detailed map and notes on the town and surrounding area of Emystrell. Roleplaying notes are kept light to allow for room for your own interpretations and details to NPCs remain as free to do with as you choose unless I felt inspired and hoped to give you a cool idea. This adventure has hooks for Dungeon Masters interested in a larger campaign involving the sinister plots of the Yuan-Ti (snake people) as well as other interesting adventure hooks (such as the giants in the nearby mountains or the stolen gem: The Eye of the Dragon). These plot points are intentionally left vague for you to fill in the gaps based on what your players seem interested in. You are invited to use this as a launch point adventure to lead your heroes on a larger adventure that might someday set them against an Anathema Serpent demigod, or it may simply be the adventure that begins their journeys and the evil of Yargoth stops here at Emystrell. If your campaign is set in a pre-published setting, this town of Emystrell can be replaced or fit into any campaign with a few tweaks to local gods and names. If you are playing in Dragonlance, you could replace Yargoth the Dread Serpent with Tiamat, or Dendar in Fearun. The local goddess, Tyr, could be the Tyr from the Forgotten Realms or even Norse myth if that is your campaign setting.
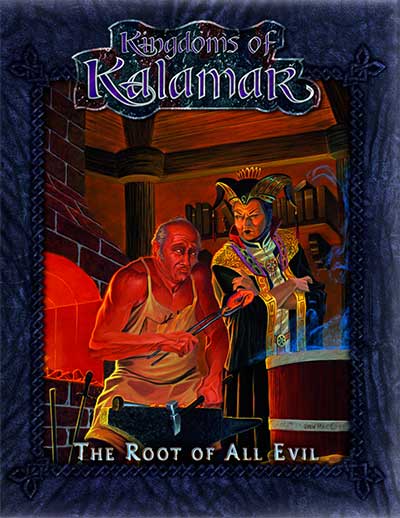
This was supposed to be a simple job! In the small town of Haanex on Reanaaria Bay, the wizard Veoden assembles the PCs to do a simple job: find the remnants of a meteor said to be made of the rare substance mithral. First they must find a map that local rumor tells is guarded by the spirits of the dead. Upon recovering the map and locating the crater, they uncover a plot to create a powerful magical item called the Coin of Power. This artifact is a tool for wickedness and the players soon find themselves on a quest to learn the means to destroy this evil item and its insidious master before she destroys them. Complicating matters is the fact that the one man who can help them was lost during an expedition to the Reelio Jungle months ago and is yet to return. Will the PCs be able to survive the rigors of the jungle and solve the riddle of the tribesmen who live there? The lives of innocents might depend on it! This accessory provides characters with an elaborate storyline and a chance for many varied types of adventure. You will take your PCs from the quiet village of Haanex in northern Reanaaria Bay to the Vry Naasu Headlands, the City-State of Zoa and finally the forlorn Reelio Jungle. The Root of All Evil fantasy game supplement is set in the popular Kingdoms of Kalamar Dungeons & Dragons campaign setting but can be adapated for use in any setting! This module can be used by itself, or as Part One of the Coin of Power trilogy (see also Forging Darkness and Coin’s End).

You have traveled to the westernmost point in the Duchy of Starryshade as you make your way to the borderlands. Your final stop in the duchy is a small roadside inn called the Shepherd’s Spear Inn. While stopping for a respite you hear a few tales including a mysterious abbey nearby. This structure is said to only appear for a short time every three years. Magic and wealth are said to be lost within the walls of this structure and with little else to do this might be a final hurrah for your stay in Starryshade!

Do you want your players to feel like they are in a zombie movie, struggling against a deadly horde that tries to surround them, overpower them, and bear them down to the ground to be devoured? This is an adventure that can threaten even the stoutest of characters, and is not recommended for parties of levels 12 or below unless they are larger than normal. This module is designed to take 4-8 hours of play and cover a single day, depending on the party’s speed of play and how thoroughly they decide to explore. It includes suggestions and some plot hooks that can be used to tie this easily into a variety of long-running campaigns, or it can be run as an indepdent adventure. The players will come upon a sacked town, figure out what happened, track an item whose theft has ominious implications for the region, and explore a partly-flooded old temple to end the threat. It's primarily combat-focused, but there are a few areas where exploration and route choice makes a difference, as well as traps if the party goes for the optional temple treasury. The antagonists in this module are mostly ghasts and ghouls, but the module title and cover page are deliberately selected to not spoil this. These are greater ghouls and ghasts that can challenge higher-level characters, backed up by mobs of lesser ghouls that can surround, paralyze, and devour the weak and unlucky, led by a Warlord whose aura can drive even the stout-hearted into forgetting their plans in a moment of madness.

A level 8 adventure for fifth-edition fantasy roleplaying games. An unnatural drought leads to an ancient desert palace claimed by the Cult of the Sun. Navigate shifting beams of concentrated sunlight, piece together the old king's celestial sequence, and reach the observatory before High Seer Vultus Verder completes his solar weapon. Includes three adventure hooks, an escape challenge through a burning oasis, and a seven-room desert temple. Navigate shifting sunbeams and breakable crystal walls, solve a celestial-sequence puzzle, and uncover evidence that can change the final battle. Vultus Verder has villain actions, and his unfinished solar weapon can be sabotaged during combat. Includes a 13-page PDF, a dungeon map, and the Mirror Shield magic item. Run it as a standalone temple assault or a continuation of The Ashen Phoenix. Part of Thirsty Tiger Tales by Infinite Initiative.

The end of the road. A lonely fort stands on the banks of a mighty river. It is here the hardy bands of adventurers gather to plan their conquests of The Hill, the hulking mass that looms over this tiny settlement. The Hill is filled with monsters, they say, and an evil witch makes her home there. Still, no visitor to The Hill has ever returned to prove the rumors are true or false. The thrill of discovery is too great to pass up, and only the river stands in the way. The adventurer's boat is waiting! This module is designed for use with the D&D Basic Rules. A trip through the wilderness begins a unique challenge for the novice player and Dungeon Master. TSR 9078

Encounters in the Savage Underdark is a 150-page supplement containing mini-adventures, NPCs, locations, and magic items,from eighteen of the DMsGuild's best authors.This incredible 150 page supplement features 24 amazing new Underdark adventures. Visit Annarei's Garden Encounter an insane aboleth Interact with traveling merchants Attend the Fire Fest Perform an Underdark heist and so much more....
For centuries, Ma’at’s temple sat peacefully in silent beauty; a great symbol of justice and harmony. The gems of its glistening ceiling glitter and fade with each rising sun as Ra lights the daytime sky. Isfet, the god of chaos, Ma’at’s greatest enemy, has grown restless. Some have rumored that he tore out Ma’at’s heart out of jealousy of her power. The bravest of adventurers must face the challenges of Duat and keep up with the determined Ma’at.
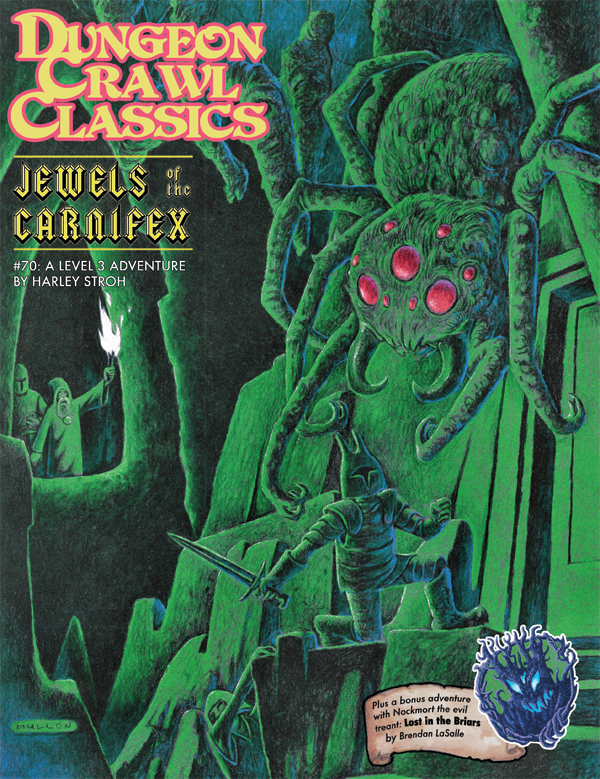
At the end of a forgotten back alley, in the weird and otherworldly marketplace of faiths known as the Bazaar of the Gods, stands the ruins of a forgotten chapel. Once the cult of the Carnifex was celebrated throughout the City of a Thousand Gates. But a band of holy warriors rose against the cult of executioners and torturers, casting down her signs and scattering her devotees to the winds. The fate of the cthonic goddess, and – more importantly – her fabled jewels remains a mystery…until this night. Set amid the sprawling decadence of Punjar, Jewels of the Carnifex offers low-level adventurers a chance to plumb the mysteries beneath the city’s soiled streets, explore forgotten crypts lavished with weird artifacts, and – for the quick and daring – claim the lost Jewels of the Carnifex!
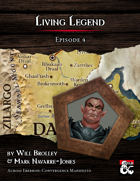
The characters, members of the Clifftop Adventurers’ Guild, have been tasked with acquiring the Chains of Mur’taal, an artifact tied to Thelanis, by their guild handler, Lhara. This artifact is the latest in a series that Provost Nigel Faurious has commissioned the Clifftop guild to retrieve for him. The adventure starts when the characters arrive in Rhukaan Draal via Orien caravan. They’re given a chance to explore a small portion of the city before they head to a local bar to meet their contact provided by Lhara. Accompanied by a local guide, they make their way to the Seawall Mountains, where they’ll have to follow clues and their intuition to find the Valley of the Hero, which conceals the artifact that they’ve been hired to obtain. In order to earn the artifact, characters must first pass three tests laid before them by the Story: The Test of Courage, the Challenge of Wisdom, and the Trial of Honor. Once they finish the tests and collect the artifact, the party heads back toward Rhukaan Draal. But there are Marguul forces in the area, and they don’t intend to let the heroes escape with a priceless piece of their folklore…

Kravenghast Necropolis is hidden in a valley that was formerly part of a now dead city. It consists of a small cemetery that sits atop an abandoned necromancer's laboratory. The necropolis has been refitted as a temple to Vecna, the undead God of secrets. The mausoleum in the cemetery contains a secret spiral staircase that leads to the underground laboratory. The temple is populated by a twisted cult of Vecna, led by the lich-priest Mauthereign. Pgs. 96-103