
The Wizard’s Amulet is a short, introductory adventure for six newly created good-aligned 1st-level characters. The adventure revolves around Corian, a fledgling Sorcerer. While an apprentice, Corian discovered a letter written by a wizard named Eralion, who it is said some years ago attempted to become a lich—and failed. Accompanying the letter was a mysterious amulet with strange markings. Joined by newfound companions, Corian set off in search of Eralion’s keep and his supposedly unguarded treasure. But Corian is not alone in desiring to unlock the mystery of Eralion’s fate. Darker, more evil forces have designs on the secrets reputedly hidden with Eralion—forces willing to stop at nothing to obtain… The Wizard’s Amulet.
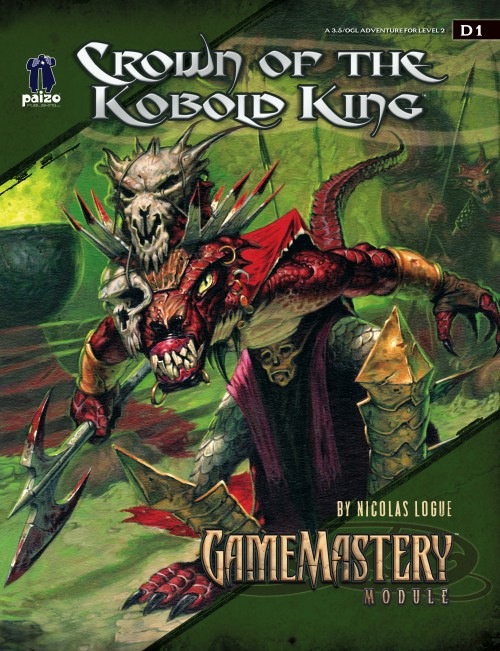
The crown of the kobold king will be anointed in blood. Five children from the town of Falcon’s Hollow have gone missing, dragged off into ruins underneath a cursed dwarven monastery. Soon they will be sacrificed to the crown, all to the glory of the twisted King of the Kobolds. If they are to be saved from this gruesome fate, brave heroes must follow their trail to the monastery and plumb the depths of its trap-laden and monster-infested halls.

𝐓𝐡𝐞 𝐟𝐢𝐫𝐬𝐭 𝐚𝐝𝐯𝐞𝐧𝐭𝐮𝐫𝐞 𝐢𝐧 𝐭𝐡𝐞 𝐔𝐩𝐫𝐢𝐬𝐢𝐧𝐠 𝐒𝐚𝐠𝐚. The PCs have escorted a trade caravan to the dwarven stronghold of Nirzumbil and are preparing for a boring trip home. But what is that sound of horns in the distance? And why are the dwarves closing the front gates to the mines? This is an adventure for 2nd level PCs. It is the first in a series of adventures detailing on orc uprising against the dwarves with sinister implications. Includes a 5th edition write up of the Dread Warrior, an undead that previously appeared in Monsters of Faerun.

5e Solo Gamebooks presents Citadel of the Raven, the third in our series of solo adventures. Citadel of the Raven is the sequel to Tyrant of Zhentil Keep, but is also playable as a standalone solo adventure. The first solo adventure in this series is titled The Death Knight’s Squire. At 589 entries, you can expect a lot of variety from this solo quest. There are several main paths your character could take, and numerous encounters and options on those paths (including short sub-threads designed for specific classes), making the number of possible adventures practically endless. Add to that the characteristics of your class, and the numerous variegated combat encounters, and it’s safe to say that no two run-throughs of Citadel of the Raven will be the same.

As you begin your travels to fame and glory you have discovered the road is actually paved mostly with dirt and boredom. You have heard of the caravan attacks at Feastelburg and have begun to make your way to fame and fortune. As light begins to fade from the sky you have come upon a sign welcoming you to the small lake community of Crystal Shores. What appears to be a smoldering funeral pyre is near the lake’s edge and a small group of children play near the road. Your journey to the caravan raiders is halfway there. A few more days and you will begin your life as adventurers!

The end of the road. A lonely fort stands on the banks of a mighty river. It is here the hardy bands of adventurers gather to plan their conquests of The Hill, the hulking mass that looms over this tiny settlement. The Hill is filled with monsters, they say, and an evil witch makes her home there. Still, no visitor to The Hill has ever returned to prove the rumors are true or false. The thrill of discovery is too great to pass up, and only the river stands in the way. The adventurer's boat is waiting! This module is designed for use with the D&D Basic Rules. A trip through the wilderness begins a unique challenge for the novice player and Dungeon Master. TSR 9078
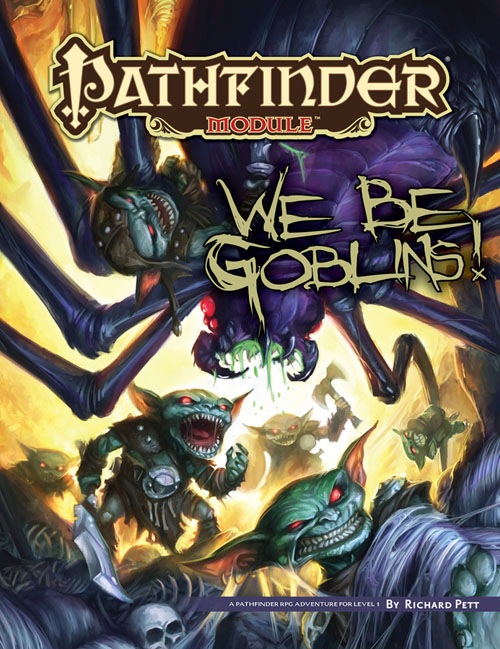
The Licktoad goblins of Brinestump Marsh have stumbled upon a great treasure—fireworks! Yet unfortunately for them, the tribe member responsible for the discovery has already been exiled for the abhorrent crime of writing (which every goblin knows steals words from your head). To remedy this situation, the Licktoads’ leader, His Mighty Girthness Chief Rendwattle Gutwad, has declared that the greatest heroes of the tribe must venture forth to retrieve the rest of the fireworks from a derelict ship stranded in the marsh. The PCs play as a group of freaking goblins! What more do you need to know? Part 1 of the We Be Goblins series.

In The Standing Stone, a tiefling sorcerer named Dyson discovers a circle of standing stones constructed centuries ago by druids to hold their annual rituals; the druid community was later destroyed by the great dragon Ashardalon. Dyson uses the magic of the stones to replace people with animals transformed into humanoid form, loyal to him. Dyson encounters the player characters in the village of Ossington and tries to manipulate them into eliminating the remaining enemies standing in his way.

Chasing pirates can be a dicey business especially with an ocean storm bearing down upon you. As you give chase to Captain Longstockings and her crippled ship, she wanders into a cove...TRAPPED! This criminal cleanup is almost complete...
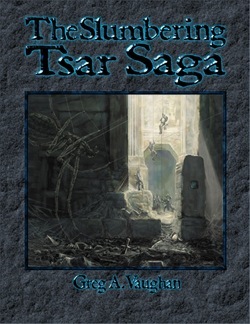
The Sleeper Awakes! At last, after languishing in its crypt for an age, the secrets of the slumbering city of Tsar burst forth in all their macabre glory. Poured forth from the eldritch furnaces and crucibles of the Necromancer and Orcus himself comes Frog God Games bringing you at long last The Slumbering Tsar Saga™. Something Stirs in the City of Evil Over the distant northern hills, beyond The Camp, and past the Desolation stand the pitted walls of Tsar. A hundred armies have crushed themselves against this bulwark in futile attempts to breach the city. Even the combined might of the Heavens and Earth were unable to break through in the final battle of Tsar. So why was the city suddenly abandoned on the verge of victory, and what waits for those foolish enough to enter the Temple-City of Orcus? The Black Gates Await Only the bravest and most powerful of heroes dare the depths of the Desolation and live to tell of it. But what happens when they penetrate that blasted landscape and look upon the gates of the very center of evil on the earth. Can even heroes of such renown breach the Walls of Death and live?

The wizard Kavorquian is dead. But certain items belonging to his adopted son were in the wizard's keeping at the time of his demise. Now someone must venture into the silent vaults of Kavorquian's stronghold and recover the missing property. Queen's Harvest picks up its story where B11, King's Festival, left off. It can be played as a sequel to that adventure or as a complete adventure in itself. It is tailored for beginning Dungeon Masters and players and contains helpful hints on adventuring and the land of Karameikos. The story develops simply, but ultimately leads the player characters into the nether reaches of Penhaligon's politics to confront Ilyana Penhaligon, mad pretender to the throne! TSR 9261

For years the Count of Durwall Keep ruled over the land fairly and with justice. That ended during the Bloodrayne Conflict when the castle was felled by troops loyal to General Bloodrayne. In the many years that followed the triangular keep has fallen into a sordid state of disrepair. The keep used to hold mighty coffers of treasure for the Count and for the Emperor as well. A stronghold was built under the keep to secure said treasure and perhaps some treasure may still remain in the depths of its dungeons. Recently it’s been said that the Snaggletooth tribe of kobolds has seized the fortress and is using it as their home. It is also rumored that there may still be undiscovered treasure located in the dungeon of the keep. Faint echoes of the missing Orb of Ruler ship are still heard.

You and your associates have been contacted by Janko Milosh, fourth Earl of Tambish. Apparently, he has come into possession of a cursed item and he requires it be delivered to someone he trusts to examine it. With no mounts and none for sale, you better hope your boots are in good shape!

HUNTING DEMONS RIDDING IMPILTUR OF FIENDS, ONE FIEND AT A TIME Demons and cultists rampage through the countryside of Impiltur, causing much sorrow and loss to the common folk. Hardy adventurers collect bounties from what government remains in the Kingdom. Can the heroes track down and destroy the demon that is plaguing local farmers? Do they have what it takes to join the Kingdom-wide Society which governs and regulates who can collect bounties on demon heads? Do the common folk want their help? An 4-6 hour adventure for 4-6 characters of level 5-7 Includes maps, handouts, stat blocks, and a new magic item!
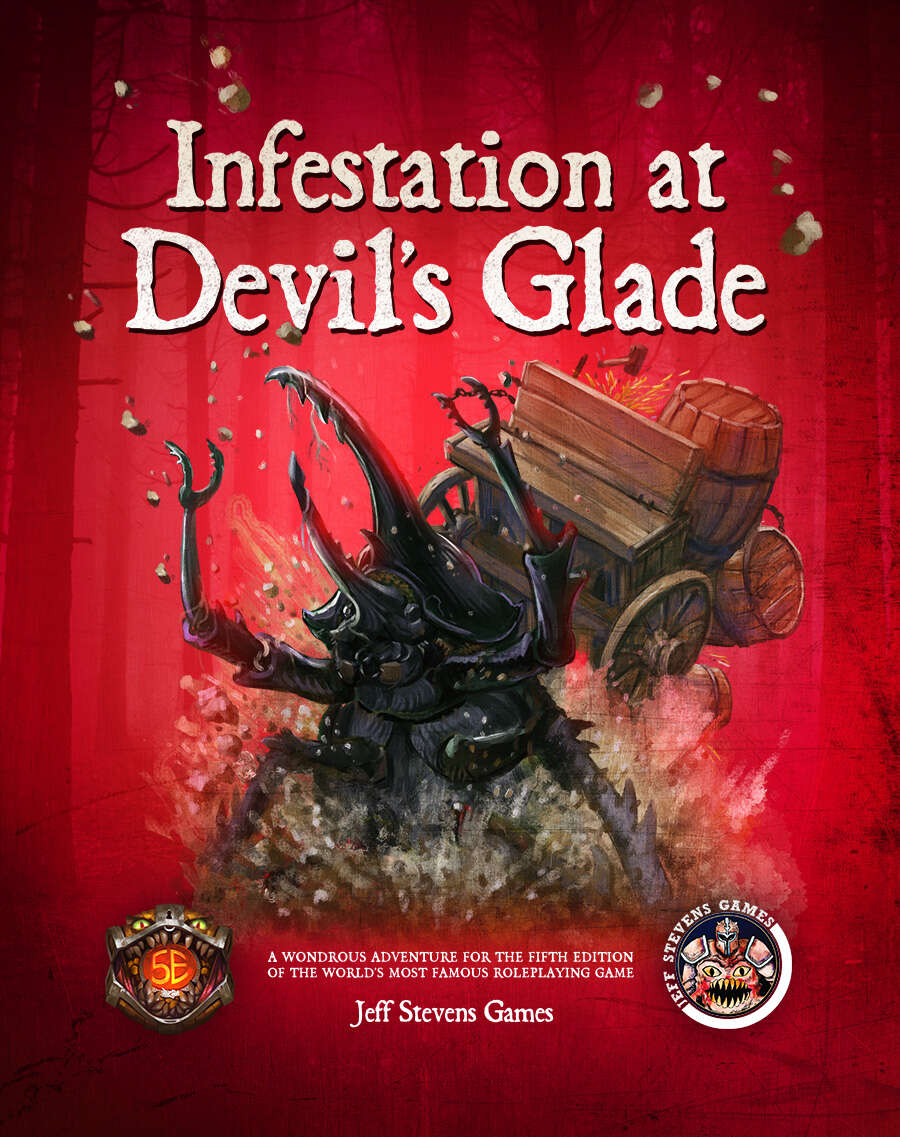
The town of Devil's Glade is under attack! Swarming insects have driven the residents out of their homes and businesses, and giant insects patrol the town square. Who or what has brought these creepy-crawlies to Devil's Glade? What's their motive? Are your heroes brave enough to put an end to the infestation? Infestation at Devil's Glade is a 2- to 4-hour adventure designed for four to five characters of 1st to 4th level, and is optimized for 2nd level characters. Scaling Suggestions are included, allowing you to play this adventure with characters of 5th to 6th level. Infestation at Devil's Glade isn't just a short adventure. We provide you with a location to which your heroes can return, or even use as a home base. The Supplement Includes: Adventure. The main adventure focuses on the heroes cleaning the town of the infesting insects and the villains who brought them. Beginning at The Fork (a tavern where many of the residents have made camp), the characters learn about the infestation of Devil's Glade, and are hired to look into the matter. NPCs. The adventure is filled with fun and engaging NPCs. During the characters' time at The Fork, they have the opportunity to talk with NPCs, help them, and learn more about the infestation. After the heroes return Devil's Glade to normal, the merchants and residents return, giving your characters unique shops to explore and quests to complete. Cursed Mask. The crux of the problem - a cursed mask that slowly transforms the attuned creature into a giant, insect monstrosity, and gives them power over insects. To end the infestation, the adventurers must confront the partially transformed person wearing the mask. Shops & Services. Devil's Glade contains shops and services the characters can explore, including therapeutic mud baths, a diner specializing in eggs, a trinket shop, a candle maker, and a dentist. Side Quests. We provide several side quests for before and after the main adventure, allowing you to increase the main adventure's run-time, and provide you with material for after the main adventure. Maps. The adventure contains maps for the main locations and major side quests. Each map is hand-drawn by Jean Lorber. Art. NO AI! The book is filled with fantastic, original artwork by Matt Morrow Art. Also Included: Map Files. Both grid and non-grid maps are included and available to download. Special VTT Tokens and Assets. Several custom tokens and art assets are included for VTT play.

A pair of leprous mountain dwarves plead for the rescue of their compatriots from a deadly ettin-wight

Times are hard in the Hillsfar countryside, especially for those of non-human ancestry. Unscrupulous merchants in league with the hated Red Plumes bleed local farmers and artisans dry. Perhaps some of those loot-laden caravans coming and going from Hillsfar could use a bit of liberation? A four-hour adventure for 1st-4th level characters.

Bracing for a terrible winter, the adventurers find themselves snow-locked in the desolate Archbarony of Blackmoor. Will they venture into the treacherous Land of Black Ice to rescue an enslaved people? Be sure to check out the sequel "The Clockwork Fortress" in Dungeon magazine #126. Pgs. 16-35
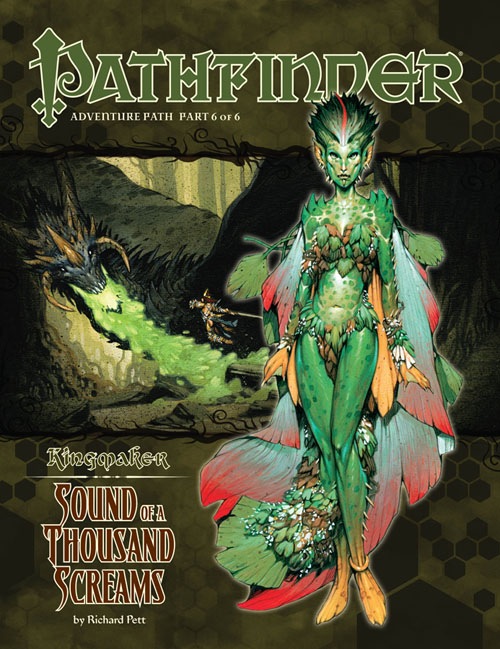
A Pathfinder Roleplaying Game adventure for 15th-level characters, this volume of Pathfinder Adventure Path is part 6 of 6 of the Kingmaker Adventure Path, in which the heroes win and defend a small kingdom from threats foreign and domestic. PCs should advance to 17th level by the end of this adventure. This adventure begins after the War of the River Kings has ended—the PCs, be they the war’s victors or losers, are faced with the task of rebuilding their kingdom or perhaps helping to rebuild Pitax. Yet soon after the war is over, a new peril strikes the region as strange monsters and violent bursts of rapid vegetation growth and bizarre weather plagues the Stolen Lands. At the same time, the PCs learn that one of the treasures discovered in Pitax’s House is a nascent vorpal sword, a weapon of immense power, and as the strange weather and blooms of life and monstrous incursions increase, so does this sword’s intelligence and power. The PCs soon learn that their kingdom faces an invasion, but this time not from the physical world. Some fell force from the legendary First World is attempting to expand into this world, and when the PCs begin to fight back against these verdant blooms, they discover that it’s possible to step from this world into the First World realm of Thousandbreaths. There, the PCs face powerful new threats unlike anything they’ve seen before, and learn that the dangers facing their kingdom are even greater than they feared, for the fey ruler of Thousandbreaths is about to absorb the Stolen Lands into a bauble for her own purposes, an act that would scour clean the region and leave behind nothing but a wasteland.If the PCs hope to save their new kingdom from this threat, they must combat the nymph queen Nyrissa both by stopping the various blooms in their kingdom and by traveling into Thousandbreaths itself to confront the dangerously insane nymph.

Frequent visitors know that the Adurite culture once ruled a large portion of the known world but has now all but disappeared. In this adventure a relic Golem that guards a shrine has been duped and gone on a rampage. This adventure was originally created for a “filler” adventure on a day when the entire party could not adventure. Spoiler alert the Golem is not the worst thing the party will face! At 29 pages this adventure has a little bit of everything.