
After spending a little time going through dusty old tomes and documents your group has discovered a tapestry offering you clues to a long dead and buried king. Since kings are usually buried with their riches and no information shows that his tomb has been located perhaps a little grave robbing may be in order! This adventure has several wilderness spots for exploration as well as an old burial cairn with several levels. The only problem is that the king isn’t really “dead” in the normal sense.

Word has reached your ears that a relic weapon is nearby and at the ruins of Linthar Keep. Once a bastion of humanity the remains of this fortress is now home to roving bands humanoids that have been attacking nearby communities. Can your young adventurer brave the dungeon of the old keep and find the riches others have been unable to…..the famed SKULLCLEAVER blade!

The Well of Souls. . . That's what Zugzul babe the Afridhi call the evil artifact that he had taught them to make. They must call it the Well of Souls, and they must carry it before them into every battle? and they would be mighty. Thus said the god of the Afridhi, Zugzul the One. So the Afridhi did as they were bade. Seeking the volcano called the Hill of the Hammer in the far Barrens of Karsh, they built in its heart a great forge. There, as Zugzul had promised, efreet came to help them make the mighty artifact. There, amid vile, unholy rites, they bound the souls of men into its very substance, and, for the red-handed work that must surely follow hard upon its completion. Many were the men who guarded the Hill of the Hammer during the days of making? for their foes in hated Blackmoor would try to unmake that which they had wrought. Yet, it was not men that would keep the Well of Souls from destruction, but a prophecy? that the artifact would be unmade only by the hand of one as yet unborn! TSR 9205

Mother Haggle is an elderly crone who runs a Lost & Found Emporium on the edge of the Misty Forest. The old lady pays her mercenaries well, and attracts all kinds of talent to send on her various errands. Mother Haggle doesn't deal in world shaking problems, but it's uncanny how often simple tasks like "fetch that cow" or "bring me a boggle" end in embarrassment, grievous injury or death. As she always says, it really can't be helped. Using the streamlined Plausible Complications and Unlikely Disasters layout, Mother Haggle's adventures are one-sheet wonders ready to pick up and play with groups of the specified level. Mother Haggle wants her cow back. It seems to get lost a lot, but she doesn't care how much she has to spend as long as her darling gets home safe. Included in Mother Haggles's Notice Board - The Missing Cow are six standalone bovine adventure seeds in which Mother Haggle's cow needs rescuing. She should really keep that cow in a better pen, or lock the gate or something, but who needs common sense when you have money and mercenaries?
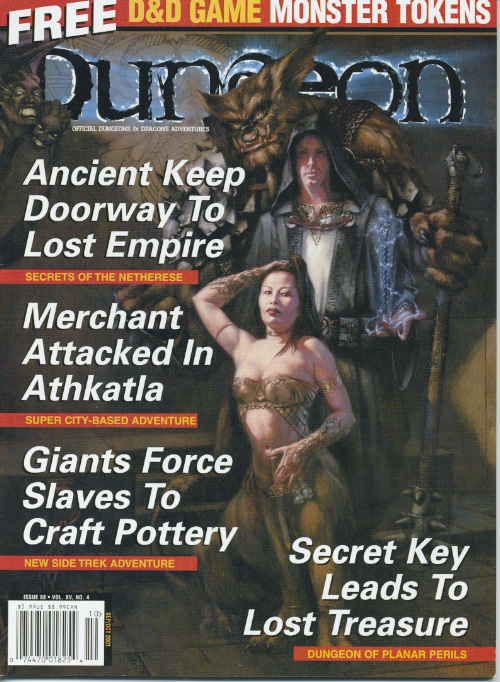
The PCs intervene in an attempted murder and are hired to find out what made a guy go mad. This leads them to search for Yenejg Togan's tower/a strange merchant in the nearby forest, where they discover that bugbears have moved in. After exploring the tower, finding the "merchant", and dealing with the bugbears and the lamia that caused the incident in the first place, they were still unable to get into Yenejg's inner sanctum without a key. The PCs return with the key and figure out how to use it to enter Yenejg's sanctum. They then explore it, dealing mostly with traps, and finally discover the resting place of the treasure Yenejg stole from the town. This adventure begins with a skill-based roof-top chase and can include some complex non-combat interactions with potentially hostile NPCs. It includes some semi-interesting traps as well as some nifty puzzles. No villain to speak of. Fool-hardy adventurers can get themselves killed, but some caution will result in only one extremely hard fight, and even that can be avoided if action is taken quickly. Pgs. 74-107

"The creatures are just too intelligent, too crafty, and too strategy-minded to "rampage." Rampaging brings the wrath of oath-bound knights, powerful mages, and divinely-protected priests. Why would a dragon want such attention, unless it had some special secret, or unless it was insane? Or both. The northern reaches of the Derideth Swamp were once plagued by a rampaging dragon. This black dragon, named Storamere, took a mad glee in attacking human villages, wiping out orc camps, driving off the lizardfolk, and decimating farmland. He met his untimely end, though, in an ambush devised by the monks of the Order of St. Chausle. Storamere died with a curse upon his draconic tongue: "you could not have defeated me in my lair," he told his slayers. "I am forever invincible in my lair." Now Storamere is back, with a horde of his misshapen half-dragon offspring, to have his vengeance. All that remains of the once-heroic monks are two old men driven mad by their last encounter with the black dragon, so it falls to a band of adventurers to again defeat the mighty dragon -- this time in his palace, where the boastful Storamere claims he is at his strongest." Includes maps and damage rules for navigating Storamere's lair, a semi-solid palace made of a dangerous, corrosive liquid five feet thick and located on the ethereal plane. Most of the monsters in the lair have the Half-Dragon template applied. Published by Atlas Games

"The Hive" is a spawn of Arbeyach lair, also featuring giant termites and termite swarms, for five 6th-level characters. This adventure can be finished in one session. Several mounds in the Forsaken Hills are the dens of voracious termites that have added flesh to their diet to supplement dwindling wood supplies. At night, swarms of termites hunt and devour prey. They swarm over victims in wooden carts and wagons, and bring the dismantled wood back to their mounds. Three spawn of Arbeyach, searching for a location to summon Ia'Affrat, Arbeyach's herald, discovered a mound filled with particularity nasty termites and used their vermin empathy to gain acceptance. They dug out a cavern beneath the mound, and now use the termites to protect themselves and gather food while they complete a difficult ritual involving dozens of sacrifices. The final sacrifice is prepared and the spawn are finishing their ritual when the party arrives.

At one time the City of Tygos was a bustling metropolis located in the southeastern portion of the Plains of Dorack. Sitting in the shadow of the Dorack Mountains this city flourished as a trading metropolis. Decades ago the leaders of the city, the Serpentine Cultists, began a racially charged campaign against certain factions of the Plainsmen tribes. The resulting response of the Plainsmen was devastating to Tygos and the city was levelled for the most part and the water supply was poisoned. The city was also home to a group of adventurers called JOHAN and their fortress was said to contain powerful ancient magic that was never recovered. If these items can be located the resulting power can bring continued success to your party’s wealth and fame.
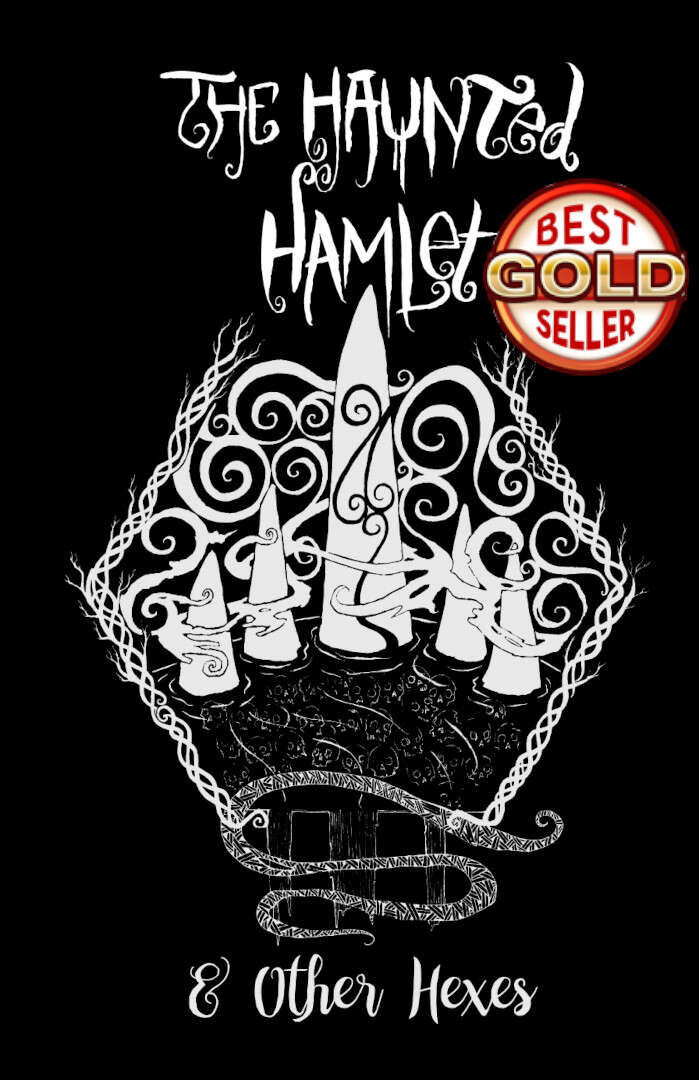
The Haunted Hamlet and other hexes details four unique modular locations for your game. Made for old school essentials, but can easily be used with other old-school systems or even 5E. The four locations detailed in the zine focus on gameable content and being easy to use at the table. The locations are not connected to one another and can be sprinkled onto your campaign map however you like, or run as one shots. The PDF is graphic and art heavy and utilizes random tables and other tools to make it easier for GMs to run in a pinch. Details: 40 pages Single column text 8.5 x 5.5 aspect Black & White Bookmarks Four hex locations Random tables A rival NPC party A sky merchant A one page town Two hirelings
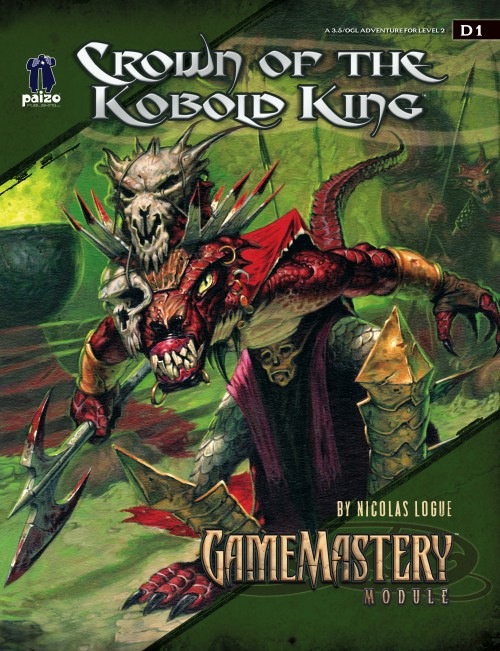
The crown of the kobold king will be anointed in blood. Five children from the town of Falcon’s Hollow have gone missing, dragged off into ruins underneath a cursed dwarven monastery. Soon they will be sacrificed to the crown, all to the glory of the twisted King of the Kobolds. If they are to be saved from this gruesome fate, brave heroes must follow their trail to the monastery and plumb the depths of its trap-laden and monster-infested halls.

A short adventuring interlude focusing more on encountering something unusual, rather than fighting anything. The PCs come across a tree and a pool inhabited by elves. The nearby brook fizzes with "energy gas" that grants a temporary HP boost. The players can explore, but there are no real "answers" just a weird thing they found on the way from somewhere to somewhere else. Rated for between 1 and 4 characters, this could easily be run for solo play, but it is short and a little weird. There are roleplaying opportunities with the elves, but there's scant data here, the elves are flighty and capricious. Pgs. 38-41
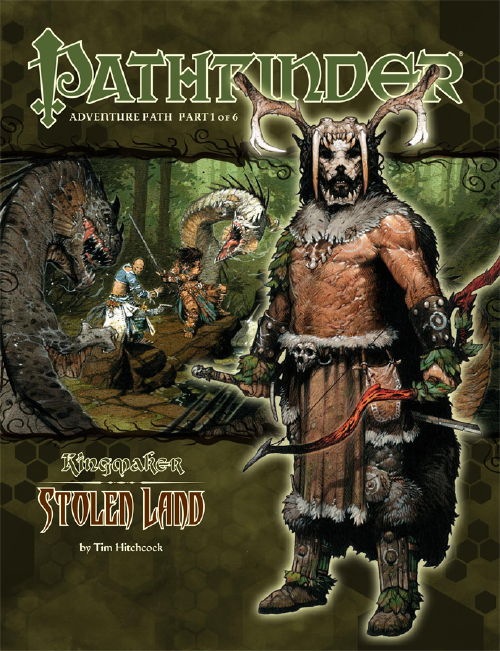
A Pathfinder Roleplaying Game adventure for 1st-level characters, this volume of Pathfinder Adventure Path kicks off the highly anticipated Kingmaker Adventure Path, in which the heroes win and defend a small kingdom from threats foreign and domestic. PCs should advance to 4th level by the end of this adventure. This volume also includes a gazetteer of Brevoy and extensive rules for exploring, taming, and holding wildlands in preparation for founding a new nation. The Pathfinder Bestiary section introduces five all-new monsters perfect for Kingmaker adventuring. James L. Sutter brings a lighter side to the Pathfinder Adventure Path with the first installment of a new fiction arc for the Pathfinder's Journal. The adventure begins with the PCs, each bearing a charter from the Lord Mayor of Restov granting license to explore and map the section of the Stolen Lands known as the Greenbelt, arriving at a small, remote trading post at the southern edge of rural Rostland. There, the PCs help defend the post from bandits before setting out to survey the wilderness.The rate at which the PCs explore the Greenbelt, and the paths they take, are up to them—many wonders and dangers await discovery, and as their explorations take them deeper into the Narlmarches and the Kamelands, the PCs begin to learn that the bandits in the region are far more organized than anyone thought—and find that they even have a leader, a mysterious figure called the “Stag Lord.” If allowed to continue building his army of bandits, the Stag Lord could well become a great danger to Rostland—that, and the reward on his head for his capture or death, should be all the new adventurers need to spur them onward.

The local nobles of the region have sent word to your group requesting a meeting. Later that day you find the Black Raven roadside tavern and are met at the door. After being escorted to a back room which has seen its share of shady dealings you are propositioned with an offer to investigate and depose a set of local nobles who are brothers. Rumor has it that the Ironrod brothers, who have been overtaxing the citizens, have now employed humanoids as guards. This is forbidden and if true, the brothers need to be brought to justice immediately!

What is the Lost Lands? The Lost Lands is the home campaign world of Necromancer Game's and Frog God Game's own Bill Webb. This campaign has been continuously running since 1977. Many of the adventures published by Necromancer Games and Frog God Games are directly inspired by this campaign. They have evolved over the decades, and more material continues to flow from it as the dice keep rolling. Sages and wizards of legend speak of the Lost Lands—many of the players who have lived and died in Bill's campaign over the years now have a place in history (in the books). Frac Cher the dwarf, Flail the Great, Bannor the Paladin, Speigle the Mage, and Helman the Halfling are well known to the fans of Bill's work. This is the game world, and these are the adventures in which the players of these famous characters lived and died. Hundreds of players over the past 35 years have experienced the thrills and terrors of this world. The Sword of Air is the centerpiece of the Lost Lands. Currently, this epic tome consists of several parts: 1. The Hel’s Temple Dungeon—kind of like Tomb of Horrors on crack. This six-level, trap-and-puzzle infested dungeon formed the basis of Bill's game through his high school and college years. Clark Peterson’s very own Bannor the Paladin spent several real life months in the place, and, sadly, finished the objective. This is where the fragments of the fabled Sword of Air can be found…perhaps. 2. The Wilderness of the Lost Lands extending to the humanoid-infested Deepfells Mountains and providing detail about the nearby Wizard’s Wall. This so-called “wall” was raised by the archmages Margon and Alycthron harnessing the Spirit of the Stoneheart Mountains to raise the land itself, creating a massive escarpment to block invaders from the Haunted Steppes. These archmages are actual player characters from the early 1980s who live on in the legends of the Lost Lands. Over 70 unique encounter areas are detailed, and each one is a mini-adventure in itself. New wilderness areas may be added based on bonus goals described below! 3. The Ruined City of Tsen. Legend has it the city was destroyed by a falling meteor. This place forms an aboveground dungeon area the size of a city, with over 100 detailed encounter areas. It’s a very dark place…even at noon. 4. The Wizard’s Feud—This campaign-style adventure pits the players in a long-running series of intrigues and battles between two archmages. Which side will they take? Their actions all play into the overall quest, and could well determine which side wins. Law and Chaos are not always what they seem, and if the wrong decisions are made, the entire ordeal could fail. Remember, one of the wizards WANTS Tsathogga to win. 5. New monsters, new demons, new spells, and new rules for various aspects of play. 6. The Tower of Bells. This dungeon is the result of the workshop Bill ran at PaizoCon 2013, where the participants assisted him in building an old-school dungeon. Visit the tower and discover the secrets of the “artist” within. Beware: those entering may never come out!

The PCs answer a call for heroes by the Church of Traladara, asking for help in finding an ancient relic- the Shield of Halav. This is located in a lost temple, and the PCs must locate this temple, and brave its dangers to recover the shield before two competing teams from other churches find it first. Part one involves setting up the adventure, doing research, following clues, and discovering the site of the lost temple. Part two; once the site is known (ruins under a modern town) the heroes must travel there and find the entrance. Part three is braving the lost temple, filled with traps, puzzles, and other dangers, to find the missing shield, and then culminating in a climatic showdown with the completing teams.

In their previous adventure they discovered a strange magic item that no one in Fort Myers can identify. After receiving the suggestion that a trip to the capital may be in order, a different tip points out that there is Steinhäuser. This location is known as a vast repository of knowledge. You set out and quickly realize that the Grey Cloaks, a group of evil knights, is ahead of you yet again…

Barbarian forces are handing out trouble to the combined forces of the Inydo Federation and your assistance has been requested! You have been told that the aggressive forces are being bolstered by a rumored, powerful wizard. The general of the military has asked you to skirt around the major engagement areas and attempt to locate and capture/kill the troublesome wizard. A major windfall will be given to the PCs as Xalo Mendas, leader of Helvana is known to add treasure to agreements if handled “effectively”.

A top the crown of the Isle of Dread, a hateful monster broods. Spawned by the Price of Demons, the architect of the shadow pearls dwells deep under the ruins of ancient Thanaclan. As long as this vile monster lives, the threat of the savage tide remains, looming dark on the horizon. "City of Broken Idols" is the seventh chapter of the Savage Tides Adventure Path, a complete campaign consisting of 12 adventures appearing in Dungeon magazine. For additional aid in running this campaign, check out Dragon magazine's monthly "Savage Tidings" articles, a series that helps players and DMs prepare for and expand upon the campaign. Issue #354 of Dragon magazine features the totemic demonslayer, a new prestige class that focuses on fighting and defeating demons, be they at the heart of the Isle of Dread or encountered in the depths of the Abyss itself. The central mesa of the Isle of Dread is taboo to the locals, a place shrouded in mystery and cloaked in rumor. The time has come to confront the evil that dwells atop the island’s savage crown. Pgs. 54-84

"Deeptown lies in the shadow of mountains, a town where anything is for sale if you can only meet the price. But in the wild surrounding valleys of the Deeps, it's the bandits who make the darkest deals - and their ambition comes at a cost far greater than the contents of any wayward caravan. You and your team have just been handed a new job: disrupt a meeting between a bandit lord and his mysterious new allies. At a remote mountain villa, you will strike hard and fast and leave terror in your wake. They give you the tools. You provide the talent. Survive, and you'll be well rewarded. Fail, and you'll pay the price. You've got three days to raise some hell." This was one of the first third party adventures under the OGL for 3rd edition published by Atlas Games under the Penumbra line. The attack on the mansion is not a dungeon crawl, but feels like a commando raid aided by some unique magic items.

So you want to be a Mage of High Sorcery? To join the esteemed organization, you must travel to the Tower of Wayreth and undertake the most important event in your life—the harrowing Test of High Sorcery! If you can survive where so many aspiring mages have failed, you will forever bind your soul to the Gods of Magic and gain access to untold arcane secrets. The Test of High Sorcery is the perfect adventure for new and veteran players looking to experience Dungeons & Dragons in a new way! It is a solo adventure, where your choices have meaningful consequences, but it also provides balanced rules to play with a group or a Dungeon Master. This 154-page tome features: - A sprawling adventure that fits perfectly as an expansion to any Dragonlance campaign, Dragonlance: Shadow of the Dragon Queen, or as a stand-alone replayable experience - A tale full of sorcerous intrigue, featuring many new characters alongside iconic favorites like Fistandantilus, Takhisis, Fizban the Fabulous, and the Gods of Magic - Innovative Destiny and Trait mechanics make your choices really matter—and ensure every mage’s Test of High Sorcery is a unique experience - Over 60 possible outcomes to determine which Order of High Sorcery you join and provide compelling new plot hooks for your character during future adventures - Dozens of unique locations with rich stories and sorcerous challenges that Dungeon Masters can use to create their own version of the Test of High Sorcery - New magic items and stat blocks, with mechanics that support clever use of enemies’ weaknesses and the environment against them - Four gorgeous sample characters, with interactive character sheets designed to be new-player friendly so that you can jump right into the story - A detailed primer on the history of Krynn and how it relates to the Mages of High Sorcery - A community survey when you finish to let you see how you compare to other mages taking their Tests of High Sorcery