
This adventure picks up where AS1 – Artifact of Gegios left off. You return to the city of Gegios to divide treasure and determine what the strange wand is. Your return trip may have given you a clue in that travel to the east causes it to vibrate less while moving in a western direction causes it to shake more. What is the significance of this anomaly? Is your party ready to find out? Bring your water wings folks you’re probably going for a swim!
The road to the remote village of Swordfall is a long and winding one. It takes pilgrims who wish to visit the holy site from the main trade road, through the hills, and into the mountains where once, thousands of years ago, two gods engaged in an epic battle. Now, all that remains of the battlefield is a lone sword, several hundred feet tall, embedded in the ground at the center of a massive crater. Over the years, a large temple to Thuul, god of battle, sprung up around the site. Now, warriors and fighters from across the land travel to Swordfall to pay their respects once in their lifetime. Recently, however, pilgrims have begun going missing. Somewhere between the main road and Swordfall itself, something, or someone, has been waylaying travelers. Unbeknownst to most, a cult to Ghenna has taken over one of the lone inns along the route and has begun using it to capture and sacrifice pilgrims to their own dark god. Unless a group of adventurers can stop them, the sacrifices won't stop.

This quest takes the player characters through a harrowing journey of dangerous adversity! The characters are informed that some unknown adversary has disrupted an ancient tree called Wise Willow. This sends them first on a subterranean excursion into ancient tunnels infested with curiously ravenous Thri-Kreen! Then, they are introduced more formally with Wise Willow, who requires their services to cure her terrible plague! The players must then navigate the wild maze of her surface roots, purge it of grotesque creatures, and then find the cause of her ailment. Doing so excites the interest of the deities, Lathander and Sylvanus, who descend from the heavens in a glorious show of light and mysticism! The two divine beings then graciously bestow their gifts upon the party to reward their deeds. The player characters embark on a perilous journey that will test their resourcefulness and wits in a building arc of intensity. The environments are deeply detailed by the boxed text and should provide you and your characters a sturdy foundation for your creativity to launch from. There is a compelling story full of lamentations as well as laughs. The robust exposition sets up hours of challenging, combat-heavy “dungeon delving” throughout the quest. The aim is to maintain a versatile balance between “hack-and-slash” and “immersive storytelling” play styles, so that everyone can enjoy it in their own way. The numerous optional components allow you to scale the difficulty to your liking, and there is plenty of space for you to use your own creativity to enhance the content. Guts, Gods & Glory is a Dungeons & Dragons module using the 5e rules. It is designed to be played by three to six players of sixth to eighth level. It takes place in the Sword Coast setting of the Forgotten Realms, specifically the Elturgard region. Changes can be made to make it playable in a nondescript setting.
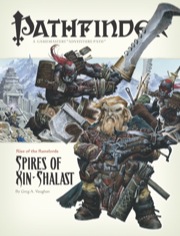
A Runelord Rises! The Rise of the Runelords Adventure Path concludes! The Runelord of Greed, Karzoug the Claimer, stirs in the legendary city of Xin-Shalast. There are more forces than an ancient evil wizard at work in this remote corner of Golarion, a place where the boundaries between reality and nightmare are unnaturally thin. Karzoug's minions have awakened as well, among them giants and dragons and devils and worse. Could there be an even deeper evil poised to emerge from the darkness at the dawn of time? Can the Rise of the Runelords be stopped?

This scenario was originally designed for five PCs of 13th level as a one-shot. A string of successes by the party has resulted in a high demand for their services. This new challenge involves an intrusive Ancient White Dragon extorting funds from the countryside of San Doral. Can your party cross Garnet Gorge and show this nasty Wyrm who’s the boss?

Retribution and revenge are yours for the taking! Demise of the Slavers pits you against the forces responsible for turning your life upside down and kidnapping your friends and family. The original pair of adventurers have come a long way and with the help of friends, it is time to end the slavers hold on your homeland of Esaq! Don’t miss this exciting conclusion for the DQ series.

What is the Lost Lands? The Lost Lands is the home campaign world of Necromancer Game's and Frog God Game's own Bill Webb. This campaign has been continuously running since 1977. Many of the adventures published by Necromancer Games and Frog God Games are directly inspired by this campaign. They have evolved over the decades, and more material continues to flow from it as the dice keep rolling. Sages and wizards of legend speak of the Lost Lands—many of the players who have lived and died in Bill's campaign over the years now have a place in history (in the books). Frac Cher the dwarf, Flail the Great, Bannor the Paladin, Speigle the Mage, and Helman the Halfling are well known to the fans of Bill's work. This is the game world, and these are the adventures in which the players of these famous characters lived and died. Hundreds of players over the past 35 years have experienced the thrills and terrors of this world. The Sword of Air is the centerpiece of the Lost Lands. Currently, this epic tome consists of several parts: 1. The Hel’s Temple Dungeon—kind of like Tomb of Horrors on crack. This six-level, trap-and-puzzle infested dungeon formed the basis of Bill's game through his high school and college years. Clark Peterson’s very own Bannor the Paladin spent several real life months in the place, and, sadly, finished the objective. This is where the fragments of the fabled Sword of Air can be found…perhaps. 2. The Wilderness of the Lost Lands extending to the humanoid-infested Deepfells Mountains and providing detail about the nearby Wizard’s Wall. This so-called “wall” was raised by the archmages Margon and Alycthron harnessing the Spirit of the Stoneheart Mountains to raise the land itself, creating a massive escarpment to block invaders from the Haunted Steppes. These archmages are actual player characters from the early 1980s who live on in the legends of the Lost Lands. Over 70 unique encounter areas are detailed, and each one is a mini-adventure in itself. New wilderness areas may be added based on bonus goals described below! 3. The Ruined City of Tsen. Legend has it the city was destroyed by a falling meteor. This place forms an aboveground dungeon area the size of a city, with over 100 detailed encounter areas. It’s a very dark place…even at noon. 4. The Wizard’s Feud—This campaign-style adventure pits the players in a long-running series of intrigues and battles between two archmages. Which side will they take? Their actions all play into the overall quest, and could well determine which side wins. Law and Chaos are not always what they seem, and if the wrong decisions are made, the entire ordeal could fail. Remember, one of the wizards WANTS Tsathogga to win. 5. New monsters, new demons, new spells, and new rules for various aspects of play. 6. The Tower of Bells. This dungeon is the result of the workshop Bill ran at PaizoCon 2013, where the participants assisted him in building an old-school dungeon. Visit the tower and discover the secrets of the “artist” within. Beware: those entering may never come out!

Chasing pirates can be a dicey business especially with an ocean storm bearing down upon you. As you give chase to Captain Longstockings and her crippled ship, she wanders into a cove...TRAPPED! This criminal cleanup is almost complete...

Your party has finally made it to Queen’s Point only to discover that the military was already aware of the approaching humanoid army and dealt with them. After a rest and training period in the large city you now have to decide what to do next. The large seaport has plenty of options but a curious problem has been brought to your attention. A large giant north and west of the city is harassing the shipping lanes with random boulder tossing. Word has it that a nice reward is available to anyone able to solve this problem. Did I mention a Medusa also has a proposition for the party?

In this prelude to the full Princes of the Apocalypse campaign book, adventurers face off against the influence of Elemental Cultists in the hills and canyons of the Dessarin Valley. The four mini-adventures within are only tangentially related to each-other, and instead serve as starting points and hooks for the plots of the complete Princes of the Apocalypse Campaign. Players start in the well-described town of Red Larch; first investigating a local necromancer, then uncovering cult influences within the town, and finally heading off to infiltrate or do battle with two small elemental cultist strongholds. All parts of this adventure can serve as great places to seed hooks for other campaigns.

FVC9 – Royal Recovery is a short adventure involving a lost princess. A peace accord is in jeopardy when a royal wedding may be postponed due to a missing bride. She was secretly coming to Tol Borron, home to her future suitor, but her ship is now missing. The party has been asked by a gypsy, working on behalf of the king, to head towards the Horns of Barnack where some debris has been located. Will your party be able to solve the mystery of the missing princess?
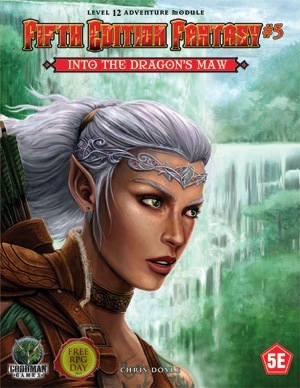
Your stalwart band treks through the trackless jungle seeking the Dragon's Maw Waterfall. At the base of the falls, behind a massive curtain of water, is rumored to be the cavern lair of a great wyrm. The local Xulmec tribesmen say the great dragon has not been seen in nearly 100 years, so perhaps its hoard lies unguarded and ready for plunder. But what role do the heroes play in a blind shaman's prophecy foretold a century ago?

When the adventurers are tasked with destroying a symbol of Demogorgon, they end up falling foul of the great mage Mordenkainen himself – or at least a simulacrum of him. Will they agree to help maintain the great Balance of the Blood War, even if means sacrificing innocent lives in the process?

Death Is in the Cards The remnants of the Ebon Fold are cutting a deadly path through the Falkovian countryside, draining travelers of their life force and leaving withered corpses in their wake. Hot on their trail you come across the sole survivor of one of these deadly attacks, a young vistani man with an extraordinary skill for fortune-telling. His tarokka deck helps close the gap between you and the assassins. Together you follow the trail through Darkon, the dark domain of the lich lord Azalin, to the city of Nartok. With an Unholy Alliance... Something very strange is happening in Nortok. The killers enter the Temple of the Eternal Order and don't come out. It seems that the state of religion of Darkon is giving succor to these assassins. To make matters more confusing, the Kargat, the domain's secret police, has put aside its feud with the Eternal Order and has a large contingent staying at the temple as well. These three organizations working together bodes ill for the residents of Nartok. ... And Schemes Within Infernal Schemes Great amounts of life energy are being collected for some foul purpose, although no one seems to know what exactly it is. The tarokka cards provide only mysterious glimpses of the future - a future in which a powerful evil sweeps the land and Death walks the world. Can you discover the truth of what is happening in the temple in time to avert the disaster predicted by the cards? Death Ascendant is a full-length adventure that can be run as a stand-alone scenario or as the second part in the Grim Harvest series. It contains a 64-page adventure booklet plus a full-color poster map detailing the Temple of the Eternal Order. TSR 9526

This module contain three handy encounters for the time your players have to face a mighty river. The encounters are varied and can be faced with violence or wits, wathever you players choose to. The encounters leads from one to the other so you can run the three in the same session if you are lucky or you can save some for another river. The encounters are adjusted for characters level 1, level 3 or level 6. "You reach the bank of the river but the bridge is not there, your calculations were a little of. The river runs strong and wildly. What do you do?" -------------------------------------------- Este módulo contiene tres útiles encuentros para cuando tus jugadores se encuentren con un poderoso río. Los encuentros son variados y pueden ser enfrentados con violencia o con ingenio, lo que tus jugadores prefieran. Los encuentros pueden encadenarse uno tras el otro así que puedes tener la posibilidad de utilizar lo tres en la misma sesión o guardar alguno para algún otro río. Los encuentros están ajustados para jugadores de niveles 1, nivel 3 o nivel 6. "Leegan a la rivera y el puente que estaban esperando encontrar no está allí. Sus calculos fueron erroneos. El rio corre rapido y salvaje. ¿Que hacen?"

"...the Ultimate Campaign Adventure..." A sinister force, long thought destroyed, stirs from the black hole that spawned it. Like an ebony darkness it prowls the land and safety is but an illusion, for it watches from every shadow and ponders possibilities. What began years ago with the introduction of the players to the quiet village of Hommlet and the amazing lands of Greyhawk, at last is complete. Here is the long awaited campaign adventure featuring the ruins of the Temple of Elemental Evil! Evil broods and grows beneath those blasted stones. This is your chance to drive it back and scatter its forces again. This product includes the village of Hommlet, the filthy shire of Nulb, and reveals the ruins of the Temple of Elemental Evil and the labyrinths that lie beneath, a warren of darkness. And beyond these ruins, even more is revealed. For the first time this product provides a complete campaign adventure which will take beginning characters from 1st all the way to 8th level and possibly beyond! Hours of adventure await you! TSR 9147

Grave Detail has your mid-level PC asked to retrieve the remains of Sir LaGain from the nearby battlefield. The relatives have learned of the man’s demise and are willing to pay a sizable sum for the body’s return. While the battle has ended, dangers remain. Can your solo PC bring closure to a noble death?
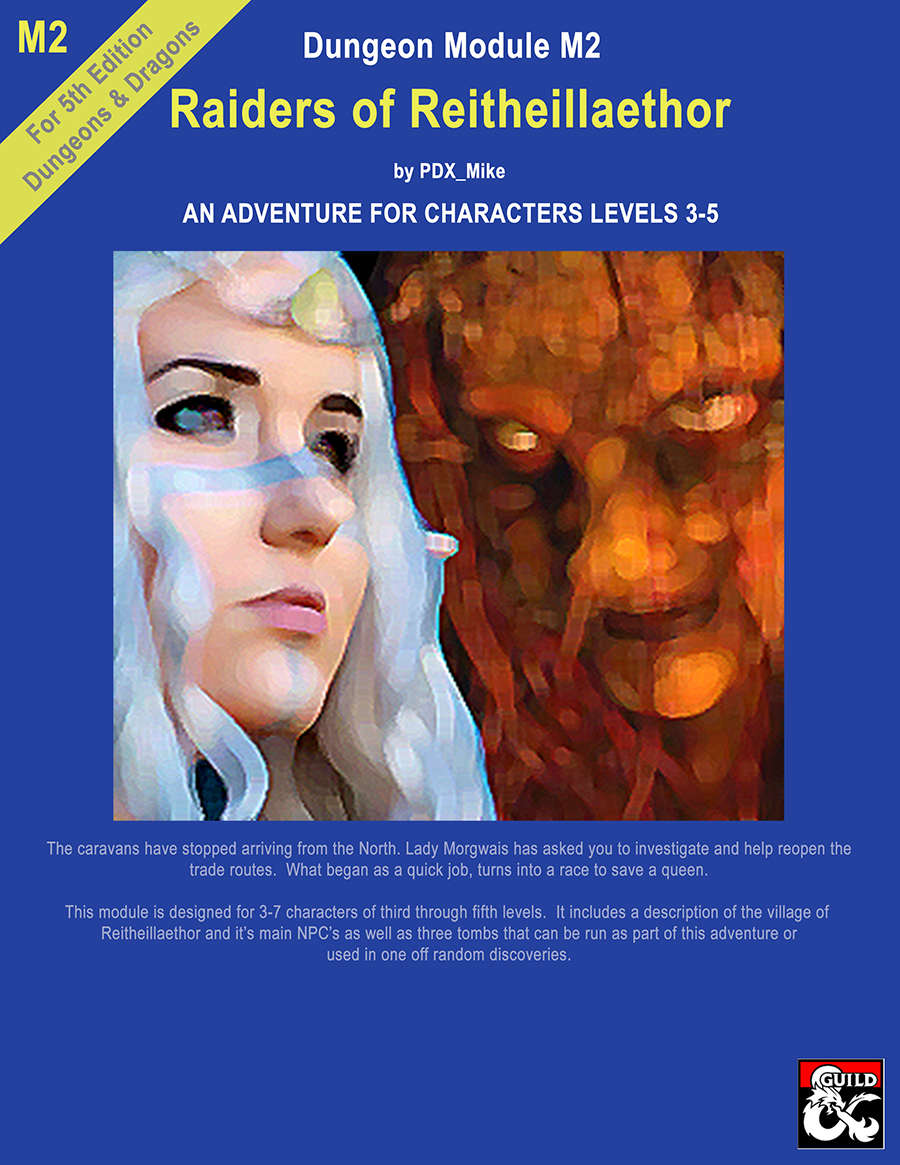
This is the second of the "High Forest Factbook" adventures series. The caravans have stopped arriving from the North. Lady Morgwais has asked you to investigate and help reopen the trade routes. What begins as a quick job turns into a race to save a queen. This module includes a detailed description of the Elven village of Reitheillaethor including it's NPCs. It can be run either as a continuation of the adventure started in "Menace of Merric", as an extended stand alone adventure or the three individual tombs included in it can be run as short one-off adventures.

A four-hour adventure for 5th-10th level characters. The enemy is revealed, but time short and if you are not successful in your mission to Mount Baratok, love will never die. Part fourteen and the finale of Misty Fortunes and Absent Hearts. In an effort to locate the evil witch Esmae Amarantha, the party must work to enable a tarot card reading by Jeny Greenteeth, a quixotic hag. However, finding casters to aid Jeny in her ritual is its own ordeal, and even if they succeed, there is still the task of venturing to Esmae's ritual site and putting a stop to her plans.
A band of shipwrecked adventurers awake to twilight on an uncharted jungle island to the Northwest of the Nalanthars with amnesia, little do they know the amnesia is recurrent at the completion of each long rest until an ancient curse powered by an incomplete Mythallar is lifted.