
The Cave on Foggy Hook is the first of three connected adventures in the village of Hookholm and is aimed at busy or first time Dungeon Masters. This adventure is designed for 3-5 1st level characters and can be played in a single 3-5 hour session excluding character creation. In this adventure the party will find themselves in Hookholm, a small coastal village rebuilding after a devastating storm almost wiped it off the map. The village is located on the inner curve of the Foggy Hook, a spit of marshy land jutting into the Grey Sea. Beset by the sort of calamities that new adventurers will be able to sink their teeth into and will offer opportunities for roleplaying, puzzle solving, exploration and combat. Includes 5 maps in a number of variations, a brand new monster in the vicious Kuo-toa Feral, and a new chase complications table for chases through swamps or marshes.
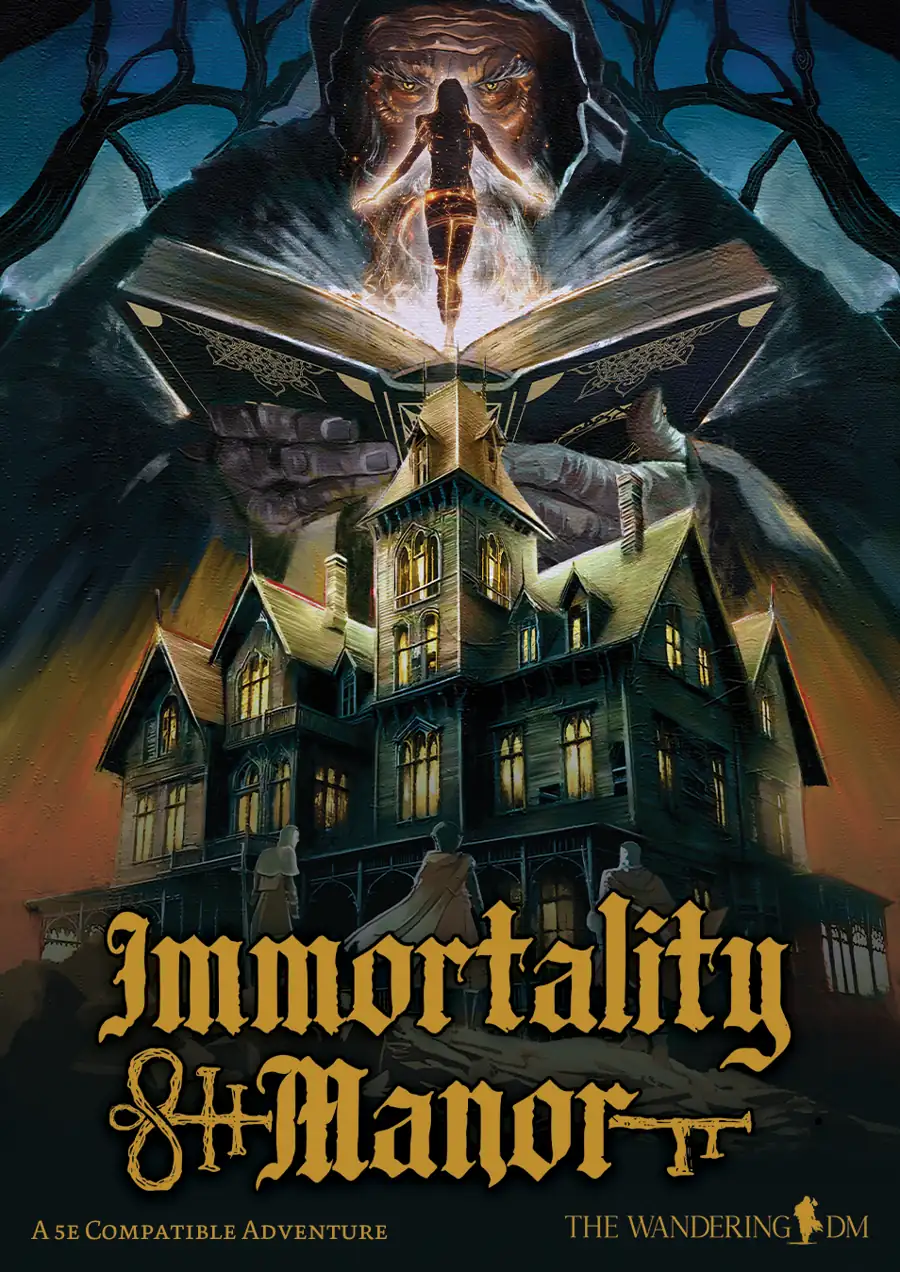
Love, Madness, and Immortality Collide Within the Haunted Halls of a Cursed Manor. Step into Immortality Manor, a 5e-compatible adventure that fuses gothic horror, intricate puzzles, and immersive storytelling. This campaign plunges adventurers into a tragic tale of obsession and dark magic. Explore the haunted estate of Stomund Wysalt, uncover secrets, navigate deadly traps, and make choices that will shape—or doom—your fate. -- Gothic Atmosphere: Every room is steeped in dark fantasy, offering a chilling gothic setting perfect for horror fans. -- Unique Resurrection Mechanics: Death isn’t the end. The Resurrection Coffin revives players but with growing exhaustion and increasingly dire consequences. -- Multiple Endings: Will you free Lucinta from her cursed prison, confront Stomund, or become trapped in the manor forever? -- Sandbox Exploration: Explore the manor non-linearly, uncovering secrets at your own pace with layers of mystery and puzzles. -- Intricate Mystery: Unravel a tragic love story while solving dark, intricate puzzles. -- Funhouse Dungeon Crawl: Play as a combat-heavy, puzzle-filled dungeon crawl for an action-packed experience. Key Details: -- Level Range: For parties of levels 1-3 -- Playtime: 3-6 sessions, or use each room as individual encounters. -- System: 5e-compatible, easily adaptable. -- Downloadable Content: Includes detailed maps, NPC character sheets, and tokens for all NPCs. Can you uncover the secrets of Immortality Manor, or will you join its list of eternal victims? Also available as a VTT on Roll20: Immortality Manor | Roll20 Marketplace: Digital goods for online tabletop gaming

What sends you adventuring deep into unknown lands, across dark waters, around The Savage Coast? Adventure? The sincere desire to help others? Or greed? Cartographers Guild members tell of lost cities and hidden treasures. Sailors tell of menacing beasts and cannibals to the west. They tell of savages along the shores who use gold nuggets for fishing weights. They also tell of great mounds of gold that collect at river mouths. You must decide the grater lure; the safety of Slagovich or the glimmer of gold along The Savage Coast. This adventure includes a map which expands the D&D game world, and a special expanded monsters section. TSR 9129

Six kids, one heartfelt promise, one incredible exploration! First Adventure is a one-shot designed to be played as a long session of five hours or two shorter sessions of 2-3 hours each. Keep the promise you made to your dying mother! Journey to an old, abandoned mine to search for the gateway to the Faerie Realm! Fail in your first attempt and regroup again 17 years later to keep the promise! A well balanced mix of exploration, role-playing, riddles, combat and tons of fun suited for both DnD newbies and veterans!

The Siegue of Sâlorium is a lvl 1-3 adventure in a fantasy world for 4-5 players with the characters have to find the origin of the tremendous attacks on Slorium. An adventure with pregenerated characters, suitable to any campaign in a fantasy setting.

This module is designed for characters who have made their way through the Freeport Trilogy. Characters new to Freeport are at disadvantadge, however. Hell in Freeport sends the characters to the depths of the Hell as pawns of an undead duke. When they discover the truth of their mission, they must race against a sinister clock to save two cities. Act 1 kicks off with a battle against a cornugon on the Freeport docks. The characters are hailed as heroes for defeating the fiend, and are summoned to the Church of Retribution to help in the battle against Hell. Tee old inquisitor who greets them is actually Jalie Squarefoot, an infernal lich who took this form to search for the perfect cat's-paw. Squarefoot wants to take the souls of Freetown, a city in Hell, but must first get around a contract poin: he can't take the city until the Tyre tower clock-now stopped- strikes midnight. He sends the party to Devil's Cry, an inslan off the coast of Freeport, with instructions to close the gate to Hell hidden inside. In truth, he knows the party will be transported straight to the Third Circle when they try. Inside Devil's Cry the party finds the remnants of a great battle fought between an invading devil's army and the Church of Retribution, and battle their way past undead defenders until they reach the gate itself and unwittingly trigger it. Act 2 begins with the party in a twin of the complex they explored in Devil's Cry, but now they are deep in Hell. They fight their way back to the cavern entrance, only to find that they are not on the Prime anymore. When they voyage back their homeport, they instead find themselves in Freetown, a city of scaped slaves in a dark mirror image of Freeport. Once in Freetown, they make the acquaintance of the city's mayor Wycleffe-a servant of Jalie Squarefoot-who persuades them to go on a quest to Tyre to restart the tower clock. They travel the Styx to the Eight Circle and fight their way into a long-buried vity, and then into the tower clock itself. They restart the clock and begin the trip home, but are waylaid by devils and taken prisioner. Act 3 opens with the party naked and in chains in the infernal prison called the Forge. They learn that Jalie Squarefoot and Wycleffe have duped them, and that the supposed rebels of Freetown are actually its protectors. The characters must escape or win their freedom in the gladiator pits before the tower clock they restarted destroys both Freetown and their home city of Freeport. They battle back to Freetown, taking revenge on their captors in the process, and capture the city from Wycleffe with the help of the rebels. Finally it falls to the PCs to enter the tower clock and stop it and Jalie Squarefoot before the fiend's plan can come to fruition. After being tricked and manipulated throughout the adventure, the party finally has their revenge on the duke and his minions.

Curator Pierce has reported that the House of Knowledge was the victim of an assault and theft. Three days ago, brigands entered the building famous for housing the Tomes of Rummell. They attacked the Stewards of Knowledge, and made off with three books. Each of the missing texts was written by a different author and each is said to contain works of arcane power. The call has gone out for heroes to retrieve these items and bring those responsible to justice!
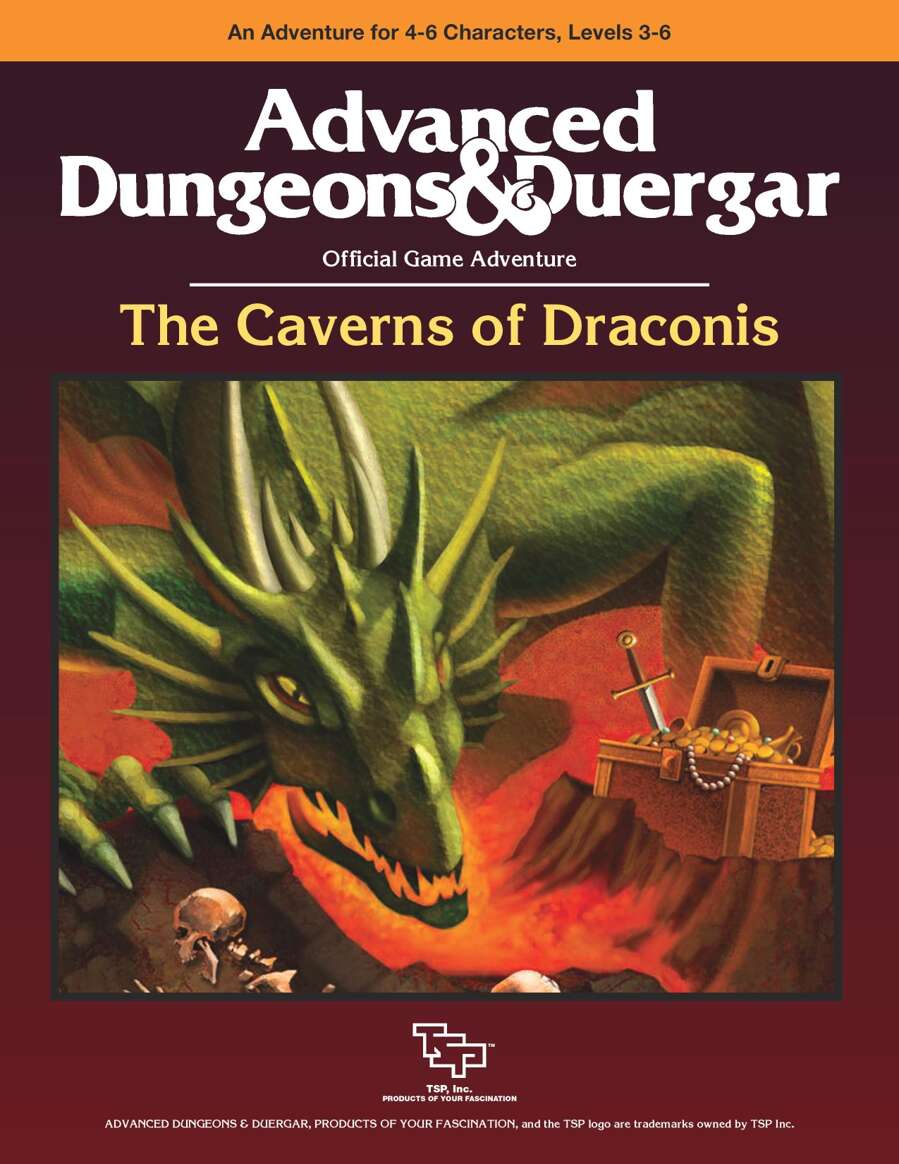
A small local area with ten locations and a big wizard dungeon with 19 rooms. The module is based around some rules lite system exclusive to the module, but for obvious reasons can be run in the system of your choice with little modification. (Some best guess approximations have been made for the creatures for search optimization.) Official description: "This adventure is a work of PARODY based on “Caverns of Draconis,” featured in Season 2, Episode 14 of NBC's TV series, “Community.” THIS IS NOT A TSR PRODUCT. This product was made in accordance with Wizards of the Coast's OGL Version 1.0a. The following game and adventure have been designed to reimagine what the fictional module featured in the episode might look like. This rules-lite RPG is meant to serve as an introduction for newcomers and fans of the show alike. The game can be played with 2-9 players and has everything you need to get started except for dice. "

Chapter 1 - When a relative of someone close to the characters goes missing from a nearby village, the players are asked to investigate. The party has to recover stolen goods from a thief before setting out from the City of Ravens Bluff. They travel through the wilds of Vesperin in search of the missing person, finding trouble and helping locals along the way. Chapter 2 - As the journey continues, the party arrives in a small hamlet suffering from a strange blight. The players will need to investigate the situation and choose sides in a longstanding feud between the mayor and a local magic user. Chapter 3 - After clearing a tribe of violent orcs from a nearby mountain pass to protect the residents of a town, the party will have to enter the lair of a long-dead dragon to rescue their quarry from a band of goblinoid slavers, where they discover an entrance into a dwarven city, lost and forgotten centuries ago. Chapter 4 - The party will have to traverse the ruins of the dwarven city, avoiding hazards and battling the horrors that lurk there, to uncover the identity of the slaver's leader. A discovery that will lead them through a treacherous forest to the city of Tsurlagol in search of a pirate ship called the Star Carver, and its drow captain, The Viper's Kiss. Along the way, they meet an unlikely ally. Chapter 5 - Once they arrive in Tsurlagol, the players will have to choose between gaining the assistance of the city council to fight the pirates head on, or making a deal with the Viper's Kiss, herself. The path they choose will either lead to an epic battle on the Sea of Fallen Stars, or into the deadly sewers and tunnels beneath the city to face an enclave of wererats, undead, and a tribe of mad, kraken-worshipping kuo-toa, in search of a fabled relic. The Laughing Horde of Ruin, Part 1 is the first module of an original 5e adventure campaign. It is designed for character level 1-5, and uses material from the Dungeon Master's Guide, Monster Manual, and Volo's Guide.

War is looming between Nanch and the Fey. Those on the border are caught between two dangerous dynasts. Pressed into duty for lord and country, the peasants and gong farmers of Nanch find themselves in a strange and unnerving forest full of denizens older than the practice of naming. In this new world, the rules of life and death are a game of whimsy practiced by fantastic forces, and bizarre ancient feuds re-ignite in the chaos of war. Those errant attendants of Nanch will be fortunate to survive the madness of either ruler! The adventure spans a series of strange and otherworldly encounters with the magical and surreal denizens of Greenwood—while under the incompetence, cowardice, and bullying of Pertrub (one of the King’s footmen). As the encounters continue, signs of the Earl’s fate are everywhere. The players must pick up clues and begin to grasp the realities behind them! The adventure features a number of visual puzzles with handouts to help the players solve them. This 20-page, stand-alone adventure includes a new class: the Wild Elf. The adventure is for low-level characters. It is not setting specific and can be placed near any ancient woodlands.

FQ6 – Vortex at the Temple continues the quest for the missing pages of the Codex of Gamber Dauch. This adventure takes the PCs to the ancient temple of Kabish Mo-Del a former druidic stronghold. Once there the party will have to battle creatures and puzzles to continue. If successful the party may just find themselves in a foreign land and have to find their way back home!

A one-shot adventure of dark fantasy, tragedy, and horror... - 4-6 hour adventure for 3rd - 5th level characters. - 24 pages of an elegant, easy to read PDF. - 4 custom handouts that pair with the adventure. - 2 custom monsters. - 10+ trinkets and magic items for handing out to your players. - 6 gorgeous free battle maps that can be found here: https://www.dmsguild.com/product/434359/Map-Pack-01--The-Sorrows-of-Southsward-Keep

A simple hunt for a werewolf, or so we thought. Find its lair and slay the beast. No use for wolfsbane or other superstitions. Silver and magic would win the day. A worthy challenge, but nothing horrific, surely. Yet we never expected what we found in the Graenseskov, and our hubris cost us dearly... 𝐓𝐡𝐞 𝐁𝐞𝐚𝐬𝐭 𝐨𝐟 𝐆𝐫𝐚𝐞𝐧𝐬𝐞𝐬𝐤𝐨𝐯 is an 80-page bookmarked Ravenloft® adventure for characters of 1st-4th levels focused on mystery and exploration. It can be used in conjunction with 𝐂𝐮𝐫𝐬𝐞 𝐨𝐟 𝐒𝐭𝐫𝐚𝐡𝐝, either as an introduction to Barovia or adapted as a side quest, as part of the original expanded Ravenloft setting, or it can be used as a stand-alone horror adventure-setting. 𝐓𝐡𝐞 𝐚𝐝𝐯𝐞𝐧𝐭𝐮𝐫𝐞 𝐡𝐨𝐥𝐝𝐬 𝐚𝐩𝐩𝐫𝐨𝐱𝐢𝐦𝐚𝐭𝐞𝐥𝐲 𝟏𝟔 𝐭𝐨 𝟐𝟒 𝐡𝐨𝐮𝐫𝐬 𝐨𝐟 𝐠𝐚𝐦𝐢𝐧𝐠 𝐰𝐢𝐭𝐡𝐢𝐧 𝐢𝐭𝐬 𝐩𝐚𝐠𝐞𝐬, and potentially much more for groups embracing an investigative style of play. In the mists at the edge of Count Strahd von Zarovich’s realm lies the Graenseskov, a land of deep woods and bleak hills overrun with wolves. A Beast haunts these misty lands, leaving bloody corpses and terror in its wake, the product of a hag’s curse placed upon the boyar’s manor. But the Beast is no arbitrary killer. The PCs find themselves drawn into the mystery of uncovering the Beast’s identity and breaking the hag’s curse before the Beast’s final victim gurgles their last breath and the Beast is beyond any hope of redemption. Requires the 𝐃𝐮𝐧𝐠𝐞𝐨𝐧 𝐌𝐚𝐬𝐭𝐞𝐫'𝐬 𝐆𝐮𝐢𝐝𝐞 and the 𝐌𝐨𝐧𝐬𝐭𝐞𝐫 𝐌𝐚𝐧𝐮𝐚𝐥. This is a 63 Mb ZIP file containing a watermarked PDF of the updated adventure, a PDF with handouts, a PDF DM's cheat sheet, and PNG files of the Graenseskov region map for the DM and players. 𝐅𝐞𝐚𝐭𝐮𝐫𝐞𝐬: • The DM (or the Tarokka) determines the guilty suspect and their motives, offering a different experience for each group’s play-through. • A vivid cast of characters with a NPC index. • Escalating random encounters, special events, and techniques for DMing a mystery. • New monsters: black annis hag & loup du noir. • All units given in SI & metric. • Handouts and maps for DMs and players. • DM's cheat sheet with quick prep notes, clue checklist, handy Tarokka tables, tips on running the Beast, and a decision point flowchart. 𝐓𝐡𝐞 𝐓𝐨𝐦𝐞 𝐒𝐡𝐨𝐰 May 16, 2016 DM's Guild Pick of the Episode! Thanks James! http://www.thetomeshow.com/e/round-table-119-giants-and-the-talented-bestiary/ 𝐂𝐇𝐀𝐍𝐆𝐄 𝐋𝐎𝐆 𝐉𝐮𝐥𝐲 𝟐, 𝟐𝟎𝟏𝟔 𝐔𝐩𝐝𝐚𝐭𝐞: The big update! Fixed several editing and grammar errors, including an error in Appendix D, and the repeated paragraph on page 12 (page 13 in new document). Added a new special event - Hanging the Vistani - to Chapter 1 which ties together several dangling plot threads. Clarified "Adjusting the Adventure" & added Werewolves in the Mist to the "Adventure Hooks" in the Introduction. Added two pieces of thematic filler art. 𝐀𝐩𝐫𝐢𝐥 𝟏𝟖, 𝟐𝟎𝟏𝟔 𝐔𝐩𝐝𝐚𝐭𝐞: Added a DM's cheat sheet PDF to the zip file.

An anticipated rematch between the Reghed Nomads and the Goliaths of Wyrmdoom Crag is interrupted by disaster as one thing after another goes wrong! It falls upon the party to pick up the ball when others have let it drop! A DungeonCraft adventure using the "Goat-Ball!" seed. A Four-Hour Adventure for Tier Two characters (levels 5-10). Optimized for APL 8. Somebody Dropped the Goat-Ball originally debuted at DungeonCraft World Tour on May 2021. Included are VTT-friendly maps and handouts in separate files to help with running your games virtually. I also have a printer friendly version included of several of those maps for those that prefer their works to be printed on the flesh of dead trees.
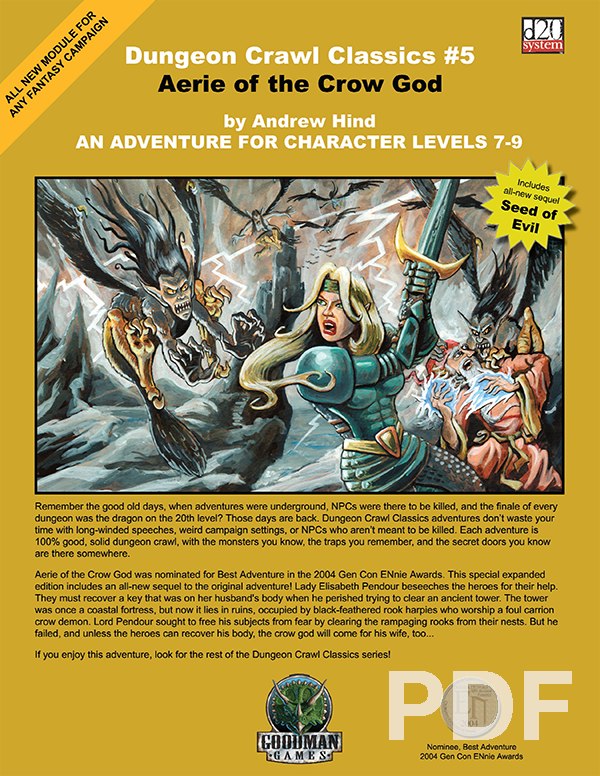
Lady Elisabeth Pendour beseeches the heroes for their help. They must recover a key that was on her husband’s body when he perished trying to clear an ancient tower. The tower was once a coastal fortress, but now it lies in ruins, occupied by black-feathered rook harpies who worship a foul carrion crow demon. Lord Pendour sought to free his subjects from fear by clearing the rampaging rooks from their nests. But he failed, and unless the heroes can recover his body, the crow god will come for his wife, too…

A shrewd, spell-using green dragon has taken over the deepest chamber of a limestone cave as his lair. The dragon has persuaded a tribe of troglodytes to live in the outer chambers as a sort of "protective buffer" in return for gifts of magical treasure. The troglodytes cherish the useless bits of magic without realizing their modest worth. The outer chambers of the cave are protected by the troglodytes, the beetles and centipedes the troglodytes raise as cattle, and wild creatures. The green dragon uses traps, illusions and magical devices to protect his inner chamber. Wyrmhaven is the second dragon's lair to conquer. Part of TSR 1073 The Dragon's Den

This higher level adventure takes the group on a survey mission for the Merchant’s Guild. The party will be asked to go through Uvarno, home of the Horselords, and attempt to locate a suitable passage for a merchant caravan into The Melcore. The party’s previous dealings with one of the Horselords, as well as they proven abilities to resolve “problems” has made them a natural choice for the mission. Built as a hex crawl, this scenario will require the party to map the wilderness as well as clearing out any “hostiles”.

Desolate and abandoned, the evil alchemist's mansion stands alone on the cliff, looking out towards the sea. Mysterious lights and ghostly hauntings have kept away the people of Saltmarsh, despite rumors of a fabulous, forgotten treasure. What is its sinister secret. Made for 5-10 character of levels 1-3, contains maps, handouts and encounter descriptions. The Sinister Secret of Saltmarsh is the first installment in a series of three modules designed and developed in the United Kingdom for beginning adventures with the AD&D rules. TSR 9062

East of Beregost, nestled in the outskirts of the Wood of Sharp Teeth, Durlag’s Tower has intrigued and yet stymied adventurers for decades. Stuffed full of mechanical traps and arcane wards, and rumored to be inhabited by fiends, very few have managed to extract any REAL treasure from the former home of Durlag Trollkiller. However, a powerful item in the ancient fight against the giants is said to be housed there, and the cloud giant Baron Rajiram has committed significant resources toward recovering it. After a pleasant tea in her garden, SEER calls upon you to beat him there and put a stop to his efforts! Continued in Durlag's Tomb.

Soburin’s human nobility are not the only rulers that are in need of outside agents since the corrupting fogs reappeared; even oni warlords have found the Mists of Akuma to bring challenges, obstacles, and threats beyond their ken. Yona, the undisputed master of the secret city of Tsukisasu, lost control of her throne only a few weeks ago to a strange creature that capered out of a storm intermingled with the supernatural haze, and her agent Xiqzoxix is keen to remove the usurper as soon as possible. The PCs are the group ze has chosen for this momentous task and should they accept the oni bengoshi’s offer, a deadly set of trials await them on top of the mountain—though the longer they dally, the more powerful their adversary grows. To defeat Obiemashita the party will have to first find Tsukisasu, covertly investigate the town, and then disrupt the yai sovereign of storm’s rituals and slay it before all hell breaks loose, spilling untold violence down onto the already embattled lands of the prefectures below! Will you conquer Tsukisasu or be subsumed by the storm? In The Yai Sovereign of Storms you’ll find… A monstrous adventure set in Mists of Akuma, an eastern fantasy noir steampunk campaign setting for the latest edition of the world's most popular roleplaying game The secret monstrous city of Tsukisasu and a collection of its oni citizens 2 maps by cartographer Mike Myler: the hidden settlement of Tsukisasu as well as Yona’s Fortress The Mists of Akuma themselves and the new misted condition 2 new attributes to posit the unique aspects of the campaign setting in the minds of your players: Dignity and Haitoku The adeddo-oni template and 10 new monsters: adeddo-oni hunchlings, adeddo-oni samurai, adeddo-oni ninja, gaki, hebikontorra, monsuthant, tikbalang, Xiqzoxix the oni bengoshi, the Katana of Rizushi Kantaro, and the Yai Sovereign of Storms Obiemashita