When the Pathfinder-obsessed daughter of one Qadira's most powerful trade princes goes missing trying to impress the Society, her father angrily demands the Pathfinders track her down or face expulsion from Katheer. Tracking the missing princess leads you to an underground complex filled with traps, tricks, and a creature so powerful, she's lived for a thousand years. Can you save the princess and uncover the power of the Eternal Obelisk?
Sewers of the Underguild is an adventure designed for characters of at least 11th level, and characters up to 15th level will find plenty of challenges. Hidden within these narrow passages and filth-filled channels is a guild of vampiric rogues, led by their master Sangre and his aide, a nycaloth called Ankoz. Deadly traps abound, so a skillful rogue will be a lifesaver. Because of the high likelihood of desperate combat with numerous vampiric and monstrous opponents, it is suggested that a cleric and at least two fighters be prepared to beat back the many watchdog monsters the guild employs. You can hide the locales in Sewers of the Underguild in any ruin or location that fits your campaign purposes. A thriving metropolis that just happens to have a large crime and vampire problem would fit the bill nicely. In the Lost Lands campaign setting of Frog God Games, the Underguild is located in the sewers beneath the ruins of Curgantium, the ancient imperial capital of lost Hyperboria. Located at the edge of the modern Kingdom of Foere, the Underguild still finds itself located centrally enough to pull the strings of its weblike network running throughout the former lands of the Hyperborian Empire.

The Cagewrights are defeated. The Tree of Shackled Sould is no more. Lord Vhalantru has been exposed and put down for the menace he truly was. The town of Cauldron has been saved from volcanic apocalypse. The heroes of Cauldron have earned their place in history, and more than deserve a time of rest, yet fate is not so kind. For the true menace behind the curtain still lives. As long as Adimarchus, the demon prince of madness, continues to dream his haunted dreams and writhe away the years in torment in the fiendish asylum of Skullrot, Cauldron can never be truly safe. "Asylum" concludes the Shackled City Adventure Path that began with "Life's Bazaar" (Dungeon #97) and continued with "Flood Season" (Dungeon #98), "Zenith Trajectory" (Dungeon #102), "The Demonskar Legacy" (Dungeon #104), "Test of the Smoking Eye" (Dungeon #107), "Secrets of the Soul Pillar" (Dungeon #109), "Lords of Oblivion" (Dungeon #111), "Foundation of Flame" (Dungeon #113), "Thirteen Cages" (Dungeon #114), and "Strike on Shatterhorn" (Dungeon #115). Pgs. 40-65
An Arch-Mage who can kidnap a dragon is one tough Arch-Mage. Definitely not for those who are afraid of heights. An evil archmage, Ezoran, has kidnapped a dragon in order to discover the means to seize control of a cloud giant's castle. The adventures are tasked with rescuing the dragon by the dragon's mate. The adventure revolves around tracking and navigating through dense jungle and working through a cloud giant's fortress. Pgs. 50-63
The ancient dwarven kingdom of wonder and fable is no more! Only the tales of it's grandeur remain to entertain the children, or so you thought. Then you met Nimron. Distraught and desperate, you alone can pass the gates sealed so long ago. Within are the lairs of bandits, cutthroats, and worse. The evil that destroyed the dwarven home - the Halls of Paradise - is awakened again. Into this horror ventured the dwarven princess Grona Marblefist to reclaim her kingdom. She, like so many others, has not returned. Now you must face this peril alone. Thunderdelve Mountain is a solitaire adventure for the DUNGEONS & DRAGONS Expert game. Players who don't wish to face the fallen Halls of Paradise alone may also use this adventure for group play. TSR 9157

Are your player's going fishing in the Underdark? Booked a ride with the Kua Toa Travel Agency? Taking a cruise on the Darklake? Well then Journey Through the Center of the Underdark 2 - The Darklake Strikes Back is just what the Leemooggoogon ordered! Like the first Journey, The Darklake Strikes Back contains several encounters designed with Out of the Abyss traveling days in mind, but easily inserted into any 5th Edition Dungeons & Dragons Underdark setting. Unlike the first Journey, The Darklake Strikes Back has a mid sized three level dynamically defended dungeon, complete with a dragon at the bottom! This complex is right at home on the Darklake but could also readily be inserted into your Tyranny of Dragons campaign as well. Written for a party of characters levels 4-6 with notes included for adjusting encounter difficulties for lower or higher level groups Journey Through the Center of the Underdark 2 - The Darklake Strikes Back should provide 6-10 hours of gameplay excitement!
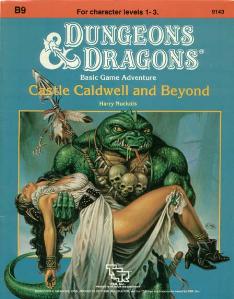
Five exciting short adventures to make your Basic campaign come alive! The Clearing of Castle Caldwell - A local merchant has recently purchased a small castle... but when he tried to move in, he discovered that the castle was already inhabited! Dungeons of Terror - A strange trapdoor in the floor of Castle Caldwell leads to a terrifying challenge! The Abduction of Princess Sylvia - On the eve of her wedding, the beautiful princess has been kidnapped! Can you save her in time? The Great Escape - Imprisoned in an enemy fortress, without armor or weapons, your situation seems hopeless. Yet there may be a way to freedom... The Sanctuary of Elwyn the Ardent - A mystical chime of great power has been stolen - but by whom? In the wrong hands, the chime can cause untold harm! But can you find and defeat this mysterious and powerful creature? TSR 9143
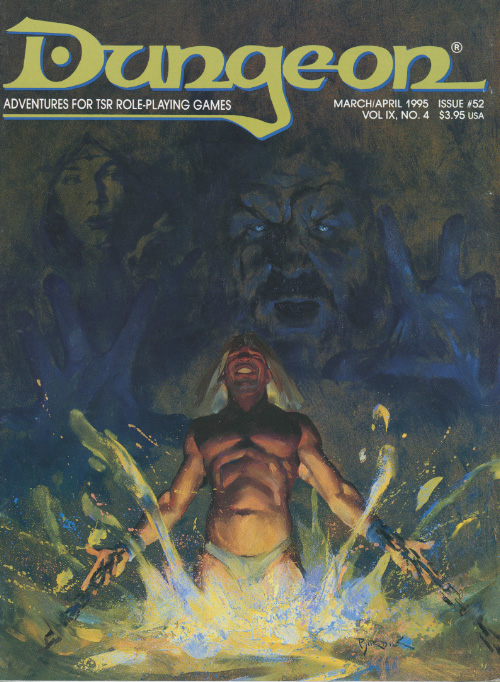
The heroes have spent the last several days in the quiet, secluded town of Relvaunt. Relvaunt's vineyards, wines, and scenic beauty are the subject of bards's songs, and many travelers journey long miles to visit them. Another site receives far fewer visitors--several miles east of town, partially obscured by woods and hills, stands the wondrous Castle Freitstein. As the heroes depart the town in search of adventure, an elderly couple approaches them. The woman suddenly clutches her chest and collapses in the street and the old man calls out to the heroes for help. Includes castle random encounter chart, a map of castle grounds and isometric castle level maps (four main levels, a tower level and a cellar level).
Men always seek the blood of monsters. Some spill it to avenge their massacred families. Others swim through an ocean of gore to find treasures worth the envy of kings. A few know blood can be a priceless treasure in and of itself. Alchemy has long used the lifeblood of monstrosities as arcane fuel, and of all the legendary beasts, the blood of the gorgon holds the most secrets. Few know the blood's darkest lore, its ability to draw out the monster within every soul. Those who drink gorgon's blood are forever changed, and the darkest horrors of their mind unleashed. The heroes hunt a deadly murderer who stalks the streets of the Free City of Zobeck after nightfall, and cross blades with a guild of monsters who rule the city from below. Lucky heroes might risk no more than their lives. Unlucky heroes must wager their souls in a game where monsters and men dance close enough to share their blood and their fate.
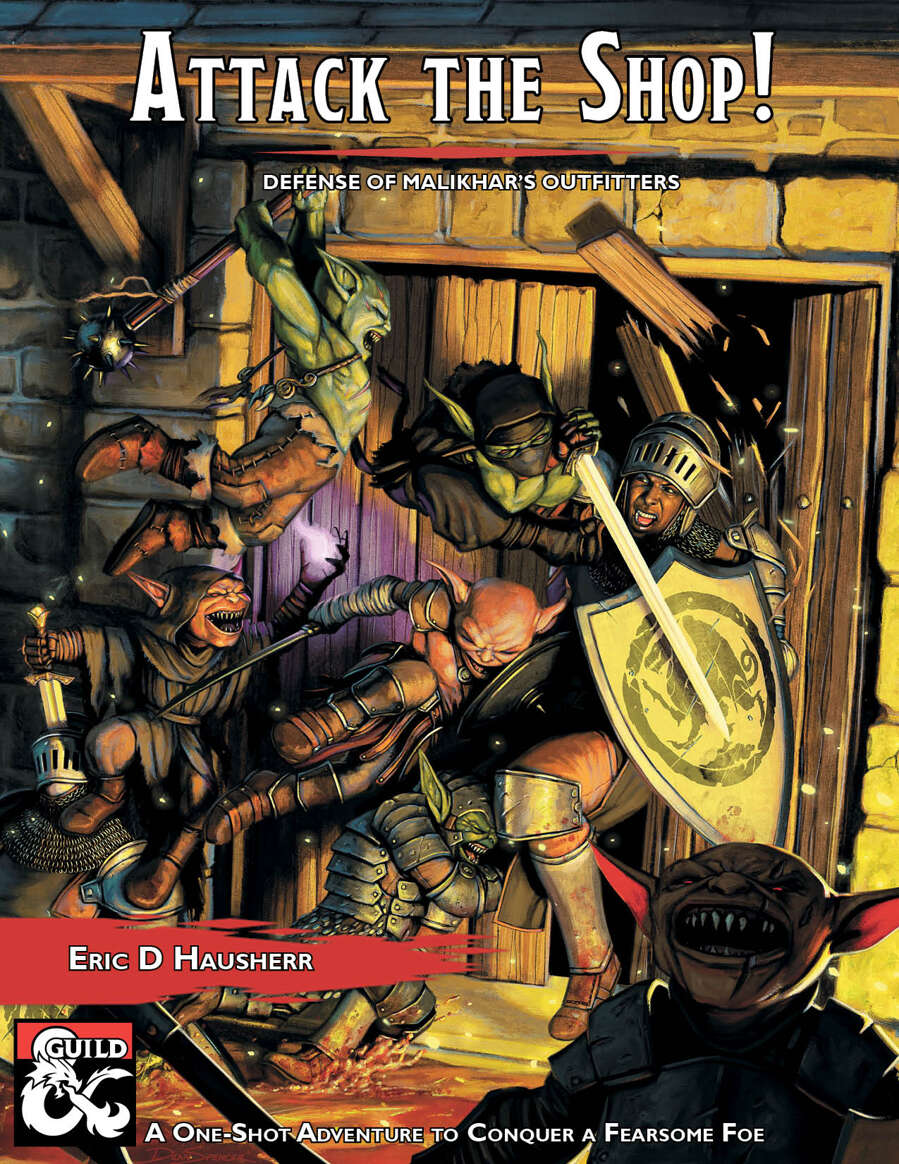
Attack the Shop! is a Dungeons and Dragons adventure optimized for four to five player characters. The adventure is designed to play in one session of approximately four to five hours. Five premade fourth level characters are included to facilitate getting into the action quickly. The adventure takes place in the city of Scornubel in the Forgotten Realms but can be placed in any city without trouble. The characters are mercenaries hired to take an overnight job that pays very well. The instructions from the employer, Malikhar, are simple. Keep the cargo safe in his shop for the night and get paid handsomely.

Haedirn Lastlight is a respected elven wizard and sage. After the death of his lover Lyonthel, the elf has been overcome with grief and has locked himself away in his study- a small manor on the cliffs of Wailing Crag. Haedirn has not been seen for over a year now, and those that knew him are beginning to worry. Worse still, a band of ogres has been terrorizing the nearby town, slaughtering the town folk and haughtily boasting the elf wizard is dead. The PCs must put a stop to the ogres' attacks, make way to Wailing Crag to root out the rest of their gang, and lay Haedirn Lastlight's tortured remains to rest.
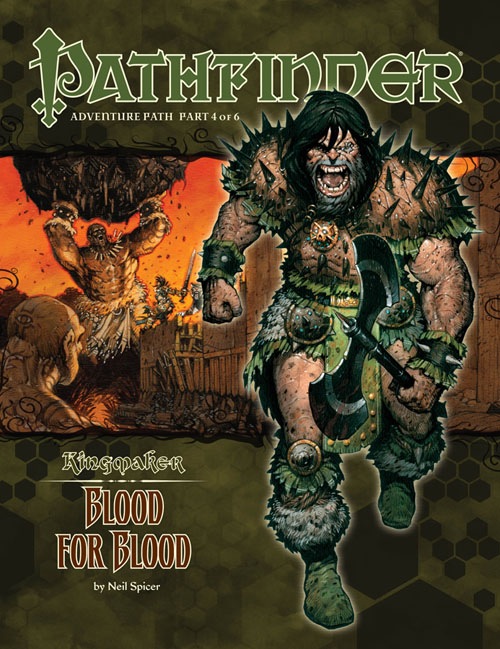
A Pathfinder Roleplaying Game adventure for 10th-level characters, this volume of Pathfinder Adventure Path is part 4 of 6 of the Kingmaker Adventure Path, in which the heroes win and defend a small kingdom from threats foreign and domestic. PCs should advance to 13th level by the end of this adventure. “Blood for Blood” begins with the PCs having returned home from solving the mystery of the Varnhold Vanishing. Shortly after their arrival, they learn that new problems have developed during their absence—there are rumors of an army marching toward their nation!The PCs race to the village of Tatzlford, where they help defend the village from an attack by a small but earnest force of bandits, barbarians, and several lumbering trolls after being warned in advance by a troubled woman who has fled from Fort Drelev to the west. Following the skirmish, she pleads with the PCs to save her father and sister from peril.From there, the PCs strike out into the swamplands of the Slough to the west, exploring new lands and finding opportunities to make new allies and eliminate long-term threats to the region. Their initial goal, though, should be infiltrating Fort Drelev, where they’ll have a chance to confront the traitor Drelev with his crimes and rescue the Fort’s beleaguered settlers. During this time, the PCs learn where Armag’s tribe has been holding the daughters of Drelev’s senior officers hostage. Arriving at the ancient site, the PCs attack Armag’s barbarian encampment and overcome the sinister powers of the Black Sisters to free the girls. Then, entering the tomb, they face deadly traps, ancient undead horrors from a war-torn age, and the trials of the tomb’s immortal, divine guardian. In the final chamber, the PCs encounter Armag himself, armed with the ancient sword of his namesake.

The end of the road. A lonely fort stands on the banks of a mighty river. It is here the hardy bands of adventurers gather to plan their conquests of The Hill, the hulking mass that looms over this tiny settlement. The Hill is filled with monsters, they say, and an evil witch makes her home there. Still, no visitor to The Hill has ever returned to prove the rumors are true or false. The thrill of discovery is too great to pass up, and only the river stands in the way. The adventurer's boat is waiting! This module is designed for use with the D&D Basic Rules. A trip through the wilderness begins a unique challenge for the novice player and Dungeon Master. TSR 9078
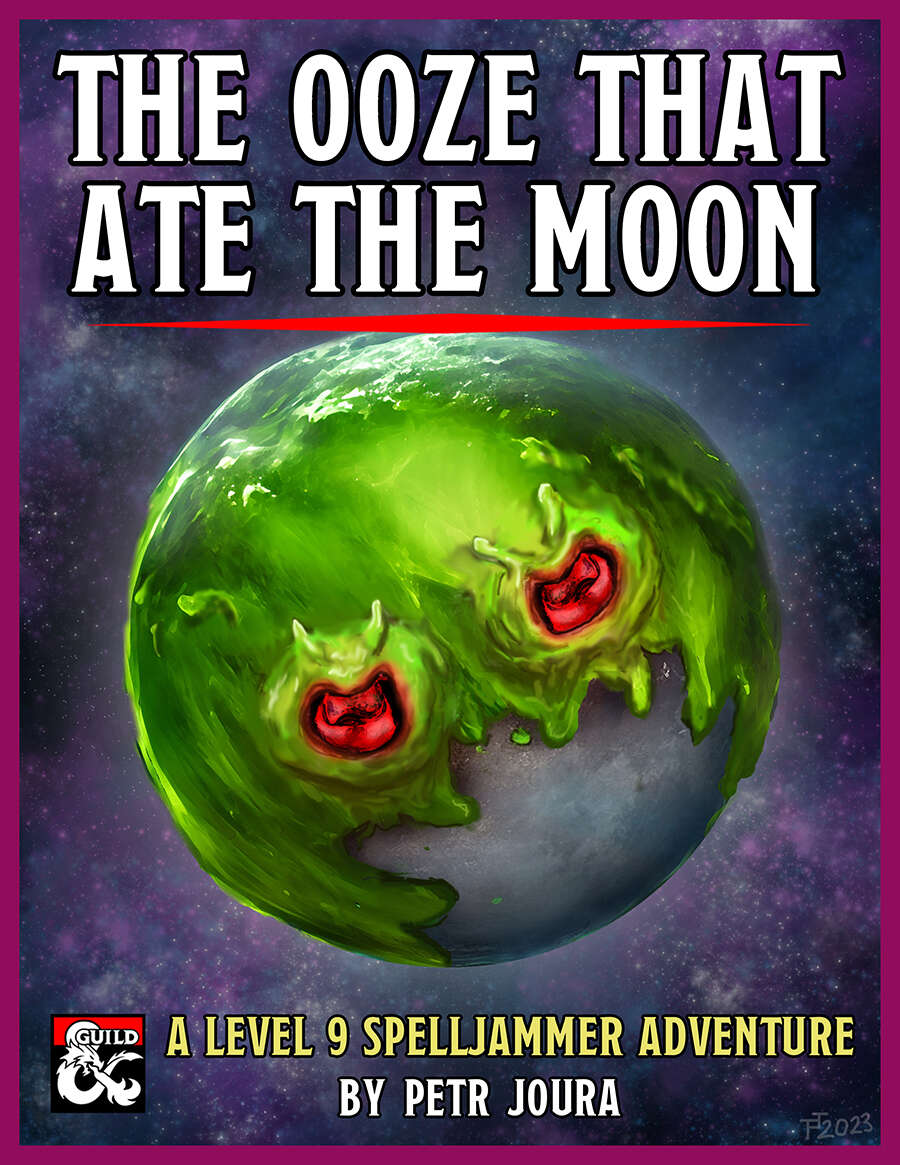
The moon is turning green. A colossal tide of green slime has begun to engulf it, threatening to dissolve it entirely. As it does so, a tide of demonic madness begins to engulf the lands below. As the green shadow flows across the night sky, the world turns mad. The source? An insane cult of plasmoids dedicated to Juiblex, the demon lord of oozes and slimes. Soon the moon may be gone, the first part of a mad plan to dissolve the multiverse into the primordial slime of the Abyss. If only some heroes could appear before it’s too late... The Ooze That Ate The Moon is 5th-edition Dungeons & Dragons adventure based on the Spelljammer campaign setting. It is an investigative high-orbit pulp thriller paired with the wacky zaniness of Spelljammer, and every playthrough is likely to be different. It is designed for four 9th or 10th level characters and to be run in 3 to 6 three-hour sessions, or 2 to 3 longer sessions. It can be run as multi-session one shot or as part of an ongoing campaign. It fits perfectly after the events of Light of Xaryxis, but is written so as to be easily incorporated into any non-Spelljammer campaign. It requires the 5th Edition Spelljammer boxed set to run. Gameplay is based around investigation and roleplaying, with a good smattering of combat in the later acts. The climax of the adventure presents the players with a problem that has no clear solution. They’ll have to use all their wits and resources to overcome it, but can they do so in time?

A series of small earthquakes have brought a sense of disquiet to the town of Daern Kelton and Roslof Keep. Against these strange earthly portents, the members of the Ivory Scimitar have claimed their place as a true Mithel Company, but even greater danger now awaits them in the second level of the Dungeon of the Black Fey Mithelvarn. What lost secrets will be revealed as they journey below? What new threats and adventures can be had in Daern Kelton? The town opens its doors to the brave new heroes of the Company of the Ivory Scimitar. Here continues the Roslof Keep Campaign in the pages of ROS2, The Tremors in the Machine. This adventure is formatted to both 1E & 5E gaming rules. Also available in PDF.

Centuries ago, a beholder named Yeryl fled from the place of his birth and wandered the countryside in search for a place to call home. After many sleepless nights spent carving out a safe nook for himself in the wilderness, he at last slipped into slumber. In his dreams, he found an ideal place for his lair: long-abandoned ruins hidden amidst a dull and barren valley. Yeryl spent years transforming the place to suit his paranoid designs. Visitors were rare enough, and the few that made it to Yeryl’s lair were quickly destroyed or forced into the beholder’s service, building the lair ever deeper and more magnificent. As time went on, Yeryl finally completed his task. Safe at last, but with nothing to occupy his mind, Yeryl was struck by melancholy; was this lonely and empty life truly what he had chosen for himself? On that day, Yeryl made a decision: next time an adventurer came to his lair, he would welcome them in. With this resolution in mind, Yeryl began to dismantle his traps and replace them with ones he considered to be more fun. Unfortunately, for all his good intents, Yeryl has not yet realised that killing people is a bad way of getting them to like him. Yeryl's Super Happy Fun Murder Dungeon is a highly obnoxious and mildly ridiculous collection of traps, combat and puzzles designed to test your players' wits and patience. It is optimised for a group of four to five 3rd level players, but the text also contains a guide for level adjustments for different sized groups.

This alternate starter campaign takes you to all the familiar locations of the Lost Mine of Phandelver adventure from the other side of the veil. Some places look the same, some very different. The entire plane is trying to strip you of your mind, your memory, and your motivation. Discover how the Forge of Spells was fueled. Learn the location of lost adventurers from the original Phandelver expedition. See what Cragmaw Castle looked like in its prime. All of this and more, as this takes you from level 1 to level 5 with well over 20 hours of play time. If you are looking to start a new campaign or just experience familiar locations in a new setting, this supplement accommodates. Inside you'll find: Maps: Nine encounter maps Cragmaw Castle rebuilt, including the upper floor, and underground level. Wave Echo Cave before it was tunneled. A very different looking Redbrant Hideout Ruins of a town similar to Phandalin A swamp and muck version of Cragmaw Hideout Plus new magic items, and more Monsters: 37 new creatures Lore Information on a shadowy Yuan-ti empire A new offshoot of the abyssal demonhive A cult using the stoic ways of stone to evade the Raven Queen's watchful eye and pilfering ways. New players vying for control of the Shadowfell Shadowfell Guide: Information on the plane, its inhabitants, and included with this supplement is the best selling Shadowfell Random Encounters appendix. Easter Eggs Hidden throughout the story are references to Lost Mine of Phandelver. Including references to other hard cover books as well.
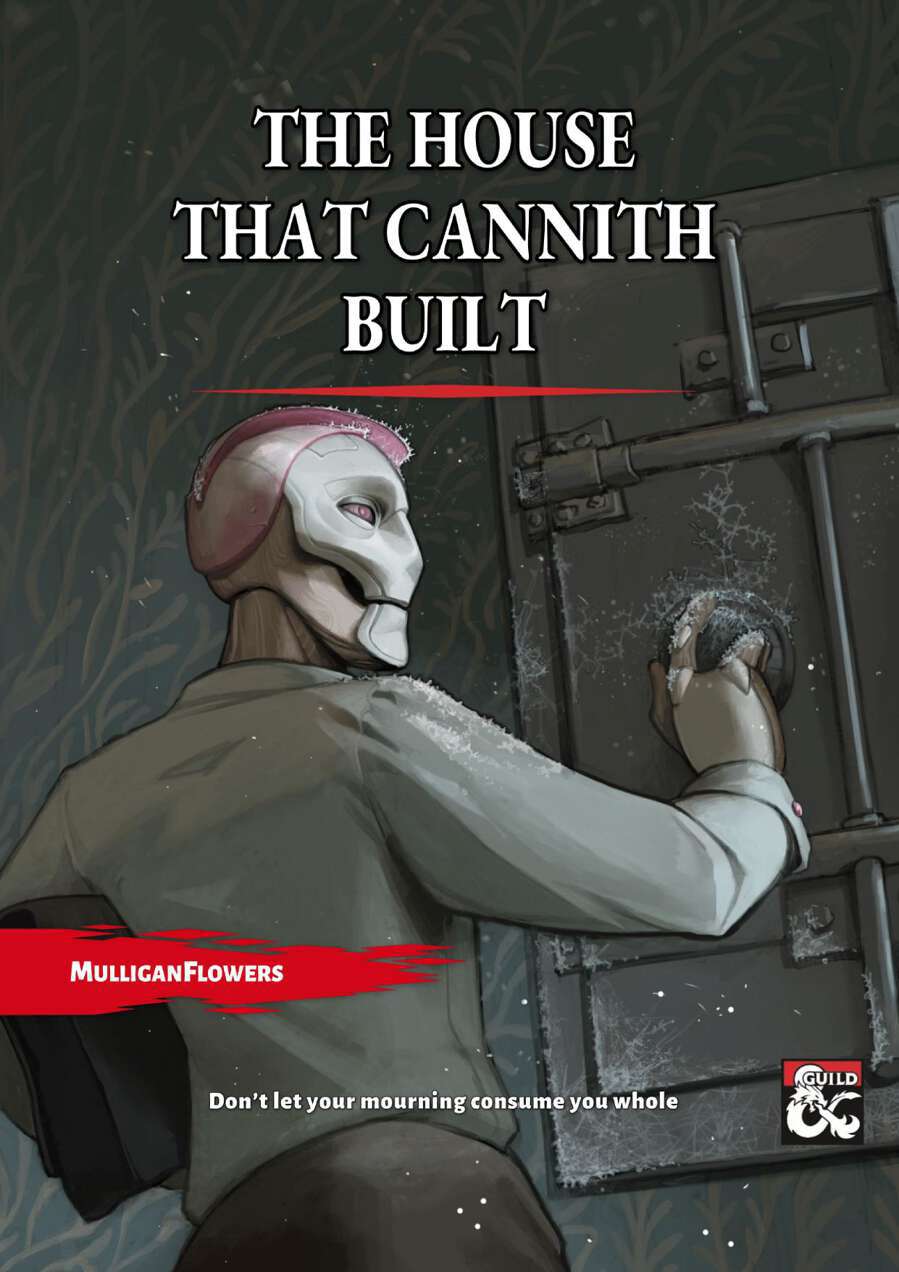
Amidst the misty, mournful waste stands a house unaffected by time. The secrets hidden inside could change the world or remain buried in obscurity. The mission of your party is to head there and retrieve all valuable papers and artifacts. But what could await on the way through the lands of distorted magic? Nobody knows for certain. This adventure is designed for a team of four 3rd-level characters. Estimated time: 2–3 sessions, 4–6 hours each. This adventure is focuses on exploration of the Mournland, all that is left from the kingdom of Cyre.

A Kiss to Build a Dream On is a 5e-compatible dream-delve for four level 7 characters. It plays for 3-4 hours. Queen Aisling, newly free of insomnia (see The Trouble with Dreams), has become an avid dreamer. A little too avid in the eyes of some. Under ducal questioning, her Majesty confessed there was something more going on; She’s fallen in love with a man she has seen in her dreams. The adventurers have been assembled to mount an expedition into the Realms of Slumber. With the aid of an uneasy Somnomancer, a magic spell, and an ice pick, a rift to the Realms of Slumber is opened! Warning: die in the Realms of Slumber and you’ll be damned to sleepwalk the rest of your life - a fate worse than death! The heroes are entrusted with an Interdimensional Valise. It functions as a Bag of Holding, except that it can also carry Dream Creatures into the real world. To appease the Queen, the adventurers must get the Man of Her Dreams into the Valise and then return with him to the Waking World. The adventurers will be rewarded with a Knighthood and an Estate in the Vinelands (10,000gp value) if they succeed.
The characters, members of the Clifftop Adventurers’ Guild, have been tasked with acquiring the Chains of Mur’taal, an artifact tied to Thelanis, by their guild handler, Lhara. This artifact is the latest in a series that Provost Nigel Faurious has commissioned the Clifftop guild to retrieve for him. The adventure starts when the characters arrive in Rhukaan Draal via Orien caravan. They’re given a chance to explore a small portion of the city before they head to a local bar to meet their contact provided by Lhara. Accompanied by a local guide, they make their way to the Seawall Mountains, where they’ll have to follow clues and their intuition to find the Valley of the Hero, which conceals the artifact that they’ve been hired to obtain. In order to earn the artifact, characters must first pass three tests laid before them by the Story: The Test of Courage, the Challenge of Wisdom, and the Trial of Honor. Once they finish the tests and collect the artifact, the party heads back toward Rhukaan Draal. But there are Marguul forces in the area, and they don’t intend to let the heroes escape with a priceless piece of their folklore…