
Rogues in Remballo is a city adventure set in Frog God Games' Lost Lands campaign world. As an introduction to adventuring in the Borderland Provinces, the City of Remballo immediately gets first-level characters embroiled in strange plots, sinister intrigue, and fierce battles. Is the thieves’ guild of Manas encroaching on the territory of the Remballo guild? What is hidden in the sanctuary-courtyard known as the Four Corners? How is the powerful banking house of Borgandy involved with all of it? What starts as a straightforward mission actually involves a host of complications — some of which can be deadly if the characters don’t play their cards right.

No Loose Ends is a mini-adventure that has a single encounter, based on a group of orcs (or ogres based on level) setting up an ambush for the players by setting up a fake bridge that they attempt to collapse under the players before attacking. The cloak of elvenkind is optional, it is included only in the higher level adjustments. Pgs. 17-18
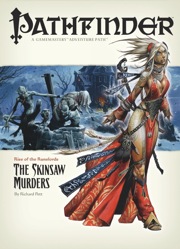
The Rise of the Runelords Adventure Path continues! A sudden string of brutal killings terrorizes the town of Sandpoint, and the killer's mark bears a familiar shape. Investigation leads to the Lost Coast's most notorious haunted mansion, a dilapidated ruin that has become the lair of a monstrous murderer. Yet this killer is but one of many, a member of a group of fanatic cutthroats calling themselves the Skinsaw Men. To defeat the cult, the PCs must travel to the bustling city of Magnimar to unravel the sinister source of these murders before they become the Skinsaw Men's next victims!

The Thieves Guild Ebonclad has assigned to party a mission to find the missing Ebonclad Seeker, Osme Sunshadow, as well as investigate the prospective thief Korina Ren. The mission’s conclusion takes the party on a “traditional” dungeon dive in search of a missing guild member, however, how they get there will depend on the work they do in the city. Finally, the mission gives you, the GM, multiple scenarios to choose from that will affect its outcome.

The rubble-strewn passageway twists and turns, winding ever deeper into the mountain, lower and lower into the bowels of the ancient, forbidding halls of long-dead dwarves. The torchlight flickers, threatening to succumb to the oppressive darkness. Creeping along one striated granite wall, Arikus the warrior moves cautiously toward the great cavern ahead, its sides and walls disappearing into the gloomy distance. Cocking his head to one side to listen, he holds his hand up for a moment, demanding unconditional quiet from from his companions. Then , his arm relaxing in relief, he waves everyone forward and moves into the open. Before him, scattered to the far walls of the enormous cavern, are piles upon piles of glittering treasure - coins from countless kingdoms, sparkling gems, exquisite jewelry, and items of wondrous power - enough for twenty kings' ransoms. Arikus laughs gleefully, thrusting both hands into the nearest cache of coins to let them runs through his fingers. At that moment, a monstrous shadow looms threateningly over him. Looking up, Arikus blanches and stumbles back in horror before the terrible visage of a Great Red Wyrm. The fearsome dragon opens its razor-filled maw and spews forth a gout of white-hot flame, engulfing the hapless warrior.... The ultimate Dungeon Master Fantasy! This is the most deluxe dungeon. Designed to appeal to discriminating and demanding role-players. Adventurers, beware. This is more than just a dragon hunt. Within the lair of the beast lie cruel and deadly traps, befuddling conundrums and puzzles, and cunning minions that will be the end of overconfident or careless adventurers. Comprised of three 64-page books, for two adventures that link to one super-campaign 12 full-color reference cards 16 special player handouts Eight Monstrous Compendium sheets A Sheet of cardstock standups with 24 plastic bases. Six full-color poster maps, two of which link together to make a giant tactical playing surface for use with miniatures or the included cardstock figures. TSR 1089

As a new Ice Age spreads across the Forgotten Realms, cities fall to the unstoppable Glacier of the Frostfallen – all but Stormhaven, holding on against the forces of the Frost King. Neverspring Frost is a 17th-20th level campaign for seasoned players featuring the existential threat of an eternal winter blighting the world of Toril. The city of Stormhaven has managed to survive the Glacier, a wall of magical winter that has enveloped the land. From Stormhaven, a party of adventurers arises as legendary heroes who will strike back against the legions of Frostfallen and reclaim the world.

An Arch-Mage who can kidnap a dragon is one tough Arch-Mage. Definitely not for those who are afraid of heights. An evil archmage, Ezoran, has kidnapped a dragon in order to discover the means to seize control of a cloud giant's castle. The adventures are tasked with rescuing the dragon by the dragon's mate. The adventure revolves around tracking and navigating through dense jungle and working through a cloud giant's fortress. Pgs. 50-63

Fleeing the rage that consumed their feuding families, Juliana and Orlando fled to the Cave of Echoes, where it is said every wish is granted. Two years have passed, and all attempts to return the lovers to their parents have failed, though some believe them lost in the enchanted garden beyond the cave. Many are the rescuers venturing into that enchanted park; a few have returned after long absences, their minds and memories curiously disturbed. Now, the handsome reward offered for the return of the lovers has tempted you, but who knows that lies beyond the Crystal Cave? TSR 9066
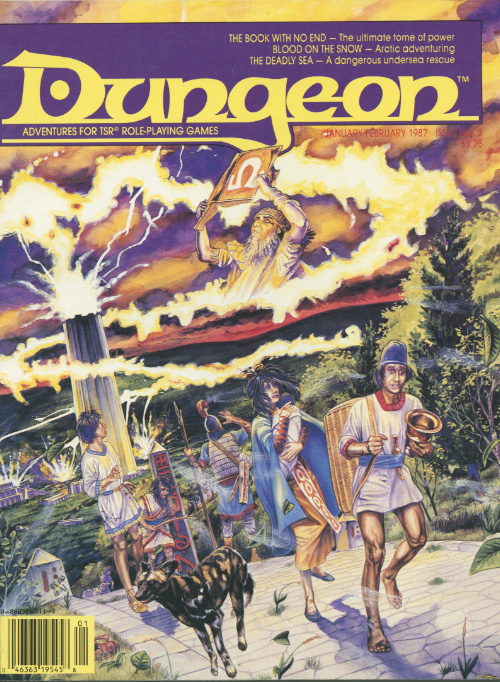
A desperate rescue beneath the waves. The Deadly Sea is an oceanic quest for 4-8 characters of 4th-7th level in the AD&D® game. The use of magical items or spells which aid undersea combat, movement, and breathing is strongly advised. The ability to open locks is also helpful, as are mariner skills and knowledge. See additional notes in the section ‘‘For the Dungeon Master.” The adventure begins at a seaport which the Dungeon Master should name and develop as desired, to fit the circumstances of his campaign. The names of other areas may be changed to fit the campaign as well. This module requires some detailing and planning prior to use.

In Heart of Nightfang Spire, the player characters are drawn to investigate Nightfang Spire, a lonely stone tower in a barren land. The vampire lord Gulthias, servant of the great dragon Ashardalon, has returned to the tower which was once the main cult temple of Ashardalon. The vampire prepares for the dragon's return by awakening the other cultists who had preserved themselves as undead creatures. Gulthias is a vampire and a level 13 wizard.

Have you ever wondered what it would be like to actually encounter an area where someone has used Guards & Wards, Symbol, and other spells to actually fortify a location against casual intrusion and thievery? If you want to find out just how deadly a wizard's "getaway cabin" in the mountains can be when the owner isn't there to let you in, this is the adventure for you and your players. Suitable for a single session of play (unless characters get killed, forcing a retreat and later return), there's only one combat encounter, but the traps are deadly. Not recommended for parties below level 12. All of the defenses are based on actual PHB spells, although a couple are assumed to have been bound into items or interactions within the dungeon. This dungeon is originally from the "Against the Idol of the Sun" high-level hexcrawl campaign.
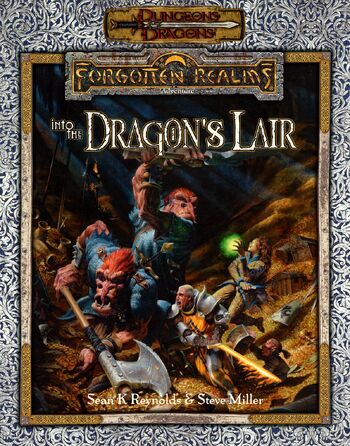
Into the Dragon's Lair takes place in the Forgotten Realms setting, and takes place after the novels The High Road and The Death of a Dragon by Troy Denning. The nation of Cormyr tries to rebuild after the death of King Azoun IV, and seeks the treasure hoard of a dragon to fund these efforts and keep the kingdom from falling into chaos. The player characters must find this treasure before all the other seekers.

Beneath the jungle-covered ruins of an ancient human temple lies a small outpost of grell that have taken to hunting the nearby area by night. Sangkon Bhet is a fairly typical example of a small grell outpost; the monsters occupy convenient ruins or caverns for a time as they search out new places to move a colony that has over hunted its previous locale. Pgs. 115-120

*THIS IS A D&D NEXT/5E PLAYTEST ADVENTURE* Imani, a Turmishan wizard and former adventurer, seeks the aid of heroes to infiltrate Dretchroyaster’s lair and recover the Diamond Staff of Chomylla—the key to powerful magic and wisdom locked away for thousands of years. In addition to his own sagely interest in the lore of lost Uvaeren, Imani recognizes the dangers of such powerful magic falling into evil hands. The dracolich has secured the staff in his lair’s cen- tral chamber, using ancient wards of protection that can be bypassed only by four artifact-idols once belong- ing to a cult of Bhaal. Each group of adventurers enters the dungeon through a different section of the dun- geon—a forgotten temple of Bhaal, a vast underground lake, a troglodyte village, or Dretchroyaster’s vaults. Dretchroyaster’s lair is no simple set of caverns and ancient ruins. It sits atop a source of great power and energy, which the dracolich and his Cult of the Dragon allies hope to use to unlock the secrets of the staff. Only by undertaking a unified assault against Dretchroyas- ter’s lair can the adventurers hope to recover the Diamond Staff and survive the dracolich’s fury. The adventurers must make their way through the lair and recover the Bhaalite idols that will help unlock the Diamond Staff, all the while dealing with the lair’s creatures and avoiding the dracolich as he pur- sues intruders. Entering the Chamber of the Diamond Staff, the heroes must overcome its magical wards and claim the staff before being slain by the dracolich and his servants.

Haedirn Lastlight is a respected elven wizard and sage. After the death of his lover Lyonthel, the elf has been overcome with grief and has locked himself away in his study- a small manor on the cliffs of Wailing Crag. Haedirn has not been seen for over a year now, and those that knew him are beginning to worry. Worse still, a band of ogres has been terrorizing the nearby town, slaughtering the town folk and haughtily boasting the elf wizard is dead. The PCs must put a stop to the ogres' attacks, make way to Wailing Crag to root out the rest of their gang, and lay Haedirn Lastlight's tortured remains to rest.

Sent on a desperate mission into an unknown land, you must seek out the one called "the Master" and his Temple of Death. There is little time to waste, as you must act before the Master's armies destroy your homelands. But to complete your task, you must battle fearsome guardians, travel through a hostile kingdom, and discover the secret of the master. Can you survive his defenses and win? This module contains referee's notes, background, maps and detailed keys. It is the second adventure in the two-part Desert Nomads series begun in X4, Master of the Desert Nomads, but it can stand on its own as a seperate adventure. Wheter you play Temple of Death by itself or as part of a series, the adventure will offer you hours of excitement and fun! TSR 9069
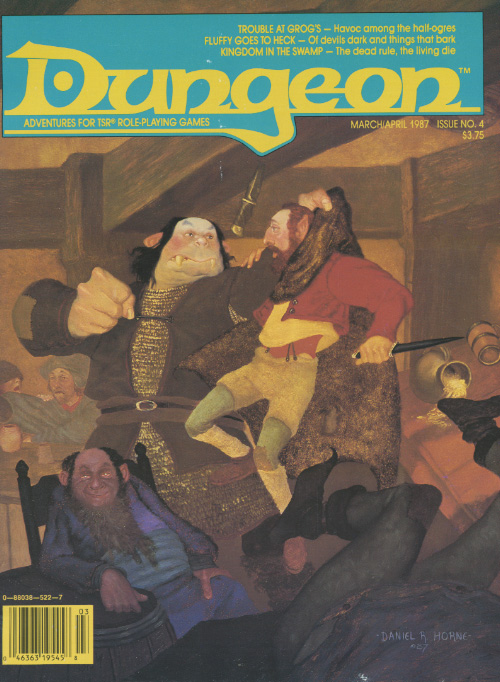
Two thieves' guilds fight to the death - with you in the middle. Run silently; the Midnight Stalkers are after you. Escape from the Tower of Midnight is an AD&D* game module for 2-6 thieves of 2nd-4th level. The Dungeon Master may change the names of the thieves’ guilds, countries, deities, and so forth to fit the individual campaign. Note that all player characters are assumed to have been imprisoned at the start of the adventure; little or no equipment will be available at first. This module is well suited for tournament use. Adventure Background It must be assumed, for the sake of the adventure to follow, that the PCs have no way of avoiding capture by the Midnight Stalkers. However, the DM may find a way to play out this adventure and have some or all of the PCs captured, allowing any who escape to attempt to rescue their comrades. Pgs. 16-27

Death Is in the Cards The remnants of the Ebon Fold are cutting a deadly path through the Falkovian countryside, draining travelers of their life force and leaving withered corpses in their wake. Hot on their trail you come across the sole survivor of one of these deadly attacks, a young vistani man with an extraordinary skill for fortune-telling. His tarokka deck helps close the gap between you and the assassins. Together you follow the trail through Darkon, the dark domain of the lich lord Azalin, to the city of Nartok. With an Unholy Alliance... Something very strange is happening in Nortok. The killers enter the Temple of the Eternal Order and don't come out. It seems that the state of religion of Darkon is giving succor to these assassins. To make matters more confusing, the Kargat, the domain's secret police, has put aside its feud with the Eternal Order and has a large contingent staying at the temple as well. These three organizations working together bodes ill for the residents of Nartok. ... And Schemes Within Infernal Schemes Great amounts of life energy are being collected for some foul purpose, although no one seems to know what exactly it is. The tarokka cards provide only mysterious glimpses of the future - a future in which a powerful evil sweeps the land and Death walks the world. Can you discover the truth of what is happening in the temple in time to avert the disaster predicted by the cards? Death Ascendant is a full-length adventure that can be run as a stand-alone scenario or as the second part in the Grim Harvest series. It contains a 64-page adventure booklet plus a full-color poster map detailing the Temple of the Eternal Order. TSR 9526

Valachan: Hunter’s Moon is a slasher/gothic horror adventure for 4-5 level characters of 8-9th level. It can be played over the course of 6-8 hours and should roughly take one playing session, if the party is quick, or two if the party is progressing slowly. This is the fourth and final part of the Carnival of Lost Souls campaign, which can also be played as a standalone adventure. Valachan: Hunter’s Moon features: Fully fleshed out Trial of Hearts with dangerous encounters along the journey Rules for sabotaging rival parties before the Trial New custom monsters to make combat encounters truly memorable and exciting High-quality maps, also available in universal vtt format Check out the previous adventures in the series: Lamordia: The Hardest of Hearts, Dementlieu: Dance with the Devil and Kalakeri: The Forbidden Temple! And look out for the special Campaign Guide, which will explain in detail how to best set up and play the campaign. However, if you want to start your campaign right now, don’t worry - we have included a short appendix at the end of each adventure that will explain the basics! Disclaimer: We are a team of writers from Ukraine, so the unprovoked war and senseless aggression of the terrorist state of russia influenced our initial timelines significantly. However, we are now as safe as we can ever be under the constant threat of missile strikes, and determined to finish the whole series! And after that - who knows, maybe even more cool adventures will follow ;)
The Giants are on the March! The Rise of the Runelords Adventure Path continues! Driven to battle by a maniacal warlord, the once-peaceful stone giants of the Storval Plateau threaten to destroy the sleepy town of Sandpoint. Will fast action and quick wits be enough to save the defenseless community? Yet, even if the giants' initial raid can be repelled, only by striking at the heart of their titanic war machine—the black-towered fortress of Jorgenfist—can the menace be quelled. But who knows what mysterious bloodlust spurs the usually peaceful giants to war, or what mysteries lie beneath their ancient fortress?