Provost Nigel Faurious’s research has revealed the location of an icy spire near the eastern side of Icewhite Island. The Provost needs the Hoarfrost Flower, an artifact found inside this spire, to make his Convergence Manifesto a reality. Eager to complete his work as quickly as possible, the Provost previously paid for an expedition from the Deathsgate Guild to explore the icy spire at the same time the Clifftop Guild surveyed the Shining Valley in the last adventure. The Deathsgate expedition’s ship, the Nightwood Cask, was destroyed by the cold of the Risia manifest zone. They made it to the island on lifeboats and headed to the spire, hoping to use it as shelter until someone from the Deathsgate Guild comes to rescue them. The spire’s builders are long gone and forgotten, but their traps and magic remain. Mror archeologists once found this place while in search of their ancestors that many believe hailed from the Frostfell. Only their camp remains in the foyer of the spire, where the party from Deathsgate waits. While the Deathsgaters’ supplies dwindle, they argue among themselves on their next steps. Should they try and make it to shore and hope their ship somehow survived, continue to wait, or delve deeper into the spire to complete the task they were hired for?

Questing through the forest, you will be tested. Which side will you take between a wizard and the Keepers of the Veil? Will you be able to find the materials necessary to help cure your friend of the ancient evil that assails him? And when it comes down to it, what are you willing to sacrifice for your beliefs? Third Time’s the Charm picks up where Second Glance left off and invites the PC to find a wizard who can help heal the Crystalline Curse slowly paralyzing the PC’s friend and protector. As the party grows closer on this adventure, learning to depend on one another, they must also navigate the Veiled Wood’s changing landscape, deciding who they can trust and who they will help as much lies in the balance. Though this was written as the third installment in the Crystalline Curse Trilogy, this adventure can be inserted into any campaign setting and scaled accordingly. Third Time’s the Charm is part of our mission to bring you high-quality, ready-to-play material that supports adventuring parties of 1 Player and 1 DM. This adventure is written for a third-level character in a one-on-one 5th edition D&D campaign. Everything you need for your own two-person game is inside! This product includes: -A 3rd or 4th-level adventure adaptable to any setting -Stat blocks for one new creature and two NPCs -A region map, two sitemaps, and a hand-drawn dungeon map to aid the PC’s investigations -A fully realized forest region with fleshed-out NPCs and places to explore -Detailed backstory for the ancient warrior sheltered inside the PC’s treasured amulet -Four custom magical items And helpful tips for DMing a one-on-one game This adventure is perfect for those looking to begin or continue their duet campaign. Published by D&D Duet.

"Ribbons of blood dance through the air, tracing wide crimson arcs before fraying into thousands upon thousands of bright red droplets. The cheerful tavern atmosphere evaporates in a moment, rent apart by screams and cries. A woman with grey hair stands near the bar, grasping at the dagger in her throat with fingers made slippery by blood. She sways and collapses. More screams. A man stands before her. He is holding the hilt of the dagger, but lets it slip from a gory hand as the woman falls. He freezes for a moment, then spins and sprints away, knocking aside people as he goes. A young, flaxen-haired woman at the back of the tavern cries out, “Stop him! Stop him!” as he approaches the entrance – the entrance where you and your comrades are standing. What do you do?" A lonely outsider murders a popular village local before a room full of witnesses. But could he be innocent? The Lurker Beneath Red Larch is a 4-6 hour adventure for characters of 3rd-4th level. It is full of roleplaying, problem solving and challenging combat encounters.
It's a simple story. A boy is missing in the woods. His father is heartbroken. Can you save him? Will this simple story have a happy ending? A simple introductory adventure for D&D 5th edition, for 3-4 beginner characters of level 1. Important Note: the adventure is entirely in Hebrew. This adventure includes material that was already published in the adventure Tower of Tragedy, which is in English.
Famed Pathfinder Bodriggan Wuthers disappeared from his dig site beneath the House of the Immortal Son in Taldor's gilded capital of Oppara. Once a grand temple to Aroden, the Immortal Son is now Oppara's most opulent theater. Sent to locate Wuthers, the Pathfinders must attend an opera with members of the Oppara elite in order to gain access to the secretive theater's dig site. When a cult crashes the performance and the nobility change into hideous walking dead, the Pathfinders are forced to choose between finding Wuthers or saving themselves.
"The Alchemists' Guildhall" is a rusalka lair suitable for four or five 6th-level characters. This adventure can be completed in one session.

You’ve arrived at the small community of Smentz (15 locations!) to regain strength after your last adventure. While speaking with the people of the small village you catch wind of some ruins across the river that may have a mine or cache of ore and ruins to investigate. Your group is not the first who has had interest in searching but those that have ventured east have not returned. Are you ready for a bit more adventure?

A job offer from the high bishop? Looks like your fame is becoming far reaching. You meet with revered figure and discover that he has a task right up your alley. A group of missionaries on an island retreat have not been heard from in a year. He asks that you and your associates go check on them.
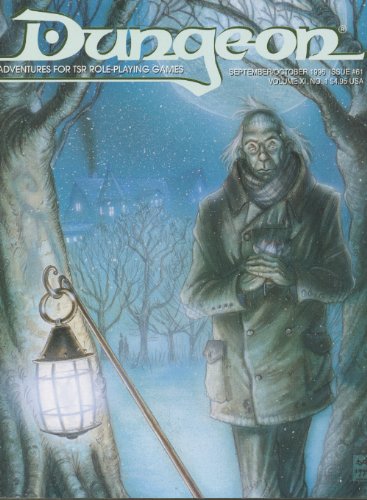
Synopsis: A swamp village is plagued by swarms of insects; several villagers have died from it. It turns out that the local herbalist is actually a vampire who takes the form of a swarm of mosquitoes. Talk to villagers and get rumors, visit the herbalist, suffer through some dreams, get ambushed by the herbalists minions, chase him into the basement to kill him and rescue the villagers. The mosquito vampire and, maybe, the role play involved in convincing the villagers to dig up the graveyard (to find empty coffins filled with sand!) should be fun. The rest of this is pretty simple.
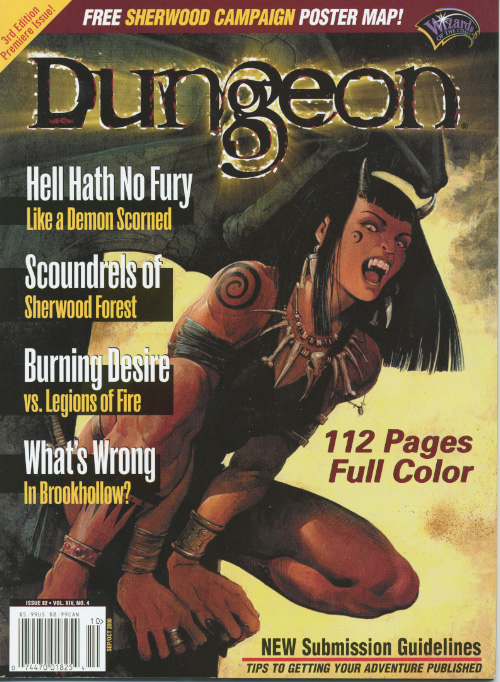
Don't Get Burned! Follow a half-forgotten legend to treasures untold and a fiery doom. Pgs. 30-41

Your party has just spent the better part of the day travelling in dismal weather and you've just located an appropriate place to camp when, out of the drizzle filled sunset, the terrifying screams of a woman can be heard through the patter of rain through the trees. Great! You're cold, miserable, and now you have the moralistic compulsion to investigate and render assistance to a damsel in distress. What you don't realize is that morals and damsels always means more trouble than what you may be willing to pay. Will your party survive long enough to see the dawn through the Screams at Sunset?
Dead from Above is intended for use with four to six player characters of levels 6 to 8. It will likely take two game sessions to complete. The adventure is set in (and above) a hilly region at the outskirts of civilization, presumably one near the base of a mountain chain. With a little work, the GM can place Dead from Above wherever he or she desires in the campaign world.

The Candy Isle - home to a confectionary shore, saccharine jungles, and a chocolate volcano, it epitomizes the phrase "sweet but deadly." The PCs must avoid gummy tribesmen and other weird, sugary dangers to retrieve the apotheosis of all sweets, the Confection Perfection!
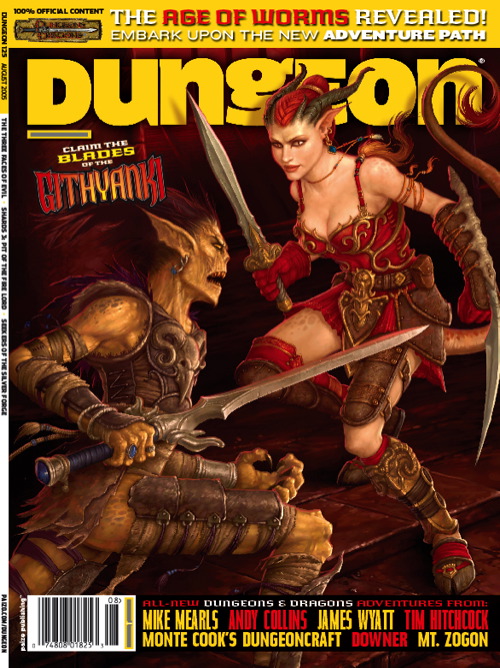
Clues discovered in Diamond Lake lead to the Dark Cathedral, a forlorn chamber hidden below a local mine. There the PCs battle the machinations of the Ebon Triad, a cult dedicated to the three vile gods. What does the Ebon Triad know about the Age of Worms, and why are they so desperate to get it started? "The Three Faces of Evil" is the second installment of the Age of Worms Adventure Path, a complete campaign consisting of 12 adventures, several "Backdrop" articles to help Dungeon masters run the series, and a handful of poster maps of key locations. For additional aid in running this campaign, check out Dragon's monthly "Worm Food" articles, a series that provides additional materials to help players survive this campaign. Issue #334 of Dragon provides comprehensive lists of all the things you can find for sale in Diamond Lake's (often) dubious shops. Pgs. 16-47

"Far be it from me to impugn the mettle of adventurers such as yourselves, but daring the depths of Undermountain merely for fortune's sake is more absurd than kicking a sleeping dragon in the nose for sport. Even so, you've returned for another trip to the Underhalls, so be prepared. You stand to enter the Lost Level this time: Gird yourselves for diplomacy as well as destruction. You'll find the last stronghold of an extinct dwarven clan: Do be good enough to extend the greetings of the Blackstaff to Bandaerl. There's also a dark vampiress who enjoys a good hunt, and be sure to mind the beholders: They're trained to keep you from escaping. "Enjoy, and don't say Khelben didn't warn thee." TSR 9519

The party starts this one-shot falling from the sky aboard an airship. It lands atop a dense cluster of trees, unable to fly, but not destroyed. Now it is up to them to traverse the nearby wilds in search for the parts that fell loose so they can get back to the skies and continue their journey. Unfortunately, they will have to face ogres, apes, bears, blights, and more to retrieve these missing mechanisms.
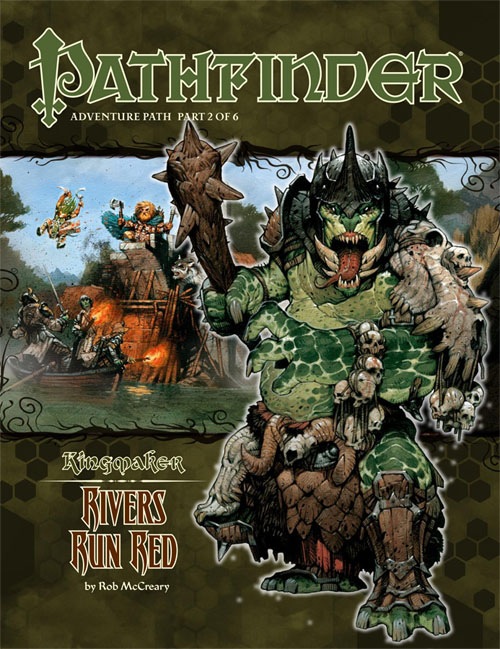
A Pathfinder Roleplaying Game adventure for 4th-level characters, this volume of Pathfinder Adventure Path is part 2 of 6 of the Kingmaker Adventure Path, in which the heroes win and defend a small kingdom from threats foreign and domestic. PCs should advance to 7th level by the end of this adventure. The PCs receive a shipment of funds, materials, and colonists from Brevoy and beyond, along with instructions to build a town and attract more pioneers to their nascent country. Having already explored the northern reaches of their new domain, the PCs must now venture into the wilds to bring the rule of law to the south. Wicked fey inhabiting a ruined keep, undead haunting an ancient barrow mound, and others must be defeated to make the region ever more secure. Along the way, the PCs might also have the opportunity to ally themselves with some of the region’s local residents, including the dryad druid Tiressia, her satyr consort Falchos, and a band of gnome explorers called the Narthropple Expedition. In addition, the PCs will be called upon to mediate between two rival factions in the area: a group of independent loggers and the angry fey sorceress who opposes them. As they explore, evidence that a group of trolls is stirring up trouble in the region becomes apparent. Meanwhile, the PCs must deal with events within their burgeoning kingdom—a rabble rouser seeks to oust the PCs from their positions of power, the secretive cult of the hag goddess Gyronna has infiltrated the town, and a werewolf is preying on the townsfolk. All of these events build to the adventure’s twin climaxes: the sudden assault on their capital city by an owlbear of unprecedented size and the expansion of Hargulka’s trolls into the north. Faced with danger on multiple fronts, the PCs must draw upon all of their resources and bravery to become the undisputed rulers of the Greenbelt.

For months, the brutal serial killer Crimson stalked the streets of Saltmarsh, preying on dozens of men and women. Now the murderer lies dead, but although justice has been done, the danger has not yet passed. A soul as wicked and deprived as Crimson's does not rest quietly, and the local cult of Graz'zt has plans for the coming monstrosity. A D&D adventure for 1st-level characters.

Tomb at the Dragon's Spine is a companion adventure made to go along with the events unfolding during the middle sections of Folio #14 (WS1 Isle of Jade). It contains the information needed to run a side adventure during the Isle of Jade. Many centuries ago, in an age forgotten, the last of the great sea dwarf masons died on the Isle of Jade after helping construct some of the final Corsair structures the world will ever see. Now, his tomb rests on the heights of the Dragon's Back, and evil has crept into the tomb. Only the brave few might now pass the threshold for the treasures that certainly lay within. While crossing the deadly 'Dragon's Spine' of the island's interior, the party encounters a darkness at the heights. Within the ancient stones the tomb of one of the last sea dwarf master masons rests. Has the corruption of the island reached the tomb? Only exploration will reveal the truth, and the treasure. This adventure is formatted to both 1E & 5E gaming rules.

Nestled high in the mountains of the Holdfists is Karnack, known for a millennium as the ‘city of the gods’. Known for its multitude of shrines, one in particular has caught the attention of the party. Annwyn is the legendary Plane of Magic for Filbar and can be used to recharge magical weapons that ‘lose their edge’. This adventure was used to help the party recharge one of their weapons they had, but this setting can be used for a variety of different purposes including a visit with a rather nasty neighbor beyond the city borders….it ain’t easy being green!