After an Andoren village is razed by the Hydra's Fang, a renegade Chelish slaver-ship, outrage threatens the stability of both nations. You and your fellow Pathfinders are sent to capture the Fang before the Inner Sea is pitched into political frenzy.
Terrible Trouble at Tragidore is a 16 page tournament module for 5th to 8th level characters. Notorious for being one of the worst modules of all time, with implausible background and encounters and a railroad of a plot.
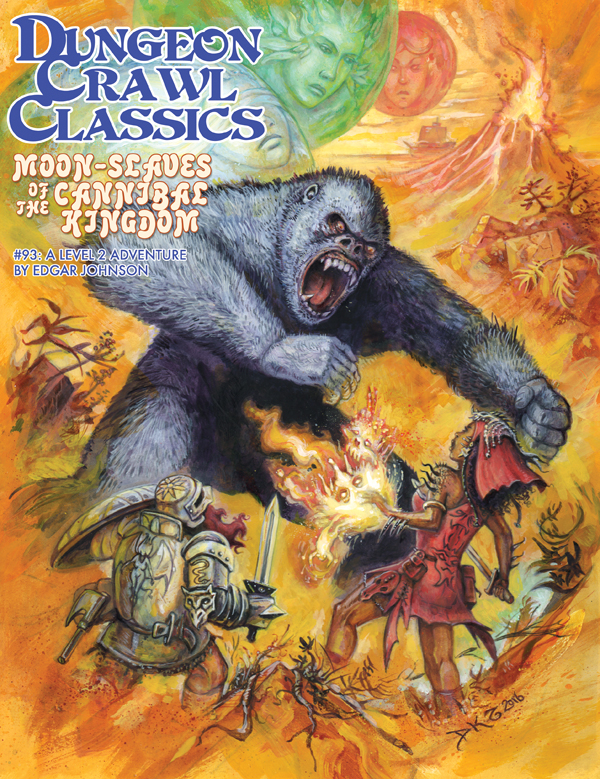
Far to the west, beyond civilized lands, lie the Tolomak Islands— volcanic peaks covered in pestilential jungle and bestriding sunken ruins. The legends say the Tolomaks are home to treacherous witches, ferocious cannibals, moon demons, and worse! Wise are those who steer well away from these accursed jungle isles, but not everyone is wise… For the legends also speak of power unimaginable and treasures beyond the limits of mortal avarice. Now, under the light of the triple moons, a band of intrepid adventurers sails ever nearer the islands. With luck, they will escape with a fortune; without it, they may not keep their souls.

At the end of the Hateful Wars, Lord Sandor led his army into the Barrier Peaks in pursuit of a host of goblins and orcs. He and his army vanished, and now a group of adventurers follows his footsteps to discover what doom fell upon him and his men. Pgs. 30-46

“Come! Sit! Be my guests. You will find that dinner is up to the highest standards, and I’ve even provided a show.” When the adventurers entered the manor of the old mayor they did not expect to fall into another plane of existence. It seems Archmage Lonore was ready for their arrival, and had arranged the finest entertainment... for herself. Can the adventurers survive Lonore’s death trap and capture the mad mage once and for all? This one-shot adventure is designed for characters of 6th level, and contains plenty of traps, encounters and misdirection. Adventure Synopsis Chasing the bounty on a murderous archmage, the characters find themselves plunged into an arcane deathtrap. Their quarry was prepared for their arrival, and had devised entertaining challenges (for herself) in this magnificent mansion demiplane. The characters will fight through various arcane hazards on their path to the inner sanctum of Archmage Lonore. As they get deeper and near the sanctum, the characters will meet the mage and her mother, possibly learn a bit about the relationship between them. This encounter leads to the final showdown in the archmage’s sanctum, where the orb of reality is located. The adventure includes a map for every encounter! (Print & VTT versions) Published by Beyond the Screen

Your cousin Rolph is dead - and while there is cause for sadness, there is also cause for celebration. As his heir, you were willed his dominion: Fenhold. Of course, the Deep Swamp is threatening to engulf all of your new holding. People are seeing ghosts and disappearing mysteriously. Animals die without reason, and crops are suddenly blighted. The farmers don't like the swampdwellers, the swampdwellers don't like the farmers, and no one likes the halflings. The entire civil service of the dominion seems to have either worked for the failure of the dominion or resigned due to actions of the others. It's going to be tough task to make all this ship-shape once again, but you're 15th level now. Isn't it about time you settled down? TSR 9210

The Ghost Tower is a companion adventure made to go along with the events unfolding in Folio #19 (WS6 Duel on The White Ship). It contains the information needed to run a side adventure that will help characters get to the White Ship temple Complex. The deck of the White Ship is filled with peril, and the stamina of the characters has already been worn down just getting to it. However, a single tower, and its now crumbling bridge, might allow the characters to skirt the bulk of the wandering monsters on the deck and get to the temple complex intact, but only if the tower proves less deadly... This adventure is formatted to both 1E & 5E gaming rules.
It’s up to your brave heroes to fight off the invading kobolds and save… the cheese?? Well, a job’s a job, and things underground are seldom what they seem. Wheel of Evil is a 16-page adventure for old-school characters of levels 3 to 5, plus a full-color cover, classic maps, and handouts. Compatible with Labyrinth Lord™ and similar games, including the Advanced Edition Companion. "Wheel of Evil" is part of the Eastern Valnwall setting, based on the Known Lands in Labyrinth Lord™! This adventure blends traditional dungeon crawling with unique elements of horror and intrigue, set against the backdrop of a seemingly mundane task turned deadly by the influence of a hidden evil.

A fiend lurks among the Black Blade goblins. A shapeshifting barghest fashioned by the General of Gehenna to exact revenge on all goblin-kind. It’s aim: to kill as many goblin leaders as possible… A masked goblin approaches the party asking for help. Two tribe leaders are dead. But a rival for chief has control of the crime scene. Will the party discover the barghest among the goblin ranks? Can they stop this imposter before it strikes again? Adventure Overview The adventure’s story is spread over 4 parts and takes approximately 4 hours to play. The adventure begins with a Call to Action scene. Part 1: Goblin Politics. Krill sends his emissaries to implore help from any strong intermediary. The party is asked to investigate the murder of Thrawn in Dringly’s lair. This is Story Objective A. Part 2: The Opposition. Gain entry into Dringly’s lair and investigate the murder of Thrawn. Gather enough evidence to find the killer. This is Story Objective B. Part 3: To The Lair! Now that the players have determined the barghest (Yeep) is to blame, they need to get to Krill’s lair quickly as he is in imminent danger. This is Story Objective C. Part 4: The Barghest.When the players arrive at the lair, they need to get to Krill and expose and defeat the barghest. This is Story Objective D. Adventure Background A barghest named Yeep has begun its onslaught of attacks against the Black Blade goblins. Starting with Chief Gnar, then his second in command Thrawn, the barghest is moving methodically down the line of command. Krill is now chief. But he has some problems: Two leaders of the Black Blades are dead. Who killed them and why? Is he next? Dringly, the next in command, has decided to take his lair for himself, declaring himself Chief of the Black Blades. Who are the Black Blades? The Black Blades are a tribe of goblins in the local area. They are known for dipping their blades in a dark black substance. It is rumored these blades are poisonous. The Black Blades regularly attack passersby on the road to rob them. The Black Blades have two lairs, one run by a chief who leads the whole tribe, and another overseen by a boss lieutenant. The Black Blades have a well-established pecking order which is how Krill stands to become chief. The next in line is Dringly, who has also declared himself chief and wants Krill dead. Krill suspects that there is something suspicious about two leaders being killed within a day of each other, but he has already burned Gnar’s body without any investigation. He needs to investigate the body of Thrawn, but it is in Dringly’s lair. Krill wishes to avoid direct confrontation with Dringly at the present for three reasons: 1) Any violence would only kill his own tribe members and further divide the lairs. 2) He believes there is still hope for negotiation to reunite the Black Blades. 3) He believes that if he were to attempt negotiations himself, Dringly would kill him. This adventure features: Two maps. Ready for your favorite Virtual Tabletop. A full color pdf. A black and white pdf. One custom monster, a reprint of barghest, all others available in the Monster Manual. Four hours of entertainment involving: roll playing a goblin bard, investigating a murder scene, tracking down a barghest before it strikes again. Applicable to any setting.

Ten thousand flawless killers surround the city. Utterly silent in battle and in death, they seem unconquerable. They mean to choke the life out of the age-old city and leave it an empty ruin. The city calls upon its heroes to defeat this unnatural menace. The heroes gather to ponder the question: how do you defeat an impregnable foe? And then a wizard from a far-off world whisks the heroes away to fight battle of a very different sort, leaving them with a strange neon pink glow around their eyes… Note: This adventure can be used setting neutral or as a means to enter the "Purple Planet" DCC setting.

Along the windswept sea coast are several natural stone columns, sacred to the Sea Goddess Pelagia. One of these pillars is the tower of a reclusive wizard, a devout follower of Pelagia. But the wizard has gone missing, and the locals suspect foul play. Surely a powerful wizard must have many enemies! A band of fledgling heroes is tasked with entering one of the Pillars of Pelagia to contend with all manner of magical defenses, while uncovering cryptic clues to the wizard’s disappearance planted by an unknown benefactor. The insidious evil plot they uncover could spell eventual doom for the surface world. But the Pillars are sacred to Pelagia, and the Sea Goddess herself might just play a minor role, aiding the heroes as they attempt to thwart a nefarious plot.

Off in the wilderness are the ruins of a temple that once belonged to the God of Balance, Tyr. It has long been abandoned by the traditional followers, but it is certainly not empty. A few clever individuals have found a way to harness the magics that still reside deep within this holy place and are attempting to use it to give life to an Iron Golem. The party must stop them at all costs or have a powerful monstrosity released into the hands of some terrible individuals.
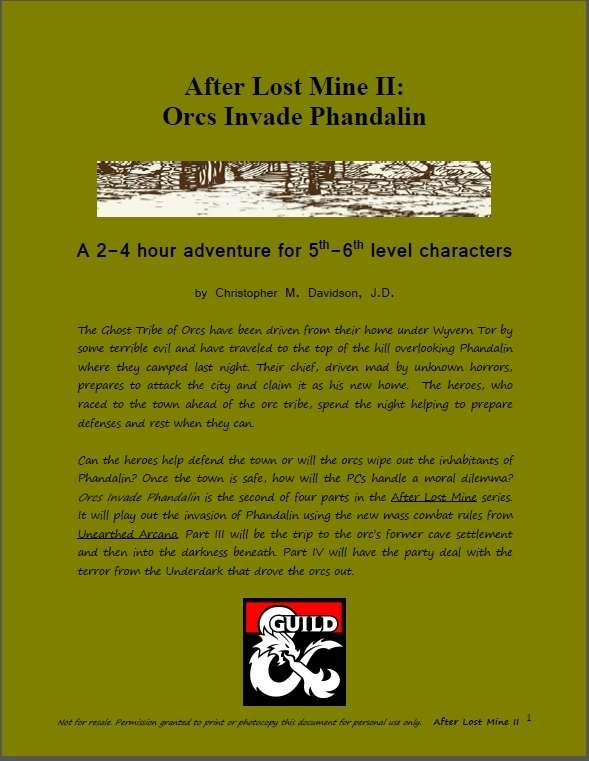
The Ghost Tribe of Orcs have been driven from their home under Wyvern Tor by some terrible evil and have traveled to the top of the hill overlooking Phandalin where they camped last night. Their chief, driven mad by unknown horrors, prepares to attack the city and claim it as his new home. The heroes, who raced to the town ahead of the orc tribe, spend the night helping to prepare defenses and rest when they can. Can the heroes help defend the town or will the orcs wipe out the inhabitants of Phandalin? Once the town is safe, how will the PCs handle a moral dilemma? Orcs Invade Phandalin is the second of four parts in the After Lost Mine series. It will play out the invasion of Phandalin using the new mass combat rules from Unearthed Arcana. Part III will be the trip to the orc’s former cave settlement and then into the darkness beneath. Part IV will have the party deal with the terror from the Underdark that drove the orcs out.
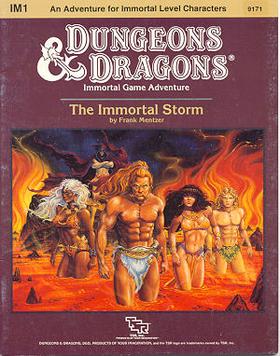
"The storm-stuff is not matter as we know it, and beyond Immortal control," the Hierarch sighs. "I fear we are doomed." It appeared only a few weeks ago - a swirling gray mass of incalculable size. And in its center, an eye. A humanoid eye. Now the storm threatens the very era of Immortal rule. The growing maelstrom emits a message to the Hierarchs. But what does it mean? Can it help save this realm of existence? Is there time to save this realm? The first Immortal adventure pits your party against the multiverse in a desperate struggle to find the essence of life. This adventure is nothing like you've ever played before. TSR 9171

Will your party survive the frostbite Frostbite Gauntlet? A sequel to The Great Trial, this module is an arctic, highly challenging gauntlet focused on exploration and combat, planned for fours 10th-level characters. The adventure can be also run as a one-shot or as part of any campaign for that level. For more information on The Great Trial, see at the end of this page. The module is divided in two parts: Chapter 1 The gauntlet itself, the party will be taken to a demi-plane against their will and from there, they have a simple goal: leave. However, a powerful undead guardian will make things difficult. The party needs to find some of the sources of power of Deathwings, the guardian, to weaken it and have a chance against it. Chapter 2 After leaving, the group will arrive at a cave complex made of stone and ice. A ancient dracolich names Icingdeath will chase the party, squeezing through the tight tunnels, always on the party' heels. Once out, the party is greeted by Aenor and offered their rewards.
A deadly encounter for a party of level 7-10s. Brave the crypt in an attempt to save Lord Eldark's son. This challenging dungeon is adaptable and easy to run in any existing campaign. It has some very tough encounters and is available for free on DM guild!

The mining town of Glister has had a prosperous year, and people have been coming in search of work and wealth. A call has gone out for help in some local matters, but getting there is no easy task. Catch the caravan and travel through treacherous Thar! A 2-Hour Adventure for 1st-4th Level Characters Part 1 of Kossuth’s Kiss

The lands that lie west, across the great sea, are uncharted. The West March Company has spent a fortune on an expedition to loot and tame it. You are part of that expedition. You are the desperate, the outcast, the destitute. This new world is weird and dangerous. Rumours abound of a city of tombs. A cursed dwarven fortress in the mountain. Mist-covered swamps that howl in the night. Pass that treasure map around the table. Drink deeply from your cups and imagine what awaits in the wilderness: gold, glory, death. Inside West Marches Company: A Grim Promise you'll find: Twelve new monsters to surprise and terrify your players. A cult of worms, a city of tombs, centaur khans and a twenty-page dwarven fortress dungeon crawl with over forty rooms. Loaded with art, evocative descriptions, weird NPC's and 2 new magic items. High resolution maps of both dungeons: Kazad Mor The Cursed Dwarfhome and Tunnels Beneath Fort Bramble This module can be run as a standalone adventure or as a west marches style game.
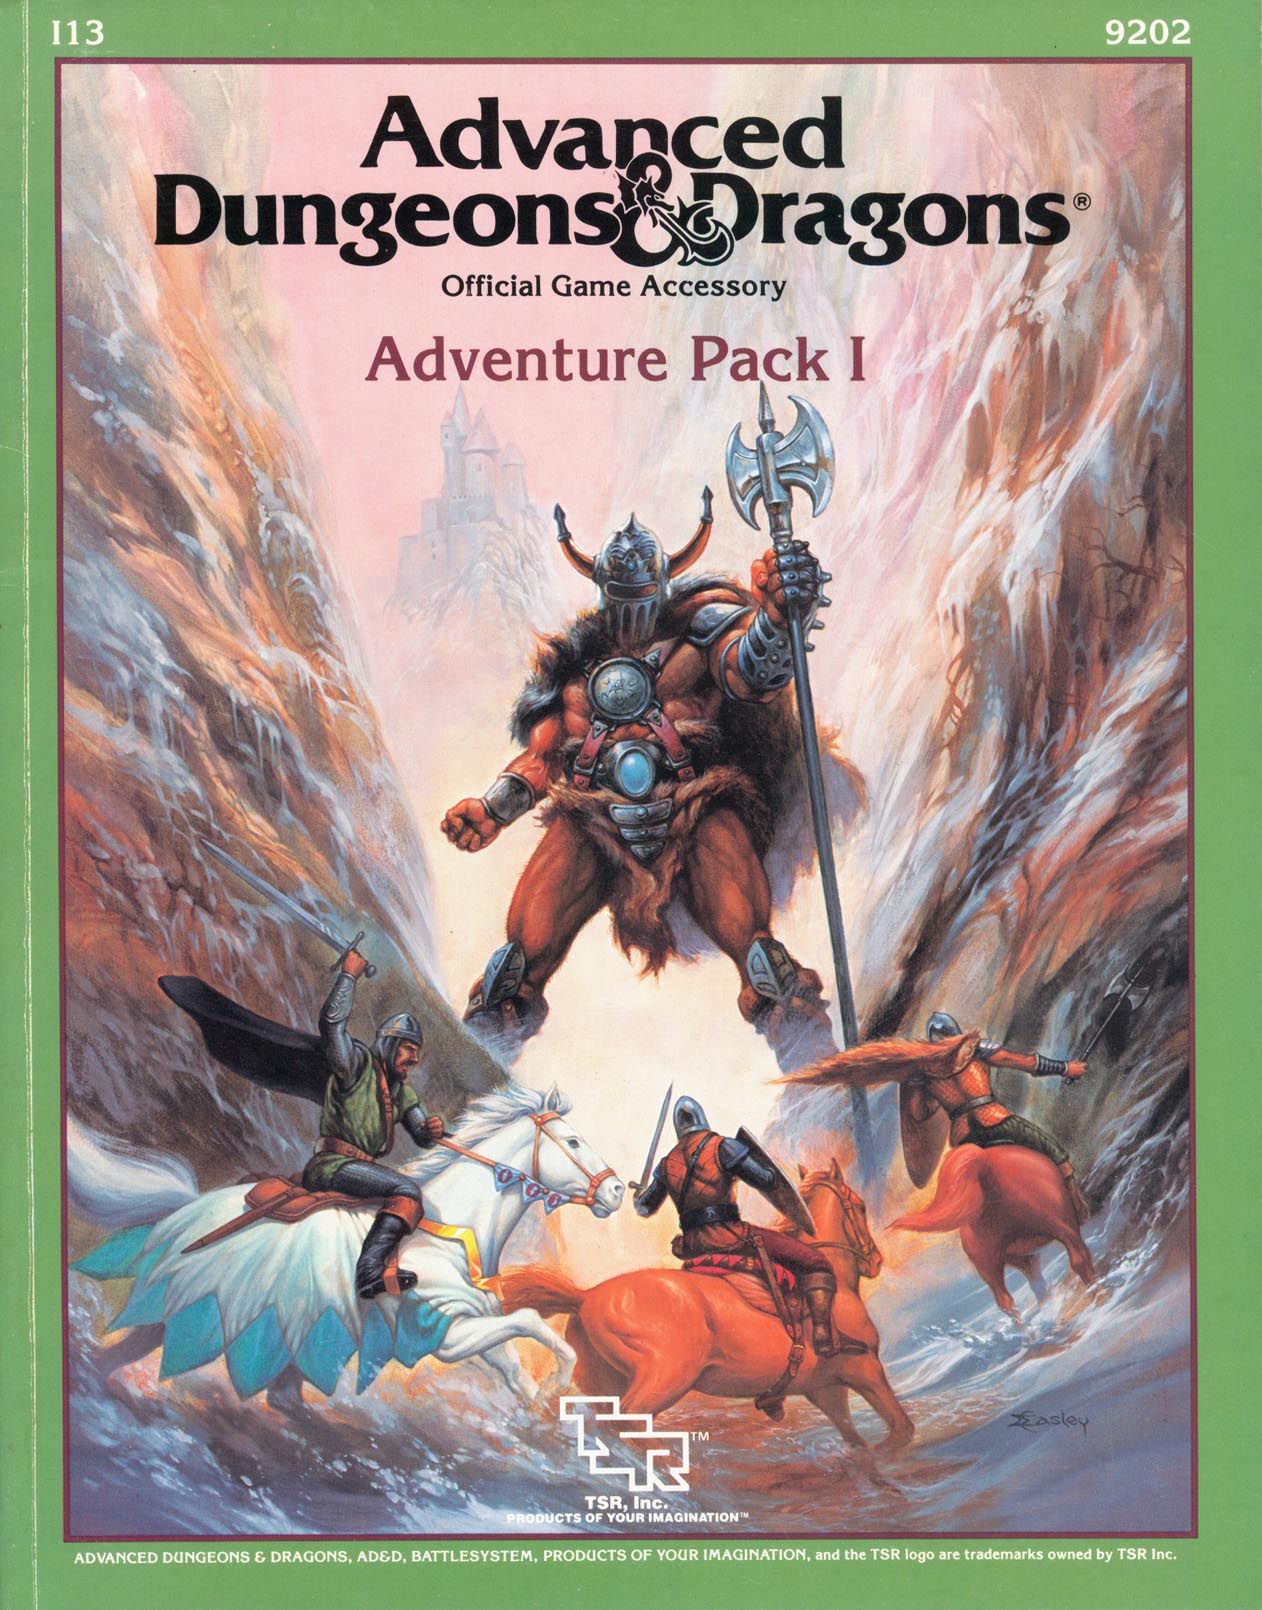
Two head-strong sisters and a dying giant all have something in common: they need help only adventurers can give. It seems there's this little problem. Included in I13 Adventure Pack I - https://www.adventurelookup.com/adventures/i13-adventure-pack-i TSR 9202
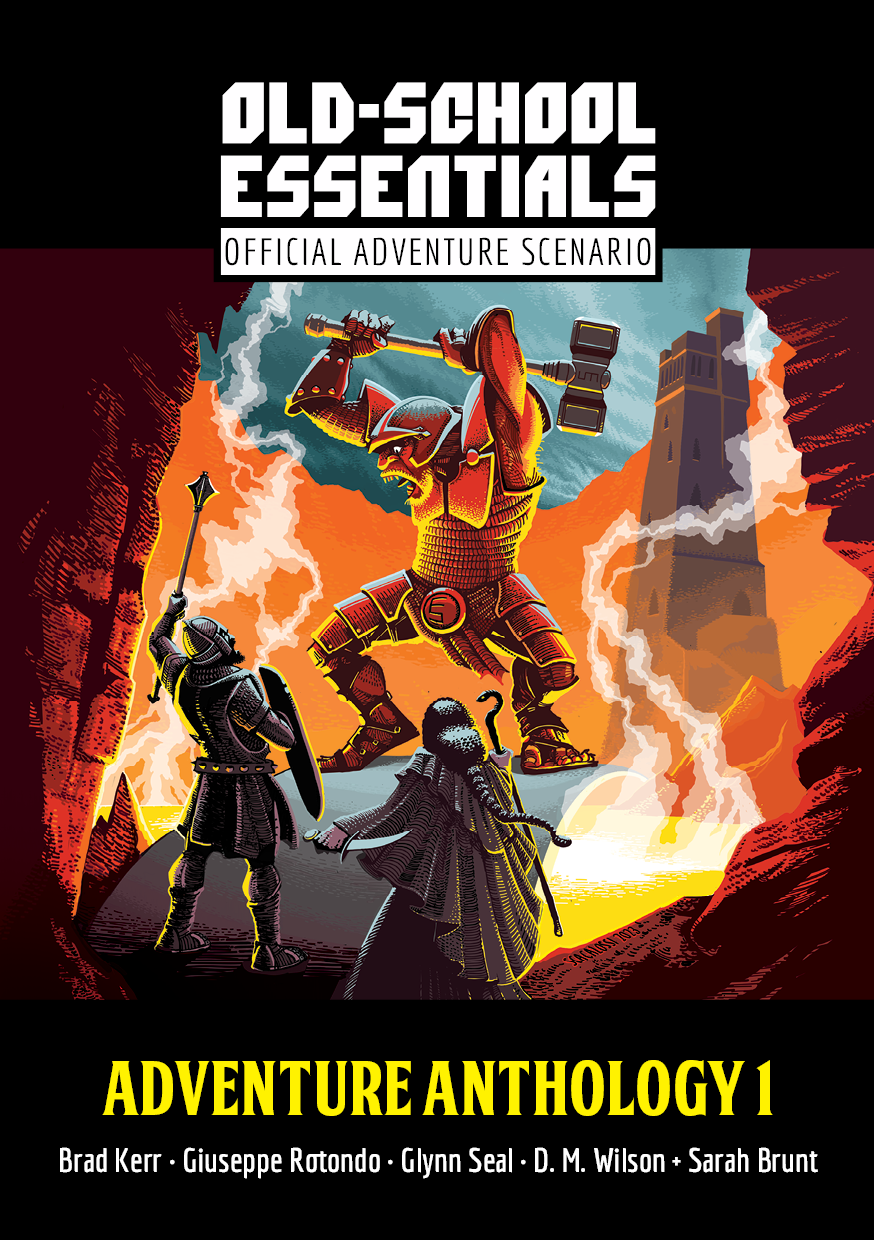
A level 1–3 dungeon adventure by Giuseppe Rotondo. The secret workshop of a long-dead jeweler-magician is now open, as his grandson wants the place finally cleared of all dangers. What treasures might remain within, and what might be watching over them? This adventure combines classic dungeon crawl elements with the intrigue of uncovering a magician’s legacy, making it a rich experience for both new and seasoned players. For Old-School Essentials (OSE) Included as one of four adventures in "Old-School Essentials Adventure Anthology 1"