
Just when you thought it was safe to take a long rest. She's Back! The terrifying SEQUEL to the PLATINUM bestselling, and Dragon+ Magazine featured horror adventure: The Haunt. The Haunt 2 is both a one-shot, and a sequel that can be run as either. Long, long ago St. Greycastle’s Hospital served the city through the years, mainly treating the wounded and sick among the militia. Over time, the lower basement was converted into a sanatorium, housing those who became maddened from enduring the violent, brutal orcs raids which plagued the region during that time. This was the place where Gertrude, the night hag, tormented patients, and created her masterpiece, the Evil Doll. Now, after all of these years, Montarthas Manor has finally fallen, and the Evil Doll has been wounded. She has returned to the only familiar and safe place she remembers, to lick her wounds and plot her next move. Her presence in the hospital awakens the evil inside, creating a nightmarish charnel house of terror. In addition, the hospital itself feeds on fear. Do your players have what it takes to enter the haunted and evil hospital, to finally end the haunt and terror of the Evil Doll?! Published by P.B. Publishing.

With several adventures under your belts your party arrives at the small settlement of Goshen seeking a warm bed and full bellies. As you begin to satisfy both you hear rumors of some overdue mining Dwarves. These miners have been quite consistent about coming to town to move their gemstones to market and with recent sightings of humanoids the townspeople are concerned. Is your party ready for a well-being check?

While searching for a series of missing people in the Galago Hills, the party comes across a cave decorated with disturbingly life-like statues. What lurks in the cave isn’t anything as simple as a monstrous basilisk, however. After all, what evil could possibly be as dark and dangerous as that which lurks in the heart of mortal men?

The Disappearance of Esme is a short adventure for four or five characters of 2nd to 4th level. It will take a party from an ancient forest to a magical island at the fringe of the Feywild to the Feywild itself. As a standalone one shot, it is possible to complete it within a session of six+ hours. However, it is ideally played over two or even three sessions so that the players have time to absorb all that is happening and make decisions with more care. It can be placed within any setting where travel to the Feywild is a possibility. Features A painstakingly crafted 25 page full-color and fully illustrated PDF, a printer friendly B&W version, and a tested for screen readers accessible version A customisable, standalone adventure with opportunities for exploration, skill challenges, NPC interactions and combat Multiple entry and exit points, suggested developments for many different pathways Well rounded, complex NPCs with old school portraits Tooth Fairies, Flying Monkeys and Foglings: custom monsters with stat blocks A colorful battle map with both DM and player versions and separate monster and environment art assets

Blinsky's Toyshop is our take on what happens to Blinsky and Piccolo during, or after the Curse of Strahd campaign. Blinsky, the toymaker in Vallaki with the cute monkey wearing a pink tutu, received a large inheritance from a long-time client. The client, Obtavius Swat, a retired adventurer and avid collector of toys, left his entire estate to Blinsky. The estate included coin, precious gems, art, and his collection of toys, some made by Blinsky and others he acquired during his travels. Blinsky used the fortune to pay a wizard to create a small island in the middle of Lake Zarovich, located just outside of Vallaki. He then paid masons and workers to build a fantastic new toyshop, which he designed to be an experience for both the young and old alike. Though the number of children in Barovia was increasing, mostly imparted to the devil Strahd’s downfall, Blinsky wanted to touch the inner child of the adults in the city. He wanted happiness. He wanted smiles. He named the castle Blinsky’s Toyshop of Marvels. One of the toys, a small silver tiara kept in a black satin-lined ivory jewelry box, was such a lovely piece. Blinsky couldn’t stand the thought of leaving it in the box. He already had enough gold and losing the small tiara wouldn’t be a large loss, so he decided to give it to his monkey – Piccolo (see Creatures of the Toyshop). He smiled at the thought of her running around in her pretty, shiny tiara. Sadly, as Barovian luck would have it, trapped inside the tiara is the sole of an evil gnome wizard named Aribetha Strangge. In his old age, Obtavious Swat forgot that he and his fellow adventurers used the tiara to imprison the gnome’s soul. Yesterday, when Blinsky placed the tiara on Piccolo’s head, silver tendrils cascaded from the tiara and into poor Piccolo’s skull, allowing Aribetha to control the monkey. Now, Aribetha has incapacitated Blinsky in the toyshop’s tower, brought many of the toys to life, and imprisoned or killed many of the workers and customers. The adventure includes costumes (which the character may wear), Strahd Hand Puppets, and a possessed Piccolo.
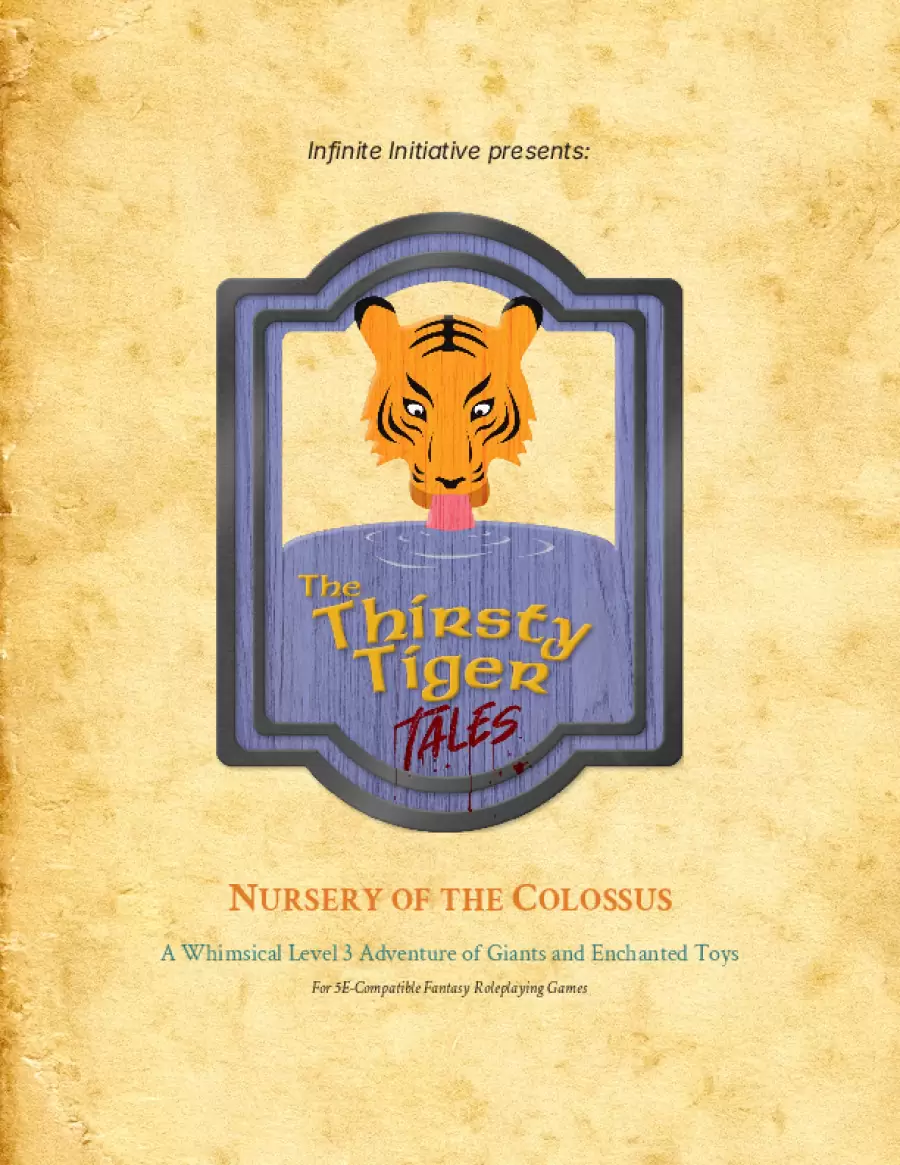
“Where did all the villagers go?” “Into the dollhouse,” giggles the toddler giant. A series of disappearances leads to a cabin deep in the forest—now transformed into an oversized nursery by wild magic. A lonely toddler, turned into a giant by unstable alchemy, believes the world is his toy box. The players must brave enchanted playthings, a colossal cat, and the whims of a magical child to rescue the kidnapped villagers… all without becoming toys themselves. Inside the Nursery: An expansive giant-sized playroom filled with towering furniture, magical puzzles, and oversized hazards. A mischievous Construct Doll boss fight, complete with toy-tossing chaos and a giddy toddler interfering with every round. A magical paper fortune teller, twitching puzzle pieces, and a mouse-run resistance hiding stolen treasures. Includes a custom stat block, magical item (Bracers of Giant Growth), and multiple resolution paths depending on how the party handles the toddler. Perfect for groups who love whimsical danger, creative environments, and a touch of chaotic cuteness.

The Thorn Hag, an ancient evil thought vanquished by the Elf Queen and her heroic companions many years ago, has arisen from the dead. A fey harp, created from the heart of the treant that perished in the battle, has gone missing from Satyrs' Glen and the Thorn Hag seems to be behind it. The PCs must track the missing harp through a warped and eerie wood and into an unseelie area of the Feywild to stop the Thorn Hag wreaking revenge upon the Elf Queen before it's too late - the clock is ticking. The Sylvan Harp is a D&D 5e adventure for 4-5 PCs of the 1st tier (Levels 1-4). The adventure has been designed with suitable alternatives to run the adventure for 1st, 2nd, 3rd or 4th-level characters, including advice for adapting creature numbers and/or powers to suit the level of your party. The adventure is estimated to take 8-12 hours to run. A timeline of events, and guidelines on how the actions of the PCs can affect those events, is included. The adventure includes nine new creatures: gwerthin, satyr bard, ash guardian, light guardian, treant spirit, pixie rot zombie, green dragon skeleton, thorn hag and thorn hag's hut. It also includes two new magical items: a powerful magical harp with a dark hidden secret and a crystal ball of clairvoyance. Also includes a player handout of the rhyming riddle of the fey, and maps of the area and a darkling tomb. Requires Volo's Guide to Monsters.

The characters have escaped the maze only to find themselves in strange dimensions of fire, stone and ice, and a strange idyllic hunting ground where all is not as it appears.
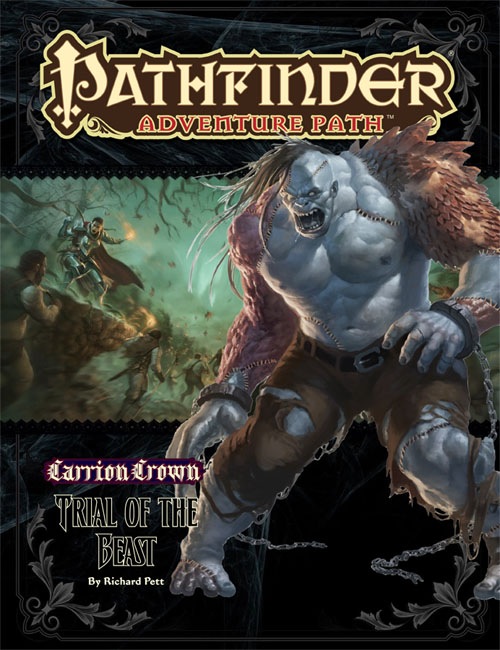
Evil Stitched to Evil The rampaging abomination known as the Beast of Lepidstadt has been captured! Yet rather than destroy the monster for its countless murders and untold crimes, the city council demands the creature receive a fair trial. Upon traveling to Lepidstadt, the adventurers find themselves caught up in the anger and investigations surrounding the Beast’s judgment. Soon it’s up to them to discover whether the legendary monster is truly a killer or merely the instrument of some greater evil—and either way, whether it’s too dangerous to be allowed to survive. This volume of Pathfinder Adventure Path continues the Carrion Crown Adventure Path and includes: • “Trial of the Beast,” a Pathfinder RPG adventure for 4th-level characters, by Richard Pett. • An investigation into the secret society called the Esoteric Order of the Palatine Eye, by Brandon Hodge. • Revelations on the faith of Pharasma, goddess of birth, death, and fate, by Sean K Reynolds. • Terror upon terror for Laurel Cylphra in the Pathfinder’s Journal, by F. Wesley Schneider. • Four exciting and deadly new monsters, by Rob McCreary, Patrick Renie, and Sean K Reynolds.

The Adurite Empire once ruled a major portion of Filbar but when the culture lost the favor of the gods it spelled doom for the entire civilization. In the wake of the carnage that followed the major cities fell to fires, plagues, and other disasters both natural and magical. In the centuries that have passed the cities are now in ruins but rumored to still hold magic and wealth. The most famous of these cities was the port city of Leptis Magna. The city was once the crossroads of the empire and was known for trading, agriculture, and magic. What treasures remain in the ruins so fierce that even pirates avoid the area? This was also the adventure played at Gen Con 2014! "I step over his body and go inside..."

SB16 – Zagzon’s Vault has an upper level (16th) group of PCs discovering an old tomb being discovered by a group of Halfling children. The remains of an evil necromancer lies within but he’s not quite “dead” and neither are his followers that were also entombed with him. Traps, tricks, and hurt lie within this adventure and it is not for the faint of heart!
An exclusive party at an illustrious antiquities museum. A missing benefactor and host who turns up dead. A missing mummy, the crown jewel of a new exhibit, and a hardboiled detective trying to make sense of it all. And a party of adventurers caught right in the middle! Welcome to the Lucaryen Museum of Antiquities, enjoy your visit. We recommend for your safety not to wander the halls at night; some of our exhibits have a habit of coming alive and attacking the unwary. Not to mention other guests who may have something damming to hide, and a loose set of morals. Don’t worry - I’m sure you’ll be fine! In this pulp thriller mystery one-shot, your players will be thrust into the role of Occult Detectives, investigating the murder of the museum’s namesake and searching the premises by night to uncover clues and the whereabouts of a missing mummy. Inspired by films such as Night at the Museum, The Mummy, and classic ‘Whodunnit’ murder mystery tales, your players are sure to have a killer time! Featuring: 15 pages of content, comprising 4-8 hours of play A full-scale, two story museum for your players to explore Shady NPC suspects and unlikely allies, complete with unique stat blocks Myriad potential encounters and one epic final Boss Fight, with 46 unique creatures from the Monster Manual, Volo’s Guide to Monsters, and Mordenkainen’s Tome of Foes Helpful tips for newer DMs

Continue the adventure inside the Dwarven Forge world of Mythras with the second part of this new gaming trilogy, The Hidden Valoria Campaign. Now entrenched in the tapestry of The Patina Court, the players must begin unraveling an even greater mystery that lies beneath the streets. Taking the adventure to the sewers, get ready to explore some of the locations that have made Valoria so famous among its players over the years This adventure is formatted to both 1E & 5E gaming rules. Also available in PDF.
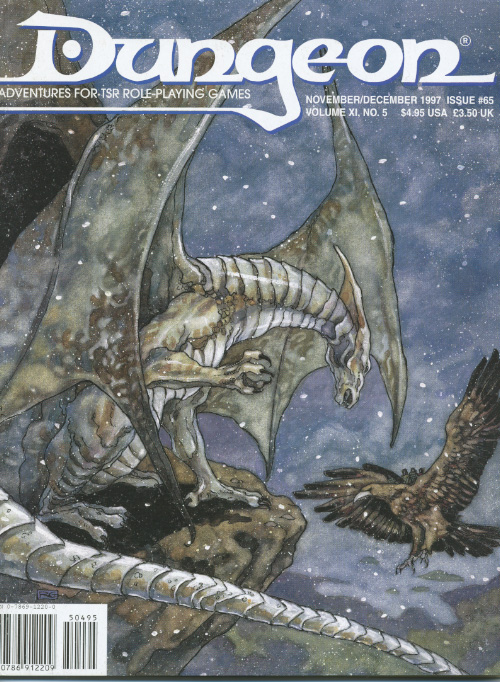
The best of intentions. Pay your taxes or go to jail - and don't even thing about using magic. Pgs. 8-23
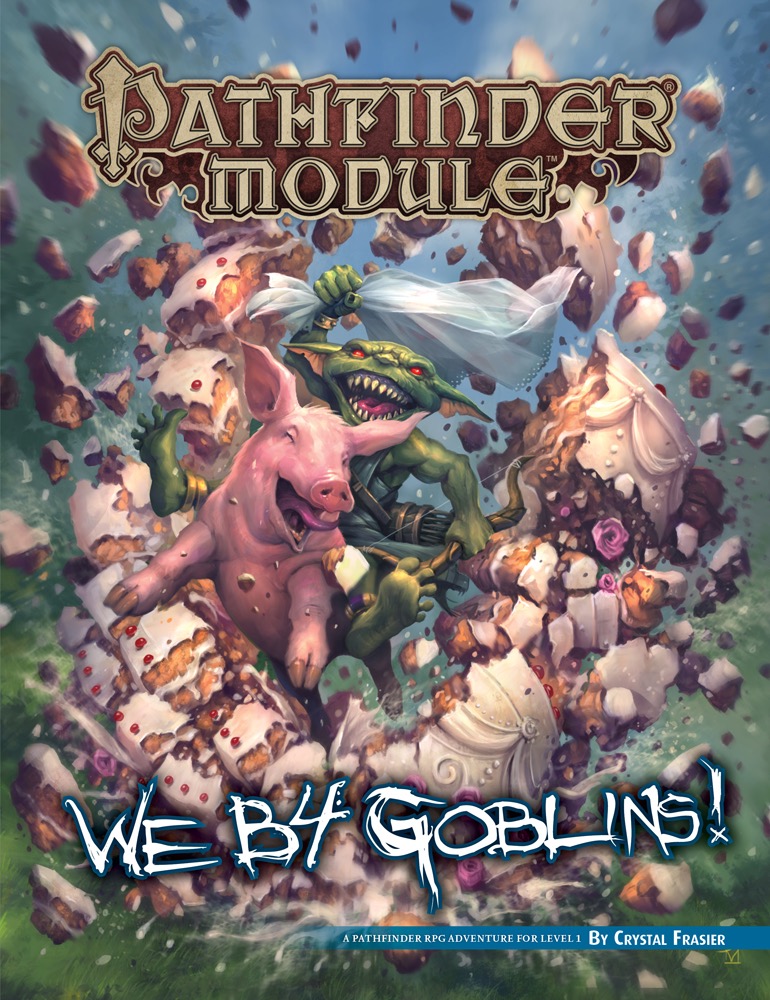
As whelps of the Licktoad tribe just out of their swaddling cages, the goblins Chuffy, Mogmurch, Poog, and Reta must prove themselves by undergoing a series of challenges, from tying a string to a large spider and shouting insults with hot rocks in their mouths to facing off against a goblin bully and his dimwitted minions. As a final test of their mettle, they must make a dangerous (and smelly) trek to claim a toad from the nearby swamp and present it to the terrifying presence that lurks within the Cave of Darkfear, only after which can they truly call themselves goblins! Part 4 of We be Goblins series

A desperate ghost, a plea for help, and a forgotten crypt filled with peril and plunder. This is a tale of past conflicts, where blood magic has left a foul and dire aftermath, and time is of the essence. Maps and illustrations help guide you through rugged wilderness to re-discover a tomb lost to all but its denizens - creatures enslaved by an unholy item or awakened by its looming threat. Published by Roan Studio

The village of Hammerston is the site of a quick meal stop for a single PC and they quickly discover that the people are highly superstitious. A mage booms into the Kingfisher Tavern and reports his apprentice was chased while returning from collecting some items. The apprentice refuses to return to the cemetery where he was attacked and the mage, seeing your adventurer garb seeks your assistance.

Szass Tam, the lich lord of Thay, and his Red Wizards threaten to dominate all of the Sword Coast. The Bloodgate, an elemental node of power, must be destroyed in order to stop him. Remake of the original 4th Edition adventure.
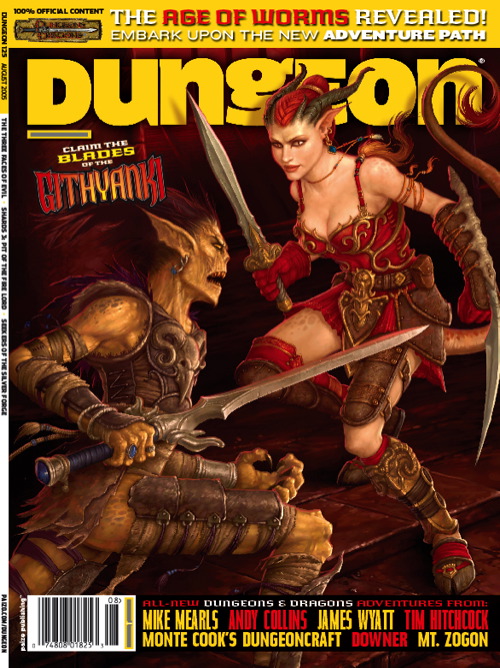
Clues discovered in Diamond Lake lead to the Dark Cathedral, a forlorn chamber hidden below a local mine. There the PCs battle the machinations of the Ebon Triad, a cult dedicated to the three vile gods. What does the Ebon Triad know about the Age of Worms, and why are they so desperate to get it started? "The Three Faces of Evil" is the second installment of the Age of Worms Adventure Path, a complete campaign consisting of 12 adventures, several "Backdrop" articles to help Dungeon masters run the series, and a handful of poster maps of key locations. For additional aid in running this campaign, check out Dragon's monthly "Worm Food" articles, a series that provides additional materials to help players survive this campaign. Issue #334 of Dragon provides comprehensive lists of all the things you can find for sale in Diamond Lake's (often) dubious shops. Pgs. 16-47

On a nameless, featureless demi-plane the Tarrasque rages across an all-encompassing nothingness. Last seen on Faerun a century ago during the cataclysm of Odobaz, the battle mage order of the Eldritch Storm sacrificed itself to banish the mighty titan to its demi-plane prison. Now a foul power emerges in the High Ice and nightmare visions of the Tarrasque trampling cities wrack the minds of the living—can your adventurers defeat the Horror Under the Mountain?