Two Red Wizards of Thay have undertaken a secret mission into the High Moors east of the Sword Coast. They are searching for something or someone. Whatever their goal out there in the cold and windswept hills, if the Red Wizards want to keep it secret then it is probably best uncovered swiftly for the good of everyone else. Even the mercenaries who escorted them into the wilderness earlier agree: someone should stop them. Pursuing the Red Wizards leads the adventurers to a barrow mound in the wild grasses of the High Moors. At the barrow, they discover the remnants of a wizards' sanctum still being plundered. The fate of its lore and treasures is up to the characters. Without caution, things may get out of hand. This Dungeons & Dragons adventure is written to suit four to six characters of 8th level. With this text and the core D&D manuals, you have everything you need to play. You may also benefit from the Sword Coast Adventurer's Guide to learn more about the High Moors of Faerûn. Made for the Magic: the Gathering set "Adventures in the Forgotten Realms".

The adventurers are tasked with rescuing a group of heroes who vanished in the pearlescent fortress that manifested on the border between the Kroth Magg kingdom and the Varkonin empire in the Steppes of Thar.

A chance encounter on the road leads to the beginning of a grand adventure. It is very much a first time adventure for new characters to dip their feet in. Can easily be adjusted to a bigger or smaller adventure. This is the first adventure in a miniseries with the following adventures being: A Mystic Circle An Urgent Rescue A Dark Veil Falls
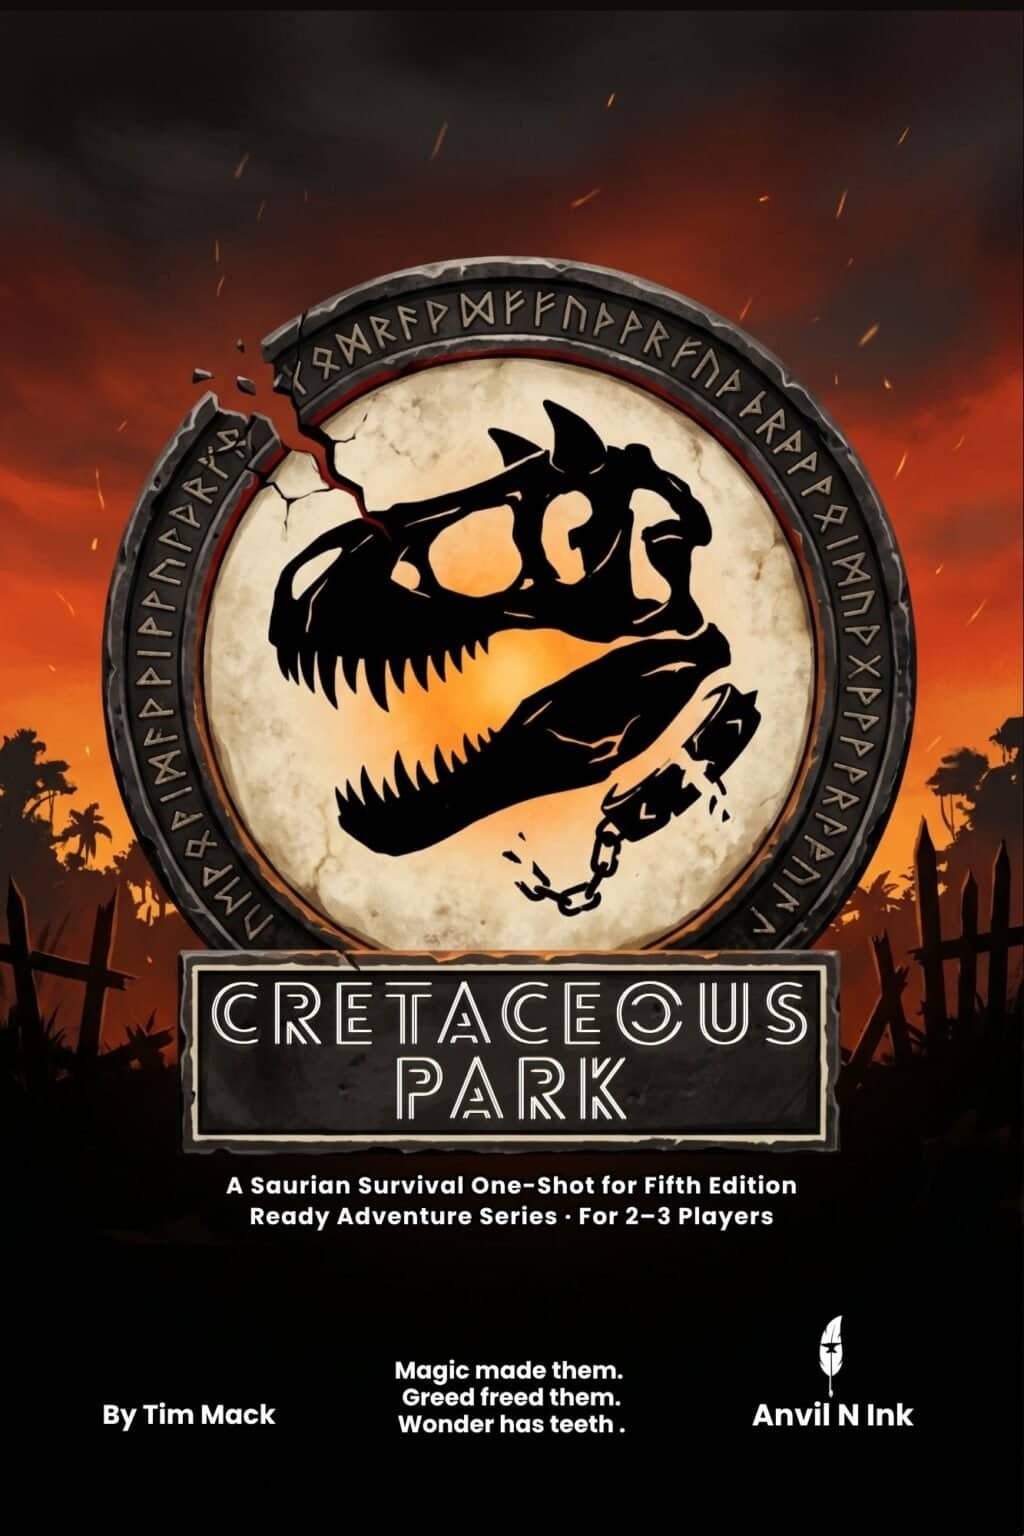
Silas Cusk built a menagerie of magically reconstructed saurians on a tropical island and sold tickets to it. The party arrives as VIP guests on preview day — the same morning Cusk's former partner steals the diamond that powers every containment ward on the island. The wards go dark, the cages open, and the island has two hours before its magical foundations give out and it slides into the sea. A complete, ready-to-run one-shot for a small table: 2–3 players, levels 2–3, one 2–3 hour session, zero prep. Eighteen named scenes across four acts, with a branching second act (a subterranean stealth route or an exposed aerial one) that reconverges so nothing is gated behind the choice. A visible 0–10 tension meter — the Containment Instability Index — climbs as the island fails and sets the severity of the finale. The apex predator is not a villain: it is a construct whose control collar overloaded when the diamond was stolen, and it is in agony, not hunger. The three-phase boss has a discoverable weak point and ends in a single-round choice between three fully written endings — destroy the island's heart, restore containment, or free the beast — none of them clean. Includes 8 SRD 5.1 creature stat blocks, 4 NPCs, 4 ready-made characters (any two form a viable party), 6 battle maps, 6 opening hooks, 6 contingencies, and 5 campaign seeds. Every encounter is tuned and stress-tested for the worst-case small table.

As the Red War rages and Mulmaster burns, the Cult of Glaugrax sunders the arcane bindings on their alien master, unleashing an ancient evil that threatens to sink the Factions' evacuation efforts. Can you thwart them before the City of Danger is swept away in the wake of Fenaria's revenge? Part 3 of The Neverdusk Trilogy. A Four-to-Six Hour Adventure for Tier 3 Characters. Optimized for APL 13. The long-awaited Conclusion to the tale that started with Ooze There?, an ENnie Awards 2019 nominee in the Best Organized Play category! This adventure is Part 3 of "The Neverdusk Trilogy", and it brings the tale of Fenaria Neverdusk, Sovad Klim, and the mysterious Cult of Glaugrax to a close! Fenaria's Gambit (a.k.a. Ooze Left?) debuted at Doujin Market Online/RPG Day Singapore 2020, a digital convention held by the D&D AL Singapore Community. This v1.01 package includes: - Full color cover art by digital painter Koh Jia Wei (Firons), with art inserts for key scenes in his unique style. - A high quality digital map pack for key encounter locations, in both Black & White and Full Color by digital artist Ryan Tan Chen Wayne (Ryzwayne). - An image by Ryzwayne demonstrating Sovad's ingenuity with the wall of stone spell in his Bonus Objective (Yes, we know he has fans). - A three (3) page cheat sheet with Jason's personal tips for running Fenaria's Gambit.

In the bitter cold of a land mired in eternal winter, hunters take the shape of wolves to better kill their prey. They stalk the snow-filled forests on paws of deadly silence. Powerful and swift, these evil shapechangers roam the land at will, murdering those who oppose them and plundering the weak. At the head of this pack paces the great Black Wolf of the Wood. Is this murderous beast the underling of Gregor Zolnik, the boyar who rules this waste? Seeking to extend his conquests by any means he can, Gregor has cowed the land of Vorostokov by relying on ruthless strength and savagery. Are your player characters clever enough to survive against villains who are stronger, faster, and fiercer than any they've ever encountered? The Black Wolf awaits your answer in the biting cold.... TSR 9419

The yuan-ti have a long, storied past in the history of Chult. So, if they are to be defeated, we must look back into history. Within the jungles, a number of cities fell into ruin during the Year of Blue Fire. Both the merchant princes and factions believe that if discovered, they likely contain knowledge that’ll prove invaluable in the battles to come. Get looking! A Four-Hour Adventure for 11th – 16th Level Characters
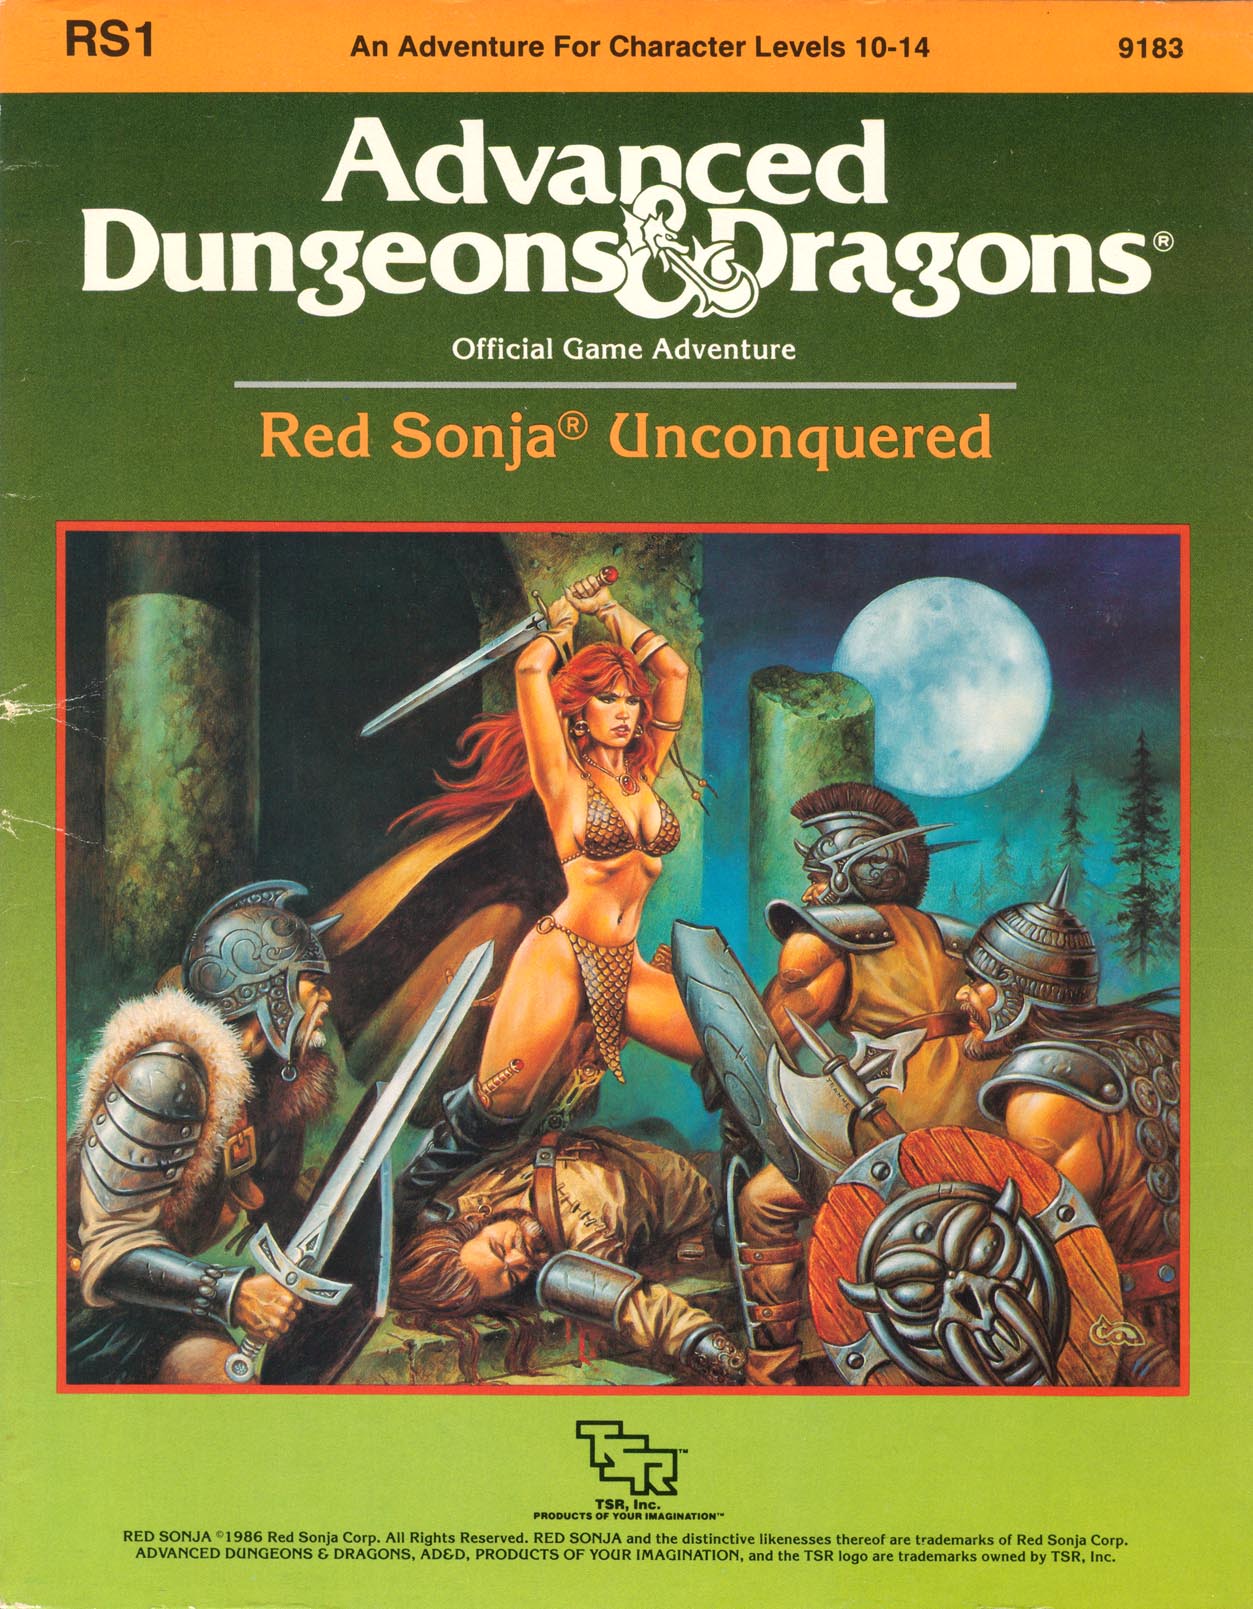
If you but have the will Sonja, you may use your strength to make the world your home. You may become a wanderer, the equal of any man or woman you meet. (The Ring of Ikribu) Red Sonja #1 Steel met steel as Sonja slashed wildly before her. Sparks flew into the air; the mercenary's sword flew to the ground. Her arms vibrated with the contact and her hands grew numb as she tightened her grip on the mighty sword. Still they came - only four in all, but with deadly intent shining deep within theiir hungry eyes. What do these men seek? Why would they rather die than run? TSR 9183
Green Death... That's what old hands call the Great Dismal Swamp. For centuries, this tangled maze of sluggish watercourses, stagnant ponds, and festering marshes has defended Blackmoor's southwestern frontier. Large armies and smaller parties have disappeared altogether inside its vast, dripping, claustrophobic corridors. Among those who have dropped from sigh in this arboral hell is young Rissa Aleford, one of Blackmoor's most important leaders. Carried off to the sinister City of the Fron, she is now being held by the eccentric Monks of the Swamp. By making the baroness captive, the deranged monks have serioulsy weakened Blackmoor at a time when enemies already threaten it from all sides. Yet, even as the Froggies gloat, the king of Blackmoor dispatches a small band of bold adventures to the rescue. Deep into the Great Dismal Swamp they must go - far from sunlight and sanity - there to seek and save the swamp, there to find the Temple of the Frog. TSR 9175
Inspired by the 12 Labors of Hercules in Greek mythology, this adaptation incorporates the classic quests, monsters, and motifs of ancient myth while injecting our interpretation of the personality and flavour of the world's greatest roleplaying game. As a result, though those familiar with the original myth may recognize key similarities in this adventure, it has been designed with the goal of re-formatting and reframing these heroic tasks in a new light, suitable for an entire mini-campaign fit for a whole group of brave and heroic adventurers. Use the Village of Kalogeros to incorporate each labor into a long running quest, or take bits and pieces and re-flavor them as necessary to fit your game. The choice is yours. Either way, we hope you enjoy.

Blinsky's Toyshop is our take on what happens to Blinsky and Piccolo during, or after the Curse of Strahd campaign. Blinsky, the toymaker in Vallaki with the cute monkey wearing a pink tutu, received a large inheritance from a long-time client. The client, Obtavius Swat, a retired adventurer and avid collector of toys, left his entire estate to Blinsky. The estate included coin, precious gems, art, and his collection of toys, some made by Blinsky and others he acquired during his travels. Blinsky used the fortune to pay a wizard to create a small island in the middle of Lake Zarovich, located just outside of Vallaki. He then paid masons and workers to build a fantastic new toyshop, which he designed to be an experience for both the young and old alike. Though the number of children in Barovia was increasing, mostly imparted to the devil Strahd’s downfall, Blinsky wanted to touch the inner child of the adults in the city. He wanted happiness. He wanted smiles. He named the castle Blinsky’s Toyshop of Marvels. One of the toys, a small silver tiara kept in a black satin-lined ivory jewelry box, was such a lovely piece. Blinsky couldn’t stand the thought of leaving it in the box. He already had enough gold and losing the small tiara wouldn’t be a large loss, so he decided to give it to his monkey – Piccolo (see Creatures of the Toyshop). He smiled at the thought of her running around in her pretty, shiny tiara. Sadly, as Barovian luck would have it, trapped inside the tiara is the sole of an evil gnome wizard named Aribetha Strangge. In his old age, Obtavious Swat forgot that he and his fellow adventurers used the tiara to imprison the gnome’s soul. Yesterday, when Blinsky placed the tiara on Piccolo’s head, silver tendrils cascaded from the tiara and into poor Piccolo’s skull, allowing Aribetha to control the monkey. Now, Aribetha has incapacitated Blinsky in the toyshop’s tower, brought many of the toys to life, and imprisoned or killed many of the workers and customers. The adventure includes costumes (which the character may wear), Strahd Hand Puppets, and a possessed Piccolo.
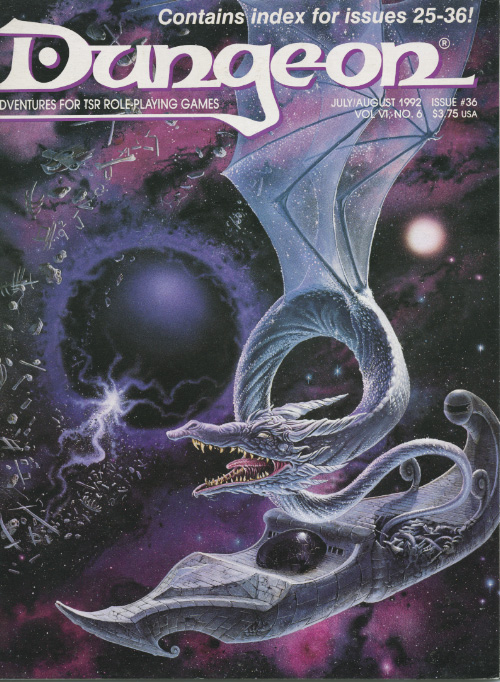
When the magic runs out, so does your luck. The wildspace monster is deadly, but its lair is the real killer. The Spelljammer ship, Sky Ranger, is lost in wildspace and the players are hired to find it. When investigating the Pirtel system where the ship was last seen, the players have a chance for exploration and roleplay in a city called Skyport. The adventure is mostly exploration of Pirtelspace and investigation to find the final resting place of the Sky Ranger. The adventure is full of random and planned encounters for this area. The story culminates in an encounter with an insane radiant dragon named Blacklight. Pgs. 40-69
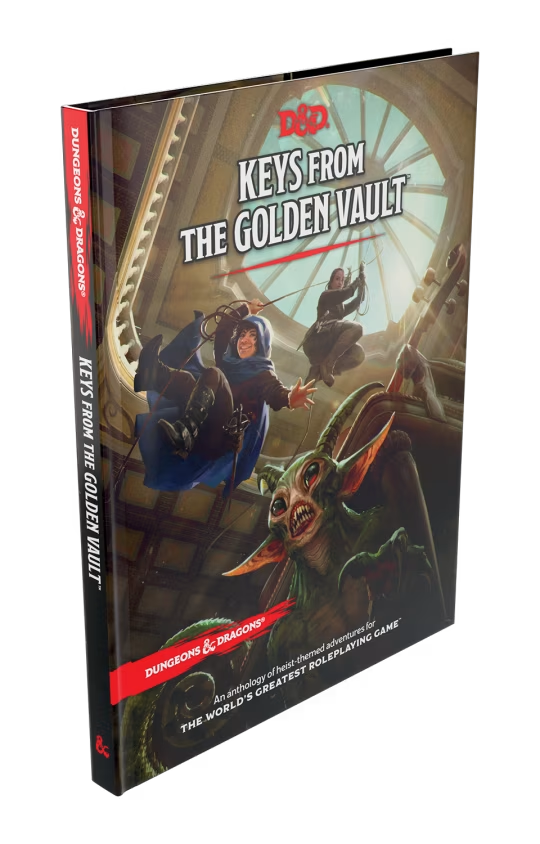
D&D’s latest book contains thirteen exhilarating heist-themed adventures, where you and your crew will take on missions from a mysterious organization known as the Golden Vault. Thirteen new stand-alone adventures spanning levels 1 to 11, each focused on a single heist.

The adventures in Dalentown continue in The Darkness Beneath Dalentown. Workers in the town’s sewers have stumbled upon the long abandoned halls of the dwarves that once settled beneath this region. What they’ve found is a haunted library. What they’ve woken is something far more sinister! The Darkness Beneath Dalentown features hordes of oozes, undead, and demons festering for years in an ancient dwarven mining stronghold. Now, they are slowly working their way to the surface, and the folk of Dalentown are in dire peril!

Kidnapped! The cursed Baron von Hendriks has kidnapped your betrothed. Now the madman wants as a ransom your Alandah's weight in unrefined gold! How are you going to pay? The baron himself has been kind enough to provide you with that answer: streams of raw gold gush from a burning mountain somewhere in the Sea of Dread. All you have to do is find this mysterious mountain. Unfurl the sails! The open sea awaits you and your crew as you sail from the city harbor. But beware! The Sea of Dread has more than earned its title over the centuries. Can you survive the perils of the sea? Will your crew mutiny before you reach the Burning Mountain? Or will you have to throw crew-members overboard just to make room for the gold? Solo adventure. "Lathan's Gold" is a real innovation in solo adventure design, considerably more complex than any of the gamebooks then being produced. Though the adventures uses the typical trope of numbered paragraphs, its paragraphs are divided into six types: "S"pecularum, "U"rban", Island "E"xploration", "C"oastal", "T"rade Routes, and "V"oyages. Players can jump between the sections, then return, in slightly freeform ways. Players are also required to keep track of hit points, money, and treasure (which were typical for the more advanced gamebooks), and rations, days remaining, and hull points (which were not). Another freeform element, quite unusual for gamebooks, is the "wandering monsters" table, which introduces semi-random encounters. TSR 9082

So you want to be a Mage of High Sorcery? To join the esteemed organization, you must travel to the Tower of Wayreth and undertake the most important event in your life—the harrowing Test of High Sorcery! If you can survive where so many aspiring mages have failed, you will forever bind your soul to the Gods of Magic and gain access to untold arcane secrets. The Test of High Sorcery is the perfect adventure for new and veteran players looking to experience Dungeons & Dragons in a new way! It is a solo adventure, where your choices have meaningful consequences, but it also provides balanced rules to play with a group or a Dungeon Master. This 154-page tome features: - A sprawling adventure that fits perfectly as an expansion to any Dragonlance campaign, Dragonlance: Shadow of the Dragon Queen, or as a stand-alone replayable experience - A tale full of sorcerous intrigue, featuring many new characters alongside iconic favorites like Fistandantilus, Takhisis, Fizban the Fabulous, and the Gods of Magic - Innovative Destiny and Trait mechanics make your choices really matter—and ensure every mage’s Test of High Sorcery is a unique experience - Over 60 possible outcomes to determine which Order of High Sorcery you join and provide compelling new plot hooks for your character during future adventures - Dozens of unique locations with rich stories and sorcerous challenges that Dungeon Masters can use to create their own version of the Test of High Sorcery - New magic items and stat blocks, with mechanics that support clever use of enemies’ weaknesses and the environment against them - Four gorgeous sample characters, with interactive character sheets designed to be new-player friendly so that you can jump right into the story - A detailed primer on the history of Krynn and how it relates to the Mages of High Sorcery - A community survey when you finish to let you see how you compare to other mages taking their Tests of High Sorcery

Bad Fruul and his minions have been threatening to overtake the town of Parnast for some time, and intelligence provided by Seer (via Hsing) confirms that an attack is imminent. Despite this, the town is at risk from within as internal politics threaten to tear it apart. It is up to the adventurers to resolve the infighting in Parnast and prepare the town for the hill giant's onslaught.

Lair of the Frog King is a short adventure for five 1st-level characters that takes place in an ancient castle. The river—which used to flow around the castle and fill its moat—has diverted over the centuries, and now what used to be fertile farmland is marshy bog. What’s more, the swamp has claimed the castle itself. A tribe of bullywugs settled in the muddy former fortress, and use it as a base to raid nearby farms. Can the newly-minted heroes stop the bullywug menace? Find out in Lair of the Frog King!

Bring the haunting themes of Edgar Allan Poe to your table! Baronness Elenore Rennet has yet to return home from a masque at Moldavia Manor two nights ago. Can the players find her and uncover the hideous secrets brooding inside the grim estate of Count Moldavia? Masque of the Worms is a 1st-level one-shot originally written for a live playthrough by the Castle Mac crew in the courtyard of the Edgar Allen Poe Museum in Richmond, VA. Check out their fantastic performance on the Castle Mac YouTube channel. This adventure is optimized for the live-streaming, one-shot format, but makes for a spooky and thrilling session at any table. It is sure to make even the bravest hearts shudder!
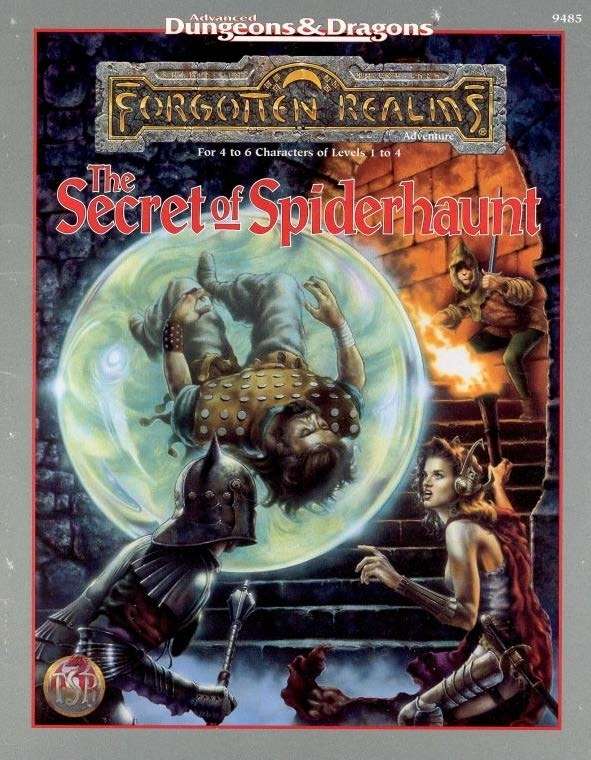
The infamous Sword of the Dales has always held a certain fascination in the eyes and hearts of the citizens of the Dalelands. Thus, it was no surprise when Randal Morn, rebel leader of Daggerdale, led an expedition into the crypt of a long-dead wizard to recover the weapon. Shaevyn the weapons-mage had created the Sword long ago, and it stood to reason that the blade would be waiting within his tomb. Perhaps the Sword of the Dales woulld allow Randal Morn to rule Daggerdale once again. But Randal Morn never returned from that fated party. Only tales of terror told by a lone survivor held any clues as to Randal's fate. A brave hand of heroes accomplished what Randal Morn's group failed to do in part one of this adventure trilogy, "The Sword of the Dales." Battling through the tomb's undead inhabitants, those heroes reached the burial crypt of Shraevyn. There, resting in the center of the coffin, was the Sword of the Dales, its azure glow filling the chamber. However, there was no sign of Randal Morn. Only a note signed by his hand held any clue as to his fate. "Seek me in Spiderhaunt," it proclaimed. "The fate of Daggerdale is in your hands." This is the second part of a trilogy of modules that began with "The Sword of the Dales." The saga concludes with "The Return of Randal Morn." TSR 9485