
The heroes’ journey is finally at its climax. The evil god Tunkorl has just been freed from his prison and only the strongest and bravest mortals of the realm can defeat him before he regains full strength and throws the world in another dark age. However, the ultimate final fight will not be as straightforward as it seems when the party becomes trapped in a time dilated cross section of Carceri, struggling to get back to the real world and finish the job. Escape the Labyrinth is D&D 5e mini adventure for 3-7 characters of 20th level. This adventure is designed for a single 3-hour session which can be part of a special event, the end, or beginning of a campaign. The heroes go between fighting the big bad evil god (round by round) and trying to escape the mutliple layers of the Labyrinth of Futility a space-time dilated cross section of Carceri.

Peren, a guildless Devkarin collector of obscure relics has gone missing. The elf of shadow is in deep debt to the Orzhov as well as to the Rakdos performer, Ophyira. To discover Peren’s fate the party must descend into the Undercity of District Four, within the territory of the Golgari Swarm. Continuing the story which began with Off to a Weird Start, and picking up where The Palace of Pain’s Pleasures left off, this adventure is designed to be part of an ongoing campaign. For Dungeon Masters who wish to incorporate The Felicity Triskelion independently from the ongoing story, 10 Adventure Hooks (one for each guild) are included, giving The Felicity Triskelion flexibility for one-shot play or for inclusion in your own campaign!
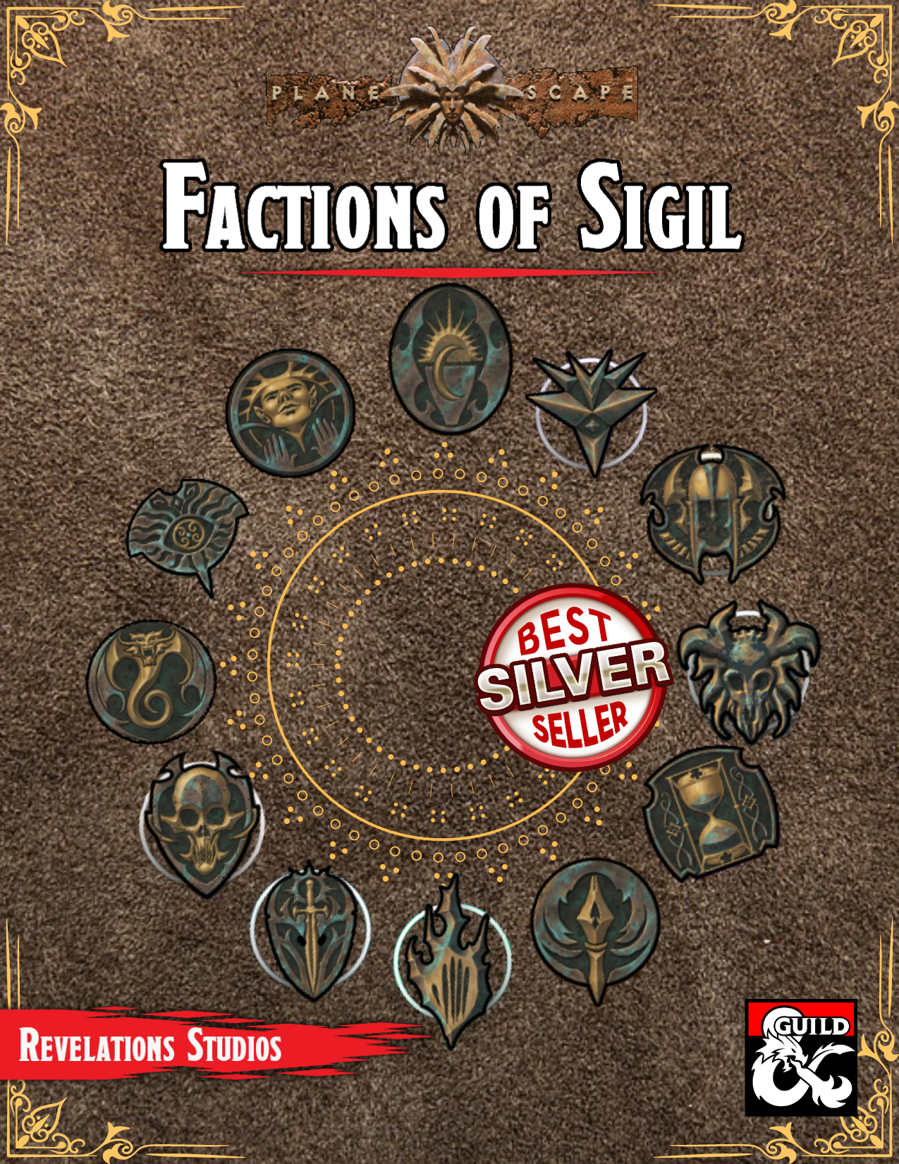
We get it. Factions are an integral part of D&D, but it's not always clear how to use them in your campaigns. Luckily, Factions of Sigil has you covered for each of the twelve main factions found across Sigil and the Outlands! This supplement goes over the various rules and lore around the primary factions found in Sigil and the Outlands, making it easy for any new or veteran DMs to integrate the factions more into the core stories being told, and making them feel more useful for the players that choose to join. In this adventure, the Heralds of Dust in Sigil ask the characters to investigate and end the disappearances in secret crypts under Sigil.

A short plug in adventure that can be used as part of a larger campaign or run as a one shot for Tier I or II characters. A well known alchemist who is famous for being able to make what ever is needed. Whoever a small mystery begins when his shop is robbed and the proprietor now goes missing can they save him. This adventure is ideal for for tier I and II characters. Playable as a one shot or as part of a larger campaign. The adventure comes with maps, encounters and enemies. The adventure comes complete with the following: - Full 5 page PDF adventure file. - 2 Parchment style DM and Player maps ready for VTT use. - 2 Printer friendly DM and Player maps ready for VTT well as printer friendly DM and Player maps that are VTT ready. - 1” diameter tokens ready to be cut out for use in person as well as files for use in a VTT - Comes with sample alchemy crafting rules

A 20th level one-shot "An ancient white dragon guards a mystical portal. Its power grows and threatens the world with eternal winter. Can the adventurers close the portal and defeat the dragon? Or will they end up just another frozen snack?" Not sure of what to throw at your epic level players? Try this! This 20-page, 4-6 hour adventure is sure to give them a chance to prove their worth. It includes... - An arctic location adaptable for any campaign - Three large battle maps - Action-oriented stat blocks for all monsters - Snow weirds! - ...and other stuff! Perfect as a high-level one-shot or a campaign finale.
Centuries ago, a powerful wizard locked himself in his inner sanctum to dedicate his life to the pursuit of knowledge. His discoveries and magic remain sealed inside to this very day. Solve his riddle and unravel the fate of the wizard Maalzinabar and the sinister evil lurking in the depths. A 2-3 hour adventure for 5th-12th level characters

The heroes hurry to reclaim a treasured item that an evil hag has hidden away. The item they seek is well guarded by dangerous foes bent on destroying any that dare enter their domain. Estimated play time - 1 hour. This product contains two combat encounters designed for 4th level PCs, an extensive backstory, new monsters and new magic items. The encounters are easily adapted to almost any campaign setting. The text also includes optional changes that DMs may consider when running the adventure for their own campaigns. This side trek encounter is the second of a three-part "Fey's Bargain" encounter series.

For centuries, the volcano now called Mount Zulgar was the battlefield of a conflict between red dragons and frost giants. The final battle saw the extinction of the dragons and only a handful of living giants. The dwarves of the Frostblood clan used this opportunity to drive out the giants and take the mountain as their own for its rich deposits of gold. 100 have passed, and now the volcano bubbles to life once more, bringing with it all manner of fiery creatures. Miners have been killed, and implike monsters assault the citizens of the mountain. The master of the goldsmith's guild has called upon your party to snuff out the Fire in the Frostblood Mine. Fire in the Frostblood Mine is a 4-5 hour adventure for 4 3rd-level characters. It can be used as either a one-shot or as part of an ongoing campaign. This module includes a single-session adventure to introduce your players to the strange creatures of the inner planes, maps of the two levels of Frostblood Mine, and a unique sentient magic item.

The adventurers are asked to search for a local temple official who has not returned after leaving to search for a hidden treasure vault. On their way, they are attacked by some Kobolds and chase the fleeing monsters to the hidden entrance. The adventurers explore the ruins and discover what has become of the missing temple official.

The unease penetrates deep in the heart of the town of Wildereach. Amalgamous bodies have been found, frozen, roaming, howling. A cloaked figure looms, suspected of snatching townsfolk when the midnight sun hits its darkest points. A creature of the deep tries to stop all that enter it's domain. Many strange happenings, here in Wildereach, is something bigger at play?

Mare Vinceret has kept the underwater city of Conatha thriving for centuries. Deep within the Greyspace lurks a force so strong that it could impede their progress toward peace. It dwells in a place beyond where they would ever choose to go, filled with dark aquatic life and a menacing presence that no one could match. Juliya Alastor, the leader of Mare Vinceret, sends her best to dispose of the threat known only as Biandra, the Hag of Conatha (sea hag). The Hag of Conatha seeks to fix what Mare Vinceret has done to the beautiful land that she sees as corruption in disguise, then live in peace. Biandra has taken their forgotten structure and made it her own. She sits within a threedomed greenhouse with walls blanketed by vines of kelp and seaweed and swimming with deadly aquatic creatures. Within the dark, polluted lair, Juliya's team falls into madness. One by one, Biandra's hallucinatory tricks destroy them, leaving each of them within her grasp. Believing all is lost, Juliya finds a glimmer of hope in a crackled communication one of the members of the party must be alive. She must send out one more group of brave adventurers to bring down Biandra for good and reclaim the underwater dome. Will the adventurers find the lost orc rogue, fight their way in, and investigate through the biodome maze? Or will they be confined to the underwater maze of Conatha in madness, trapped with the Hag of Conatha herself? Pgs. 35-41

Provost Nigel Faurious’s continued planar research has uncovered a reference to a sapphire amulet and a map with general directions to the entrance of the Shining Valley deep within the Graywall Mountains. He believes that the Valley is an Irian manifest zone, capable of charging the sapphire and granting unknown healing properties. The Provost has already acquired the sapphire and contracted Lhara, a female shifter within the Clifftop Adventurers’ Guild, to put forth a writ calling for adventurers to follow the map he uncovered and discover if the amulet’s properties are authentic. Unbeknownst to the Provost, a flight of harpies known as the Haunting Song is already living within the Shining Valley after escaping an attack on their lives by two other flights. The characters will have to convince these current inhabitants that they mean no harm. The harpies have already learned the healing properties of the valley and have been raising a new generation without any outside interference, but due to the party’s recent expedition, an oncoming war party has been spotted and the harpies now demand they assist in defending their home.

Gyldrith the Great is coming, and she is not happy. How long have you been down in these caves? Days? Weeks? More? Time is hard to track this far underground. And so much has happened since you descended into the tunnels beneath Dhonin’s Lookout. Now, you stand guard at the Great Gate of Naakrasad. Exhausted from your past battles, and your narrow escape from the cat and mouse games of the ancient deep dragon, Gyldrith. You can hear the hoots and hollers of her horde of bloodthirsty minions just beyond the city walls. A battle is coming, a battle against great odds. A battle that will test your mettle like none before. And you wonder if you are up to the task. A massive battle ranging across the small city of Naakrasad in the Underdark. Giant map of the city of Naakrasad with close-up details of the major battle sites in the adventure. Several new monsters, including the vicious Half-Ogre Hound Master and his deadly Hell Hound pets. Unnumbered maps, including the entire city of Naakrasad, to use in your favorite VTT.

You wake up in a dark room with a group of friends. You don't know how you got here and your thoughts seem distant, echoing in your mind. The note you find reminds you your mission: retrieve the flower of oshadis and escape this temple alive. Culitsts and traps stand between you and freedom.
The Kierhammer clan of dwarves pride themselves as excellent excavators, but the respective families are not without friction. While clearing the entrance to the tomb of an ancient king, tensions rose following the death of one of the Kierhammers, who seemingly fell accidentally. It is your job to ensure the clan stays united, and when disease strikes, to make sure resources are managed properly, so that the mission is complete and you all return alive. A wicked force, however has other plans...

A fiend lurks among the Black Blade goblins. A shapeshifting barghest fashioned by the General of Gehenna to exact revenge on all goblin-kind. It’s aim: to kill as many goblin leaders as possible… A masked goblin approaches the party asking for help. Two tribe leaders are dead. But a rival for chief has control of the crime scene. Will the party discover the barghest among the goblin ranks? Can they stop this imposter before it strikes again? Adventure Overview The adventure’s story is spread over 4 parts and takes approximately 4 hours to play. The adventure begins with a Call to Action scene. Part 1: Goblin Politics. Krill sends his emissaries to implore help from any strong intermediary. The party is asked to investigate the murder of Thrawn in Dringly’s lair. This is Story Objective A. Part 2: The Opposition. Gain entry into Dringly’s lair and investigate the murder of Thrawn. Gather enough evidence to find the killer. This is Story Objective B. Part 3: To The Lair! Now that the players have determined the barghest (Yeep) is to blame, they need to get to Krill’s lair quickly as he is in imminent danger. This is Story Objective C. Part 4: The Barghest.When the players arrive at the lair, they need to get to Krill and expose and defeat the barghest. This is Story Objective D. Adventure Background A barghest named Yeep has begun its onslaught of attacks against the Black Blade goblins. Starting with Chief Gnar, then his second in command Thrawn, the barghest is moving methodically down the line of command. Krill is now chief. But he has some problems: Two leaders of the Black Blades are dead. Who killed them and why? Is he next? Dringly, the next in command, has decided to take his lair for himself, declaring himself Chief of the Black Blades. Who are the Black Blades? The Black Blades are a tribe of goblins in the local area. They are known for dipping their blades in a dark black substance. It is rumored these blades are poisonous. The Black Blades regularly attack passersby on the road to rob them. The Black Blades have two lairs, one run by a chief who leads the whole tribe, and another overseen by a boss lieutenant. The Black Blades have a well-established pecking order which is how Krill stands to become chief. The next in line is Dringly, who has also declared himself chief and wants Krill dead. Krill suspects that there is something suspicious about two leaders being killed within a day of each other, but he has already burned Gnar’s body without any investigation. He needs to investigate the body of Thrawn, but it is in Dringly’s lair. Krill wishes to avoid direct confrontation with Dringly at the present for three reasons: 1) Any violence would only kill his own tribe members and further divide the lairs. 2) He believes there is still hope for negotiation to reunite the Black Blades. 3) He believes that if he were to attempt negotiations himself, Dringly would kill him. This adventure features: Two maps. Ready for your favorite Virtual Tabletop. A full color pdf. A black and white pdf. One custom monster, a reprint of barghest, all others available in the Monster Manual. Four hours of entertainment involving: roll playing a goblin bard, investigating a murder scene, tracking down a barghest before it strikes again. Applicable to any setting.

All the PCs did was help a dwarf recover his magic ring. So how did they end up in the middle of a tragic love triangle? The Ring of Truth is a short adventure for 2nd level PCs. Includes a 5th edition version of the necrophidius, a classic monster from the 3rd edition Fiend Folio.

After undead start appearing near the local town of Angstadt, the Burgomaster and Father become worried. What could be causing these foul creatures to rise? After conducting research, the clergy discover that the throne room of a celestial avatar is located only a few days away from the town. Perhaps this holy site could hold a relic capable of turning the undead?

All Eyes on Chult is a 2–3 session adventure for player characters of 1st level. These characters will rise to 3rd level by the end of the adventure. It takes place in Port Nyanzaru, Chult just after two ships flying black flags enter the port under cover of dark. Though this takes place in locales familiar to players of the Tomb of Annihilation storyline and can be played as a side quest in Port Nyanzaru, it has no relation to the Death Curse nor any other major plot elements of Tomb of Annihilation. Instead, it focuses on two nefarious Faerûnian factions—the Zhentarim and the Xanathar Guild—working together to plunder Chult for their own gain.

Azaketh, a sly and industrious devil, prepares his revenge against his bitter enemy Zirkex. Naturally, the mortals affected by his schemes are mere pawns to further his goals. It is up to the heroes to stop Azaketh in his tracks before he takes control of a powerful weapon – Logrimm’s Tower Golem. The Tower Golem is an adventure designed for 3-7 2nd to 4th level characters and is optimized for five characters with an average party level (APL) of 3. It's the second and final chapter of the saga about Logrimm’s Tower Golem. The first chapter The Soulmonger isn't necessary to play The Tower Golem but it sets up the villian Azaketh and introduces NPCs that can help the characters conquer the Tower. The focus of The Tower Golem is set on roleplaying and interesting fights. In theory, the Tower is an infinite web of rooms and portals that the characters may never escape. However, eventually, the characters reach the end for one final encounter. You can change, interweave, or exchange the different parts as you see fit. There are several proposals and fully fleshed out levels in this document, but you may add your own adventures to the list!