A city of the dead has no business coming back to life. "The dead just want a little respect." The village of Wargrave's only claim to significance is as the resting place of soldiers from a long-ago battle. Now it seems that the dead are stirring. Roleplaying of forces at cross-purposes, with sentient undead. Set nominally in the Forgotten Realms, but the adventure is essentially generic. Pgs. 38-42

It's all over (and literally so) after midnight. A mission with an unforgiving deadline. The characters must remove the magically-infused remains of a dead wizard and his medallion from a crypt. Pgs. 10-23
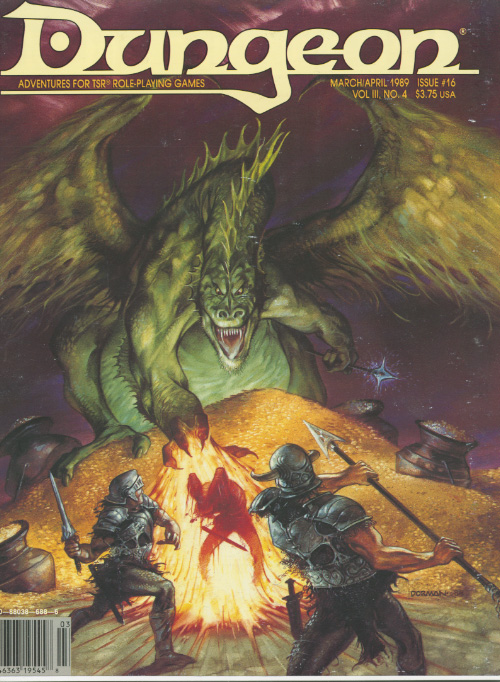
The Northmen and their allies play hardball. The Northmen are on a rampage, and only the duergar know why. Discover the secret of the iron orb. In the lands of the Northmen, near the city of Tallborg a mysterious relic was uncovered in a mine: a perfect orb of black iron. The orb was taken to the temple. When Ulvmard, high priest of Odin lifted the orb it revealed its true nature. The orb levitated from his hands, floating before him. The orb had changed Ulvmard, bestowing him great powers. The orb spoke to him with flattery and advice. As he became reliant on the orb, its power over him extended, bending him to its will and taking control. It used him to further its agenda: destruction of the dwarven race and restoration of the duergar! Claiming to be acting on Odin's behalf, Ulvmard lead the Northmen to rise up against the dwarves, and ordered raids to pillage the southern kingdoms for the materials he would need to construct a colossal iron warrior to defeat the dwarves. This adventure has viking and norse mythology influences. Pgs. 50-71

When a wizard makes a mistake, he makes a MISTAKE. Hirward the Wizard has a little problem on his hands - and it's destroying his fortress, followers and future. A good mix of character types is strongly advised, but paladins, rangers, dwarves, and gnomes may not be comfortable sparing the lives of Hirward’s kobold assistants. A generally neutral party composed of humans and half-orcs will stand the best chance of completing Hirward’s Task. This not a standard "hack-and-slash” adventure. The PCs will have to do some fighting to he successful in completing the module, but most of the time they must use their brains to figure out the best way to complete their mission. Pgs. 45-64

This is the first of the three adventures that comprise the Bleak House campaign. It brings the heroes into Ravenloft (if they aren't there already), introduces them to Rudolph van Richten, and starts them on the long trail that eventually brings them to the door of the manor knows as Bleak House Included in Bleak House: The Death of Rudolph van Richten TSR 1141
Lambs to the slaughter. A lonely cottage hides a dreadful secret. While searching for a place to make camp for the night, the party is drawn to a clearing by sound of bleating lambs and the smell of a wood fire. In the clearing is a rustic cottage and tethered around it are a dozen lambs, forming a ring around the house. The owner is a reclusive cleric who contracted lycanthropy about a year ago when his camp was attacked by a marauding werewolf. Though he recovered from his injuries, on the next full moon he transformed and attacked his companions. In the aftermath he resigned himself to a life of isolation, believing that his faith will cure the curse. This is a short adventure, just a single combat encounter where the werewolf attacks the party. If the werewolf isn't killed outright there is a roleplaying opportunity and the potential for the party to seek a cure. Although the adventure is set in the Forgotten Realms campaign, it can be readily adapted to any setting. Pgs. 66-69
The players are tasked by a mysterious Wizard's servant quest to recover the two gems of the Twofold Talisman: the Heart of Light and the Ebon Stone. The quest for the Heart of Light takes the adventurers to the Wizard's own mansion. Pgs. 43-54
a baron recruits the party to find a set of magical swords as well as explore a mine shaft that connects to the under dark
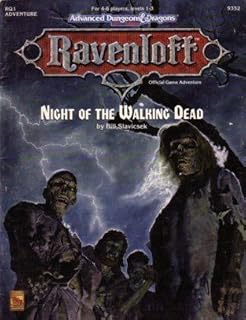
In a rain-soaked graveyard, a small group of men stands round a coffin bound with heavy chains. "We are here to mourn the passing of Jean de Cardeau," intones the village priest. " Let us pray that his rest is eternal, and that he never returns." As the pallbearers lift the coffin, something scrapes on the wood from inside. Quickly and without emotion, the attendants slide the casket into a crypt. Then they seal the door and flee. Behind them, unheard, a dull thudding begins, growing louder with the onset of twilight. There can be no peace for those who linger in the earthly realm after death. And there can be no sanctuary on the Night of the Walking Dead! Set in a zombie-infested swampland, "Night of the Walking Dead" is an ideal first-time Ravenloft adventure. Players must unravel the mystery behind a string of murders and disappearances in a village plagued by ambulant undead—and all is not as simple as it seems! The hour of fear is upon us. Are you ready to face the Demiplane of Dread? TSR 9352
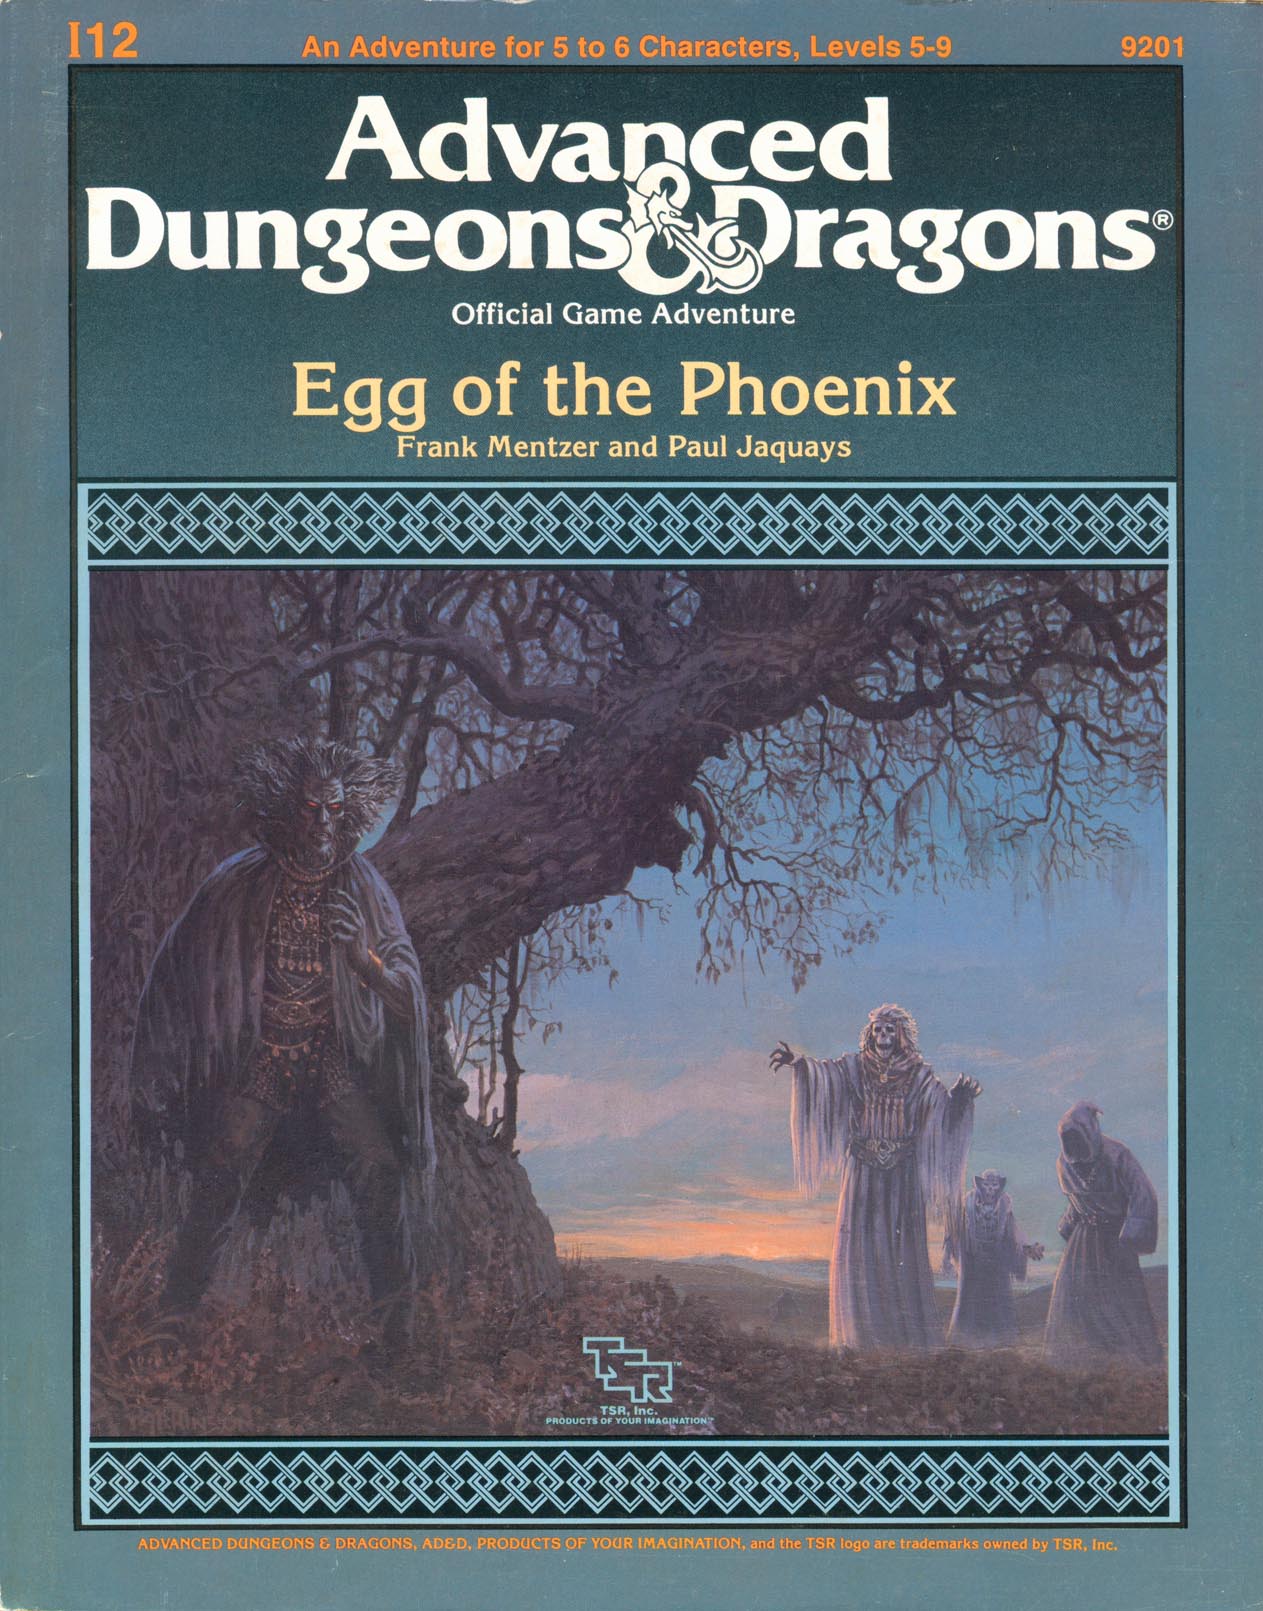
"Come on," they said, "It won't be so tough, just stopping a slavery ring," they said. "I don't know," you said. "Those slaves aren't even entirely human! How do we know they won't try to kill us?" But you went, and now you're having second thoughts. There were the thieves in the lost crypts of Empyrea, raising hundreds of - no, that's too disturbing to think about. There were the three daughters who - no, that's too painful to remember. Now there's this Egg of the Phoenix. What does that have to do with anything? This was supposed to be a cut-and-dried stop-the-slavers job. Who said anything about retrieving lost artifacts? Trudging through forests, traipsing through castles, trotting throug dungeons, traveling through other planes: this has turned into more than your run-of-the-mill adventure. The compensation had better be worth it! Provided, of course, you're around at the end to collect your share. TSR 9201
Synopsis: A swamp village is plagued by swarms of insects; several villagers have died from it. It turns out that the local herbalist is actually a vampire who takes the form of a swarm of mosquitoes. Talk to villagers and get rumors, visit the herbalist, suffer through some dreams, get ambushed by the herbalists minions, chase him into the basement to kill him and rescue the villagers. The mosquito vampire and, maybe, the role play involved in convincing the villagers to dig up the graveyard (to find empty coffins filled with sand!) should be fun. The rest of this is pretty simple.

Snakes fly, stones walk, and colossal monsters burrow in the world's crust - do these omens fore-tell catastrophe? Perhaps so, for now the dark elves walk in the sunlight, wearing armor that turns the shcaprest blades and strongest spells. They are poised to conquer the fabulous Hollow World. But what is this armor? How does its creation involve the ancient, mile-long Great Annelids, as well as those wondrous creatures, the feathered serpents? The mystery's solution draws your heroes across three thousand miles, from ruins to seaports, through the trackless caverns beneath the World's Spine, and finally to the eternal land of Nithia. There, your heroes discover the true meaning of... NIGHTRAGE! Nightrage is the second part of the far-ranging Blood Brethren Trilogy. You can play these three Hollow World modules in any order, or play this 64-page adventure by itself. You need the D&D Hollow World Campaign set to play. Easily adaptable to the AD&D game! TSR 9310

Neither Man Nor Beast is set in the Ravenloft campaign setting, on the island of Markovia. It recounts a tale in which the heroes encounter all manner of beasts - some wearing human form, some animal, and many somewhere in-between. TSR 9499

He wanted a scabbard - but got the shaft. If the book is to believed, there's a magical sword - completely unguarded! - ripe for the taking. This short adventure starts with the players finding a diary describing the final resting place of Hrothgar and his powerful intelligent sword. In a quest for the sword, the players investigate a small cavern system and find the sword in a gelatinous cube. Pgs. 32-37

The town of Byr is in need of heroes. Residents of the town of Byr have been kidnapped. Some think it was marauding Hobgoblins, but a grizzled and crippled veteran who helped to drive the Chagmat (monstrous spider-people) back many years ago believes that the Chagmat are back. Their forgotten temple is believed to be up on Little Boy Mountain. He argues that the mountain is where answers, and the missing townsfolk, can be found. Pgs. 33-48

Your sleek cloudskate skims across the Skysea. It is midnight. All day long, the glass sea soaked up the scorching desert sunlight. Now, that heat lifts your ship a few inches off the glass and fills its sails. The only sound you hear is the soft swish of the diamond-edged rudder as it cuts a path across the Skysea. One thousand years ago, the wizard Martek knew that you would come to find his Sphere of Power. Now, one of his glowing Star Gems shows you the way. The starlight, reflected in the glass beneath you, flickers peacefully. Suddenly, the Skysea before you bursts up into a thousand shards of splintered glass, showering into the moonlight! A horrible creature is silhouetted against the moon. You strain against the rudder to keep your ship upright. Too late! Your cloudskate tips onto one runner, and then tumbles over, skidding to a stop on the glass. As your companions struggle to right the ship, you turn and face the monster. You must hold the creature back to give them time. Without the ship, none of you can get off the glass before the sun rises in the morning. Martek's prophecy spoke of heroes, tests, and dangers. Are you the heroes? What are the tests? What dangers and riches lie ahead? This adventure can be played by itself, or as the third and final part of the Desert of Desolation series. For character levels 7-9. TSR 9054

The Great Mage Cheiromar, known as Aglahund the Mighty, is said to be buried under the Leaning Stone atop Galzar's Crag. One of his apprentices, Ulthorn, has been discovered dead in an aperture of the Leaning Stone - a doorway that locals swear has never been there before! You must discover how Ulthorn died and the mystery of the Leaning Stone. In the process, you may find yourself at the Endless Stair. Those who never climbed it say is seems to lead nowhere. Those who did never lived to tell of it. Will you dare ascend into the unknown? TSR 9192
No treasures here just lying around to be taken. This tomb's riches fight back! Never mind the guardians. Watch the loot! A new tomb has recently opened for business in your area! The wealth of a wizard's lifetime can be yours! Defeat his traps! Slay his guardians! Zathis the Insightful took a century to collect these marvelous treasures. Now they can be yours in a matter of hours! Pgs. 10-25

Your magic user friend has had his spellbook taken by marauding bugbears. He, and by extension you, are tasked by his mentor to recover the tome. Now you must track the goblinoids across the maze like hill country to find his stolen book. Pgs. 9-24 of Polyhedron #28

After hiring a group of brave adventurers to help him "acquire" a beholder specimen, the mage Velinax disappears! Rumors blame an insidious thieves' guild called the Unblinking Eye for this turn of events. Why would the Unblinking Eye wish to "take care" of the mage? Why does the guild want to speak to anyone involved with Velinax? Finally, what dark goal does the guild truly intend to accomplish? Finding out the answers to these questions will lead doughty adventurers straight through the shadows of a crafty thieves' guild and onto the threshold of an even deeper and more dangerous darkness. "Eye of Doom" is the second of three adventures featuring the nightmarish beholder. It can be played as an individual mission or as part of the series that began with "Eye of Pain" and concludes in "Eye to Eye." TSR 9530