
Untamed by the laws of man, the Giantdowns region remains a buffer zone between the ruined empire of Anuire and its northern neighbor, the Rjurik Highlands. The Great Downs themselves are the stuff of legend: Giants, they say, are buried beneath the mounds, awaiting some call to rise and battle once more. But in the meantime, other forces threaten the Downs. A new awnshegh, the humanoid known as Ghuralli, strives to make his small kingdom a rival to the neighboring Gorgon's Crown. His armies of humanoids, giant-kin, and monsters stand ready to strike at the few human settlers brave enough to live in the shadow of the Great Downs. The Rjurik settlers need a leader, someone who can defeat Ghuralli and forge a kingdom out of their scattered clans. They need someone to step forth and become King of the Giantdowns. This 64-page adventure accessory contains detailed information on the Giantdowns region, the people, monsters, and places that can be found within, and several adventures for beginning and experienced characters alike TSR 3142

Part of TSR 1076 The Goblin's Lair

In this town, nothing goes like clockwork. A voice in the darkness offered him power, with only one string attached: first he had to find some adventurers. A fiend and minions of the plane of fire have set up shop beneath a small town, and have been attracting evil minions to their lair! In this town of Jenkel, the religious leader (named Broderick) is secretly under the influence of the demon and has been doing her will out of his own greed for power. A tilted pyramid appeared in the town years ago, and is actually the tip of a tower buried in the town. The tower leads to a dungeon and a shrine where the party can fight off the demon and rid the town of the evil influence. Pgs. 18-31
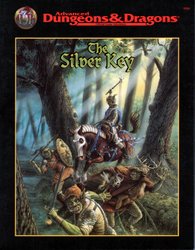
Between the settled human lands and the orc-filled mountains rests the barony of Honshar. The residents have grown used to occasional orc raids, but now they find themselves facing a full-scale war. As if that wasn't bad enough, the orcs have kidnapped an important political figure from Honshar, along with a crucial magical item - the Silver Key. Unless the key is recovered, it could be Honshar's undoing. Both the key and the hostage are being held in the orc city of Krimba-hai, so getting them back will be tricky. However, there is a plan.... TSR 9508

You possess a map to the tomb of the cursed archmage Bigby. Legend has it that the dungeon itself changes, altered by a powerful artifact and changed each time the tomb is entered. Some tales say that Bigby is trapped in magical stasis seeking something to prolong his life. All agree that great treasure and magic lie within if you are brave enough to face the hazards.

Thief's Challenge is primarily a mystery, a story thick with finger-pointing and double-crosses. It takes a thief to catch a thief in this ONE-ON-ONE™ adventure for one player and the DUNGEON MASTER™. A low- to mid-level character will need sharp wits to bag the Gullwing Bandit! TSR 9420
The hunter becomes the hunted. Monsters prowl the hills, but you never see more than one at a time. The players will need to hunt down a polymorph monster. In order to confront it, they'll need to fight through its lair. Pgs. 4-13

"Between a Dragon and His Wrath" is an adventure for a well-balanced party set in the lands of Nordmarr. Although the adventure is best set a generation after the War of the Lance, the DM should have little trouble placing it in other times in Ansalon's history.

'Help wanted: Fearless crew to stop undead pirates. Pay bills before applying." The first thing you'll hear is dead silence. The party must hunt down a ghostship disrupting commerce in the trade port of Koll. At least, everyone thinks it's a ghostship, the party may discover otherwise.
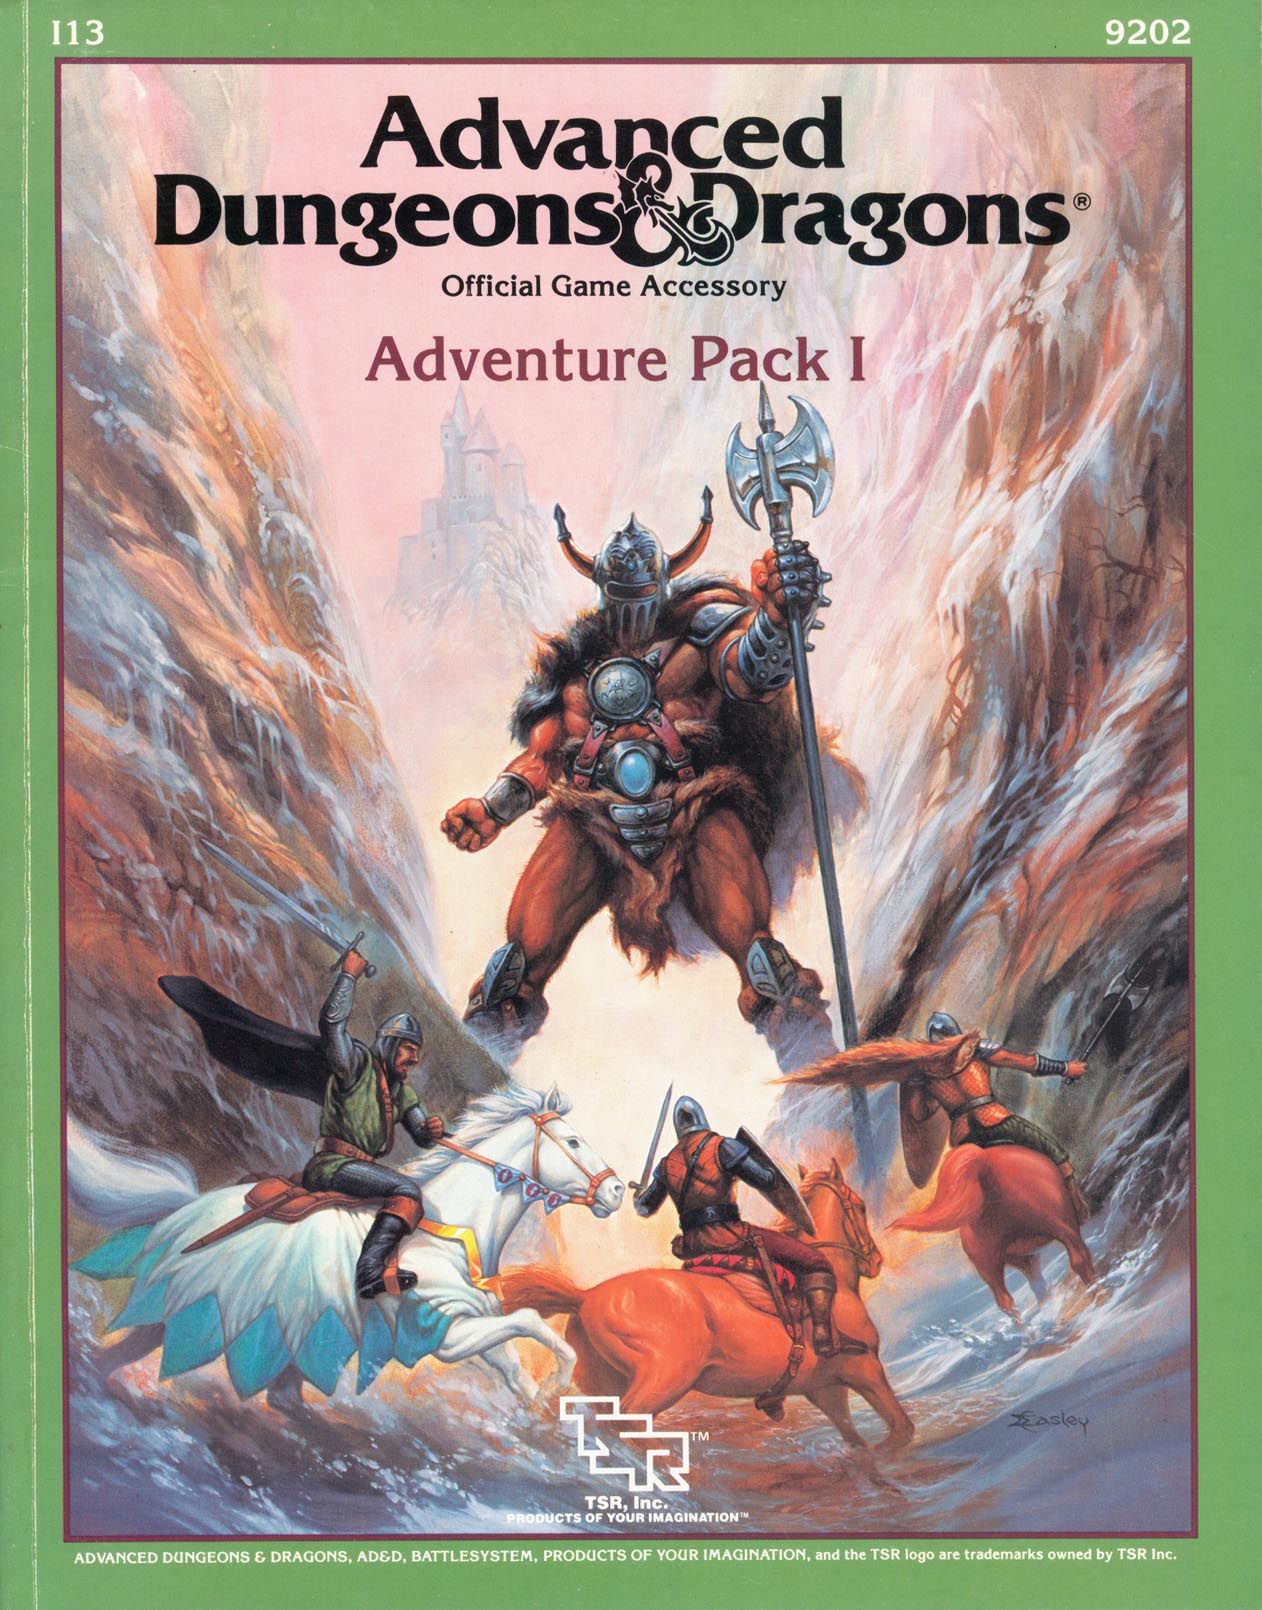
A little friendly competition can be fun now and then - unless, of course, the competition isn't friendly at all. Included in I13 Adventure Pack I - https://www.adventurelookup.com/adventures/i13-adventure-pack-i TSR 9202
By any other name A jewel rose has been stole and its up to the PCs to recover it in this arabain themed adventure. Pgs. 28-47 & 65
Two common elements mixed together create deadly peril. The last dungeon that many heroes will ever see. This dungeon crawl was based on the original S1 Tomb of Horrors. This is not an adventure for neophyte adventurers. Many traps, puzzles, and monsters exist to kill the party. However, the treasure of the mud sorcerers may be too tempting to pass by! Pgs. 50-70

Into the Drachensgrab Mountains! Hot on the trail of the marauding slavers, you and your fellow adventurers plunge deep into hostile hills. Spurred on by your past success, you now seek the heart of the slaver conspiracy. But hurry! Your must move quickly before the slavers recover from your previous forays and attack! This module was originally used for the official Advanced Dungeons & Dragons Tournament at Gen Con XIII and is the third of four in a series of related tournament modules. This module contains a challenging scenario, the tournament scoring system, plus nine pre-rolled, playtested tournament characters. Also included are large scale referee's maps, notes, and background information. A3 is a complete adventure in itself, but it is also a companion to A1 (Slave Pits of the Undercity), A2 (Secret of the Slavers' Stockade), and A4 (In the Dungeons of the Slave Lords). TSR 9041

The Heroes are relaxing in an inn when they hear a scream, rushing outside they find that a local merchant has been kidnapped! The merchant's wife saw the assailants drag him into an alley, where the heroes give chase. Following the villains through a maze of natural fissures, tunnels, and ancient ruins they encounter a number of monsters, traps, and puzzles. Eventually they make their way to the kidnappers hideout, where they confront the kidnappers in a final climatic battle to rescue the merchant and uncover a criminal gang.

The door to the Abyss can be opened with good intentions. An act of mercy released a creature of unspeakable evil. Now, only you have a chance to stop it. A vrock has been trapped inside a stone circle outside the village of Sundown. This stone circle remained untouched for thousands of years, until an unwitting mage decided to depetrify one of the standing stones that he mistakenly thought was a helpless farmer. This released the vrock, who killed the mage and has been trying to regain enough power to plane shift back to its home. This module primarily is based on investigation and problem solving, with a final fight with the vrock at the end. Roleplaying should be emphasized. The town of Sundown is fleshed out with NPCs and stores for player exploration. Pgs. 4-16

Sleepyhead. The only man who can stop the amphibian horde needs a wake-up call. The party must find a missing druid an bring his captures to justice. Pgs. 8-21

Civil War Unrest. Turmoil. Rebellion. As above, so below - the cataclysmic events of the Wrath of the Immortals echo throughout the Hollow World setting. The Milenian Empire, with its classical Greek culture, has not escaped. Already the streets are un-safe, and the omens are getting worse... The emperor is dead... long live the emperor! But is the new emperor a man of the people, or a tool in the hands of malevolent powers? Walk carefully, for no stranger is safe upon the streets these days, and adventurers least of all! The mood of the capital city is turning ugly. Minions of the new emperor look on uncaring, while citizens disappear and philosophers fall to heedless mobs. The old emperor's elite guards are disbanded and scattered. Disorder reigns, and restless citizens threaten open revolt. And yet... a whisper is heard. Civil war can be averted. An ancient artifact, the Milenian Scepter, can rally those who would serve the Empire best. But the Scepter has been lost for generations, and who can say where it might be? The trail leads into the depths of the city, and across a dangerous wilderness to a forgotten oracle. For the lucky and the bold, perhaps it will lead to... THE MILENIAN SCEPTER This stand-alone adventure is compatible with the Wrath of the Immortals boxed set and the accessory HWR3, The Milenian Empire. You will need the D&D Hollow World boxed set to play this adventure. Easily adaptable to the AD&D game. TSR 9378
Everybody's a fool for a lost kid. He wanted power but settled for scraps - for now. The outcast wizard Lertol has adopted two leucrotta, and their team is ambushing passing travelers and robbing them with no-one the wiser. The players first fall into this trap when the leucrottas mimic a lost child and a search party in the middle of a night at camp. If the players leave to investigate the voices, the wizard loots the camp while they are gone. The players can then follow the wizard back to his lair and get their treasure back. Pgs. 48-49 & 28

From the log of the Leaping Dolphin: "110th Day: The gale nae stops for twa days. My ship is driven before it and the magus is as helpless as a wee babe. Akito names the winds tai-fun in his heathen tongue...." Drawn by the lure of aventure and riches, a crew of seamen sails valiantly into uncharted seas. In the squalid dens of the port districts, tales hint at a land of untold riches across the waves. But getting there is only the beginning. Across the waters lie Kozakura, a land of mystery and danger. There you will discover new cultures, strange values, secret powers, and fabulous terrors. For Kozakura is a land of Oriental Adventures. Swords of the Daimyo is the first module designed for use with the AD&D Oriental Adventures rule book. Swords of the Daimyo includes descriptions and maps of the island of Kozakura, detailed information and maps of Miyami Province of Kozakura, and a series of adventures to introduce old and new player characters to the intrigue of the Orient. This adventure book set contains three adventures: Over the Waves We Will Go Riders of the Black Temple Lord of the Black Temple TSR 9164

Dragonspear Castle. All who live within several hundred miles have heard the name and know its import. Once home to the proud and the brave, it stands now a ruin, cloaked behind a history of murder and diabolic plots. Few go there, for the only reward to be found is death. Rumors abound that Dragonspear holds a portal to the sinister planes, but until now those have been unfounded. Following a great battle against orcs and trolls from the High Moor who had taken possession of the castle, a temple to ward against further evil was established. However, by the Time of Troubles, that temple and its clergy had disappeared. Now, a horde of fiends and monsters has amassed at Dragonspear Castle, and it terrorizing the surrounding countryside. The portal is active, that is for certain. The army of Daggerford needs reinforcements! Is you party made of the stuff of heroes? Hordes of Dragonspear can be played using either the Battlesystem miniatures rules, or the quick combat resolution system found in DMGR2, The Castle Guide. Alternatively, a few simple changes render the entire module playable without any special rules. TSR 9369