
Hellgate keep - a name that once made the boldest of heroes shudder in fear - was long ago known as the fair citadel of Ascalhorn, a haven for elves and humans. The the demonic horde of bateezu and tanar`ri destroyd all remnants of real cicilization and turnet it into a den of malevolence. Today, the citadel lies ruined. The mistmaster and the harpers destroyed the keep and ended its centuries-long reign of evil...or so they believed

While Maeshi province revels in the festival spirit, clouds gather over the political scene. Two warlords are vying for control of this otherwise peaceful place, and you are guests of one of them. Sun Temple officials have offered complete support to the faction which successfully travels to Ito-jo Castle (said to hold relics of great importance to the Sun Temple), brings them back safely, and returns them to the Inn of the Globefish. The plan is laid before you. You are to leave immediately under secrecy for the castle of the Ito clan, also known as the Seven Swords clan. Find the relics, and return them to the renowned inn Doi no Fugu. Extreme caution is needed here, for your warlord's rival must not hear of this! Is the castle really haunted? What lies in the caverns beneath it? Will Korimori's troops discover your plan and try to wrest the relics from you, should you even get that far? What will you find at the Inn of the Globefish? Come, honorable stranger - the Seven Swords await! This module contains an extended adventure in four parts: Ito-Jo, The Ghost Castle Beneath The Ghost Castle A Day In The Country Yakuza's Honor TSR 9186
Tortles of the Purple Sage - Part 2 completes a D&D Expert Set wilderness adventure which began in DUNGEON issue #6. Through the gate stones, into the unknown. This adventure takes place in the Known World of the D&D game, as outlined throughout the D&D game rule books and modules. The DM may find it useful to consult the Companion and Masters Sets, as well as most of the X-series of Expert Set modules. The DM may find it useful to consult the Companion and Masters sets, as well as most of the X-series of Expert Set modules. Expert Set module X9, The Savage Coast, would be especially helpful, as Tortles of the Purple Sage should easily serve to continue that module's direction and plot line, adding previously undescribed areas to the Known World. The DM may also place the areas and events of this adventure within an existing campaign setting, as long as the geographical areas of the campaign match those set forth here. Pgs. 8-25

A Planescape adventure for 4-7 PCs of levels 9-12 (about 60 total levels). While the module begins in the planar city of Sigil, most of the action takes place in Vudra, a layer of the Abyss. The PCs start in Sigil, tasked to find a vanished brother, and the trail leads to Vudra where the layers demonic ruler gathers magical blades for a terrible vengeance plot. Pgs. 32-58
Terrible Trouble at Tragidore is a 16 page tournament module for 5th to 8th level characters. Notorious for being one of the worst modules of all time, with implausible background and encounters and a railroad of a plot.

Tyr has been freed, and the mighty army of Urik has been turned back. These are new and strange times, indeed. Now Urik has become home - at least for a while - and there are new markets to shop, new streets to explore, and, oh yes, preservers to meet. Preservers, the keepers of good magic, have sent a mysterious summons. They are ready to embark on a new and dangerous plot to thwart sorcerer-kings and bring new life to Athas. To associate with preservers is dangerous to say the least, but when the king's templars uncover the schemes, a death mark falls upon all involved Will a desperate journey across the wastelands, with the templars in hot pursuit, end in victory or chaos? The answers lie in the hearts of mighty heroes and the resources of Arcane Shadows. In this adventure, the PCs find themselves in Urik, perhaps as a result of the war between Tyr and Urik that took place in Road to Urik. There, they become involved in a ritual meant to help a nascent Avangion (a very powerful wizard/psion of a generally benign type) reach the next stage of its development, but the ritual is interrupted by Urik's templars. The Avangion-to-be is left in a cocoon, and the PCs are tasked with bringing it to a new location in the wilderness where the ritual can be completed. They need to get the cocoon to the ritual location before it's too late, while evading pursuit as well as dealing with any wilderness dangers on the way, plus the evil machinations of a raiding tribe seeking the wizard for their own dark purposes. The adventure is fairly rail-roaded with a series of set encounters between points A and B. Like other Dark Sun adventures, it comes with a set of handouts. Unlike the previous adventures in the series, Arcane Shadows is not tied to the Prism Pentad novel series, nor is it really tied to the previous adventures. You can easily play it as a stand-alone without affecting the earlier ones. TSR 2410
What happened to the signal tower? What waits for you in the misty mountains? The mayor of the town of Four Trails hires you to find the missing magic user, Delea the White! Delea was tasked with improving the signal tower at Eddistone Point. After leaving with her party of dwarven mercenaries, the mayor received a message from Delea's familiar; a white crow with a note scrawled in charcoal; "Bandits in the tower! Help!" The tower is straightforward, five levels, each a single room. There's a bait-and-switch where the players think the half-orc bandit leader is the bad guy, but an innocuous-seeming vagabond is actually a powerful illusionist. No monsters to speak of, only class-based NPCs, no magic apart from a ring of protection (not listed in this record, being equivalent to magic armor.) Pgs. 19-27

In part one of the Randal Morn Trilogy, "The Sword of the Dales," the legendary leader of Daggerdale, Randal Morn, was captured by unknown assailants as he sought to regain the great weapon for which that adventure was named. A stalwart band of enthusiastic heroes was recruited to ride to his aid, yet all they recovered was the Sword itself and a message: "Seek me in Spiderhaunt Wood." In the second part of the trilogy, "The Secret of Spiderhaunt," those same adventurers found Randal and freed him briefly, yet he was almost as quickly torn from their grasp by an agent of the evil Zhentarim, seeking to end the threat of Randal Morn's return to power. In this final episode, the heroes must follow the kidnapper's trail and rescue Randal Morn again before the Zhentarim finish interrogating him and the axe falls upon his neck. Armed with the Sword of the Dales and aided by a powerful spirit that lives within the weapon, the heroes must march into the heart of Zhent-occupied Dagger Falls, free Randal Morn, and save the city from utter destruction. The job is dangerous - perhaps more than the heroes can handle - yet those who would live in songs and legends cannot concern themselves with living to a ripe old age! This is the final part of a trilogy of modules that began with "The Sword of the Dales" and "The Secret of Spiderhaunt." TSR 9488
Death and taxes. Only two things in life are certain. The PCs must deal with a corrupt tax collector and his band of thugs in order to save a small village. Pgs. 48-61 & 66
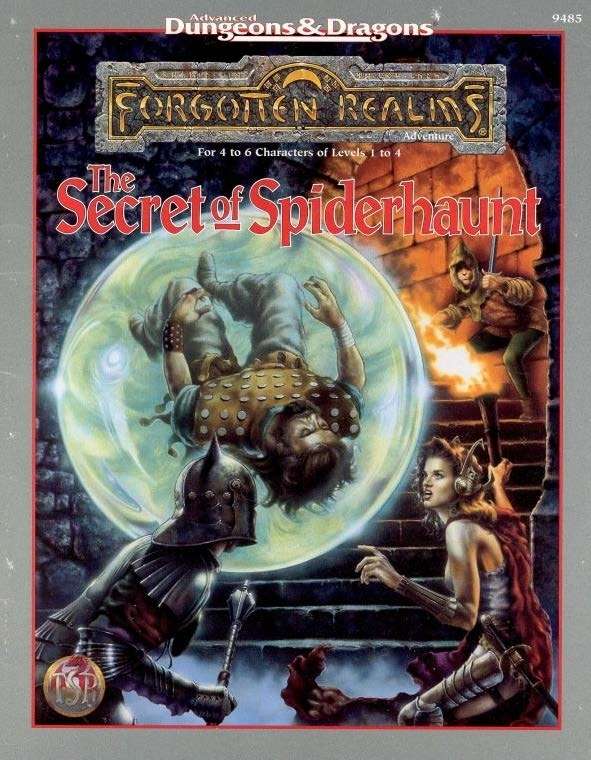
The infamous Sword of the Dales has always held a certain fascination in the eyes and hearts of the citizens of the Dalelands. Thus, it was no surprise when Randal Morn, rebel leader of Daggerdale, led an expedition into the crypt of a long-dead wizard to recover the weapon. Shaevyn the weapons-mage had created the Sword long ago, and it stood to reason that the blade would be waiting within his tomb. Perhaps the Sword of the Dales woulld allow Randal Morn to rule Daggerdale once again. But Randal Morn never returned from that fated party. Only tales of terror told by a lone survivor held any clues as to Randal's fate. A brave hand of heroes accomplished what Randal Morn's group failed to do in part one of this adventure trilogy, "The Sword of the Dales." Battling through the tomb's undead inhabitants, those heroes reached the burial crypt of Shraevyn. There, resting in the center of the coffin, was the Sword of the Dales, its azure glow filling the chamber. However, there was no sign of Randal Morn. Only a note signed by his hand held any clue as to his fate. "Seek me in Spiderhaunt," it proclaimed. "The fate of Daggerdale is in your hands." This is the second part of a trilogy of modules that began with "The Sword of the Dales." The saga concludes with "The Return of Randal Morn." TSR 9485

Two centuries ago, the last king of the celtic kingdom of Pellham was deposed in favor of a High Council. Now, however, things are going badly, and a restless populace longs for the days of the ancient kingship. The High Council is floundering - and the political situation is turning ugly. It was then that the Brothers of Brie, and obscure monastic order, discovered a long-forgotten prophecy. In Pellham's time of greatest need, a long-dead king will rise to restore order. You have been chosen to prove that this is the time of the prophecy. You will take the first steps toward returning the lost king to the throne. This adventure contains the first four rounds of the AD&D OPEN Tournament that was originally run at GEN CON XVI Convention. It includes a tournament scoring system and a team of 10 characters of levels 4-7. This adventure can be played alone or as the first part of the two-part PROPHECY OF BRIE series. TSR 9107

"Tyr is free! Tyr is free!" Such is the heady cry that echoes from the darkest warrens to the gleaming chambers of the Council in that ancient city. Now is your chance to savor life released from the oppressive gloom of the sorcerer-kings-but for how long? New forces threaten the newly-born independence of Tyr, as outside forces march upon the city. King Tithian is determined to resist, but there are others on the Council of Advisors less eager to risk their wealth and lives for the cause of independence. It falls upon you to help mobilize and lead the citizen-army of Tyr on the road to Urik. In Road to Urik, the city-State of Tyr has thrown off the yoke of the sorcerer-king Kalak and declared all slaves free, but the neighboring city-state of Urik is amassing its own armies to conquer Tyr. In the first part of the adventure, the PCs must negotiate with various factions of the city in order to win their support for the war effort. In the second part the PCs leading a scouting force ahead of the main army, and the choices and successes in the first part will affect the troops they lead here. Finally, they will need to fight and lure away the Urik army's own scouting force, letting the army of Tyr ambush them. The second and third part make heavy use of the Battlesystem rules, which were pushed pretty heavily in the early Dark Sun books. Like many Dark Sun adventures, the module makes heavy use of handouts that come in a flip-book along with the main adventure. This adventure is a sequel to Freedom. It stands on its own, but the plot of the adventure is based on the events of Freedom and the novel the Verdant Passage, so you can't really run them in reverse order. Much like Freedom took place concurrently with The Verdant Passage, Road to Urik takes place just before the events of The Crimson Legion, the second novel in the Prism Pentad. TSR 2406

A cloud of dust forms over the horizon as a titanic army of evil threatens the entire civilized world! The Master of the Desert Nomads and his legions are back, and they form the greatest threat that you have ever faced. You must persuade powerful rulers to join you cause, stave off threats to the alliance, and lead your armies to victory! This adventure contains a full-color map of the D&D Expert Set game world, 200 counters, and a special expansion of the War Machine mass combat rules that allows you to fight the entire war as a strategic wargame! Major battles and engagements can be fought using the BATTLESYSTEM Fantasy Combat Supplement for incredible tabletop action. Never-before-published information on all the nations of the Expert Set game world provides background and detail that will enrich your campaign. This adventure includes large-scale battles and uses an expansion of Douglas Niles and Gary Spiegel's warfare system, "The War Machine", developed as part of the D&D Companion Set (BECMI Ed.) from 1984. "Red Arrow, Black Shield" is more than just a follow-up to X4/X5; it's a lynchpin for the entire B/X/CM adventure sequence. The players travel through many lands that were home to past adventures, and their past interactions with those places could affect diplomacy in this new adventure. TSR 9160

This module was originally used for the AD&D Tournament at Origins '79. Your party is lost! You should never have abandoned the ship and struck out into the marshes, but your pursuers were closing on your trail, and it seemed the only way. Stumbling onward through the fens, your party makes for higher ground ahead. As you cross the ridge, you see a clearing before you. There in an ancient ruin - a worn and overgrown pyramid fills the courtyard, shining in the moonlight, seeming almost brighter than the moon itself. TSR 9032
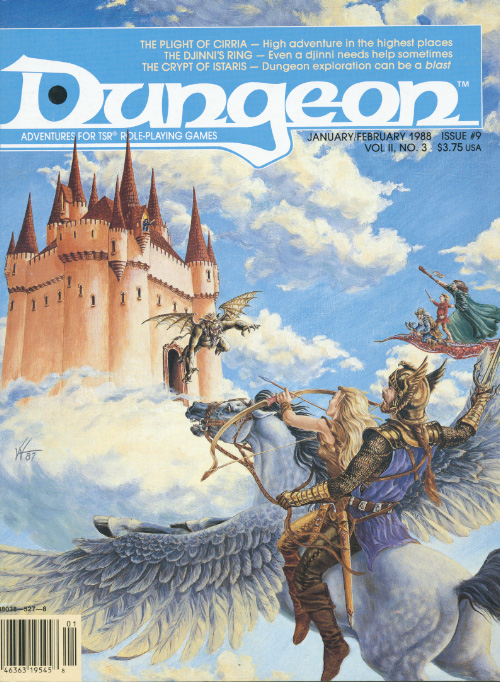
What angers the spirits? You don't have long to find out. An angry spirit can even steal the rain. The characters must appease a spirit that has brought drought to the area. Before they can summon him, however, they'll need to collect magical water from three shrines. Pgs. 35-43

You have no friends here What can you do when the Mists deposit you in the city of Lekar? The militia is no better than a gang of sadistic bullies, the citizens are more contagious than a fleet of plague ships, and every foot of public space is covered with corpses of criminals who committed no crime greater than struggling to survive in the oppressive domain of Falkovnia. Danger haunts your every move A secret society of assassins, known only as the Ebon Fold, has been hunting down visitors to Lekar and killing them in a most grisly fashion; all that remains of the victims are desiccated husks that crumble to ash when touched... and you are their next targets. There is no escape When everyone who has befriended you is either dead or hunted by the authorities, you have no choice but to fight back. But the Ebon Fold is a numberless horde whose leader holds sway over death. How can you defeat enemies that won't stay in the grave? They strike from the depths of darkness and steal your life... one dagger stroke at a time. This 64-page adventure can be played independently, or as the opening challenge in the Grim Harvest series that continues with Death Ascendant and concludes with Requiem. Inside the package is a poster map that fully details asll 10 levels of the chilling complex known as the Well of Bones. TSR 9523
Jack Mooney owner of the "Jack Mooney & Sons" Circus. Wants to hire the PCs to capture a great cave bear with a brilliant golden coat.
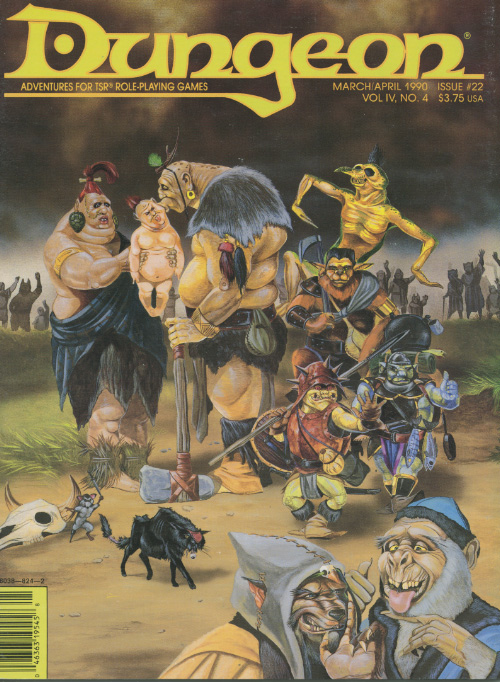
Troubles simply mushroom in the Underdark. The alchemist would like some fungus and spores, but no one wants to get them. Perhaps you could help. The adventure begins with the party finding a caravan. In addition to being able to trade with these NPCs, the party also can be hired by an alchemist to bring bag some red fungus and some Myconid spores from underground. Underground, the party will have a chance to interact with friendly Myconids and venture through a large labyrinth of passages (this labyrinth isn't mapped and is dealt with through storytelling, random encounters, and roleplay). The adventure culminates in a battle between the Myconids and Flinds, and the players can participate. Pgs. 4-12
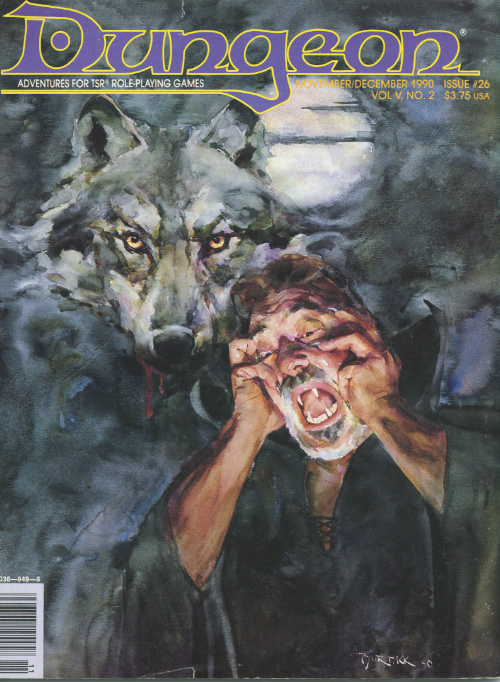
Expect a surprise when you open a magic jar. The evil wizard had a fail-safe plan for survival. It worked perfectly - almost... Pgs. 58-71

To a wizard, knowledge is power, and the wizard Lirdrium Arkayz wants to know the mysterious secret of The Rock. Many have tried to discover it - but The Rock keeps its secret well. The wizard offers a rich reward to anyone bold enough to solve this dark mystery. But the road to The Rock leads to danger and hidden peril - dangers that have claimed the lives of many brave adventurers. Rashness and folly will lead to quick death, but riches await the clever and brave. Have you the wits, courage and skill to survive the Journey to The rock? TSR 9106