
A One-on-One Competition Module for Thieves Level 8 Your peaceful evening has been interrupted by an unusual request. As a thief, your skills are unmatched, but can you rise to the challenge of thieving for a powerful and frightening wizard? Do you have a choice? The Gem and the Staff is a special One-on-One competition module designed for one player and on Dungeon Master. The Module contains two separate scenarios, so you can switch roles with the other player after the first adventure. Scoring sheets and encounter summaries are provided for each adventure to make running competitions quick and simple. Character figures and a map book are also provided to help visualize the adventures. The player's maps are designed so you can see the rooms as they would appear. Complete DM's Maps are included. TSR 9050
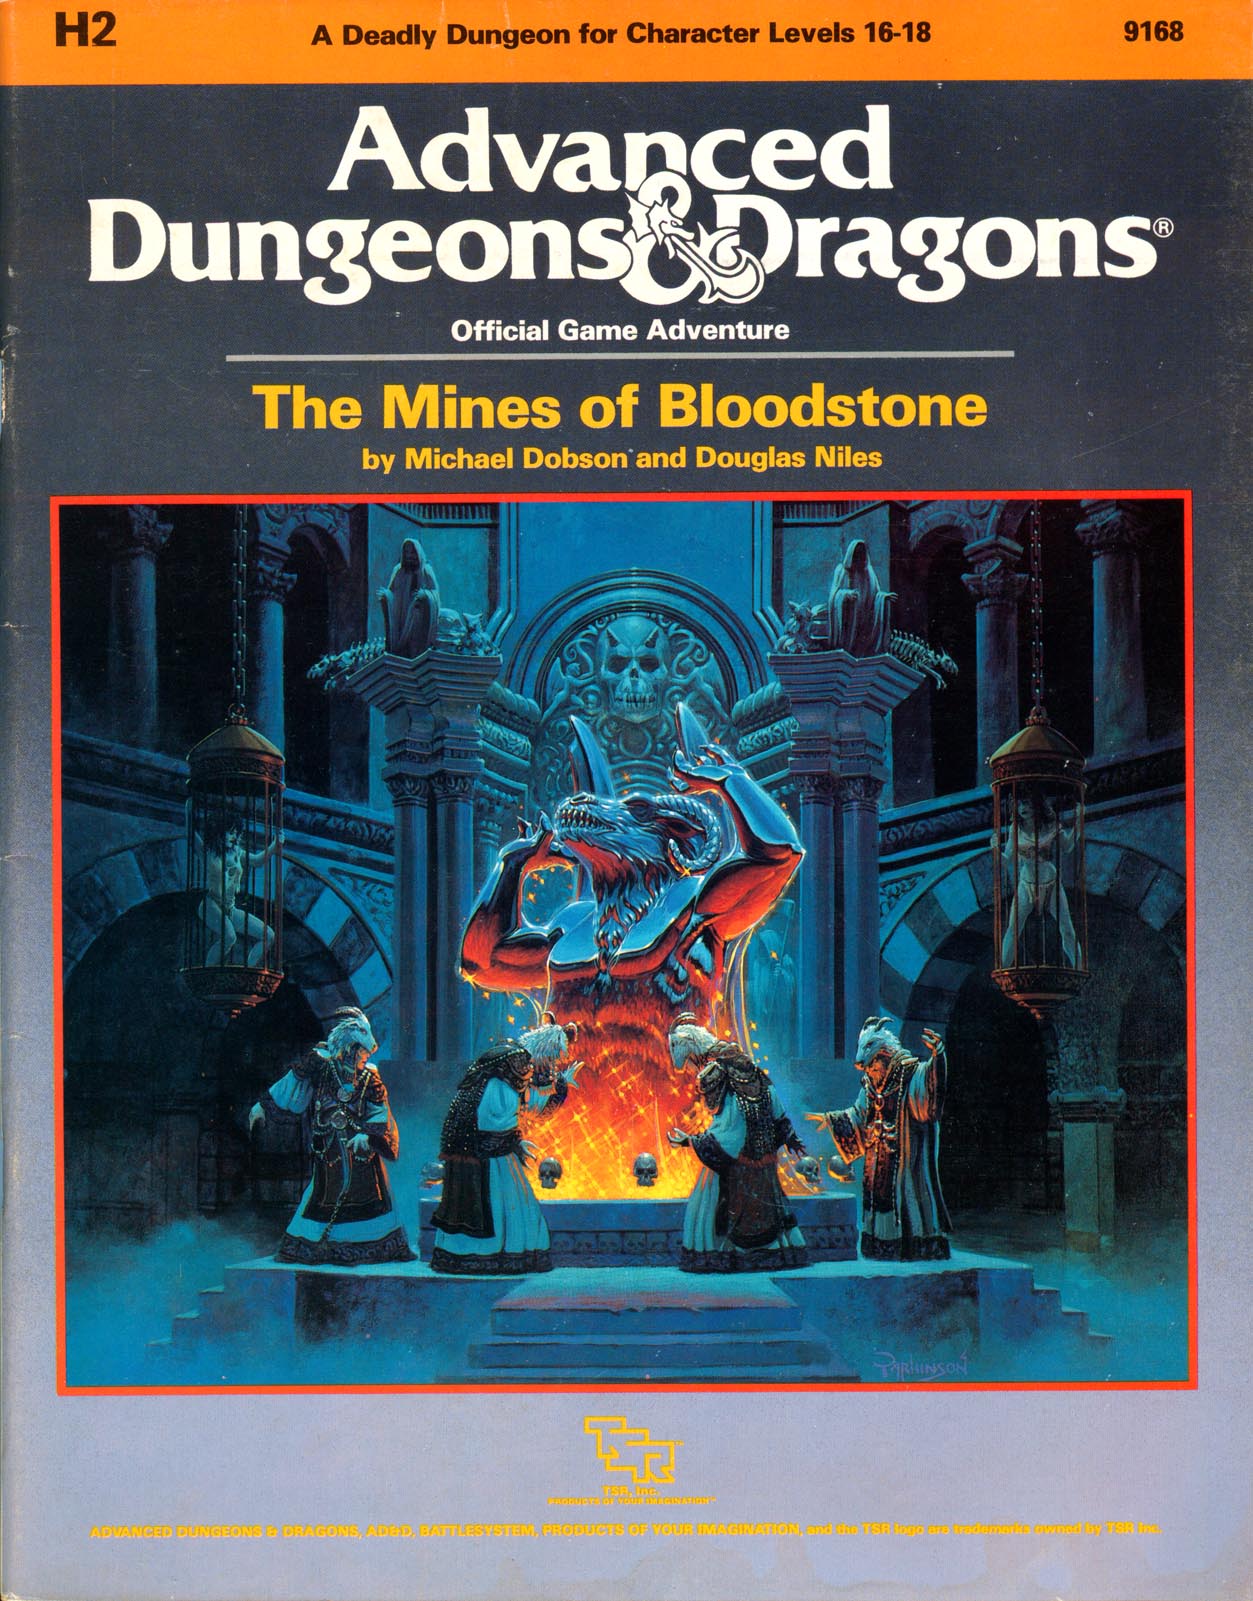
The most deadly dungeon ever devised! High-level characters brave the unexplored corridors of Deepearth to confront perhaps the most feared adversary in the AD&D game. The second chapter of the Bloodstone Pass saga follows the conclusion of the desperate war against the bandit army. A cold and bitter winter drives the villagers to the edge of starvation, and numerous horrors strike the town of Bloodstone Pass. Join the adventure as the heroes explore the depths of the ancient bloostone mines, now inhabited by fearsome demons. There they hope to uncover the fantastic treasures rumored to exist in the unknown darkness. But deep within the mines, all is not what it seems.... This module uses the new rules from the Dungeoneer's Survival Guide and Wilderness Survival Guide. The adventure also includes optional BATTLESYSTEM scenarios fought entirely underground. These supplementary products are not required to play the adventure, however. TSR 9168

A little information is a very frightening thing. Hundreds of years ago, the elves and the goblinkin fought for control of known space in the Unhuman War. Though the elves won that first campaign, they know the goblinkin are clamoring for a rematch. Recently the elves commissioned a few good adventurers to infiltrate the base of a new race of advanced orcs known as the scro. They were hoping to gain information on their enemies' numbers and plans. The news they found was far worse. The scro have discovered a weapon of awesome destruction, one that can lay waste to entire worlds. But the key to unlock its power lies lost and forgotten. Even now the scro are searching for it. When they find it, they will wreak destruction and revenge on the inhabited planets. The elves are looking for an adventuring team who can win this desperate race, and find the key first. Your PCs may be the only thing that stands between known space and doom. Heart of the Enemy is a 96-page adventure set in the Second Unhuman War. The second of a two-part series, it can either be linked with the previous Goblin's Return or it can be played as a stand-alone adventure. TSR 9347
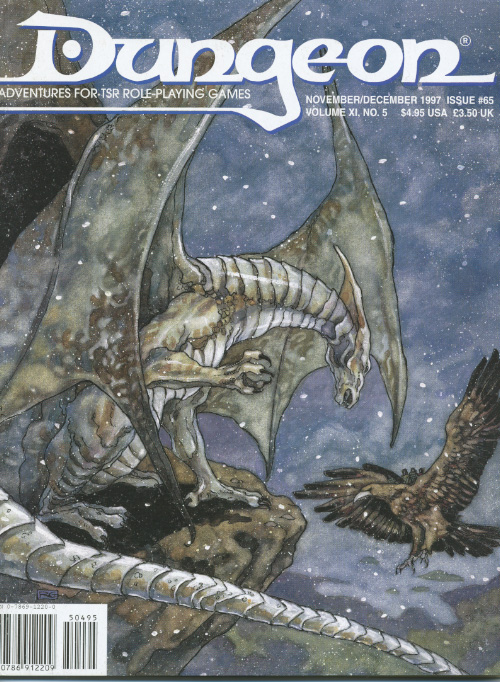
Sleepwalking can be dangerous in the town of Aberdale. Pgs. 50-51 & 65
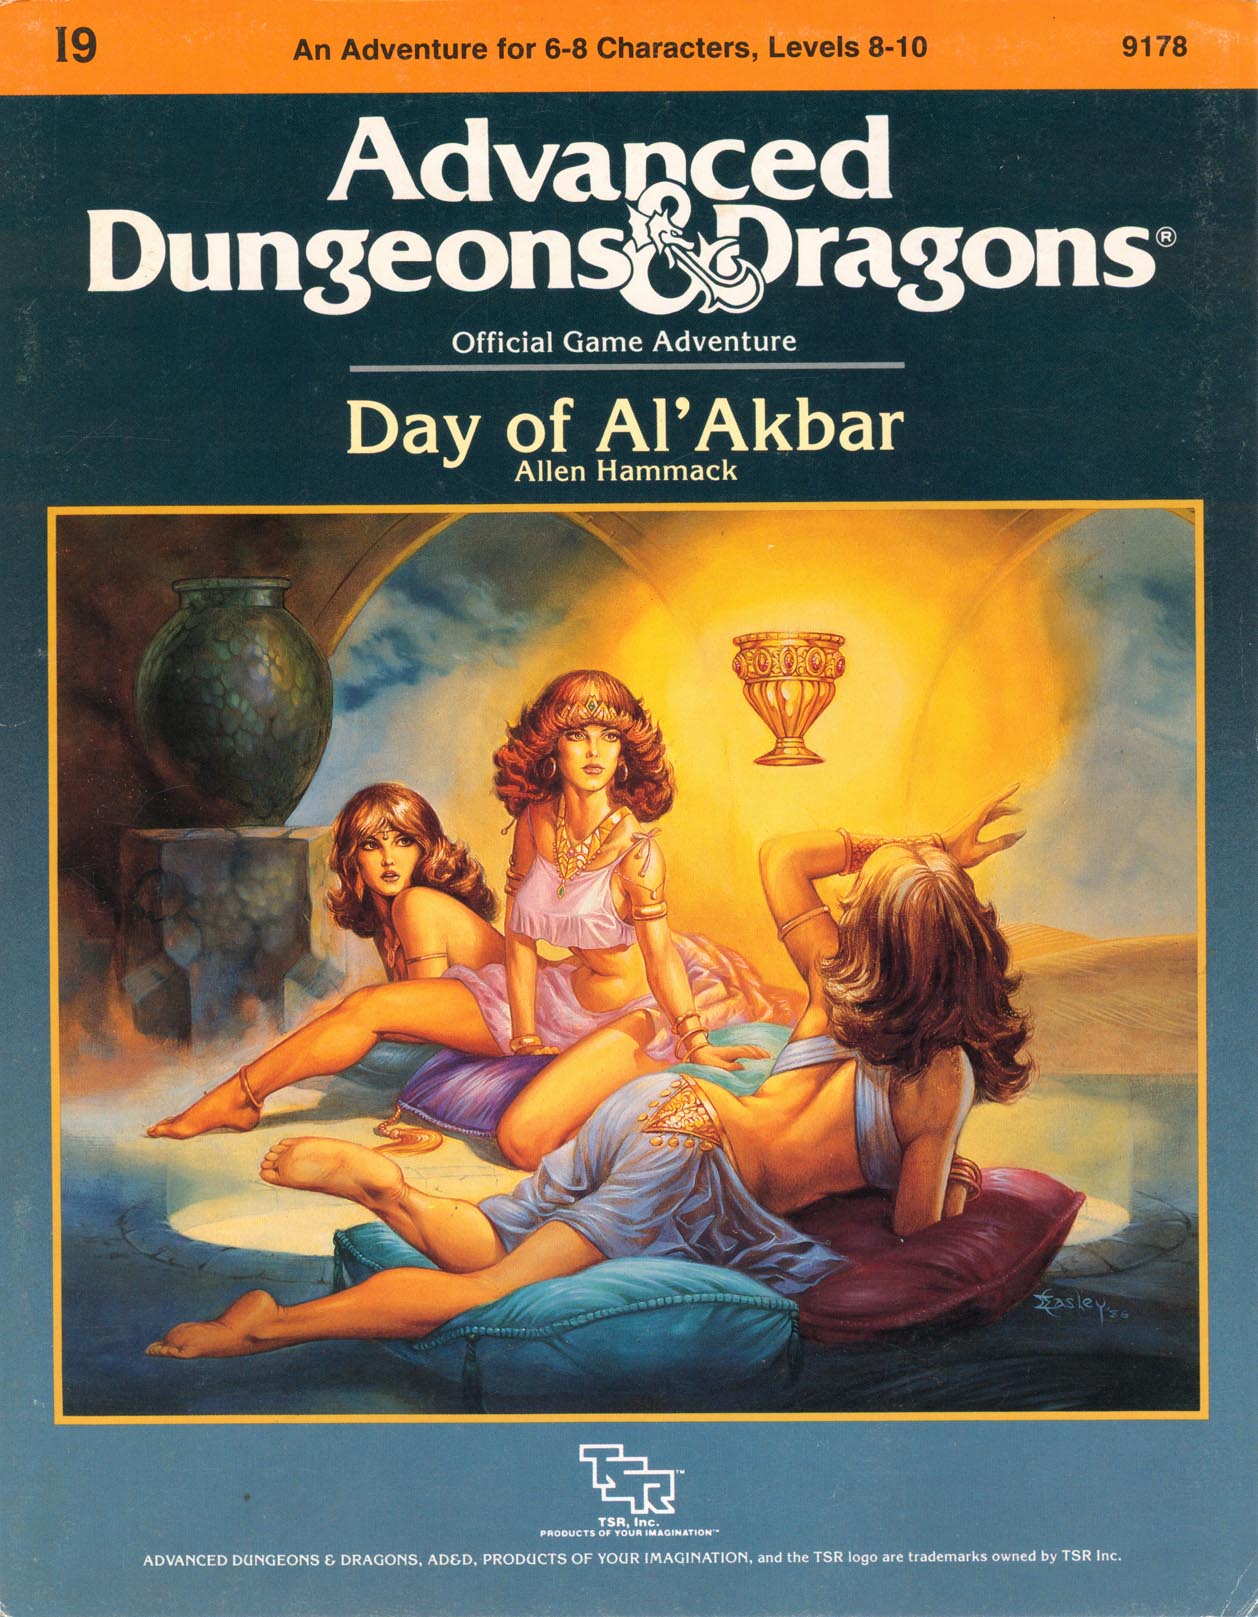
The land of Arir - a once peaceful desert country, dotted with oases, teeming with caravans - fell into the hand of infidels. The ruler, the dearly loved Sultan Amhara, was killed in the battle for the capital city of Khaibar. He left behind one of the greatest treasure stores ever amassed - jewels and coins, more than anyone had ever seen before or since - and in addition, the Cup and Talisman of Al'Akbar. A deadly plague sweeps your land. The holy men say that if only they had the Talisman, they could create cures for this dread disease. Many adventurers have tries and failed to find the Cup and Talisman. Now it is your turn. Find these treasures, and save your people! The journey is exciting, but treacherous. Do not be distracted by exotic sights and sounds, the strange foods. You must avoid being discovered by Al'Farzikh and his brigands, as you infiltrate the palace. Be wary - what is most beautiful may be most deadly, and what seems useless may be priceless. TSR 9178
You find yourself in the burning wastelands of Har'Akir - where nothing is as it seems. The desert is a powerful foe, but in Har'Akir an ancient evil is awakening and the desert will be the least of your worries. As withered hands cast off ancient shrouds, little can save you from their touch of death. TSR 9338
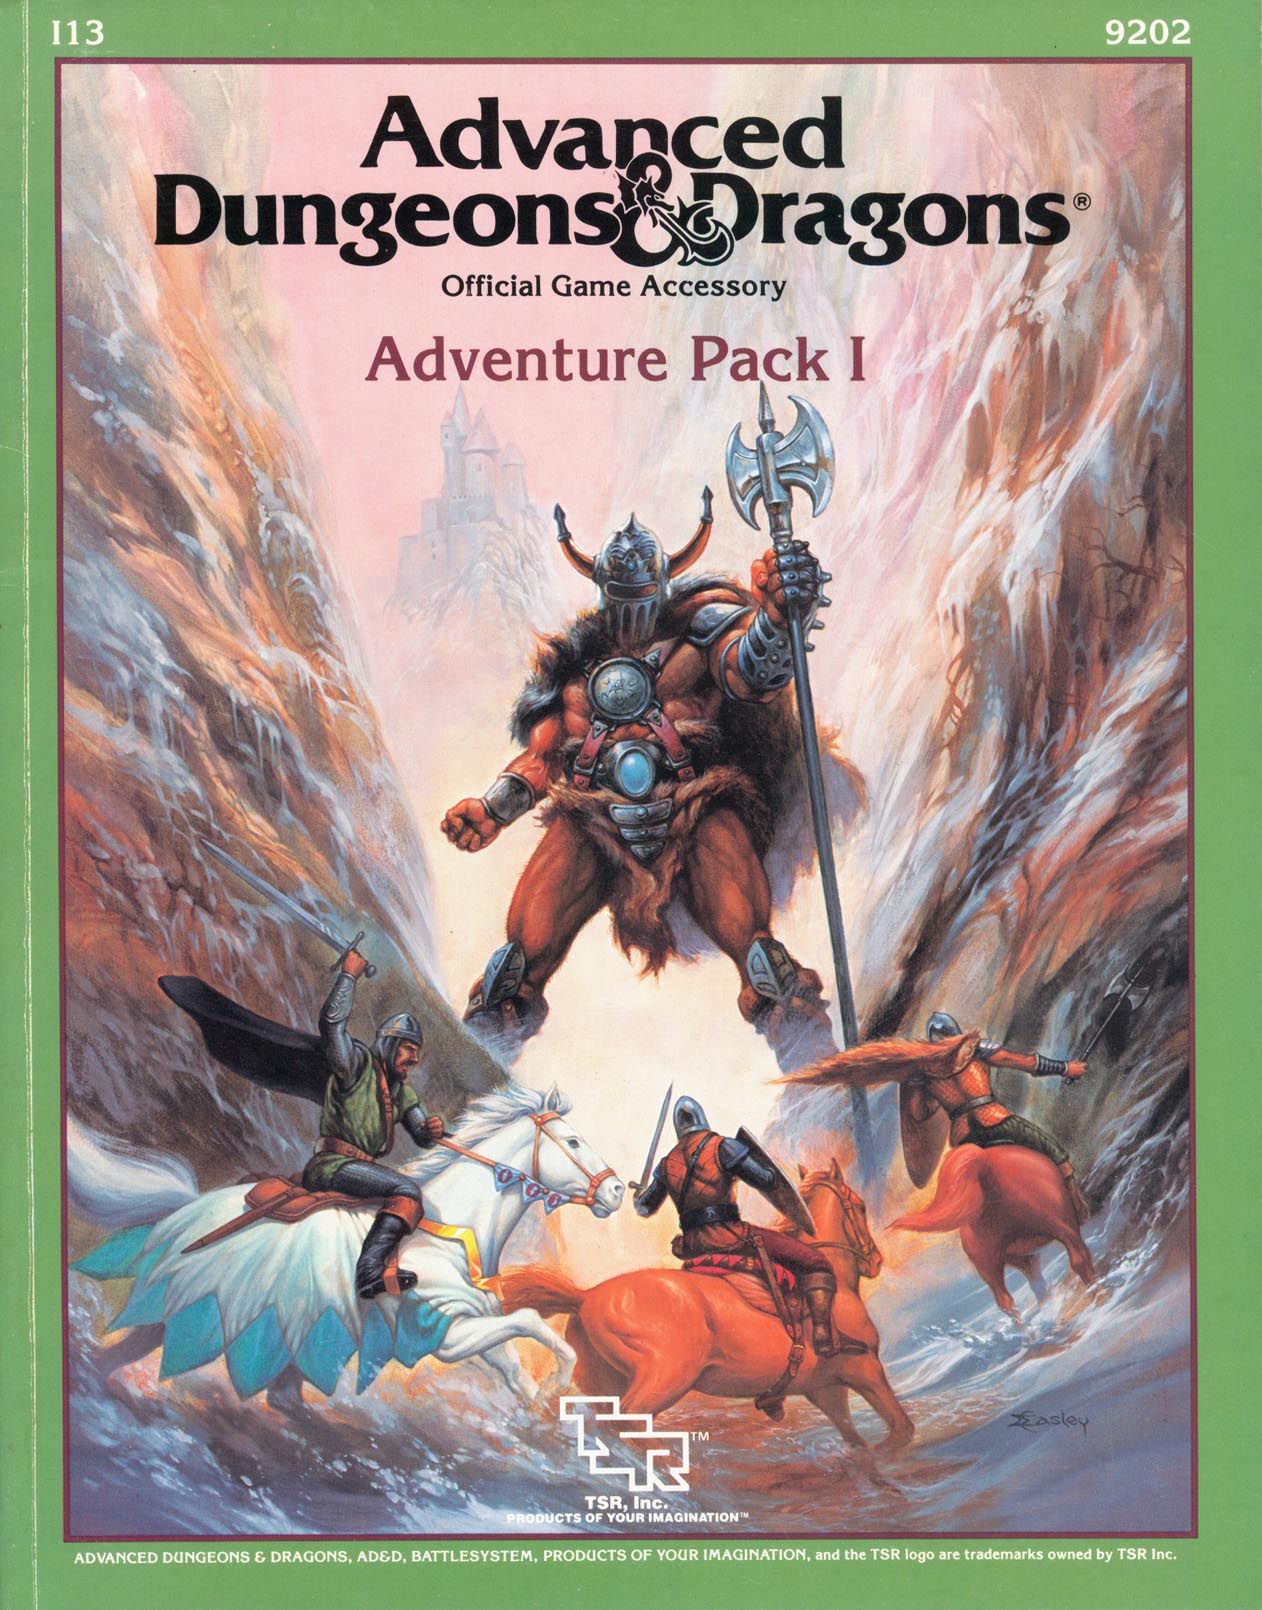
Characters strike a blow against evil when they take on orcs and assassins in these scenarios. Included in I13 Adventure Pack I - https://www.adventurelookup.com/adventures/i13-adventure-pack-i TSR 9202
On every side the storm clouds gather. To south and east, the Great Empire of Thonia plots to end Blackmoor's independence and reclaim its lost province. To the west, the implacable Afridhi are on the move. To the north, the evil Egg of Coot prepares to cross the thundering sea and once again bring fire and sword into the heart of the small kingdom. Beyond the realm of the Egg, the hated Skandaharian Raiders are building longships and preparing to fall upon Blackmoor's unprotected coast while its tiny army turns to meet these other threats. Into this time of black despair, there steps a band of adventurers who clutch strange swords and wear the most curious armor?and who claim that Blackmoor sank beneath the ice 3,000 years ago! TSR 9172
"The adventure begins shortly after the PCs arrive in the village of Whitebirch, located just one mile outside Bunglewood, a thick forest. Unless the adventurers prefer to camp by the side of the road, the only rooms in town are available at The Swanmay's Song, a local inn. Shortly after nightfall, a wounded traveler staggers into the inn." -- from the module. Includes overland map, ambush site map, and cave system map.
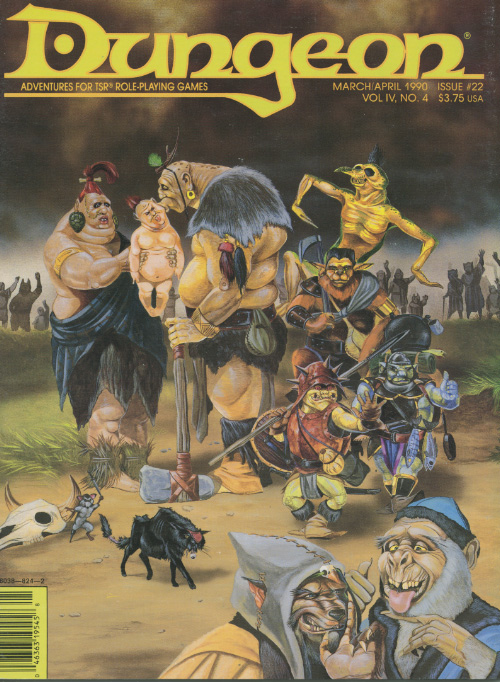
You don't know where - or what - you are. You wake up in a dungeon. But how did you get there, and why? This adventure is for a solo paladin character, on a quest to gain a war horse. The character is suffering from amnesia and believes him/herself to be a normal fighter to begin. The quest begins with the character in the middle of an adventure in a dungeon, but not remembering how they got there. After defeating several undead including an intelligent zombie leader, the paladin gains a magic stone to summon a paladin mount. Pgs. 28-35
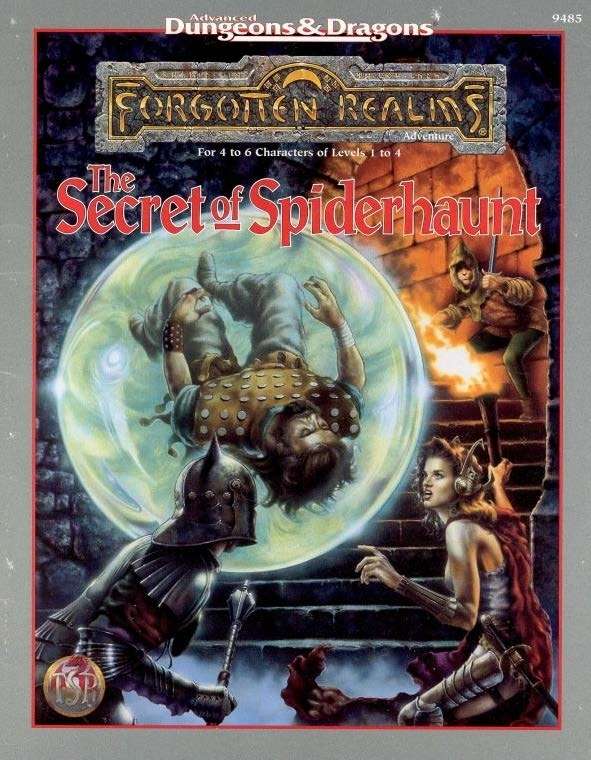
The infamous Sword of the Dales has always held a certain fascination in the eyes and hearts of the citizens of the Dalelands. Thus, it was no surprise when Randal Morn, rebel leader of Daggerdale, led an expedition into the crypt of a long-dead wizard to recover the weapon. Shaevyn the weapons-mage had created the Sword long ago, and it stood to reason that the blade would be waiting within his tomb. Perhaps the Sword of the Dales woulld allow Randal Morn to rule Daggerdale once again. But Randal Morn never returned from that fated party. Only tales of terror told by a lone survivor held any clues as to Randal's fate. A brave hand of heroes accomplished what Randal Morn's group failed to do in part one of this adventure trilogy, "The Sword of the Dales." Battling through the tomb's undead inhabitants, those heroes reached the burial crypt of Shraevyn. There, resting in the center of the coffin, was the Sword of the Dales, its azure glow filling the chamber. However, there was no sign of Randal Morn. Only a note signed by his hand held any clue as to his fate. "Seek me in Spiderhaunt," it proclaimed. "The fate of Daggerdale is in your hands." This is the second part of a trilogy of modules that began with "The Sword of the Dales." The saga concludes with "The Return of Randal Morn." TSR 9485
Reports of the owlbear incident were vastly exaggerated. When is an evil mage not an evil mage? While visiting the small village of Carthington Cross, the PCs hear a tale about a wizard who unleashed an owlbear on Carthington Cross and its unsuspecting community. After a night of stories and gossip in the local inn, the heroes are approached in the morning by this same notorious wizard who needs their help. Pgs. 18-28
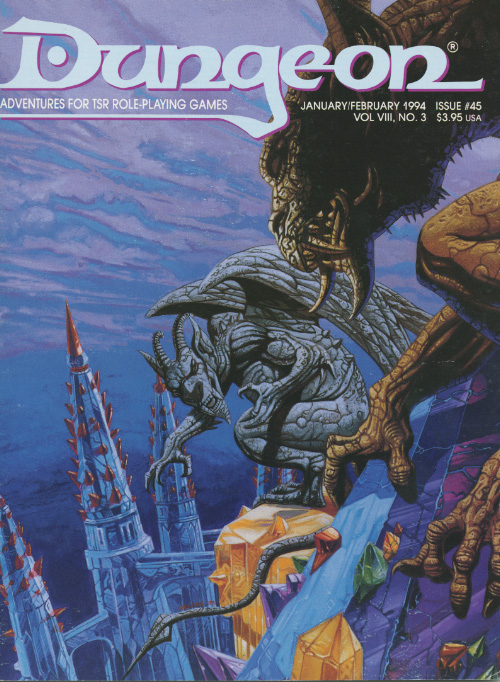
To a reigar, art doesn't imitate life, it is life. "An Artist's Errand" is an AD&D Spelljammer adventure for 4-6 good-aligned characters of level 6-8 (about 35 levels total). The module assumes the party is familiar with spelljamming. The party should include at least one spell-caster, preferably a wizard, but a party of resourceful (and powerful) fighters and rogues should be able to complete the adventure. PCs with an understanding of navigation, elvish, and engineering will come in handy as well. The party need not own a spelljamming ship to complete this adventure. Pgs. 8-31

In which the Many seek the One, and the Heroes must retrieve a Sword lost amid myriad Threats to the Flesh. Chapter II of the "Well of Worlds" adventure anthology. Pgs. 24-33 TSR 2604

"... an Adventure to Challenge the Bold..." Screams echo in the night, the charred remnants of a village are mute by day. From the decaying lands of the Pomarj, slavers have struck again! The adventure that began in the Temple of Elemental Evil now sweeps southward across the Wild Coast and into the desolate lands of the inhuman Pomarj. Slave raiders scour the countryside, leaving death and destruction in their wake. Daring adventurers strike into the heartland of the foe to harry the villains and bring retribution and justice to the land. This product contains the completely revised Aerie of the Slavelords series of adventures. Also included are new challenges and new scenarios detailing the Wild Coast, the city of Highport, the blasted lands of the Pomarj and the Drachensgrab Mountains. TSR 9167
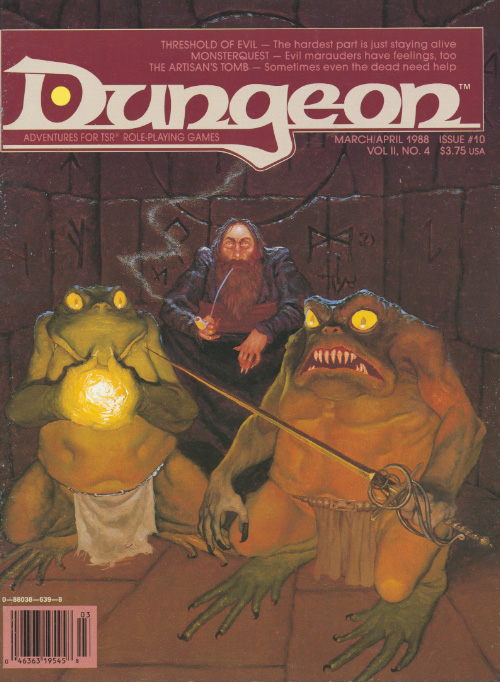
Everything would be fine if the person you're trying to help wasn't already dead. The requirements of honor reach even beyond the grave. A spirit asks the party to help grant it passage to the afterlife. Pgs. 9-11
A little friendly competition can be fun now and then - unless, of course, the competition isn't friendly at all. Included in I13 Adventure Pack I - https://www.adventurelookup.com/adventures/i13-adventure-pack-i TSR 9202

"Far be it from me to impugn the mettle of adventurers such as yourselves, but daring the depths of Undermountain merely for fortune's sake is more absurd than kicking a sleeping dragon in the nose for sport. Even so, you've returned for another trip to the Underhalls, so be prepared. You stand to enter the Lost Level this time: Gird yourselves for diplomacy as well as destruction. You'll find the last stronghold of an extinct dwarven clan: Do be good enough to extend the greetings of the Blackstaff to Bandaerl. There's also a dark vampiress who enjoys a good hunt, and be sure to mind the beholders: They're trained to keep you from escaping. "Enjoy, and don't say Khelben didn't warn thee." TSR 9519

While Maeshi province revels in the festival spirit, clouds gather over the political scene. Two warlords are vying for control of this otherwise peaceful place, and you are guests of one of them. Sun Temple officials have offered complete support to the faction which successfully travels to Ito-jo Castle (said to hold relics of great importance to the Sun Temple), brings them back safely, and returns them to the Inn of the Globefish. The plan is laid before you. You are to leave immediately under secrecy for the castle of the Ito clan, also known as the Seven Swords clan. Find the relics, and return them to the renowned inn Doi no Fugu. Extreme caution is needed here, for your warlord's rival must not hear of this! Is the castle really haunted? What lies in the caverns beneath it? Will Korimori's troops discover your plan and try to wrest the relics from you, should you even get that far? What will you find at the Inn of the Globefish? Come, honorable stranger - the Seven Swords await! This module contains an extended adventure in four parts: Ito-Jo, The Ghost Castle Beneath The Ghost Castle A Day In The Country Yakuza's Honor TSR 9186

Sent on a desperate mission into an unknown land, you must seek out the one called "the Master" and his Temple of Death. There is little time to waste, as you must act before the Master's armies destroy your homelands. But to complete your task, you must battle fearsome guardians, travel through a hostile kingdom, and discover the secret of the master. Can you survive his defenses and win? This module contains referee's notes, background, maps and detailed keys. It is the second adventure in the two-part Desert Nomads series begun in X4, Master of the Desert Nomads, but it can stand on its own as a seperate adventure. Wheter you play Temple of Death by itself or as part of a series, the adventure will offer you hours of excitement and fun! TSR 9069