
A One-on-One Competition Module for Thieves Level 8 Your peaceful evening has been interrupted by an unusual request. As a thief, your skills are unmatched, but can you rise to the challenge of thieving for a powerful and frightening wizard? Do you have a choice? The Gem and the Staff is a special One-on-One competition module designed for one player and on Dungeon Master. The Module contains two separate scenarios, so you can switch roles with the other player after the first adventure. Scoring sheets and encounter summaries are provided for each adventure to make running competitions quick and simple. Character figures and a map book are also provided to help visualize the adventures. The player's maps are designed so you can see the rooms as they would appear. Complete DM's Maps are included. TSR 9050

The Mists of Ravenloft lead to G'Henna, land of famine and zealous devotion to Yagno Petrovna, high priest of the Beast-God, Zhakata. In the cities of G'Hanna, worshipers starve themselves to prove their faith; in the Outlands, twisted mongrelmen struggle to survive in a land of unforgiving windstorms and bleak plains. No domain in the Demiplane of Dread has been in greater need of change?and the subtle agents of the Circle of Darkness wish for nothing less than the overthrow their oppressive leader and create a new order lead by Zhakata himself. They should be careful what they wish for. Circle of Darkness is a dangerous adventure for heroes willing to face not only the Dark Lord of G'Henna, but also the greater evil which threatens to overcome him. The fate of an entire domain is in the heroes' hands! For 4 to 6 characters of levels 5 to 7. TSR 9493
Jack Mooney owner of the "Jack Mooney & Sons" Circus. Wants to hire the PCs to capture a great cave bear with a brilliant golden coat.
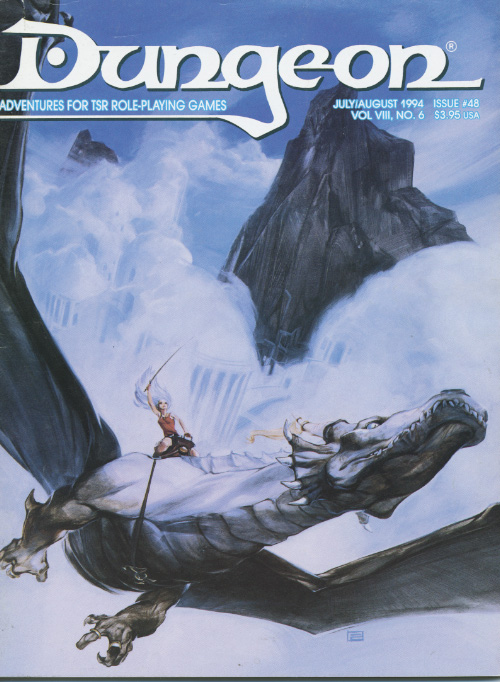
The village of Wistil is known for only two things: amiable halflings and tasty red apples. Someone has spoiled this year's crops and the halflings are scrambling to figure out how to respond. A band of stout folk set out from the town searching for answers; but, they have gone missing. The heroes are called in to investigate. Includes a random encounter sidebar, an overland map, and a map of the hill giant's hovel.
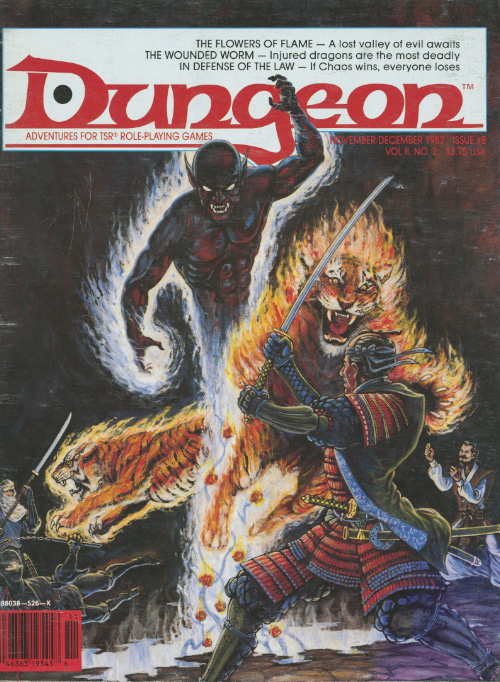
When the Guildmaster speaks, everybody listens. When the going gets tough, the thieves get going. For 3-6 thieves. Pgs. 9-16 & 34
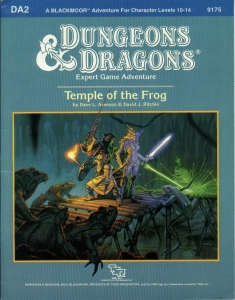
Green Death... That's what old hands call the Great Dismal Swamp. For centuries, this tangled maze of sluggish watercourses, stagnant ponds, and festering marshes has defended Blackmoor's southwestern frontier. Large armies and smaller parties have disappeared altogether inside its vast, dripping, claustrophobic corridors. Among those who have dropped from sigh in this arboral hell is young Rissa Aleford, one of Blackmoor's most important leaders. Carried off to the sinister City of the Fron, she is now being held by the eccentric Monks of the Swamp. By making the baroness captive, the deranged monks have serioulsy weakened Blackmoor at a time when enemies already threaten it from all sides. Yet, even as the Froggies gloat, the king of Blackmoor dispatches a small band of bold adventures to the rescue. Deep into the Great Dismal Swamp they must go - far from sunlight and sanity - there to seek and save the swamp, there to find the Temple of the Frog. TSR 9175

"... an Adventure to Challenge the Bold..." Screams echo in the night, the charred remnants of a village are mute by day. From the decaying lands of the Pomarj, slavers have struck again! The adventure that began in the Temple of Elemental Evil now sweeps southward across the Wild Coast and into the desolate lands of the inhuman Pomarj. Slave raiders scour the countryside, leaving death and destruction in their wake. Daring adventurers strike into the heartland of the foe to harry the villains and bring retribution and justice to the land. This product contains the completely revised Aerie of the Slavelords series of adventures. Also included are new challenges and new scenarios detailing the Wild Coast, the city of Highport, the blasted lands of the Pomarj and the Drachensgrab Mountains. TSR 9167

Your party is on a journey through a mountainous region distinguished by sheer cliffs and dangerous precipices. Thus everyone is quite grateful when, just at nightfall, they find a small abandoned chapel. It provides a dry shelter from the wind and radiates such an aura of good that there is no hesitation about sheltering within it. This is an adventure for a balanced party of six second- and third-level characters; ifd esired, the number may be increased by including three first-level characters.

For decades, the city of Chala, nestled on the banks of the Leal River, boasted a prosperous fishing business. The community's life revolved around the wide, slowly rolling river that meandered miles northward into the Blackweed Swamp Now the city faces misfortune, pestilence, and decay, because the sacred Tefnut statue has been stolen. All clues suggest that the sacred object was carried into the heart of nearby Blackweed Swamp. But who, or what, would commit such a crime? Whoever is responsible, the statue must be recovered, at any cost. TSR 9424
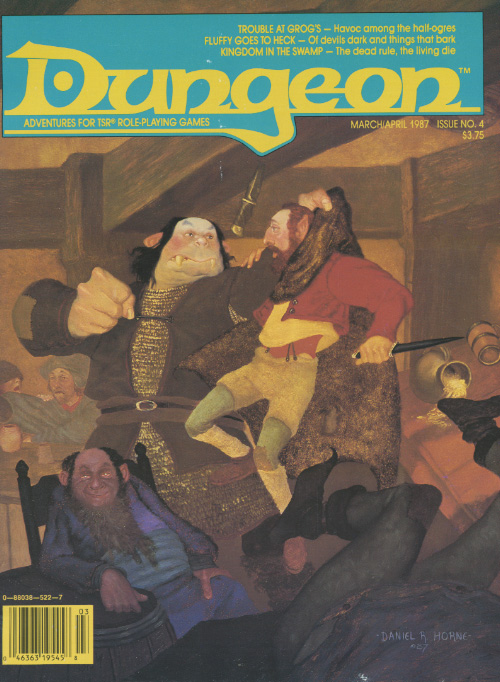
A little beer, a little trouble, a little party on the rubble. Can't a half-ogre find a little peace in the riverside town full of adventurers, bigots, and thieves? "'Trouble at Grog’s' presented something no one ever expected to see: a sympathetic half-ogre. All Grog wanted to do was settle down as proprietor of the Happy Half-Ogre Inn and Tavern. Little did he know his success would rub the competition the wrong way, leading to some 'inn-fighting' with the owner of the rival Dagger Rock Tavern, Yuri Kineron." - Christopher Perkins Pgs. 41-64
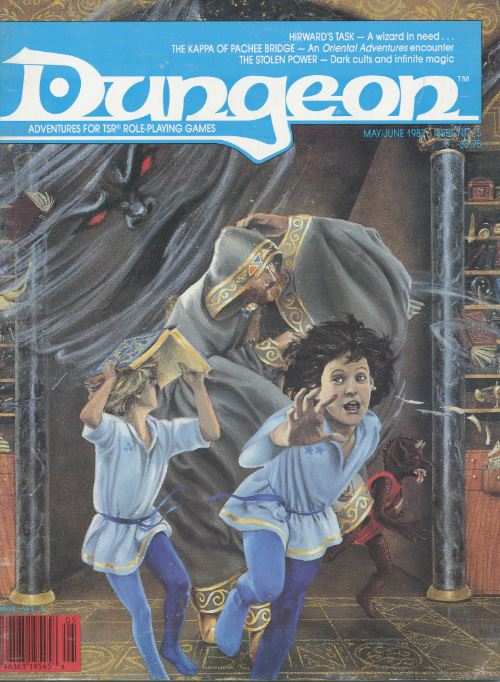
An evil cult with a trick up its sleeve. A missing tome, a trail of clues and an unusual cult. Lawful-good characters, especially paladins are recommended for this adventure. Clerics of Aphrodite, Hanali Celanil, Hera, and lshtar have a special interest in despoiling the cult of Shami-Amourae. [Note: Adventure contains statistics for the Demigod Succubus, Shami-Amourae] Pgs. 19-27

To arms! To arms! The battle lines are drawn as desert men and inhuman tribes wait poised to strike on the fertile and rich lands of the east. The call has gone out through the civilized lands. The armies have been raised to match the invading foes from the west. Nobles and peasants have joined swords to greet the foes. But Fate or Chance has decreed another role for a small few. No glorious banners will wave on their march. No squadrons of knights will charge at their word. Instead, they will fight the war with stealth, secrecy, and cunning. The risks they will take are great, but the fates of both armies lie with them. It begins one night for your party far from the fighting. Suddenly you are entrusted with the most dangerous mission of the war. Can you cross the Sind Desert, occupied now by enemy armies, to find the Great Pass? Can you find the one known only as The Master? What will you do if you find him? So begins your adventure in The Master of the Desert Nomads, the first module of a two-part adventure that can be concluded in the exciting Temple of Death or played entirely on its own. Can your party do what must be done? TSR 9068
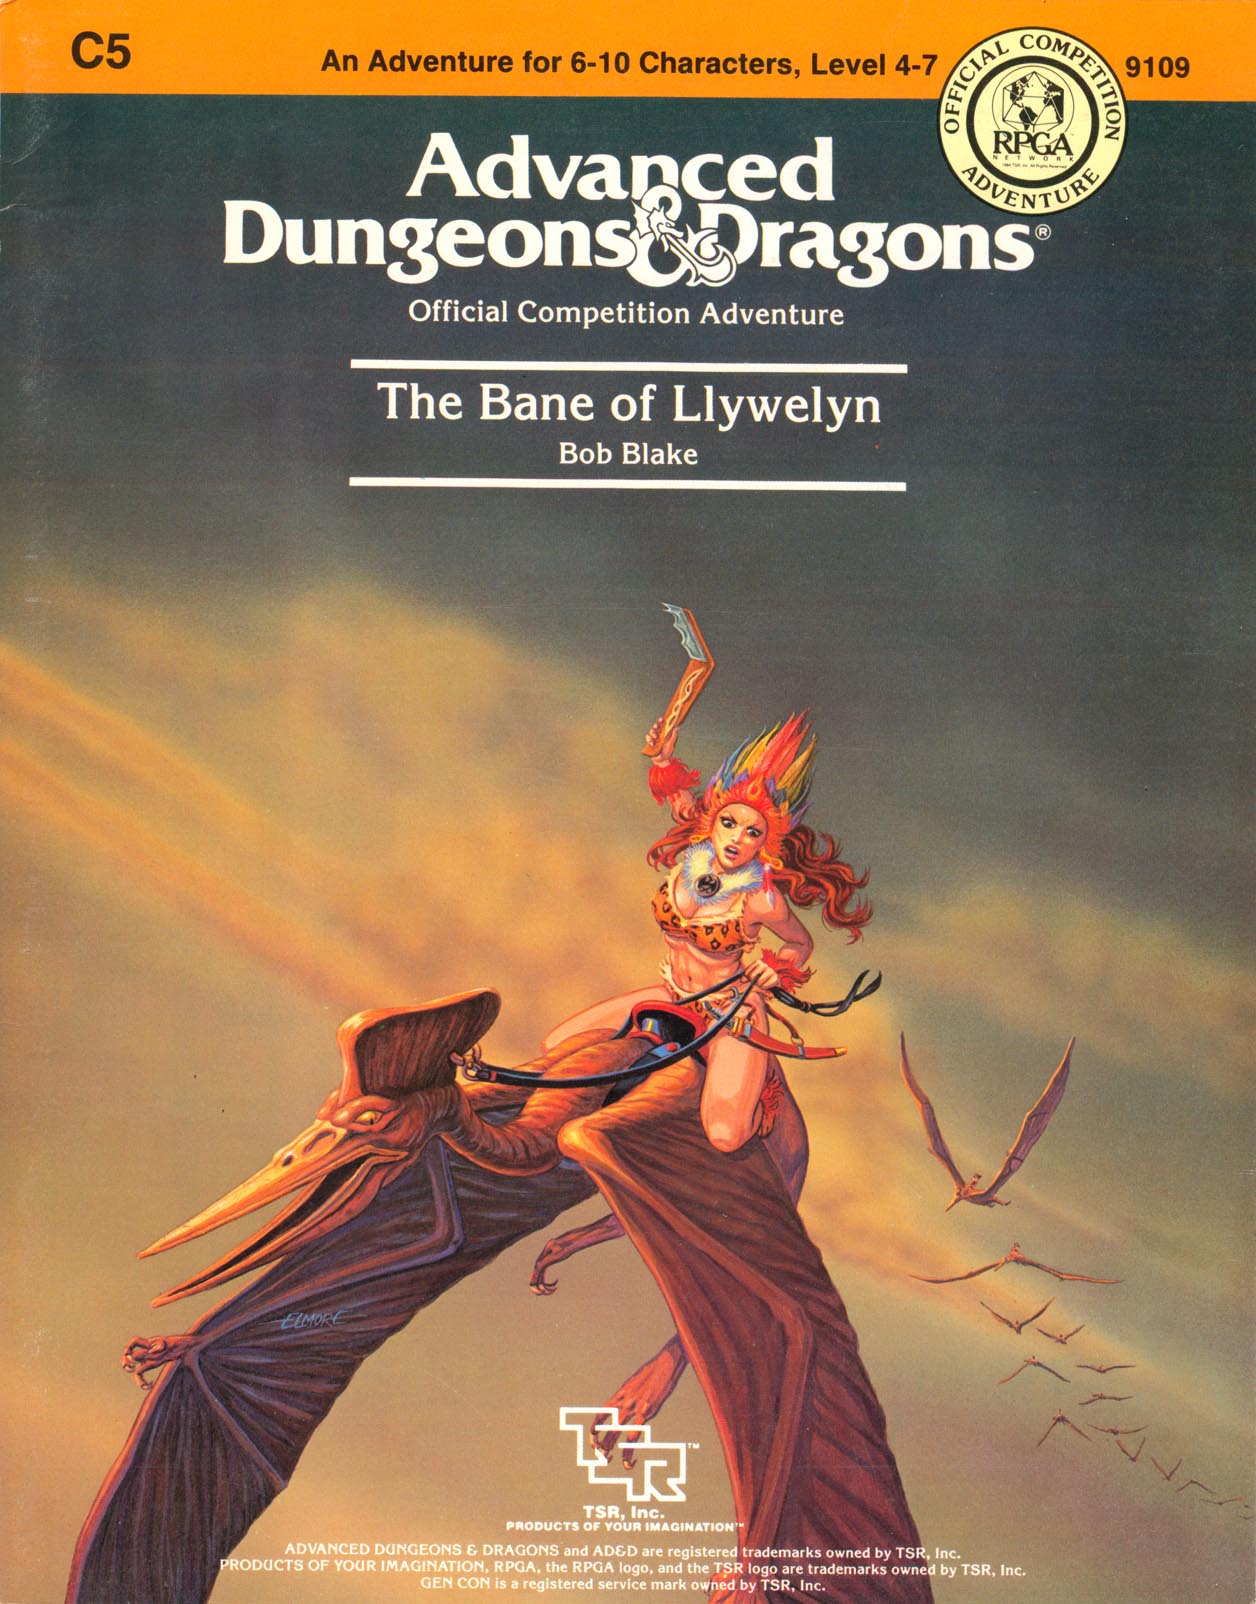
Excitement and unrest grip the land of Pellham. Two hundred years ago, the royal line of kings was deposed and replaced by a High Council. The current council is well-meaning but hopelessly incompetent. Everyone agrees that a drastic change is needed for the kingdom to survive. The ancient Prophecy of Brie foretells that in Pellham's darkest hour, a king from the past will return to restore the kingdom. The time of the prophecy is now. All is in readiness: the symbols of the ancient kings have been recovered, the keys to the royal tomb are in hand, powerful magics to revive the long-dead king have been secured at great cost. Only one problem remains... no one knows where the king is buried! The Bane of Llywelyn concludes the epic adventure of the Prophecy of Brie -- can YOU insure that the quest will be a success? The adventure can be played as a separate adventure or as the second part of the Prophecy of Brie series. TSR 9109
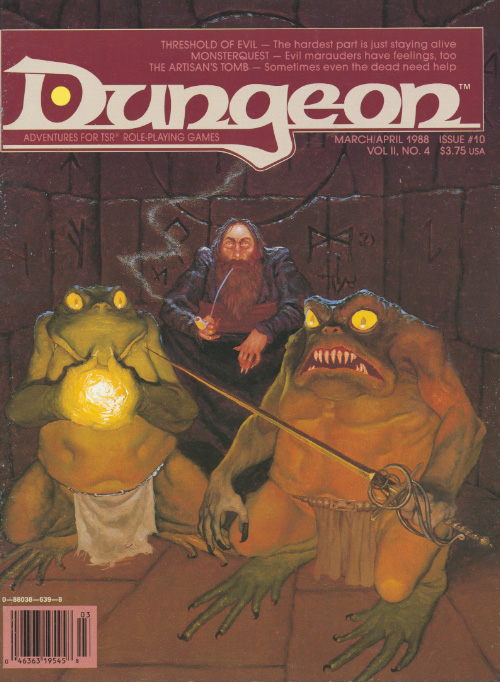
It's strange that a shrine to a vanished god should still be taking sacrifices. Not everyone forgets a forgotten god. The party explores an old shrine to a demon lord, kept up by a superstitious local. Pgs. 3-8
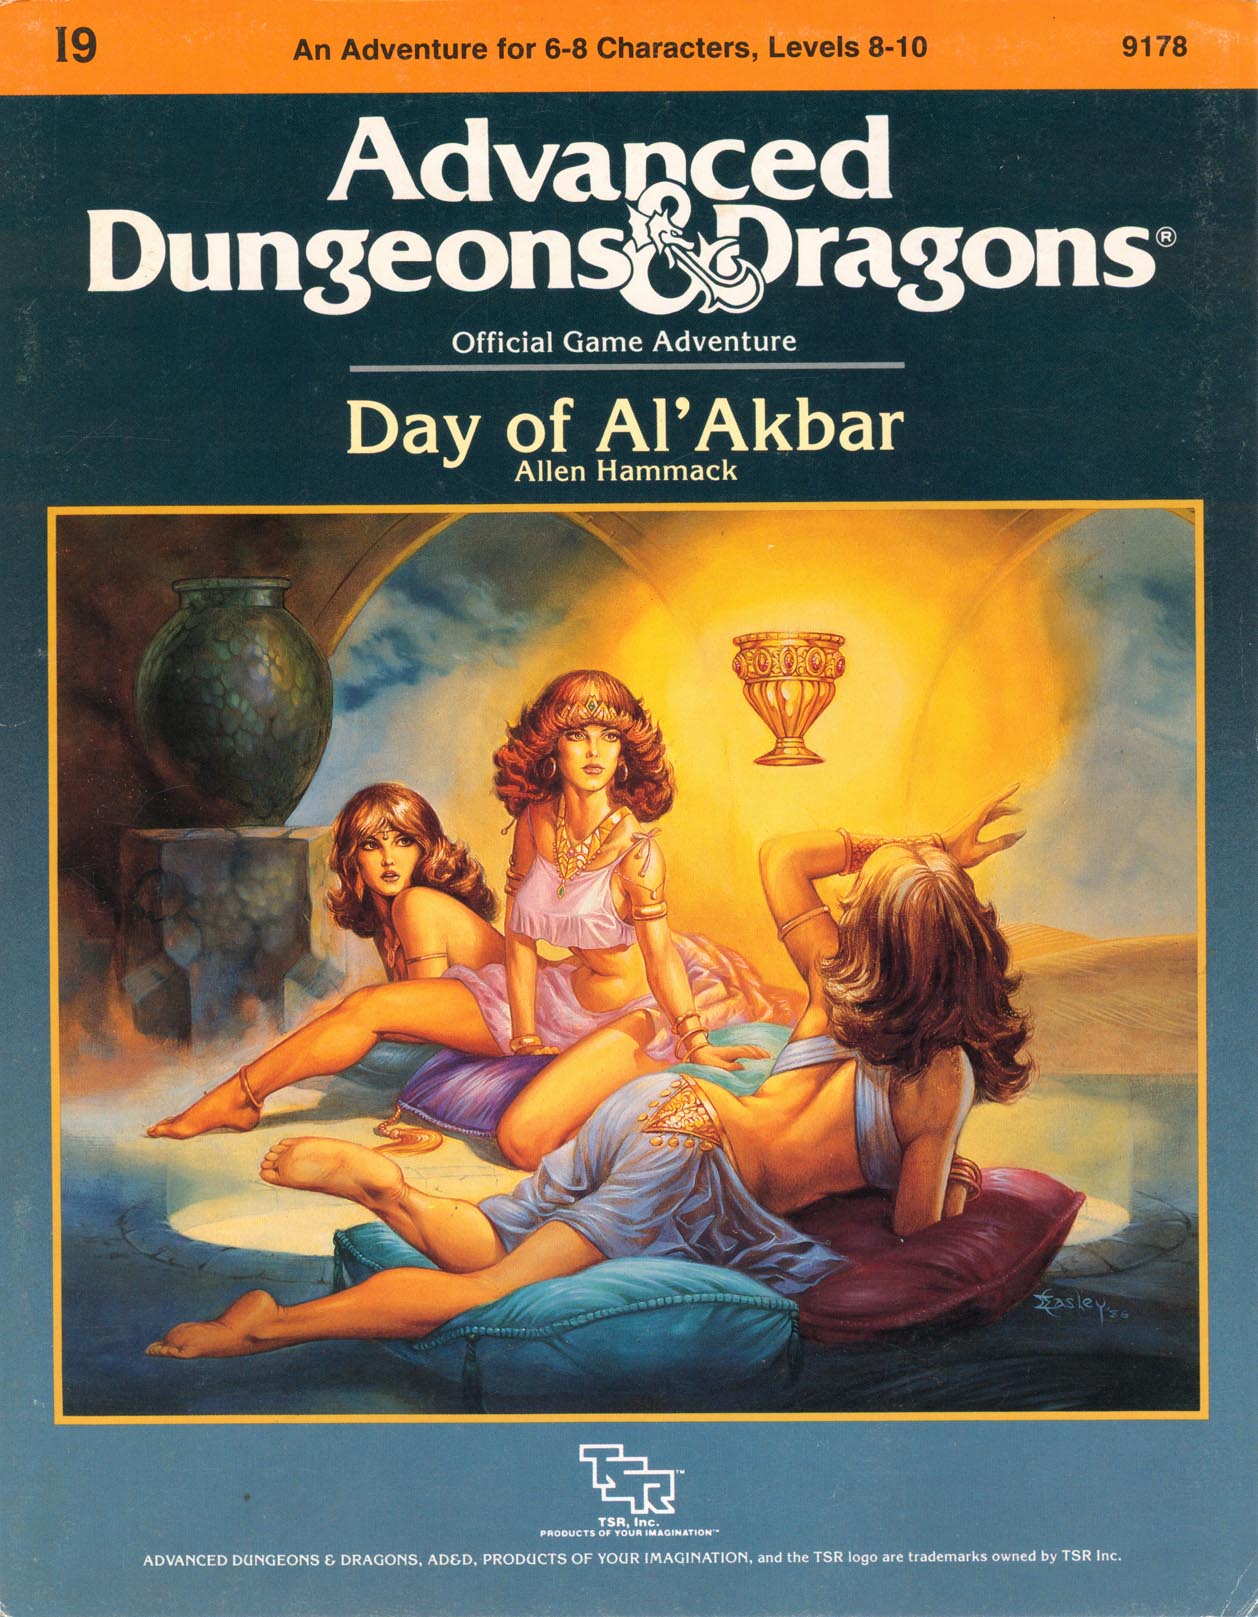
The land of Arir - a once peaceful desert country, dotted with oases, teeming with caravans - fell into the hand of infidels. The ruler, the dearly loved Sultan Amhara, was killed in the battle for the capital city of Khaibar. He left behind one of the greatest treasure stores ever amassed - jewels and coins, more than anyone had ever seen before or since - and in addition, the Cup and Talisman of Al'Akbar. A deadly plague sweeps your land. The holy men say that if only they had the Talisman, they could create cures for this dread disease. Many adventurers have tries and failed to find the Cup and Talisman. Now it is your turn. Find these treasures, and save your people! The journey is exciting, but treacherous. Do not be distracted by exotic sights and sounds, the strange foods. You must avoid being discovered by Al'Farzikh and his brigands, as you infiltrate the palace. Be wary - what is most beautiful may be most deadly, and what seems useless may be priceless. TSR 9178

Silently, ponderously, they float through the Astral Plane, mammoth isles of rock adrift in an endless sea of silver. Once they were gods. Now they're little more than debris, petrified husks of fading belief and forgotten prayer. Yet for many, their memories linger, their dreams live on - and for some, those dreams are terrifying nightmares of vengeance, and conquest, and death. n the first, the heroes are drawn into an epic quest to uncover the secrest behind the retuns of an infamous AD&D villain long thought dead. In the second, the city of Sigil threatens to explode in a faction war for control of an old church and a mysterious force lurking within it. Dead Gods also features a Monstrous Compendium entry for a brand new fiend, full color illustrations to bring scenes alive for players, and a poster sheet of maps for the Dungeon Master. Dead Gods builds on story elements first explored in the Planescape adventure anthology The Great Modron March, though that product is not required to use this one.

While Maeshi province revels in the festival spirit, clouds gather over the political scene. Two warlords are vying for control of this otherwise peaceful place, and you are guests of one of them. Sun Temple officials have offered complete support to the faction which successfully travels to Ito-jo Castle (said to hold relics of great importance to the Sun Temple), brings them back safely, and returns them to the Inn of the Globefish. The plan is laid before you. You are to leave immediately under secrecy for the castle of the Ito clan, also known as the Seven Swords clan. Find the relics, and return them to the renowned inn Doi no Fugu. Extreme caution is needed here, for your warlord's rival must not hear of this! Is the castle really haunted? What lies in the caverns beneath it? Will Korimori's troops discover your plan and try to wrest the relics from you, should you even get that far? What will you find at the Inn of the Globefish? Come, honorable stranger - the Seven Swords await! This module contains an extended adventure in four parts: Ito-Jo, The Ghost Castle Beneath The Ghost Castle A Day In The Country Yakuza's Honor TSR 9186
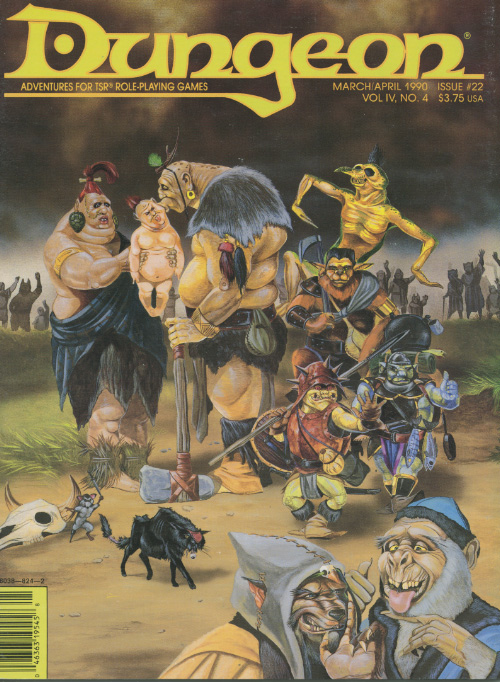
The gnomes built a dragon. Can you turn it off? We gnomes built this wonderful dragon but now the darn thing seems to be out of control. The party meets a hapless gnome tinkerer who's mechanical dragon has gone haywire! The construct is possessed by a spirit named Ahmoras. The party is led to a town called Gnomevale on the way to Mount Nevermind. Finding the town devastated by the automaton, the party follows in the wake into the mountains. The party has many ways to defeat the automaton, ranging from brute force to tricking the spirit of Ahmoras out of the construct. Pgs. 36-49

Tyr has been freed, and the mighty army of Urik has been turned back. These are new and strange times, indeed. Now Urik has become home - at least for a while - and there are new markets to shop, new streets to explore, and, oh yes, preservers to meet. Preservers, the keepers of good magic, have sent a mysterious summons. They are ready to embark on a new and dangerous plot to thwart sorcerer-kings and bring new life to Athas. To associate with preservers is dangerous to say the least, but when the king's templars uncover the schemes, a death mark falls upon all involved Will a desperate journey across the wastelands, with the templars in hot pursuit, end in victory or chaos? The answers lie in the hearts of mighty heroes and the resources of Arcane Shadows. In this adventure, the PCs find themselves in Urik, perhaps as a result of the war between Tyr and Urik that took place in Road to Urik. There, they become involved in a ritual meant to help a nascent Avangion (a very powerful wizard/psion of a generally benign type) reach the next stage of its development, but the ritual is interrupted by Urik's templars. The Avangion-to-be is left in a cocoon, and the PCs are tasked with bringing it to a new location in the wilderness where the ritual can be completed. They need to get the cocoon to the ritual location before it's too late, while evading pursuit as well as dealing with any wilderness dangers on the way, plus the evil machinations of a raiding tribe seeking the wizard for their own dark purposes. The adventure is fairly rail-roaded with a series of set encounters between points A and B. Like other Dark Sun adventures, it comes with a set of handouts. Unlike the previous adventures in the series, Arcane Shadows is not tied to the Prism Pentad novel series, nor is it really tied to the previous adventures. You can easily play it as a stand-alone without affecting the earlier ones. TSR 2410
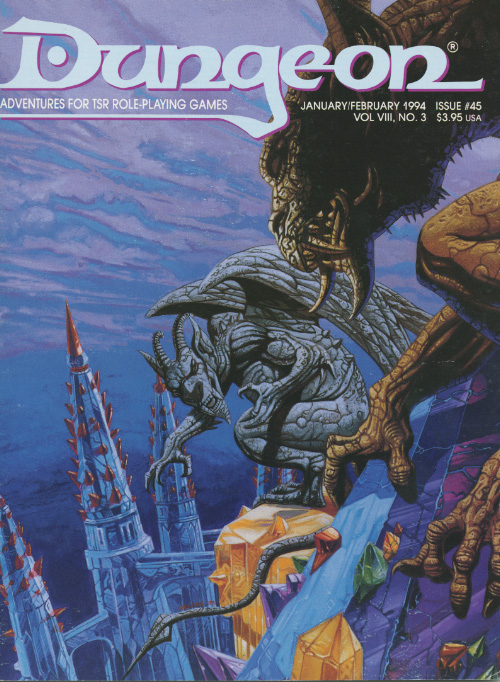
To a reigar, art doesn't imitate life, it is life. "An Artist's Errand" is an AD&D Spelljammer adventure for 4-6 good-aligned characters of level 6-8 (about 35 levels total). The module assumes the party is familiar with spelljamming. The party should include at least one spell-caster, preferably a wizard, but a party of resourceful (and powerful) fighters and rogues should be able to complete the adventure. PCs with an understanding of navigation, elvish, and engineering will come in handy as well. The party need not own a spelljamming ship to complete this adventure. Pgs. 8-31