Create your own Critical Role campaigns with this sourcebook for the world's greatest roleplaying game! Explorer’s Guide to Wildemount provides everything you need to play Dungeons & Dragons on the continent of Wildemount (set within the world of Exandria)—a land of war, betrayal, and swashbuckling adventure. Comprised of four regions, Wildemount provides endless potential for adventure in a land of brewing conflict and incredible magic. Rising tensions boil over into all-out war between the politically dubious Dwendalian Empire and the light-worshiping wastefolk of Xhorhas, supplying a vibrant backdrop for any D&D campaign to explore. Uncover a trove of new options usable in any D&D game, featuring subclasses, spells, magic items, monsters, and more, rooted in the adventures of Critical Role—such as Vestiges of Divergence and the possibility manipulating magic of dunamancy. Start a campaign in any of Wildemount’s regions using a variety of introductory adventures, dozens of regional plot seeds, and the heroic chronicle system—a way to create character backstories rooted in Wildemount. Explore every corner of Wildemount and discover mysteries revealed for the first time by Critical Role Dungeon Master, Matthew Mercer. Includes: Frozen Sick: https://www.adventurelookup.com/adventures/frozen-sick Unwelcome Spirits: https://www.adventurelookup.com/adventures/unwelcome-spirits Tide of Retribution: https://www.adventurelookup.com/adventures/tide-of-retribution Dangerous Designs: https://www.adventurelookup.com/adventures/dangerous-designs
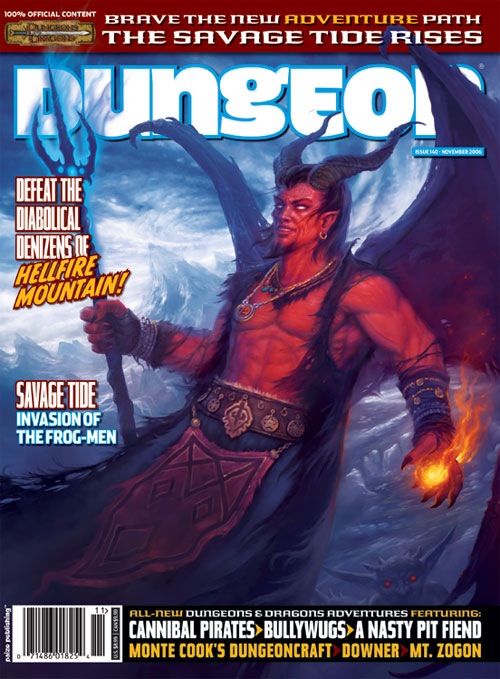
When an attempt to arrange an early inheritance backfires, a man of lesser ambition than Vanthus Vanderboren would no doubt withdraw into his sister's manse to hide under her skirts and pray that the truth of his patricide remain hidden. Fortunately for Vanthus, lack of ambition has never been a problem. Now the Vanderobrens' prodigal son slinks east along the coast of Blood Bay, lured by rumors of an incredible prize kept in a smuggler's hideout called Kraken's Cove. Yet what he is destined to find there is far more than a lucrative bit of banditry. What awaits him is the savage tide. "The Bullywug Gambit" is the second chapter of the Savage Tides Adventure Path, a complete campaign consisting of 12 adventures appearing in Dungeon magazine. For additional aid in running this campaign, check out Dragon magazine's "Savage Tidings" articles, a series that helps players and DMs prepare for and expand upon the campaign. Issue #349 of Dragon magazine looks into the region surrounding Sasserine, and provides useful information if your PCs wish to explore this area more thoroughly than they do in the course of this adventure. The hidden caves of Kraken's Cove have long served the pirates of the Crimson Fleet as a place to stage their smuggling operations. When their latest cargo backfires, the PCs find themselves faced with something far worse than murderous pirates. Pgs. 12-48

The Sea Witch is a short adventure for four 10th-level characters. The difficulty of the adventure can be adjusted by changing the level of main antagonist (Black Molly, the sea hag pirate) or by altering the number of her ogre servants. To tailor the encounter to groups of different levels, refer to table 4-1 in Chapter 4 of the DUNGEON MASTER’S GUIDE. The adventure is set off a lightly populated coastline known as Misty Bay, but adapts easily to any coastal region in existing campaigns. The sea hag known as Black Molly is a notorious pirate who has plagued the coastal cities for the better part of a decade. A successful Knowledge (local) check (DC 15) will reveal that Molly and her ogre crew have a filthy reputation as merciless killers who delight not only in plundering vessels for their riches, but also in destroying the ships themselves and sending all hands to the bottom of the sea. Now the villain and her followers have seized control of the Old Lighthouse of Misty Bay located off a lightly populated coastline. For generations the lighthouse beacon has protected the fishermen of this region, warning them of the dangerous rocks that lurk just below the level of the high tides. Recently, the hag has put out the beacon, darkening the lighthouse; misery and destruction are sure to follow as ships start to blunder into the rocks. Blackmail is apparently Black Molly’s aim in this venture: She conveyed a message to the nearest shore community, the fishing village of Poisson, demanding the princely sum of 50,000 gp. Until she receives this ransom, she intends to hold the lighthouse and its beacon hostage. The fate of the human keepers who tend the lighthouse is unknown to the seaside communities at this time, but they fear the worst. The Sea Witch is ostensibly a rescue mission: The PCs are pitted against the evil of Black Molly and the brawn of her savage ogre crew. It is the heroes’ task to retake the lighthouse and, if possible, free its captives from the clutches of their jailer. What neither the PCs nor the shore communities yet realize is that while she 1would be pleased to have the gold, Black Molly is in fact after bigger treasure. Molly has no intention of giving up the lighthouse — at least, not until she finds what her master sent her here for. Lying on the sea floor practically at the base of the rock on which the lighthouse sits is the wreck of the war galley Flying Cloud, which according to popular legend was captained by a cleric who wore around his neck an amulet of the planes. Black Molly wants this prize, but so far she hasn’t been able to find it. She’s scoured the wreck without finding any sign of the magic item. Now she’s trying to determine where to search next, for the item might well be somewhere near the wreck. If she can’t find it, she’ll start torturing her captives to find out if they have any useful knowledge about the amulet.

Jelendra, a tulani of summer, has gathered a small following of dark fey creatures to help her get revenge against the Highridge Arcane eladrin elders. When they had the nerve to question her interest (they called it “obsession”) in the destructive power of the Wild Hunt, Jelendra flew into a rage and stormed out of the Highridge Arcane. Now, she controls a fane to an ancient spirit of the Wild Hunt. Not knowing what became of her, the elders ask the adventurers to find Jelendra. “Let her know that she is missed, and we want her to return home,” one elder says. Pgs. 114-119
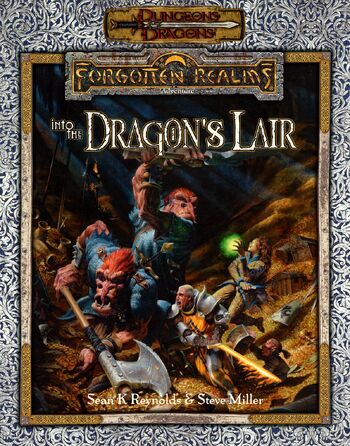
Into the Dragon's Lair takes place in the Forgotten Realms setting, and takes place after the novels The High Road and The Death of a Dragon by Troy Denning. The nation of Cormyr tries to rebuild after the death of King Azoun IV, and seeks the treasure hoard of a dragon to fund these efforts and keep the kingdom from falling into chaos. The player characters must find this treasure before all the other seekers.
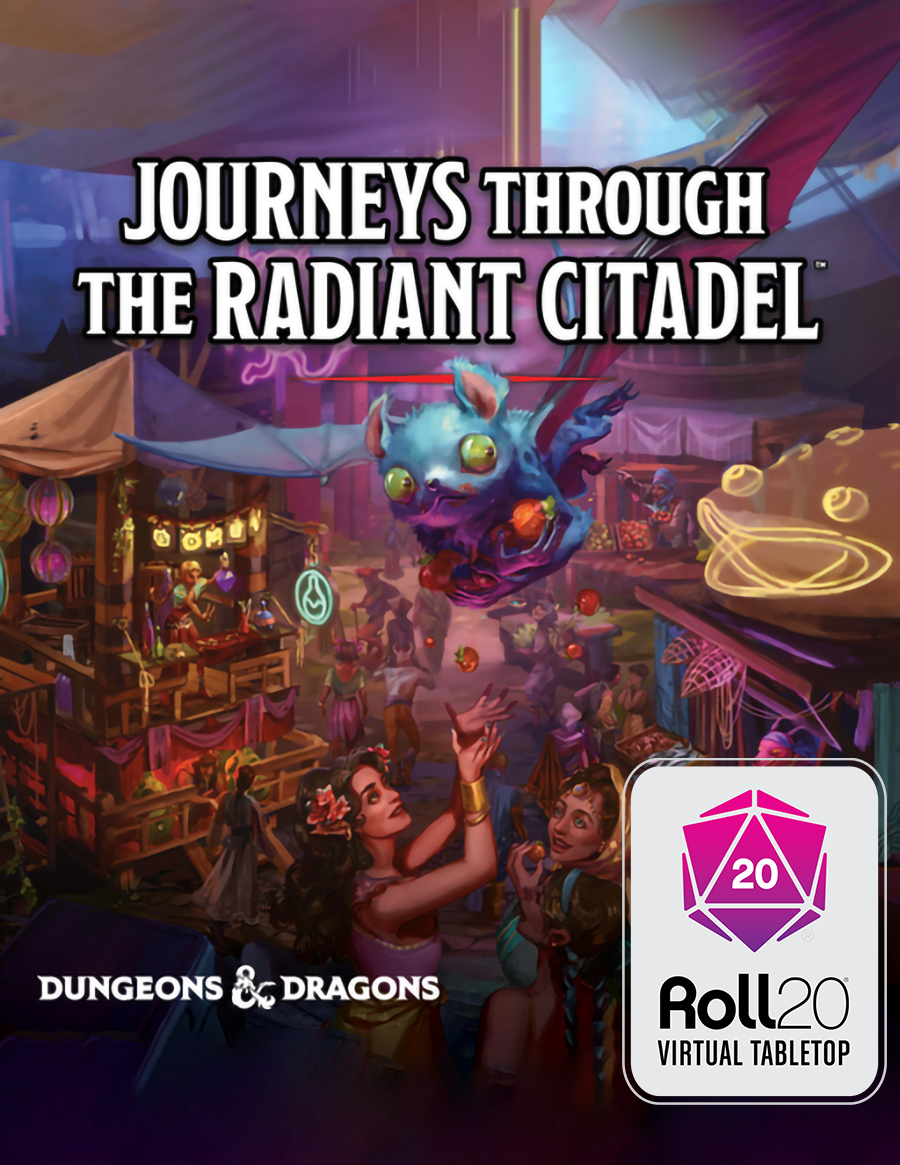
"A series of disturbances plagues the Dyn Singh Night Market, an endlessly changing maze of stalls filled with incredible wares, enticing smells, and magical lights. Accusations fly as the characters become entangled in a feud between the well-respected Tyenmo and Xungoon merchant families of the Siabsungkoh valley. To prevent the families' conflict from escalating, the characters must earn the trust of the market's vendors and gain their help to unmask who's behind a rash of vandalism and thefts."
Something is killing people in Palebank Village, and if the party does not stop it they could be next.

A fallen clock tower holds components from an ancient artifact. Upon discovery of the components, competing agents look to launch expeditions to uncover additional components scattered across distant places—and times. The now-lost Temple of Moloch and the construction site of the legendary Tomb of Horrors are two of those locations. However great the risks, finding the components demands the effort, for whoever does so can reassemble the fabled Infernal Machine of Lum the Mad!

The Fortress of the Yuan-Ti describes a fortress build into a cliff side and the slave village outside. The Adventure is the third of three but can easily be played by its self. The adventure revolves around the players discovering the dark plot to revive the demon Sertrous and then stopping it. The adventure describes the outside, inside, and hanging towers of the fortress. The adventure concludes in a forth extra-planer tower were you fight the boss. It also includes 4 sidetracks from portals that explain how they get the materials for the ritual. Final part of the Barrow of the Forgotten King series.
Shadows in the forest deepen as an Oracle among the Yuirwood's half-elf inhabitants fire tells the reemergence of the Duskwalker, an ancient and corrupt star elf wizard. Missing travelers and lost goods all point to a circle of standing stones within the forest. Perhaps, like it's counterparts elsewhere in the Yuirwood, this stone henge allows for travel to travel to another place - but where? And what growing darkness awaits those bold enough to find out?

A Vistani fortuneteller has called you out by name during the Burgomaster’s private reading. She raved of an army of the dead, a delicate powderbox, and a beautiful yet dangerous woman. Now the Burgomaster wants to know why you’re more important than he is... Part Four of Misty Fortunes and Absent Hearts.
In this Adventure, the heroes explore the lair of an adult green dragon who has become a dracolich. She is served by living and undead minions and slaves. Pages 302-307

Something stirs in the dark heart of the Warwood, and in response something stirs in the stars. A simple encounter with bandits on the road leads the PCs to a frightening place where even dreams are deadly. Cultists seek to free the soul of a terrible entity from beyond the stars. The PCs must retrieve the soul vessel of a long-dead evil paladin to stop cultists’ plan from coming to fruition. Pgs. 60-92

The temple lay just ahead, and within the answers to a great many questions about the recent goings on in Port Nyanzaru. The journey here has been long and arduous and hopefully soon at an end. Leave your trepidations at the door; there’s exploring to be done! Part Three of The Jungle Has Fangs Trilogy.
As the story goes, worshipers of Bahamut and worshipers of Gruumsh spent years warring. As the dead piled up, a Bahamut faithful crafted a weapon of devastating power. Most of the inventor’s peers balked at its use, but some felt it was justified. Those few who used the weapon were twisted into mad, dark beings by its corrupting power. The rest of Bahamut’s flock locked them and the weapon away in a dungeon prison. The dungeon and its terrible secret were long forgotten—until a group of rakshasas happened across the ancient tale. Now they seek the weapon for their own designs. Pgs. 132-137

In the village of Elventree, near the oppressive city of Hillsfar, a recent string of strange occurrences has the locals on edge. The factions have gathered here on the borders of the forest of Cormanthor to determine what’s happening. Are these the machinations of Hillsfar, or something more?
A sickness has come unto the simple mining community of Duvik’s Pass, poisoning their wells and blighting their crops. With the pestilence leaving the strongest men of the town’s guard a few short days away from death, the burden of descending into the mines and purging the wellspring of whatever evil has settled there falls to an intrepid band of adventurers. Can these noble heroes prevail within the depths of Duvik’s Pass, or will they too fall victim to the perils of The Burning Plague? The Burning Plague is a DUNGEONS & DRAGONS adventure designed for a party of four to six characters of 1st level. Dungeon Masters (DMs) should feel free to adjust the adventure as necessary to accommodate groups not falling within this range. However, given the fairly low power level of the inhabitants of the mines at Duvik’s Pass, it should be noted that parties consisting of 20 or more total levels are unlikely to find satisfactory challenge within The Burning Plague.

The recent discovery of an entrance to the Underdark has set local leaders on edge. In a display of initiative, the First Lord of Hillsfar has ordered the construction of defensive structures surrounding what locals have begun to call "The Waydown." You have been charged with escorting an emissary back to his home in the Underdark without alerting the Red Plumes.

"And they bade their slaves, 'Build unto us tombs to rival the palaces of the gods, for there shall we live or lives and sleep our deaths in splendor.' And the people of Maru-Qet wore their fingers down, broke their backs, burst their hearts to obey. Indeed they raised up great tombs to rival the palaces of the gods. And their masters were well pleased, for it was as gods they saw themselves." The brown dragon Urum-Shar lurks in a strange tomb, plotting schemes only a wyrm of incredible power could understand. Expanding on content from Draconomicon: Chromatic Dragons, this adventure takes the heroes into Urum-Shar’s dark and trap-filled lair, where they will eventually face the powerful dragon herself. The dungeon heavily employs the use of traps, with fewer monsters. The upper tomb consists of a great puzzle of twelve rooms, and the lower tomb contains the dreaded Urum-Shar, an ancient brown dragon and heir to the lost draconic empire of Maru-Qet. The dungeon has special protections against scrying and other divinations, as well as teleportation. Pgs. 55-90

What begins as a simple expedition to settle a new village in the ruins of the mysterious Castle Inverness sets off a chain of events that could threaten every living being from Winterhaven to Hammerfast. Not everyone in the Nentir Vale is happy to see civilization brought to Inverness, particularly the ghost of Salazar Vladistone, who commands the spectral legion called the Phantom Brigade. "March of the Phantom Brigade" is an adventure designed for season 4 of the Dungeons & Dragons Encounters official play program. It includes the information the Dungeon Master needs to run the adventure, thirteen ready-to-play encounters (each intended for one session of play), and full-color foldout battle maps depicting the various encounter locations.