
The Free City: a shining gem in the crown of cultured civilization. Beneath the surface of this bustling metropolis is a rot, festering in the darkness, manipulating the lives of those unaware of its presence. Now a small adventuring band from out of town may be in over their heads. Their actions in Diamond Lake have attracted the wrath of one of the city’s hidden masters. A gang of infiltrators and an enigmatic mastermind plot their destruction, and only tracing the rot to the root can stop the onslaught. "The Hall of Harsh Reflections" is the fourth installment of the Age of Worms Adventure Path, a complete campaign consisting of 12 adventures, several "Backdrop" articles to help Dungeon masters run the series, and a handful of poster maps of key locations. For additional aid in running this campaign, check out Dragon's monthly "Worm Food" articles, a series that provides additional materials to help players survive this campaign. Check out issue #336 of Dragon for five attractions to tempt your PCs to spend some of their hard-earned loot. This issue of Dragon also features an Ecology of the Spawn of Kyuss, one of the central creatures featured in this campaign. Pgs. 34-60

A young black dragon and two hatchling dragons live in an excavated sandstone burrow in the swamp west of Knacker Knob. Connected to the dragon lair is a complex of sandstone tunnels and chambers inhabited by lizard men. Some sandstone tunnels and chambers are partially flooded, and others are filled with nasty things such as slimes, oozes and gelatinous cubes. The lizard men revere the dragons as magical spirit guardians. In small groups the lizard men are easily defeated, but if allowed to prepare a common defense, the lizard men tribe with its spellcasters may present serious threat to the player characters (PCs). Wild Dragon Den is the first dragon's lair to conquer. Part of TSR 1073 The Dragon's Den

The couatl Tlanextic saved the village of Pearlglen from a terrible plague many years ago, and now he has returned. But why is he hiding in an abandoned temple in the woods instead of working in town, the way he once did? And what exactly is the threat to the village this time? Does the mysterious death of the town's chief warden at the bony hands of skeletons have anything to do with it? Download this new adventure by Skip Williams and give your PCs a bit of detective work to do to find out what's really happening in Pearlglen. The scenario is set in a forested area, and the action takes place in the village of Pearlglen and a nearby, half-ruined temple. As always, feel free to adapt the material presented here as you see fit to make it work with your campaign.

Retribution and revenge are yours for the taking! Demise of the Slavers pits you against the forces responsible for turning your life upside down and kidnapping your friends and family. The original pair of adventurers have come a long way and with the help of friends, it is time to end the slavers hold on your homeland of Esaq! Don’t miss this exciting conclusion for the DQ series.
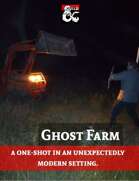
Have you ever considered how hard it would be to fight a tractor with a sword or greataxe? Your players deserve to find out! This adventure traps the player characters in a small pocket plane set up by nefarious forces. They must explore a small modern farm and deal with its hazards to end the curse placed on the farmer. There are, of course, a few complications to deal with, like animated farm equipment trying to kill them, and the innumerable horde of ghoulish chickens penned up in one of the chicken houses... The adventure is balanced for the way 5e is structured, meaning Long Resting is very risky, so they will have to conserve resources, and was designed and tested for 4 Level 6 players. It should take 3-6 hours to complete. It includes map images scaled for Roll20 and Fantasygrounds.

What could happen while traveling the vast Savage Frontier? Just about anything! Encounters in the Savage Frontier includes 24 unique encounters of various difficulty that can be used while the adventuring party travels the Savage Frontier. It also includes several new creatures and magic items, digital hand-drawn maps (10 as downloadable .jpg files), and original artwork. Some of the encounters are short and brief, while others may take you a full gaming session to complete. Available for Fantasy Grounds

Under the Temple Crypt is the first in a series of site-based, Swords & Wizardry** compatible, “micro modules” that can be dropped into just about any campaign (especially a sandbox-style campaign). No underlying story-hook or rationale for exploring the site is given here. This dungeon assumes that there is a temple somewhere with a mysterious walled-in doorframe in the basement crypt. The walled-in doorframe predates the temple itself and leads to ancient subterranean structures that hint of an older civilization as well as an expansive underworld.

A fiend lurks among the Black Blade goblins. A shapeshifting barghest fashioned by the General of Gehenna to exact revenge on all goblin-kind. It’s aim: to kill as many goblin leaders as possible… A masked goblin approaches the party asking for help. Two tribe leaders are dead. But a rival for chief has control of the crime scene. Will the party discover the barghest among the goblin ranks? Can they stop this imposter before it strikes again? Adventure Overview The adventure’s story is spread over 4 parts and takes approximately 4 hours to play. The adventure begins with a Call to Action scene. Part 1: Goblin Politics. Krill sends his emissaries to implore help from any strong intermediary. The party is asked to investigate the murder of Thrawn in Dringly’s lair. This is Story Objective A. Part 2: The Opposition. Gain entry into Dringly’s lair and investigate the murder of Thrawn. Gather enough evidence to find the killer. This is Story Objective B. Part 3: To The Lair! Now that the players have determined the barghest (Yeep) is to blame, they need to get to Krill’s lair quickly as he is in imminent danger. This is Story Objective C. Part 4: The Barghest.When the players arrive at the lair, they need to get to Krill and expose and defeat the barghest. This is Story Objective D. Adventure Background A barghest named Yeep has begun its onslaught of attacks against the Black Blade goblins. Starting with Chief Gnar, then his second in command Thrawn, the barghest is moving methodically down the line of command. Krill is now chief. But he has some problems: Two leaders of the Black Blades are dead. Who killed them and why? Is he next? Dringly, the next in command, has decided to take his lair for himself, declaring himself Chief of the Black Blades. Who are the Black Blades? The Black Blades are a tribe of goblins in the local area. They are known for dipping their blades in a dark black substance. It is rumored these blades are poisonous. The Black Blades regularly attack passersby on the road to rob them. The Black Blades have two lairs, one run by a chief who leads the whole tribe, and another overseen by a boss lieutenant. The Black Blades have a well-established pecking order which is how Krill stands to become chief. The next in line is Dringly, who has also declared himself chief and wants Krill dead. Krill suspects that there is something suspicious about two leaders being killed within a day of each other, but he has already burned Gnar’s body without any investigation. He needs to investigate the body of Thrawn, but it is in Dringly’s lair. Krill wishes to avoid direct confrontation with Dringly at the present for three reasons: 1) Any violence would only kill his own tribe members and further divide the lairs. 2) He believes there is still hope for negotiation to reunite the Black Blades. 3) He believes that if he were to attempt negotiations himself, Dringly would kill him. This adventure features: Two maps. Ready for your favorite Virtual Tabletop. A full color pdf. A black and white pdf. One custom monster, a reprint of barghest, all others available in the Monster Manual. Four hours of entertainment involving: roll playing a goblin bard, investigating a murder scene, tracking down a barghest before it strikes again. Applicable to any setting.

At last- an opportunity to avert the threat to the little town of Saltmarsh! The real enemies have been identified-- evil, cruel creatures, massed in force and viciously organized. Can the brave adventurers thwart this evil and ensure the safety of Saltmarsh? The Final Enemy is the final part in the series of three modules designed and developed in the United Kingdom for beginning adventures with AD&D rules. Its plot follows directly from those of the first two parts (U1 - The Sinister Secrets of Saltmarsh, and Module U2 - Danger at Dunwater.) TSR 9076

Rumor has it that an evil temple resides in the forest as well as a mad mage who may or may not consume children. While these rumors abound speculation of the existence of such is frequently countered with the tenacity of the elves watching over the forest and how it would be unthinkable for them to allow such issues to occur. Note: This seems an incomplete adventure. While the evil temple is mentioned, there are no maps for it. Also the mad mage is given back ground, there are not stats for an encounter.

The Adurite Empire ruled most of the area centuries ago due in no small part to its chain of mighty fortresses. Chief among these bastions was the formidable Castle Modum. This ancient refuge was said to hold mighty magic which may or may not have been the downfall to the castle. Long abandoned the area has always been rumored to house spectral forces and evil creatures. Recently strange lights have been spotted over the keep and the citizens are concerned that an ancient magic has been awakened. The call has come to your ears that adventure awaits….are you ready?

While enjoying some downtime in the coastal city of Forby, a disturbance catches your attention. You quickly discover that there is some trouble in the swampland to the north and the captains that navigate the area are quite upset. Is your group ready to get their waders on and figure out the problem in the swamp?

With your fame building in the Great Plains of Dorack you have received word of an abandoned temple that has been showing signs of life. Years ago the followers of the old deity Sobek built a temple to honor him. The cult died out after a successful raid by Plainsmen who looted the complex after killing off the monks who inhabited it. A few days after the temple sacking the chieftain responsible for the attack fell ill and died of a mysterious disease. As it was believed a curse befell the warlord, the area was abandoned and considered taboo. Lately strange lights have been seen near the old temple and a giant stone alligator has been spotted in the area. The Plainsmen cannot go to the area as the old taboo is still in place and have asked your party to investigate.
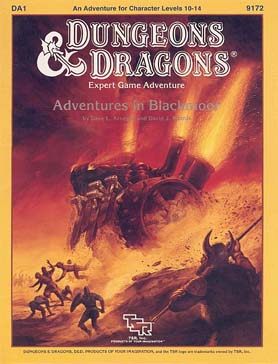
On every side the storm clouds gather. To south and east, the Great Empire of Thonia plots to end Blackmoor's independence and reclaim its lost province. To the west, the implacable Afridhi are on the move. To the north, the evil Egg of Coot prepares to cross the thundering sea and once again bring fire and sword into the heart of the small kingdom. Beyond the realm of the Egg, the hated Skandaharian Raiders are building longships and preparing to fall upon Blackmoor's unprotected coast while its tiny army turns to meet these other threats. Into this time of black despair, there steps a band of adventurers who clutch strange swords and wear the most curious armor?and who claim that Blackmoor sank beneath the ice 3,000 years ago! TSR 9172
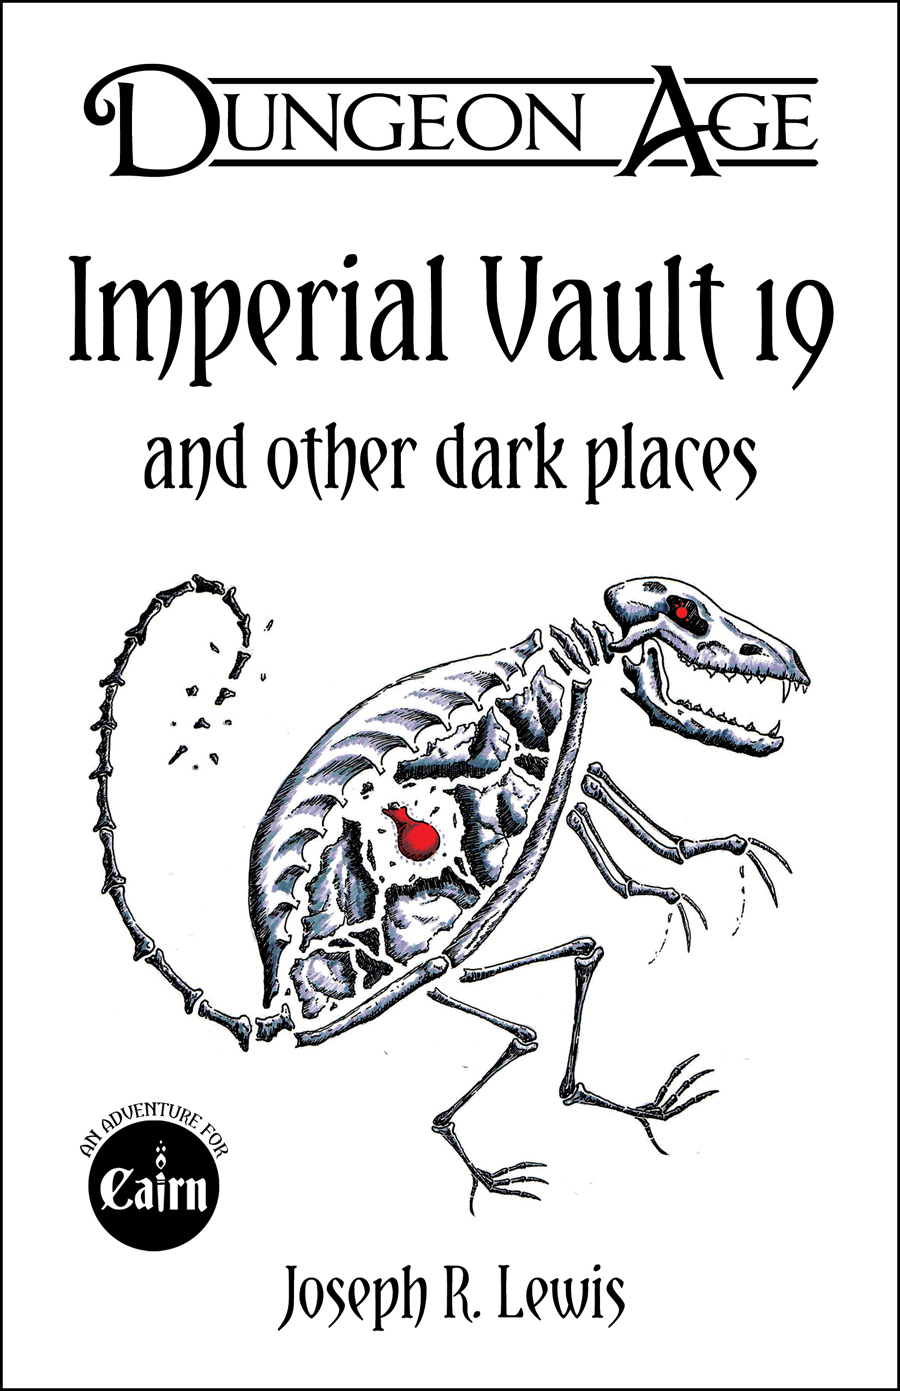
A collection of five one-shot adventures for Cairn! Imperial Vault 19 A grieving widow in the forest begs you to save her baby. A hedge witch has taken the infant down into an old imperial vault where she uses the child’s Chaos tears in alchemical potions. And who knows what old treasures might still be hidden in the vault? Unless it’s not that kind of vault… Barrow of the Blood Baron Face off against vampire bats, vampire thralls, and a vampire noble, as well as a few other creatures that have clawed their way into this once-armored vault. Discover works of art, exotic wines, enchanted clothing, and filthy weapons. Negotiate with the guards and intruders alike, using clever words or whatever stake-like objects are close at hand! Tomb of the Tin Templar Encounter electric jellyfish, tinker gnomes, and the rusted corpse of the noble Sir Tristan, as well as a few other creatures that have drifted into this marvelous mechanical vault. Discover windup toys, clockwork companions, and baffling devices. Negotiate with the guards and intruders alike, using clever words or whatever rusty objects are close at hand! Priory of the Primate Priest Defy root trolls, monkey monks, and a beguiling dryad, as well as a few other creatures that have found their way into this marvelous living vault. Discover magical armor, haunted skulls, and the bonest of the apes' victims. Negotiate with the guards and intruders alike, using clever words or whatever living objects are close at hand! Fane of the Fey Fellmonger Match wits with guild goblins, pixies, and a living skin suit, as well as a few other creatures that have spirited their way into this disturbing leathery vault. Discover arcane clothing, deadly sewing tools, and a fey lord who isn't entire dead yet. Negotiate with the guards and intruders alike, using clever words or whatever sewing objects are close at hand! New PC Background: The Dungeoneer! In addition to some unusual delving gear, select one of 10 unfortunate results of a recent delve-gone-wrong, as well as one of 13 helpful boons or tools from a recent delve-gone-right.

Clues discovered in Diamond Lake lead to the Dark Cathedral, a forlorn chamber hidden below a local mine. There the PCs battle the machinations of the Ebon Triad, a cult dedicated to the three vile gods. What does the Ebon Triad know about the Age of Worms, and why are they so desperate to get it started? "The Three Faces of Evil" is the second installment of the Age of Worms Adventure Path, a complete campaign consisting of 12 adventures, several "Backdrop" articles to help Dungeon masters run the series, and a handful of poster maps of key locations. For additional aid in running this campaign, check out Dragon's monthly "Worm Food" articles, a series that provides additional materials to help players survive this campaign. Issue #334 of Dragon provides comprehensive lists of all the things you can find for sale in Diamond Lake's (often) dubious shops. Pgs. 16-47
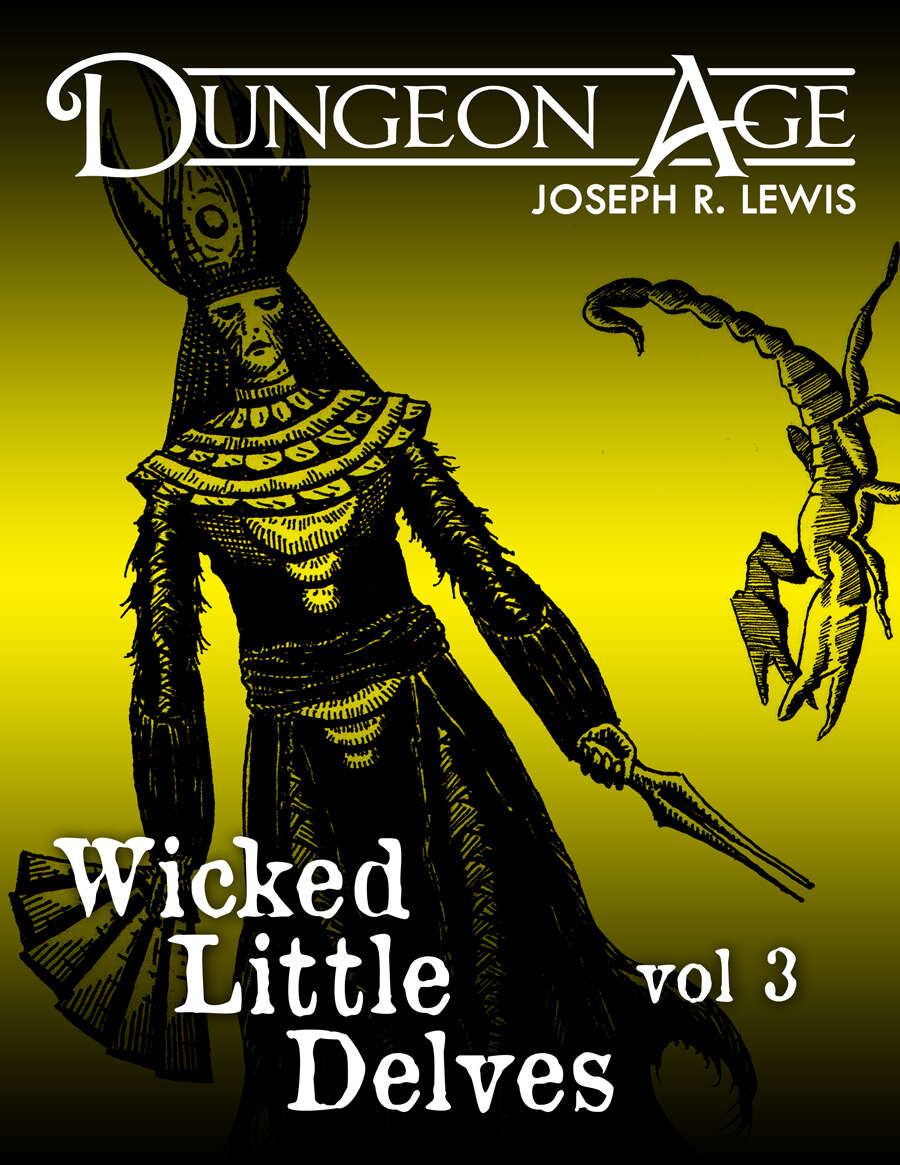
These are three one-shot dungeon delves. Each delve features nine rooms or locations full of challenges and interactivity. Each delve has only one type of monster, but they are complex, and there are lots of them! This volume of Wicked Little Delves includes three small dungeon adventures: - a tunnel complex full of dragons trying to eat each other, - a desert palace of sorcerous mummies trying to restore life to the wasteland, and - an ancient cathedral where zealots of Chaos try to summon unspeakable terrors from beyond the stars. SYSTEM: Each monster has stats for Fifth Edition, Old School Essentials, and Into the Odd. These adventures are intended for characters at levels 7, 8, and 9. They are mainly focused on exploration and combat, with some minor social encounters. Estimated run time for each: 1 session, or 2-5 hours. Each adventure includes one complex original monster and a variety of unique treasures. ADVENTURE TYPE: Mid Level / Combat / Exploration / One-Shot / Dungeon Delve DESIGN NOTES These adventures are intended for mid-level characters Level 7-9 9 unique encounter locations per delve (27 in all!) 3 original monsters with multiple abilities and weaknesses Dungeon maps and original illustrations

A flock of kenku bandits have discovered the ruined remains of a temple site, and have used it as their hideout while they raid unsuspecting travelers on nearby roads. It's up to the PCs to clear their nest, recover stolen goods, and rescue their hostages. Will the players be bested by these dirty birds? Or will they have the bandits eating crow?
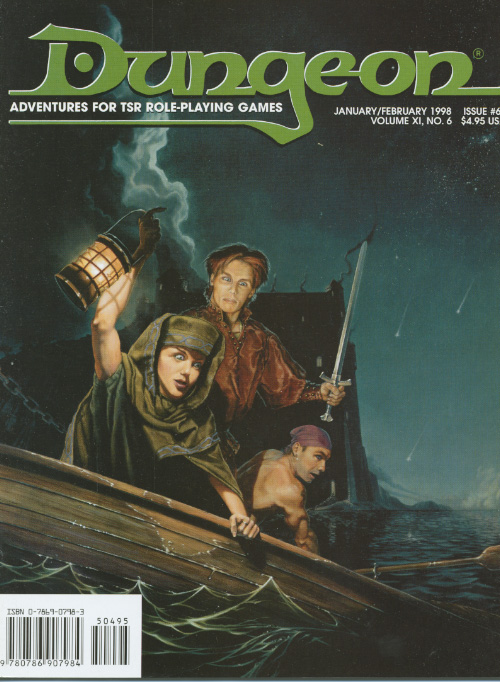
Nothing's more dangerous than a vengeful dwarf except, perhaps, a greedy one. En route somewhere in a barren wilderness, the PCs find a couple of dwarves--one is burying his brother who was killed by a stone giant; but not all is as it seems. "The module can be placed in any temperate wilderness setting. Players who excel at role playing may find the adventure more rewarding than hack-and-slash types. At least one character should possess a silver or magical weapon." Pgs. 16-17

Venture-Captain Calisro Benarry has arranged for the PC's transport to the pirate haven of Port Peril to make contact with Free Captain Stella Fane and negotiate a contract with her, facilitating Society movements through the pirate blockades in the area. The job seems simple: track down the the pirate captain, secure the agreement, and then return to Absalom. But few things are simple when a den of villainous pirates is involved, and it's unlikely the PCs will be able to leave Port Peril without throwing a few punches in a proper pub brawl!