“The Shadow Rift of Umbraforge” is a sequel to “Siege of Bordrin’s Watch” and the third part of the Scales of War Adventure Path. In “Siege of Bordrin’s Watch,” the PCs discovered that dark creepers had sold arms and tactical intelligence to the orc war chief Tusk, aiding him in his attack against the folk of the Stonehome Mountains. In this adventure, the PCs investigate the link between the orcs and the dark ones, stumbling into an armsrunning operation that takes them to the Shadowfell in order to finally confront the charismatic figure behind it. Pgs. 4-53

E2, following up on Death's Reach, the PC's first travel to Sigil following the smuggled remains of the primordial Timesus. The pursuit then leads into the Abyss, through the White Kingdom to face Doresain, the Ghoul King, exarch of Orcus. The module certainly is epic, placing the PCs up against powerful monsters like greater demons, death knights, and a demilich. It may be frustrating that the PCs arrive too late to disrupt the plot (have to allow for the finale in the next adventure) but taking out Orcus' right hand ghoul may be satisfying. Includes a skill challenge for crossing a portion of the Abyss For environments, City refers to Sigil.

The ruined manor now known as Kobold Hall was once a minor lord's proud holding, a walled keep overlooking the old King's Road. That was years ago, and the lord's name and glories he earned are long forgotten. Today, the place is called Kobold Hall after the malicious humanoids that invest the place. Pgs. 210-219

"And they bade their slaves, 'Build unto us tombs to rival the palaces of the gods, for there shall we live or lives and sleep our deaths in splendor.' And the people of Maru-Qet wore their fingers down, broke their backs, burst their hearts to obey. Indeed they raised up great tombs to rival the palaces of the gods. And their masters were well pleased, for it was as gods they saw themselves." The brown dragon Urum-Shar lurks in a strange tomb, plotting schemes only a wyrm of incredible power could understand. Expanding on content from Draconomicon: Chromatic Dragons, this adventure takes the heroes into Urum-Shar’s dark and trap-filled lair, where they will eventually face the powerful dragon herself. The dungeon heavily employs the use of traps, with fewer monsters. The upper tomb consists of a great puzzle of twelve rooms, and the lower tomb contains the dreaded Urum-Shar, an ancient brown dragon and heir to the lost draconic empire of Maru-Qet. The dungeon has special protections against scrying and other divinations, as well as teleportation. Pgs. 55-90

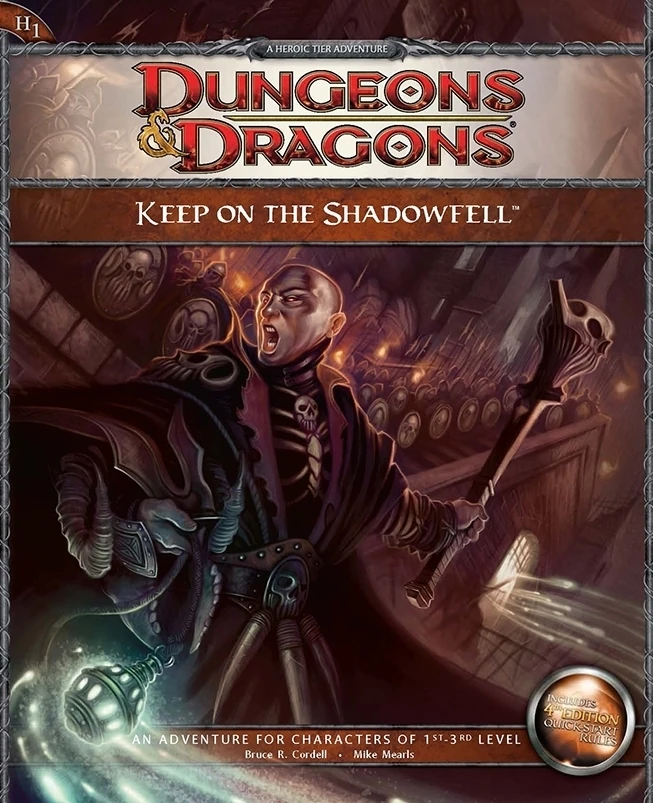
Darkness looms near Winterhaven! Kobold brigands have grown ever bolder in their attacks, marauding the once peaceful town, and a known explorer has been missing ever since their departure to the excavation site of a dragon burial site. When the party investigates, they will discover that the kobold's leader, Irontooth, bears a tattoo of a ram-headed demon. This is a troubling portent, for the townsfolk will report that this can only mean the dread god Orcus, master of death, has an active cult in that ruined keep! It is up to the party to enter the Keep on the Shadowfell and put a stop to the cult's fell machinations before it threatens all the realm. There they will fight the evil priest Kalarel, Scion of Orcus and seal off the vile portal to the dark realms he is master of. Should the heroes seize victory, glory and treasure are sure to be theirs. But first they must endure the challenges of that dreaded KEEP ON THE SHADOWFELL!

The goddess Erathis has never seemed the sort to demand the sacrifice of mortals in exchange for safe trade routes, but that’s exactly what her high priest has demanded. When a local ruler asks the characters to investigate the high priest, a chain of events is set in motion that could shake the city of Wyllea, and the church of Erathis, to its core. This adventure makes extensive use of roleplaying encounters and skill challenges, with fewer tactical combat encounters. There is a substantial focus on politics and intrigue. The Tariff of Relkingham is written for 3rd level PCs, but contains advice for lowering or raising the starting level from 2-4. It also contains a system for calculating an advantage or disadvantage in the final fight based on the players' actions during the adventure. Pgs. 83-103

“Siege of Bordrin’s Watch” is the sequel to “Rescue at Rivenroar,” continuing the unfolding story of the Scales of War campaign. This adventure features exploration, roleplaying opportunities, and combats in dynamic environments. In this adventure, a new threat looms to the west: A vast horde of orcs and their despicable kin emerge from the barren lands bent on plunder and conquest. While the Elsir Vale and other lands mobilize their meager forces to respond to the danger, a call has gone out to those heroes of the Vale to join forces and help to push back this new evil before it’s too late. Pgs. 4-55
The hobgoblins were not the only forces that remained after Kalarel was slain. Before the Keep’s portal was fully sealed, evil spirits from the Shadowfell escaped into the Nentir Vale. They were drawn to Kalarel’s own dark soul, which remained in the mortal world thanks to a spirit-orb the priest had created to prevent him from moving on after death. The presence of these malignant spirits caught the attention of a frost witch called the Rime Mistress and her followers—unaligned territorial beasts—who rose up to defend their domain. The Rime Mistress knows that the spirits present a greater threat than the hobgoblins do, so she and Prang, the Iron Gauntlet leader, have agreed to an uneasy truce. Thus, the hobgoblins and the creatures of the Cairngorm Peaks are united in their struggle against Kalarel’s spirit army.

In ages past, the wizard Karavakos made a deal with devils, which resulted in him being trapped in an extradimensional pyramid, unable to escape. His only hope for escape is to lure adventurers into the Pyramid, in hopes that they will destroy his splinters and return his power to him. But his wife Vyrellis, whom he slew in a rage when the Pyramid formed, still lingers in spirit and wants nothing more than to see him laid low... Although set to allow PCs to just fight through each encounter, tips are included for PCs negotiating with the factions trapped in the pyramid.

“The Lost Mines of Karak” is the sequel to “The Shadow Rift of Umbraforge” and the fourth part of the Scales of War adventure path. After the player characters' success in "Siege of Bordrin's Watch" and "The Shadow Rift of Umbraforge", they have garnered something of a reputation in the city of Overlook. They are introduced to a wealthy patron that believes there is a connection between a shadar-kai arms dealer (from the previous two adventures) and a long lost dwarven mine. The patron wishes the PCs to find and secure the mine in order to use its wealth and resources to defend the city. The party then must travel through a wasteland and desert to find this mine. Once they have, they must fight through the hordes of monstrous creatures that inhabit it and defeat the Queen of the Drylands - a powerful naga. Pgs. 56-93

The Adventurers arrive at a drow outpost in the Underdark. They must either dispose of the drow or ally with them against the invading legions of Orcus!

The mine has been known as Tessount’s Folly for years, due to it producing nothing of value. Now Valmour, the youngest son of the mine’s late owner, has inherited the mine...and found something he should have left buried. Pgs. 56-81

The search for a missing paladin takes the PCs deep into the heart of a frontier torn apart by cult wars—and face to face with an ancient evil. The paladin Jaryd set out to find and destroy the Hand of Naarash. He was never heard from again. Now the PCs must retrace Jaryn’s steps across the harsh wilderness and determine what has become of the noble warrior. Pgs. 29-59

Long rumored to be haunted by eerie specters, Kincep Mansion has stood for years, mostly untouched by nearby townsfolk. Now something is preying on the local villagers—something that comes from the house. Pgs. 46-69

What begins as a simple expedition to settle a new village in the ruins of the mysterious Castle Inverness sets off a chain of events that could threaten every living being from Winterhaven to Hammerfast. Not everyone in the Nentir Vale is happy to see civilization brought to Inverness, particularly the ghost of Salazar Vladistone, who commands the spectral legion called the Phantom Brigade. "March of the Phantom Brigade" is an adventure designed for season 4 of the Dungeons & Dragons Encounters official play program. It includes the information the Dungeon Master needs to run the adventure, thirteen ready-to-play encounters (each intended for one session of play), and full-color foldout battle maps depicting the various encounter locations.

In this adventure, the PCs discover that not all souls rest easy, particularly those spirited away to Nightwyrm Fortress. To learn the truth, players must pierce death's veil itself and enter the Shadowfell, where sinister echoes of life wing through eternal gloom. This adventure can be run as a stand-alone adventure or as Part Three of a three-part series of adventures (starting with P1 King of the Trollhaunt Warrens(TM) and P2 Demon Queen's Enclave(TM)) that spans 10 levels of gameplay.

A pall hangs over the frontier town of Wellspring, casting this once-vibrant place into corruption and death. Strange people stalk the streets and unexplained murders occur each night. Nagging fears that more horrors will spill forth from the Kadagast Mountains instill a pervasive paranoia within the townsfolk. Suspicious people watch their neighbors, and temple attendance has never been higher. Folk keep to themselves, hiding in their homes. They avoid darkened streets, lock their doors when night falls, and shutter their windows to close out the screams and shouts echoing in the dark. If the grim threats pressing the town are not stopped, the fl ame of Wellspring might very well flicker out.

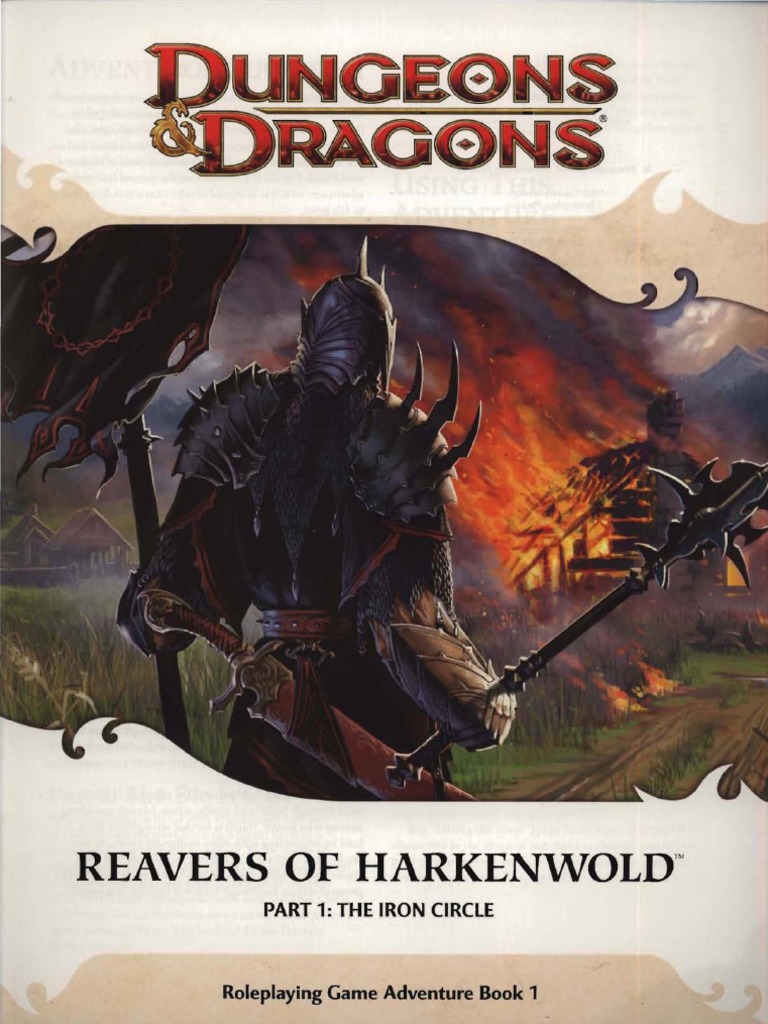
Reavers of Harkenwold pits the heroes against the Iron Circle, a company of cruel mercenaries that has seized control of the small land of Harkenwold. In this adventure, the heroes become daring rebels and lead the folk of Harkenwold against their oppressors.

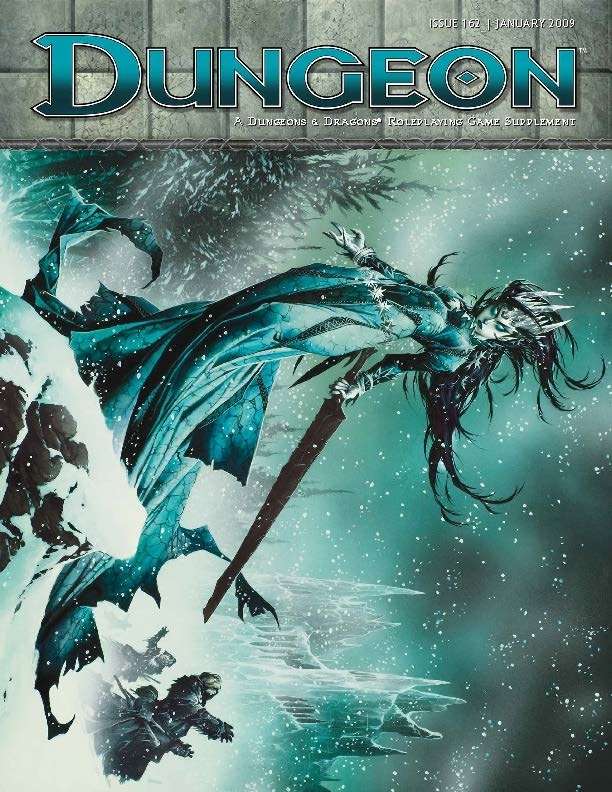
A cold winter wind blows from the Scourge Mountains, but its origins are not of this world. And with it come horrifying stories of a fey who walks the land. Cold, beautiful, and deadly, she turns every mortal she touches into a statue of ice, and she seems determined to blanket the entire north in a blanket of frost. It is the Winter of the Witch…and if the archfey Koliada is not stopped, it could be the world’s last. “Winter of the Witch” starts with the PCs receiving an urgent but somewhat cryptic message from the skeletal knight, Sir Keegan. They find the skeletal knight a helpless victim of an aggressive interrogation by an undead minion of Orcus and his demonic thugs, who are attempting to extract the location of something called the Sun’s Sliver from the stubborn knight. The PCs fight their way into deep ruins, defeat the demon lord’s toadies, and retrieve the Sun’s Sliver. Once the PCs have recovered the Sun's Sliver, they must confront the Winter Witch in Winter's Heart, the witch's icy sanctum in the Feywild. Only there can they confront the cold-hearted archfey and save a section of the world from a wintery doom.

Earth giants, frost giants, fire giants... when the giants strike out to raid and destroy the civilized lands, it becomes apparent that something much larger and more dangerous lurks in the background. A group of adventurers must locate the spark that has ignited this spreading fire and find a way to snuff it out before it engulfs the world. Revenge of the Giants is a super-length adventure that takes characters from 12th level to 17th level. It includes background material, adventure hooks, new monsters and magic items, and a powerful, unfolding story that shows off the best of the paragon tier of play. It also includes a double-sided battle map depicting key encounter sites, designed for use with D&D Miniatures.