
The fabled Mace of St. Cuthbert has been lost from the sight of both human and demi-human for many centuries. Some claim it lies at the heart of an active volcano, guarded by salamanders and flowing lava; others swear it lies buried deep inside the earth, warded by powerful magics raised by those who would see its power denied to the forces of Law and Good. A few assert that it has never left the possession of the Saint, and even now he holds it in his strong right hand. But a few claim that none of these are so that long before the Sainted Cuthbert rose to his exalted station, his mace was hidden away from those who would steal it before he returned for it, hidden away outside the bounds of normal time and space, in a place so outlandish that the Mace's power and destiny would be unknown and unknowable, and thus safe.
Trouble in Paradise The Ruins of Azlant Adventure Path begins with the adventurers standing on the deck of a ship ready to make landfall at their new home. However, dread settles in as they notice that the colony is empty and abandoned. Tasked with uncovering the whereabouts of the prior group of colonists, the adventurers go ashore and explore the deserted settlement. Uncovering strange evidence leads the adventurers across the island, where they encounter two survivors who can give them clues as to the fate of the rest of the first wave of settlers. Can the adventurers survive long enough to discover what truly befell the fledgling colony?

Zhentarim traders. Shadowy figures roaming the fields near Hillsfar. How do these all relate? Everything traces back to the recently unearthed grave-barrows. Rescuing a caravan from undead attackers, the adventurers learn of an ancient danger. An Adventurer's League Four-Hour Adventure for 5th-10th Level Characters.

This one-shot, horror-themed adventure is set on the lightning rail of the world of Eberron! Will your party of 6th-level adventurers be able to rescue an innocent before it all comes crashing down!? Nightmare on the Mournland Express features: An example lightning rail to explore. Updated 5th edition rules for running all sorts of encounters on the lightning rail. A bestiary appendix containing 9 stat blocks, including dragonmarked NPCs and nightmarish monsters! Enough material to run an alternate scenario: a train heist!
“Down below, beneath Cassidum’s stinking alleys and crumbling palaces, lie twisting passages and musty chambers with the secrets of the old days, and the subterranean dens of lowlife scum. But now, sordid disappearances haunt the Piazza dei Rospi, while the Literators’ Guild and Barbers’ Guild wage a bloody turf war for the surrounding streets. The key to these mysteries is a richly carved marble well decorated with the carvings of four ugly bullfrogs, whose depths hide things worse still. Some who descend shall win riches and battle-glory, while others will only find horrid death… down in The Well of Frogs!” A 32-page city and dungeon adventure for 1st to 2nd level characters by Istvan Boldog-Bernad, The Well of Frogs describes a neighbourhood of the crumbling city of Cassidum, its teeming alleyways the haunts of thieves and lowlives. But below the surface lie worse things still, left over from the days of the old empire or repurposed by dangerous eccentrics. Visiting the underground could not be easier: the Well of Frogs, in the middle of the infamous Piazza Dei Rospi, lies in plain sight, and nobody will prevent the brave and very foolish from descending into its maw. This is a module which has killed a respectable amount of player characters in playtest, more at its debut at North Texas RPG Con, and is ready to kill again. It can be used as a one-off, or as a nexus point for an extended campaign. The adventure features illustrations by Dorottya Fulop (who also did the cover), Ferenc Fabian, Vincentas Saladis, Graphite Prime, as well as the Dead Victorians and the Robot Overlords.

5e Solo Gamebooks presents Drums at Daggerford, the fifth in our continual series of solo adventures set in the Forgotten Realms. This quest enables you to experience D&D without a dungeon master! Simply roll up a level 5 PC and get playing. Drums at Daggerford is the way you must experience solo adventuring. Players and DMs beware, a new standard has been set. This solo adventure continues the story arc first begun in Death Knight’s Squire, developed further in Tyrant of Zhentil Keep & Citadel of the Raven, and left in The Tortured Land. Drums at Daggerford’s ability to echo a Tolkien spirit reverberates throughout the narrative no matter which path you may choose. But choose wisely because a razor’s edge separates peril from glory. Over a year in the writing, this latest instalment in our solo adventure series is a mini sandbox campaign that will give you anywhere up to 8 hours of solo adventuring enjoyment. Completionists and those who like to replay these adventures will get even more gametime. There are mysteries to be uncovered, items and sidekicks to be gained, codewords to unlock and villains to conquer! With lots of exploration, meaningful decisions, hard fights, and a variety of rewards and stories, Drums at Daggerford will continue to resonate with you long after solving the big mystery behind Krond Vikkurk’s malevolent plans.

The evil wizard Tharikthiril was defeated by the dwarves years ago. But why then are the groundlings becoming numerous around his ruined tower? And what are those strange lights seen in the distance coming from the direction of his tower? Has the wizard somehow cheated death and risen again? This is a six-hour dungeon crawl adventure for 3rd level characters. For 5th edition Dungeons and Dragons. The adventure loosely ties with "𝐀 𝐓𝐚𝐬𝐭𝐞 𝐨𝐟 𝐇𝐨𝐧𝐞𝐲" and "𝐓𝐡𝐞 𝐇𝐨𝐫𝐧𝐬 𝐨𝐟 𝐖𝐚𝐫", but can be played on its own. The scenario features conversions of creatures that originally appeared in 3rd edition, including groundlings, jovocs, abyssal maws, abyssal ravagers, and abyssal skulkers.

A quick-paced exploration of the magic tower, home to the great Solomon, the Master Conjurer, an expert in fiendology. Adventurers have to find Control Orbs to disable the tower's security system before it destroys them, and discover the secrets of the tower in the process. Their progress will be ushered by a seemingly helpful entity with nefarious intent - Zarloxar, the blue Abishai. The success of adventurers could also finally spell freedom to the fiend... or not if players, under stress, will realize the trickery in time. Part of "Detailed Encounter" series - each "Detailed Encounter" - features new monsters with unique stat blocks, new magic items, a custom battle map, and detailed NPCs. It also has story hooks and advice enough, to quickly turn it into a separate adventure!

Aumvor is aware of the intruders and sends a warning with a powerful fire ball. Satisfied that the party has lost interest, Aumvor returns to his vault where he can safely leave his remains and travel the planes in search of greater power. Perhaps the PCs that survive the blast may have the upper hand. Growing closer to the final chapter, the party of adventurers will find that the only way out is into the tank for a swim. Aumvor the Undying has hidden here in this dungeon for centuries, waiting for his chance to resurface as the emperor of Netheril. The time has passed slowly and Aumvor’s powers are waning. He has hidden phylacteries well, but what use will they be if he has no vessel I which to dwell. Aumvor makes a final effort to kill the party before returning to his vault to wait in ambush for them. In “𝐏𝐚𝐫𝐭 𝟓 The Lower Tower”, you will find the secret at the bottom of the tower, 16 exciting and deadly encounters, and a lot of zombies floating in cadaver soup. Ever fight zombies while swimming and dodging specters? Here is your opportunity. Also coming soon, Roll 20 Map Pack for The Tower of Bondage.

This is Underdark Sidetreks, 𝐚𝐧 𝐨𝐟𝐟𝐞𝐫𝐢𝐧𝐠 𝐨𝐟 𝐭𝐡𝐫𝐞𝐞 𝐬𝐢𝐝𝐞-𝐭𝐫𝐞𝐤𝐬 𝐟𝐨𝐫 𝐲𝐨𝐮𝐫 𝐎𝐮𝐭 𝐨𝐟 𝐭𝐡𝐞 𝐀𝐛𝐲𝐬𝐬 𝐨𝐫 𝐚𝐧𝐲 𝐔𝐧𝐝𝐞𝐫𝐝𝐚𝐫𝐤 𝐜𝐚𝐦𝐩𝐚𝐢𝐠𝐧. What’s inside? Steam-Vents encounter featuring a new steam nereid creature. The Xorn’s Madness encounter. Duergar Outpost adventure – A duergar high priest (with stats) discovers the location of a hidden shrine to Marthammor Duin, dwarven deity of safe travels. Written by Jim Sharkey, contributor to Sword & Sorcery Studios’ Creature Collection 3 & Lost Lands and Frog God Games’ Book of Lost Spells.

Conquest, not beauty, is in the eyes of this beholder. A promise of adventure and riches, with a hint of total annihilation. The party should also have several powerful magical items, since the challenge that it faces is great. The geographical background and the local population are left vague so that the adventure can fit any campaign setting. Pgs. 39-44

This module contain three handy encounters for the time your players have to face a mighty river. The encounters are varied and can be faced with violence or wits, wathever you players choose to. The encounters leads from one to the other so you can run the three in the same session if you are lucky or you can save some for another river. The encounters are adjusted for characters level 1, level 3 or level 6. "You reach the bank of the river but the bridge is not there, your calculations were a little of. The river runs strong and wildly. What do you do?" -------------------------------------------- Este módulo contiene tres útiles encuentros para cuando tus jugadores se encuentren con un poderoso río. Los encuentros son variados y pueden ser enfrentados con violencia o con ingenio, lo que tus jugadores prefieran. Los encuentros pueden encadenarse uno tras el otro así que puedes tener la posibilidad de utilizar lo tres en la misma sesión o guardar alguno para algún otro río. Los encuentros están ajustados para jugadores de niveles 1, nivel 3 o nivel 6. "Leegan a la rivera y el puente que estaban esperando encontrar no está allí. Sus calculos fueron erroneos. El rio corre rapido y salvaje. ¿Que hacen?"

Sleepyhead. The only man who can stop the amphibian horde needs a wake-up call. The party must find a missing druid an bring his captures to justice. Pgs. 8-21
A Giant Ransom is a short adventure for four 11th-level characters. There are opportunities for diplomacy, stealth, and combat, based on the choices the PCs make, so any mix of classes is appropriate. The adventure can be set in any campaign world, in a frontier region near glacier-covered mountains. In the first episode, the PCs were employed by Duke Ambrinigan to exchange a ransom of 10,000 gp in gems for a golden lion that was taken by frost giants in a recent raid. While waiting for the giants to arrive at the designated meeting place, the PCs watched as the white dragon Whildenstrank attacked the giants and then flew off with the statue. Charged with returning the golden lion statue at all costs, the PCs move to investigate the site of the battle.

Bugbear Fight Pit is a mini-adventure with a single main encounter that follow the Bugbear Jeeshank tricking the players into a trap with the challenge of single combat to stop his activities. If the players fall for it, they will be faced with a large number of ranged attacks, and additional clever tactics and use of the terrain. Pgs. 15-17

The Pyramid of Amra is a challenging adventure designed for characters of at least 12th level. Due to the nature and numbers of undead enemies (vampires), having a cleric on hand with the ability to cast raise dead and greater restoration is advisable. The PCs should be rounded out with a wizard or sorcerer and a pair of front-line fighters. In this adventure, the PCs travel to the Pyramid of Amra and the ancient Monastery of Night, where they face one of the most dangerous of opponents they are likely to meet, C’nosretep the Champion of Set.
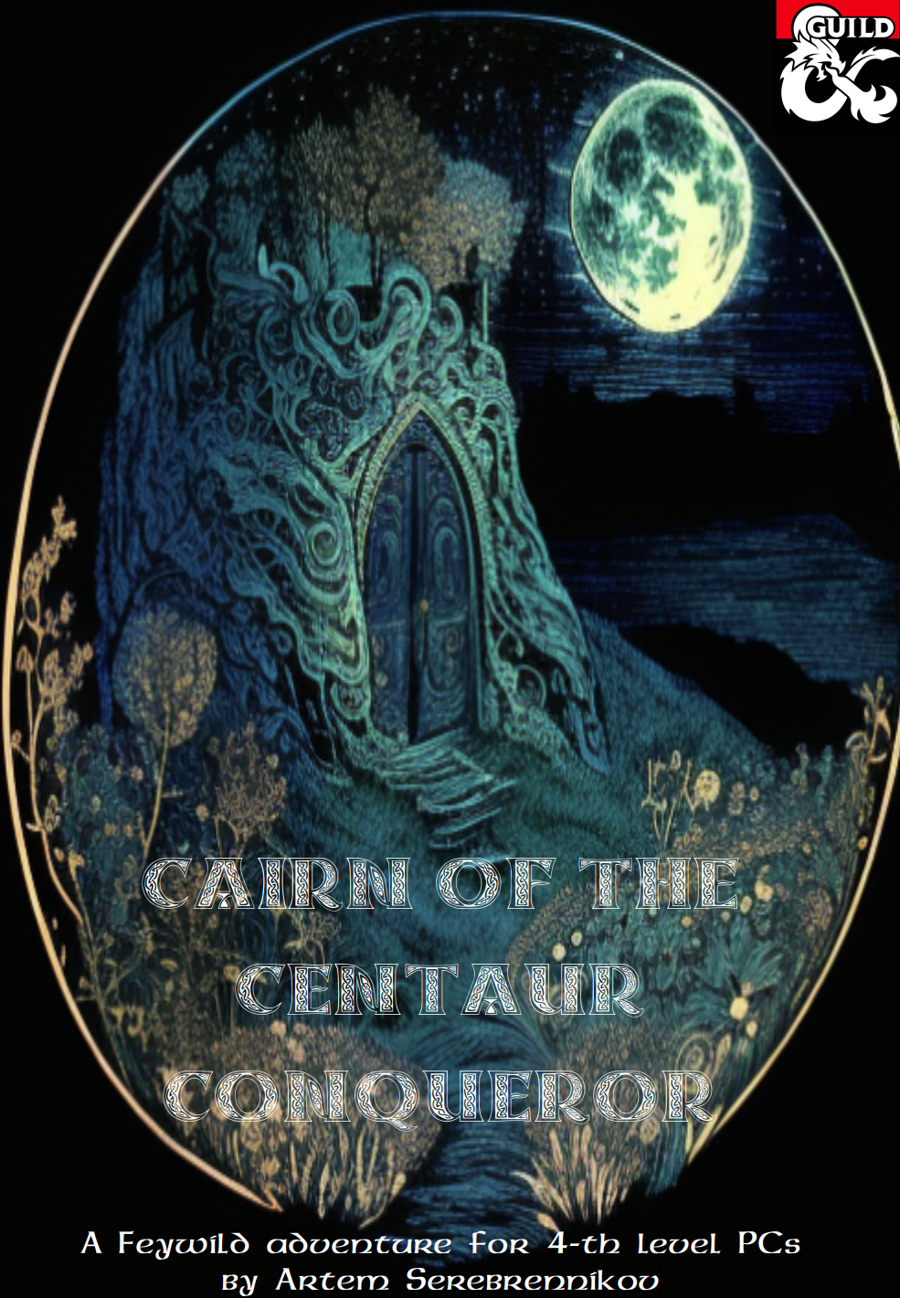
A tenday ago, the human settlers of Olostin’s Hold started hearing strange noises coming from the distant White Stag Hills. Noises of battle. Incessant sounds of thundering hooves, clashing steel, flying arrows, and screams of agony heard from miles away. Could those be the awakened spirits of the past? And if so, what could be done to lay them to rest? The answers are found in Cairn of the Centaur Conqueror, a Feywild dungeon that only appears once every 777 years...

Deep within a forgotten temple lies the Storm's Eye, a powerful sapphire coveted by the monstrous Behir, Krykzor. In The Storm's Eye, adventurers must navigate deadly traps, confront ghostly knights and phase spider minions, and solve a lightning-powered puzzle, all while racing against time to escape a collapsing temple. Designed for a party of levels 6-7, this one-shot adventure offers thrilling combat, intricate puzzles, and dynamic challenges as players face the storm and claim the treasure—or risk being lost forever.

A minion of chaos has come to the Prime Material Plane from the void of the Far Realms to terrorize and conquer in the name of its masters. The PCs must act quickly to assemble a legendary artefact powerful enough to weaken the minion so it can be defeated. Pgs. 20-47
"Ambush at Boxcar Rocks" is a two hour adventure for character level 1-3 (3-6 players) but is easily adapted to challenge higher level PCs by adjusting the spawn rate and the spawn limit. It features one hand-drawn, color map. It can be run as a brutal oneshot gauntlet or a quick side quest to pad the players purses. Deep within the labyrinth of massive, glacier deposited rocks there is a natural cave once used for interring the dead. Now the bones of the pit within stir because of a foolish neophyte. A listless, blood thirsty horde tramples toward daylight and nothing will remain in their wake...