Questing through the forest, you will be tested. Which side will you take between a wizard and the Keepers of the Veil? Will you be able to find the materials necessary to help cure your friend of the ancient evil that assails him? And when it comes down to it, what are you willing to sacrifice for your beliefs? Third Time’s the Charm picks up where Second Glance left off and invites the PC to find a wizard who can help heal the Crystalline Curse slowly paralyzing the PC’s friend and protector. As the party grows closer on this adventure, learning to depend on one another, they must also navigate the Veiled Wood’s changing landscape, deciding who they can trust and who they will help as much lies in the balance. Though this was written as the third installment in the Crystalline Curse Trilogy, this adventure can be inserted into any campaign setting and scaled accordingly. Third Time’s the Charm is part of our mission to bring you high-quality, ready-to-play material that supports adventuring parties of 1 Player and 1 DM. This adventure is written for a third-level character in a one-on-one 5th edition D&D campaign. Everything you need for your own two-person game is inside! This product includes: -A 3rd or 4th-level adventure adaptable to any setting -Stat blocks for one new creature and two NPCs -A region map, two sitemaps, and a hand-drawn dungeon map to aid the PC’s investigations -A fully realized forest region with fleshed-out NPCs and places to explore -Detailed backstory for the ancient warrior sheltered inside the PC’s treasured amulet -Four custom magical items And helpful tips for DMing a one-on-one game This adventure is perfect for those looking to begin or continue their duet campaign. Published by D&D Duet.

A generic tomb exploration. Usable for a quick one off or random exploration discovery. Sometimes a DM needs a fill-in adventure for when their PC’s go off script. This is a single location low role play adventure that can be inserted anywhere needed.

In this adventure, the heroes dreamwalk into the nightmares plaguing Sylus Andropov, captain of the doomed sailing ship Wayfarer. It starts with the heroes arriving in Egertus, searching for the Clinic for the Mentally Distressed. Unfortunately, the members of the Nightmare Court don't want help to reach Dr. Illhousen. They throw a dangerous obstacle in the path of the heroes - a killer who terrorized Nova Vaasa a few years ago as the Kantora Strangler. Adventure III: The Loathsome Deep from Book Three: Book of Nightmares: https://www.adventurelookup.com/adventures/the-nightmare-lands TSR 1124

Gadof Blinsky is a famed toymaker known for bringing joy to children throughout the bleak country of Barovia. Or at least, he used to be. That all changed after Blinsky and his wife welcomed their first child. The toymaker fell into a deep fit of anxiety and depression from which he never recovered. In this mini-adventure, you will investigate Blinsky's toy shop and battle a strange toy that seems to have taken on a life of its own, eventually uncovering what happened to Blinsky’s family and unraveling the secret of what the toymaker is hiding in his attic. Blinsky is No Fun! is a one or two session side adventure, for characters of levels 4-5, for use in the Curse of Strahd campaign setting.

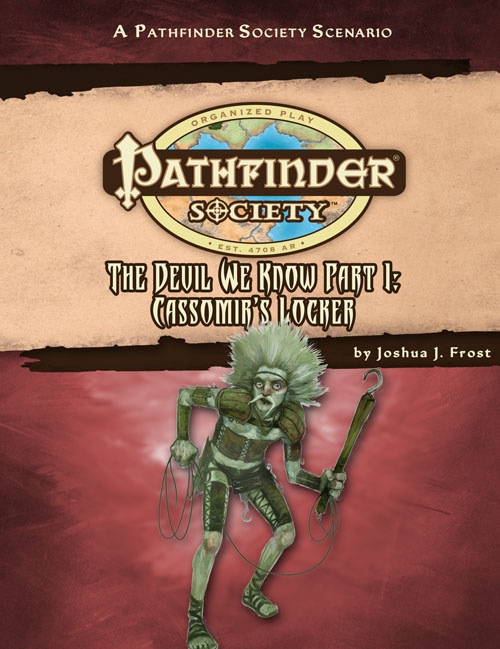
Part 2 of the "The Devil We Know" campaign arc. Cassomir's Locker is a Pathfinder Society Scenario designed for 1st to 7th level characters (Tiers: 1–2, 3–4, and 6–7). The Pathfinder Society dispatches you to the catacombs called Cassomir's Locker to find the source of a rat cult breeding monstrous vermin. After clearing Cassomir's dank sewers and delving into the dirty dungeons below, will you find the artifact that powers Cassomir's Locker or bring about the destruction of Taldor's most important port?

The Bale Crossing is a short adventure for Draw Steel. It takes about four hours to complete and is designed for 3 to 6 2nd-level heroes. It places the heroes at the center of a cat-and-mouse game between House Vorona and the agents of Ajax on a voyage across the Bale Sea. Directors can use this adventure either as a follow-up to The Fall of Blackbottom or as a drop-in scenario in a larger story featuring the power struggle between factions in Capital, Ajax's war of conquest, or war dogs. The adventure features advice for skipping straight to the action in a hot start, an optional negotiation, three possible montage tests, and a dynamic final combat with guidance for running the encounter as a stealth mission or a boarding action across the decks of two ships. If they succeed, heroes will earn 2 to 7 Victories.

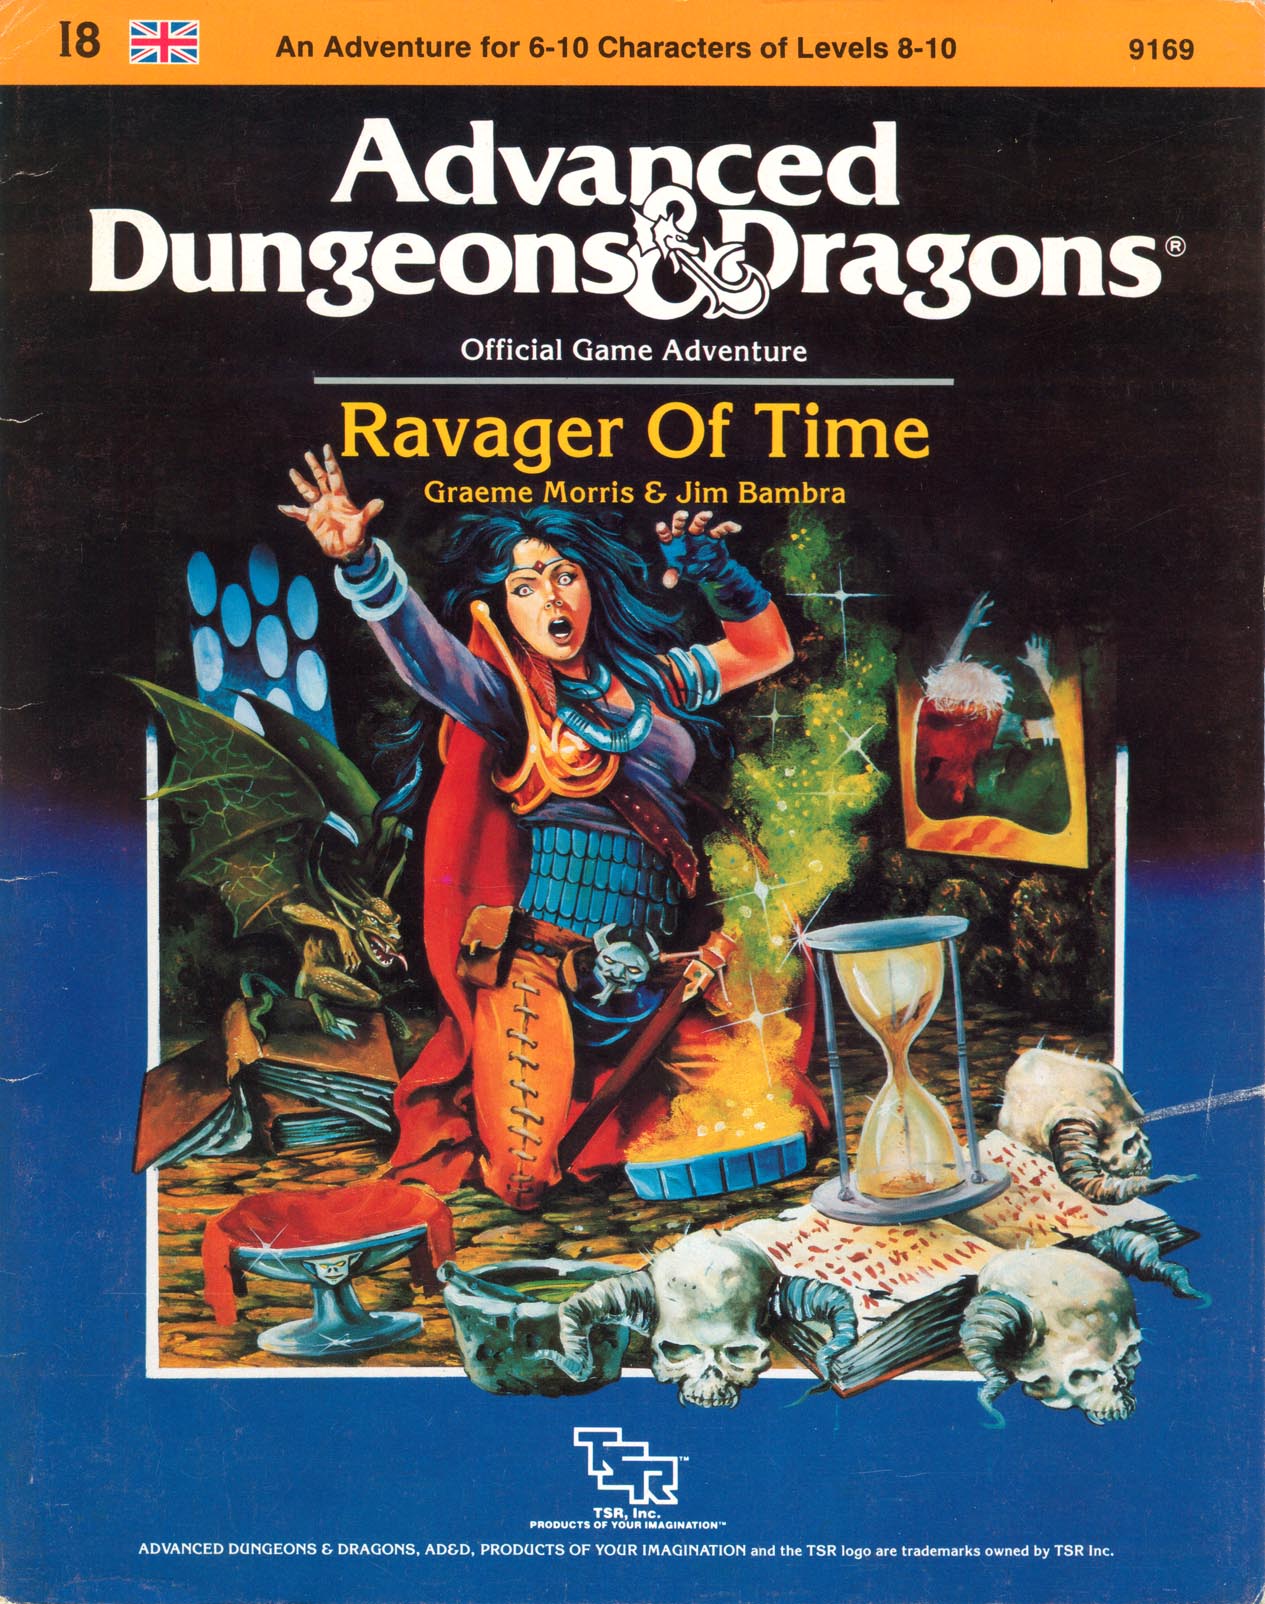
So this is the Ffenargh? Mile after mile of stinking bogs overlain by a swirling mist that clings to the skin and chills to the bone. Ahead, a decrepit causeway rises scant inches above the fetid waters and meanders its way through the twisted forms of stunted trees into the depths of this forsaken land. For years, these blighted fens have been ignored by the outside world, but now an urgent summons brings you into the Ffenargh, to the Court of the Lords Spiritual at Eylea. A foul murder has been committed. Geoffrey D'Arcy, Lord of Myrkfast, has been slain by his own son and you are called upon to find out why. Death has always hung heavy over this mire, but now an ancient evil has returned to haunt the mist - an evil whose icy fingers reach out to crush any who dare delve its secrets. You who have faced death a thousand times, meet it now in ts most terrible guise. Can you defeat it, or will you fall victim to the Ravager of Time? TSR 9169

Lowharbor’s residents vanish when they die. A cloud of sour black smoke chokes their corpses and, when it clears, all that remains is a dusting of salt. Something or someone is stealing bodies through magic ritual, and the townsfolk won't stand for it! Send your party into the dank sewers below their feet to root out the necromancer's den of swirling filth! Why should you get this module? Skulking horrors and excitable clerics! Seven brand new monsters, including a low level mythic statblock! New disease rules! A mysterious threat! Six hours of play! Lavish presentation! A fantastic adventure for 5th-level players! Dead Ends is best for 5th-level players. It might be a little tough, but still winnable, for 4th-level, and should be fine for anything up to 8th-level.

An agent of the King’s Dark Lanterns has stolen a cache of gold from the Brelish exchequer. Hunt him down, retrieve the gold, and thwart whatever else the rogue agent is plotting. Pgs. 28-65

Below the streets of Waterdeep a new gang of goblins have moved in and have started stealing anything and everything. It now has become incumbent on the characters to go into their lair and deal with this rogue band of goblins.

To Kill A King Death to King Ovar the tyrant! Life to law and order! Four characters are charged with a mission so insane, so daring, that terming it an assassination does not do it justice. Are the four volunteers who would lay low King Ovar killers or heroes? If murderers, how are they better than the madman theyre assigned to kill? And even if they are mere assassins, are they determined enough to overcome the Maze of Zayene? Snared in the Wizards Web

The small fishing village of Fairmarsh runs along the riverside of the Winding Water. An ancient tomb holding a dangerous trophy has been disturbed, unleashing a long-forgotten enemy on an unsuspecting village.

In the eastern desert stands the ancient tomb of Solomon III. Like all tombs, it is full of magical treasure and crawling with deadly creatures. But unlike other tombs, this one is screaming. Years ago, soldiers and wizards went in to silence the screams, and they succeeded, but they never returned. Now Solomon’s tomb is once again screaming out across the dunes, and no one knows why. Solomon’s treasure is still down there, but then, so is whatever is screaming. ADVENTURE TYPE: Small Linear Dungeon DESIGN NOTES: This adventure is intended for characters levels 5 to 7. It includes a desert wilderness area, an oasis, the tomb exterior, the tomb interior, and a cave system below the tomb to explore. Each area contains various NPCs, new monsters, old traps, shiny treasures, and strange magical items. There are many opportunities for (deadly) combat, and a few of them may be inescapable, but it is possible for players to have complex interactions and to experience very different consequences, depending on their choices. INCLUDES: Story hooks, dialogue prompts, creature stat blocks, dungeon overview map, and full-sized battle maps of each dungeon room that can be printed and used right on the table. KEYWORDS: Tomb, ghuul, ghoul, skeleton, ooze, demon, devil, thief, wizard, desert, sabercat, oasis, spider, viper

Stories of the ancint lost city of Carsail and its fabulous artifacts are legendary. Now, the clerics of a seaside town have proven that some unusual items are indeed from the long forgotten city, but two priests and a mysterious stranger are missing. Players must risk life and limb, breathing beneath the water, to find the lost cities of Carsail and Mylduscor, and unlock the mysteries of the murky deep! TSR 9422

Into the Unknown! The wilderness around the cave stronghold called Gold Hill Trading Post is dangerous and scattered with ruins of large and small settlements. Will your party find fame and fortune, solve ancient mysteries, or just disappear into the Borderlands like so many that came before? This module contains underground and wilderness maps that form a detailed adventure and mini-campaign for beginning characters, including an abandoned village, haunted graveyard, ruined church, traders’ camp, wilderness encounters, and monster lairs. It also includes a ruined keep and dungeon as well as a mapped and detailed “base camp” stronghold. The module is designed for use with all “classic” fantasy roleplaying game rulebooks or sets for Basic- and Expert-level players and gamemasters. It can be converted for use with “Advanced” fantasy game rules and compatible systems with a minimum of effort. Cover art by William McAusland! Print version (with full art) available at www.barrataria.com. Picked as one of the best by Bryce Lynch at tenfootpole.org!

The Hag's Hexes is a 66 page guide designed by Dungeon Masters Guild luminaries like JVC Parry and Janek Sielicki alongside rising stars and old stalwarts like Matt Butler, Matthew Gravelyn, and Tim Bannock. It was created with one thing in mind: to make hags more than the sum of their (often meager) Challenge ratings, giving them the mechanics, roleplay potential, and weird magic that can inspire campaigns, lay low kings and warlords, and potentially ensnare unwary Player Characters into campaign-changing curses or long-term bargains that force them into terrible moral quandaries! Split into five chapters, the authors have provided everything a DM needs to terrify their players for years to come. The Bestiary features over a dozen monsters; some are new hags, some are their minions or even their mobile lairs, and one of them -- the Shaitan AKA Desert Hag -- was featured in Monsters of the Guild! Bargains & Curses is a chapter filled with ideas that can kick-start campaigns, threaten valued NPCs, or put Player Characters' very existence and morality at stake. Chapter 3 includes two dozen items of wonderment, weirdness, and dread, ranging from fairy tale-inspired items of whimsy to terribly cursed items of horror. Chapter 4 is titled "Filthy, Vile & Downright Dirty" and provides dozens of roleplaying tips to make hags come alive, new mechanics inspired by and expanding on Volo's Guide to Monsters (coven spell lists, aunties, grandmothers, alternative coven members), and ends with useful combat tactics for each of the hags from the Monster Manual and Volo's Guide, as well as tactics for covens. Finally, Chapter 5 presents five encounter groups (with sub-encounters) to give you quick story seeds and monster lists that you can put together in minutes to create a single encounter or to inspire a full campaign, and ends with three full-length adventures -- each with 3-5 encounters -- that showcase many of the new monsters, rules, magic items, and so on that appeared in earlier chapters. Each of these adventures comes with an encounter map meant to act as inspiration for hag lairs, and they include useful mechanical ideas for terrain effects and descriptive keywords listed directly on the map for added inspiration and easy customization! Designed by Tim Bannock. Written by Matt Butler, JVC Parry, Janek Sielicki, and Tim Bannock. Edited by Matthew Gravelyn and Tim Bannock. Cover Art by Elena Naylor. Cartography by Tim Bannock using Inkwell Ideas' Dungeonographer (Dungeonographer is copyright Inkwell Ideas). Layout & Graphic Elements by Elena Naylor with Tim Bannock. Interior Art by Arcana Games, Bruno Balixa, David Lewis Johnson, Dean Spencer, Earl Geier, Filip Gutowski, Jacob E. Blackmon, Joyce Maureira, Petr Kratochvil, Jayaraj Paul, Brian Brinlee, and Wizards of the Coast.

When a band of orcs attacks the town of West Fork, will you and your party bravely defend the townsfolk, and strike back? This adventure is intended to be used in any campaign setting and at any party level (see ‘Instructions’). This particular adventure takes place in a medium-sized village or small town. Most of the NPCs within this adventure are human, but they can easily be substituted for other common races to best suit your campaign. Published by Nord Games

Off in the wilderness are the ruins of a temple that once belonged to the God of Balance, Tyr. It has long been abandoned by the traditional followers, but it is certainly not empty. A few clever individuals have found a way to harness the magics that still reside deep within this holy place and are attempting to use it to give life to an Iron Golem. The party must stop them at all costs or have a powerful monstrosity released into the hands of some terrible individuals.

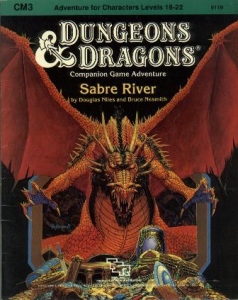
You are the guest of the count, one of your allies and the strongest man in the region. Your sojourn has been pleasant, a nice change after weeks of battle. Suddenly the courtyard below your window is filled with the noise of galloping horses. More Guests? You yawn as you look out. But these people arriving look more like tax collectors than guests. You decide to give your attention to something more interesting, like dinner. Relax while you can, friend, because these new arrivals are about to lead you to a crimson sailor, a cozy Tower of Terror, and a river with an aching heart. Sabre River includes a complete campaign setting, new NPCs, dungeon and wilderness encounters, and a mysterious story. TSR 9119

For those who trekked through Jeopardy Caverns and Urgoth’s Canyon a short trip to the north will land them on FV3 – Road to Kak. From this location the party can continue on their quest of fame and fortune with a variety of different encounters. Much like the canyon adventure this one presented different options of travel for a group of young adventurers.