
To Hell and Back Again is the perfect adventure for new players and veterans looking to experience Dungeons & Dragons in a new way! It's written as a solo adventure, where choices have gigantic consequences, but it also provides balanced rules to play with a group or a Dungeon Master as well! This 80 page adventure features: - A heart-pounding origins story that fits perfectly as either a prequel to Descent Into Avernus, a stand-alone adventure, or into your ongoing fantasy campaign. - Beloved characters like Lulu the hollyphant, Mad Maggie and her redcap gang, the archdevil Zariel, and many others brand new to this adventure. - Infernal War Machines, and exciting encounters with unique stat blocks. - Innovative Destiny and Traits mechanics that make your choices really matter. - A ton of possible outcomes that will fuel your character's many adventures to come! - Four gorgeous sample characters, with interactive character sheets designed to be new-player friendly so that you can jump right into the story if you'd like. - A community survey when you finish so that you can see how your outcomes and choices compared to other players!

Times are hard in the Hillsfar countryside, especially for those of non-human ancestry. Unscrupulous merchants in league with the hated Red Plumes bleed local farmers and artisans dry. Perhaps some of those loot-laden caravans coming and going from Hillsfar could use a bit of liberation? A four-hour adventure for 1st-4th level characters.

The party starts this one-shot falling from the sky aboard an airship. It lands atop a dense cluster of trees, unable to fly, but not destroyed. Now it is up to them to traverse the nearby wilds in search for the parts that fell loose so they can get back to the skies and continue their journey. Unfortunately, they will have to face ogres, apes, bears, blights, and more to retrieve these missing mechanisms.

A dark and grievous peril has befallen the peaceful free-village of Peppermint as the forces of undeath raised by Senerith Wildblossom, ravage the land. An eon ago he was a proud elven healer of great renown in Duskwood Dell, that has been reduced to a mere husk of his former self, becoming a manifestation of pure evil, intent on wreaking havoc and mayhem to all the living – a Zombie Lord. The players are called to assist Peppermint village and investigate the nearby woodcutting hamlet of Snakewood. The hamlet has been destroyed by the despicable zombie lord, and his forces are now underway to attacking Peppermint too! The players will have to travel to Snakewood hamlet as well as what used to be Duskwood Dell, and then make a mad rush against time while also carrying an injured Halfling, to warn and defend the unsuspecting villagers.

Long ago, a small but mighty humanoid kingdom existed in what is now the local wilderness. Bugbear and ogre warriors fought brutal wars of expansion, earning great fame and amassing considerable fortunes from their predations. Those who died in battle were buried in large tomb complexes dug into hillsides and honored as patrons of the living. Among these tombs was the large tor known as Hightower. Though it was neither the largest nor the most famous of the kingdom's tombs, Hightower did represent a typical example of this kind of structure. As happens to all such nations, the cruel humanoid kingdom eventually fell to a more powerful foe that razed all its cities and outlying fortifications. Of the tombs, only Hightower escaped destruction -- largely because it was an unimportant monument in a remote location. A few tribes of humanoids that survived the devastation tried to use it as a fortress, but the humans with whom they clashed defeated them soundly and sealed the entrance with a huge, round stone to ensure that the tor could no longer be used as a base. Since then, Hightower has served as a landmark for travellers in the know, but it has otherwise been largely forgotten. But the electrical storms that have plagued the area in recent days have been quite severe, and a few weeks ago, a stray lightning bolt broke open the stone seal. Tonight, yet another terrible storm is sweeping through the wilderness, driving all creatures to take shelter where they can find it. Hightower looms on the horizon, and its door is no longer blocked. Will the PCs dare to enter its silent halls?

At just 8 pages, with lots of illustrations, this adventure is much shorter than most TSR-published modules of the era (mid-90s). It is a very simple D&D adventure. It features a macguffin quest that immediately pushes the players into a dungeon crawl through the five-and-a-half-page "Dungeon of the Mad Warlock". The idol of old, The Jade Hare, as been taken from the Dar el-Tamyya, stolen by Goblins, who strangely enough killed no one. Abdullah, the old man who cared for the statuette remembered that about a month ago a stranger has asked if he might purchase the Jade Hare. Though he offered much gold, Abdullah of course refused the offer. Whom Abdullah describes the other villagers recognize as Abu-Ghabar, the mad warlock who lives in the hills. He is rumored to have built a dungeon there. Who knows what strange purposes the mad warlock has for the Jade Hare? In any case, the precious statuette's theft is an intolerable strain on the honor of the village and all the tribe therein. A party must be assembled to confront the warlock. This party may consist of none other than yourselves. Won't you save Dar el-Tamyya's ancient honor, and thwart whatever sinister plans the warlock has? TSR 9259

In this climbing adventure, characters journey into the White Peaks mountains to find the source of a rare gem, which is driving the coup in Whitehorn.
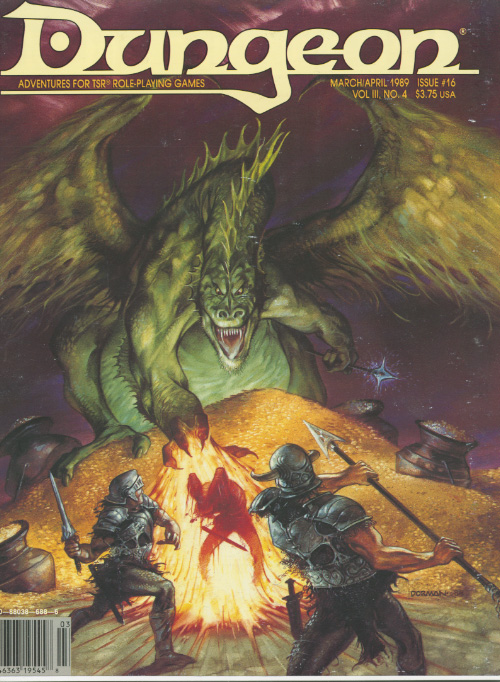
The giants are only a half-mile away - straight up. Giants and humanoids that sail down from the heavens? Where could they be coming from? No base town or general area map has been provided, as this adventure can take place anywhere and can be easily integrated into any existing campaign.The DM should make sure that the town in which the PCs start is large enough to provide most anticipated supplies, spells, and services. This module is not a simple hack·and slay expedition. It also involves diplomacy and wit; if the PCs attack everything in sight, they may be destroyed. But the adventure is not entirely negotiation, for it has a good share of hearty dungeon exploration as well. Pgs. 4-23

When old ruins are discovered, rumors swirl about the lost owner's magical blade. This scenario involves an overland crossing and a dungeon delve and none of it will be easy for the players.

Despite the shaky alliance that exists with the elves of the Quivering Forest, they do not suffer trespass in their realm lightly, especially from common folk from nearby Phlan. A woodworker's recent blunder into the forest might set off a diplomatic incident. Can you help find him and mollify the aggravated elves?

Bring your chilling campaign to life with this companion supplement for Icewind Dale: Rime of the Frostmaiden! Tales from the Frozen North presents 10 handcrafted encounters between 15 to 90 minutes in length for your adventures across the frozen wasteland. They are specifically written around the themes of paranoia, isolation and secrecy, with a particular focus on exploration.

Have you ever wondered what it would be like to actually encounter an area where someone has used Guards & Wards, Symbol, and other spells to actually fortify a location against casual intrusion and thievery? If you want to find out just how deadly a wizard's "getaway cabin" in the mountains can be when the owner isn't there to let you in, this is the adventure for you and your players. Suitable for a single session of play (unless characters get killed, forcing a retreat and later return), there's only one combat encounter, but the traps are deadly. Not recommended for parties below level 12. All of the defenses are based on actual PHB spells, although a couple are assumed to have been bound into items or interactions within the dungeon. This dungeon is originally from the "Against the Idol of the Sun" high-level hexcrawl campaign.

The frost giants of the Ice Mountains have long held to the belief that a great Jarl will one day step forward to unite the families as Konung (king). With the Ordning shattered, Jarl Ryndölg believes that if he can locate Hartkiller’s Horn, a legendary artifact among giant-kind, he could be the one. He may very well have found what he is looking for. A great clarion call has echoed across the Hartsvale for two days, and the giants are all marching north, has Ryndölg done just that? A Four-Hour Adventure for 5th-10th Level Characters This adventure consists of three Parts, as follows: Part 1. The adventure begins with the characters having already arrived in Stagwick (whether sent by their faction or by their own, individual search for adventure and wealth) and have been briefed before preparing for an important journey to the north Part 2. From Stagwick, the players discover their guide has been killed and must make their way through the deadly cold fingers of the Ice Spires alone—either by skill or luck. Part 3. Once at Ise Festing, the group discovers it’s been inhabited by a troupe of Shatterblood Ogres whom they must defeat to gain access to the redoubt’s observation deck.
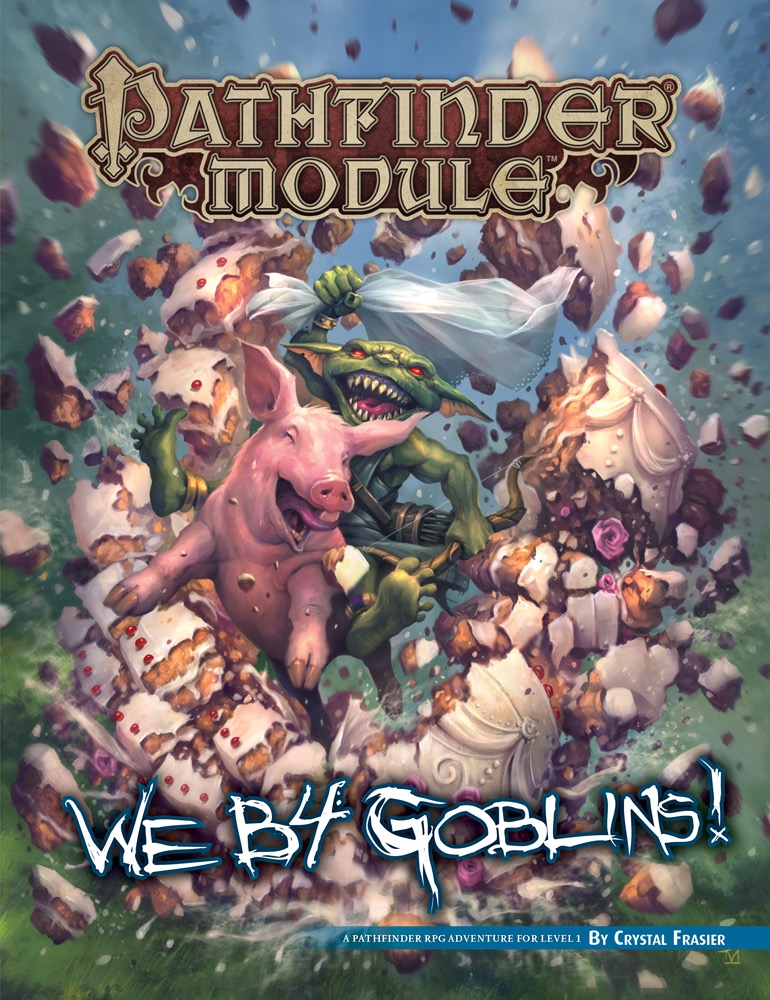
As whelps of the Licktoad tribe just out of their swaddling cages, the goblins Chuffy, Mogmurch, Poog, and Reta must prove themselves by undergoing a series of challenges, from tying a string to a large spider and shouting insults with hot rocks in their mouths to facing off against a goblin bully and his dimwitted minions. As a final test of their mettle, they must make a dangerous (and smelly) trek to claim a toad from the nearby swamp and present it to the terrifying presence that lurks within the Cave of Darkfear, only after which can they truly call themselves goblins! Part 4 of We be Goblins series
The Golem Master, creator of pricey artificial servants, hasn’t been seen around for some time. His house stands dark and silent. Dare you enter?

The town of Byr is in need of heroes. Residents of the town of Byr have been kidnapped. Some think it was marauding Hobgoblins, but a grizzled and crippled veteran who helped to drive the Chagmat (monstrous spider-people) back many years ago believes that the Chagmat are back. Their forgotten temple is believed to be up on Little Boy Mountain. He argues that the mountain is where answers, and the missing townsfolk, can be found. Pgs. 33-48

Kalzok the Minotaur pirate discovered an old smuggler's hold on a tiny island in the Nelanther Isles, not far from Nemessor. The island sits amid a dangerous archipelago encircled with scores of hidden shoals that is avoided by all but the most daring or foolish navigators. The area's waters are notorious for claiming the ships of unwary sea captains who tried to steer through the gauntlet of hidden reefs. This offering includes an overview of Kalzok's island along with the details of Kalzok's hidden lair.

With rumors of disappearances running rampant in the area, your group comes into the small community of Morla Dale with more questions than answers. Several wanted posters during your journey have shown a criminal called Sukits the Butcher. Perhaps this strange individual is behind the abductions?

"Between a Dragon and His Wrath" is an adventure for a well-balanced party set in the lands of Nordmarr. Although the adventure is best set a generation after the War of the Lance, the DM should have little trouble placing it in other times in Ansalon's history.

Come: the land of Sri Raji and the ancient rakshasa, evil masters of illusion and shapeshifting, await! The Web of Illusions module is a 64-page adventure featuring an exemplary full-color map. Players travel through the deadly land of Sri Raji, an Eastern Indian domain of jungles, savage tigers, and lost temples. Also depicted in the AD&D™ rulebook, Legends & Lore. TSR 9415