
No description available.
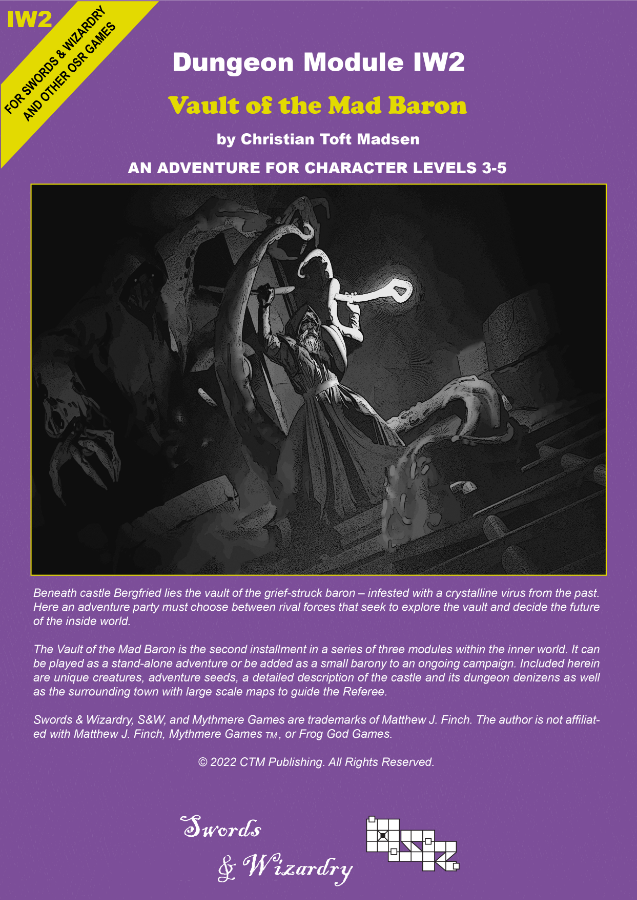
Beneath Castle Bergfried lies the vault of the grief-struck Baron – heavily infested with a crystalline virus from the past. Here an adventure party must choose between rival forces that seek to explore the vault and decide the future of the Inside World. ‘Vault of the Mad Baron’ is the second installment in a series of three modules in the Inner World. It can be played as a stand-alone adventure or be added as a small barony to an ongoing campaign. The scenario can be used with Swords & Wizardry or any other early variant of game rules and is suitable for PCs level 2-5. Inside you will find: A 60+ page old-school module with a layout optimized for fast and easy interfacing. An adaptable barony complete with town, castle and dungeon. Unique districts with encounters and sights. 6 major factions fully detailed with headquarter, plans, and missions for the PCs. Detailed description of a castle and associated dungeon levels. Downloadable maps for both players and the Referee. Locations allowing the PCs to travel to another era within the setting. Unique new creatures and magic items.

In the fortified city of Port Nyanzaru the situation grows volatile. Reports of mysterious strangers from unknown lands, that are trespassing forbidden holy grounds far within the jungle, have caused great turmoil in the city’s foreign relations with the local tribes. The players must travel through the deadly jungles of Chult towards the ruins of ancient Mezro, and confront an ancient religious sect of gruesome practices, charged with keeping imprisoned the right-hand servant of a Primordial evil- Dendar the Night Serpent. Will the ancient evil be unleashed once more in the world, or will the heroes be victorious? The fate of the world lies on their hands.
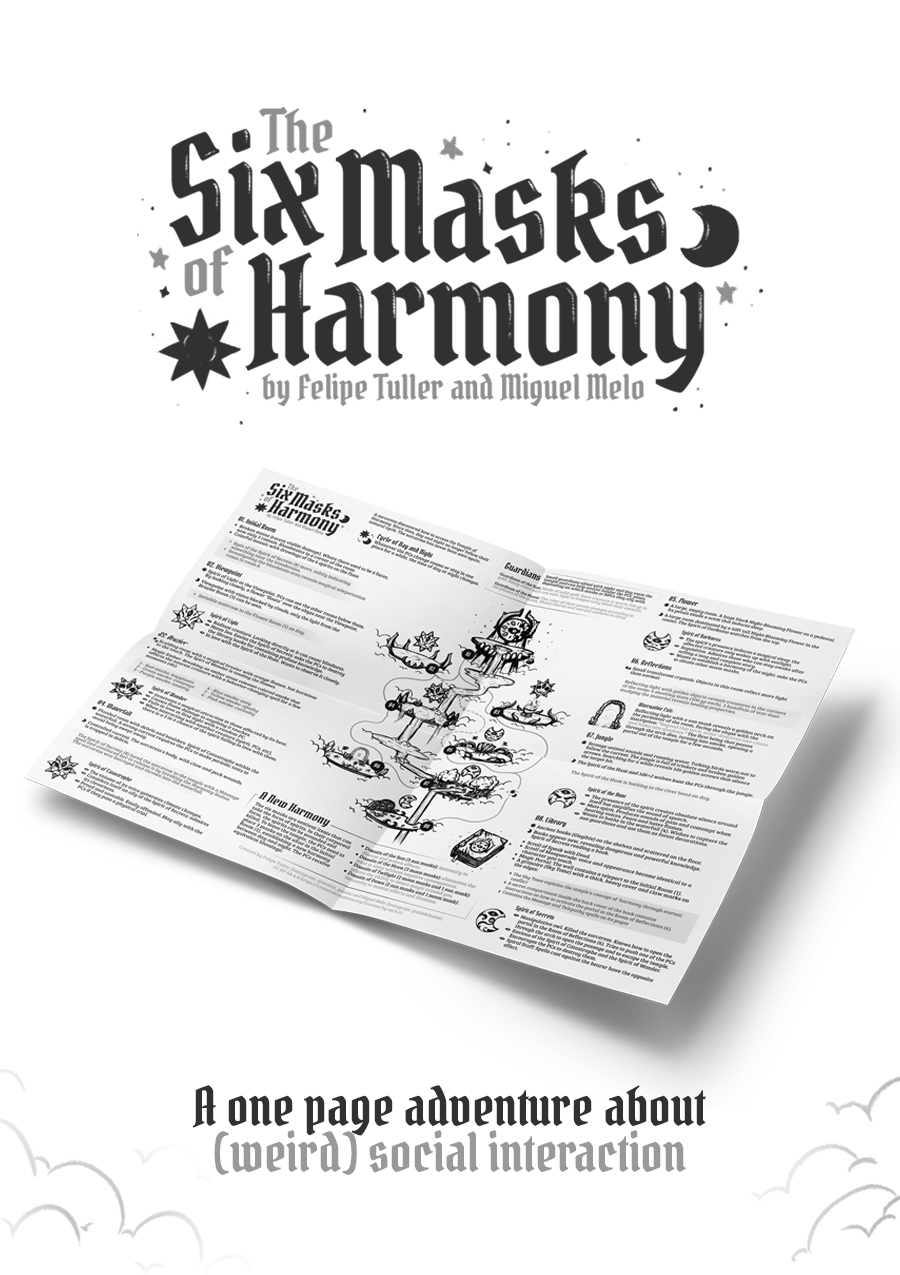
A sorceress discovered how to access the Temple of Harmony. Since then, day and night no longer follow their natural cycle. The sorceress has never been seen again. The adventurers are responsible for solving this problem: by gathering the masks of the entities on an altar, the cycle will be restored, but nothing will be the same as before… 'The Six Masks of Harmony' is a system-agnostic pointcrawl, focusing on social interaction. The players will be transported to a temple in the clouds where the six spirits of day and night once lived in harmony. The delicate balance between the forces of the temple's inhabitants was shattered when an intruder decided to interfere. What really happened here? Will the characters manage to escape alive? Play to find out! What you'll find here: A complete 8-site one-page pointcrawl adventure with easy preparation. A GM's Pamphlet containing tips on how to run the adventure and adding a table of random encounters and 6 magic items (the 6 masks of harmony).

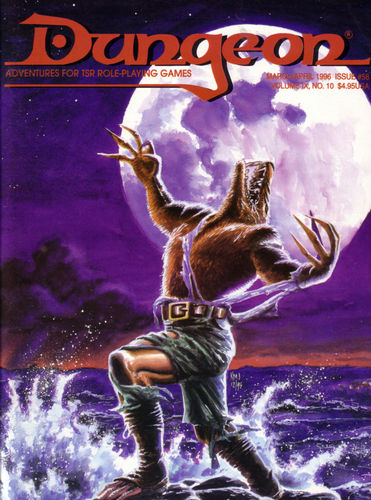
A mysterious adventurer stumbles into an inn in the night, looking for an escort to the nearest temple. Before the night is over, he inexplicably disappears, leaving a trail of corruption leading into the nearby woods as packs of twisted forest creatures emerge to plague travellers. Pgs. 83-89
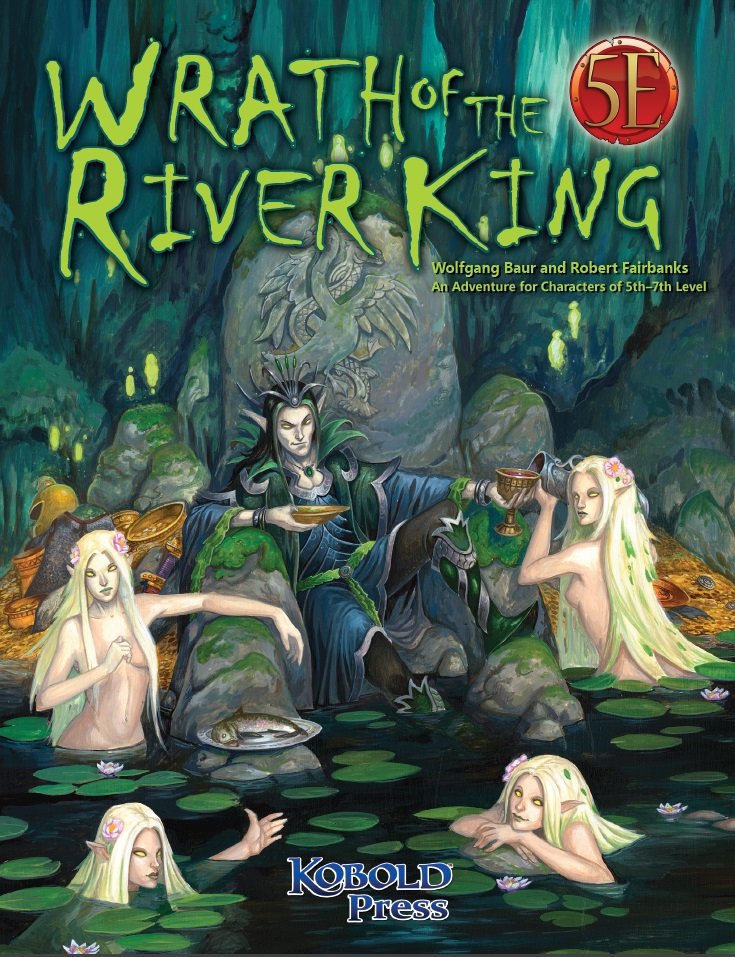
In the small hamlet of Riverbend, the miller’s wife is missing, and the locals suspect the husband himself was involved. But all is far from what it seems. Ellessandra, the missing woman, is actually an elf from the Summer Lands. She came to live in the human settlement when the miller made a dangerous pact with the River King, the lands’ powerful sidhe ruler. Now, the player characters must unravel the truth behind Ellessandra’s disappearance, piece together the involvement of a young fey lord, and dive into the fey courts of the Summer Lands to stop a raid that would surely spell Riverbend’s doom. All the while, Arthurian intrigue and mischief runs high among the fey lords and ladies in this mercurial, open‑format adventure from acclaimed adventure designer Wolfgang Baur!

The Ivory Scimitar now has a choice, continue on into the azure glow that leads to Mithelvarn's Dungeon or retrace their steps and investigate the source of the sounds they heard on the way in. Inside the unknown region is a massive forge, home to mad Kin who has been crafting weapons and armor that are delivered to his 'god', although in reality they are transported into Mithelvarn's Dungeon. This adventure is formatted to both 1E & 5E gaming rules.

After a few scrapes with adventure even novice heroes will need a break and such is the case with this challenge. The young group of PCs will find themselves entering a backwater burg in the hopes of a little R&R (rest and relaxation) but as they come close to town a dead body in the road and the smell of burning foreshadows troubling times ahead. The R&R will have to wait as the young adventurers will be challenged yet again.
/pic4510372.jpg)
It begins in the marketplace or main square of a town when the calm, peaceful day is interrupted by a hulking golem trouncing through town, smashing objects, and attacking townsfolk. The party witnessing this should intervene and stop the rampaging golem with combat or by luring it into a nearby warehouse to trap it so it can be damaged and, eventually, destroyed by the town guards. When the party examines the golem’s remains, they find bones encased in the metal armor and the name 'Quartztoil' written in gnomish script. The town guard explain that this is the eighth construct they have encountered in the area in the past six months. The party can then go on to investigate the name 'Quartztoil', leading them to learn of an old, gnomish, aspiring artificer, Penaral Quartztoil, who had a lab and workshop in a tower in the nearby mountains, but who has not been heard from for close to a century. Published by Nord Games

Morgansfort: The Western Lands Campaign is the first published campaign setting for the Basic Fantasy Role-Playing Game. This module includes a brief description of the Western Lands: A campaign adventure area consisting of the remnants of a once-great empire, a pair of important free cities, and a vast wilderness territory, plus Morgansfort, a detailed "home base" for adventurers set in the western lands. Also included are three adventures designed for a part of new player characters, comprising a total of six dungeon levels: The Olde Island Fortress: a two-level dungeon environment suitable for beginning adventurers, located near Morgansfort. The Nameless Dungeon: a three-level dungeon designed to be a bit more challenging. The Cave of the Unknown: a one-level dungeon filled with strange monsters led by a fearsome master. This campaign module combines: The Western Lands, a briefly sketched campaign area; Morgansfort, a detailed "home base" for an adventuring party; The Old Island Fortress, a two level dungeon suitable for beginning adventurers; The Nameless Dungeon, a tough three level dungeon; and The Cave of the Unknown, a dungeon controlled by an evil magic-user. This campaign module is highly suitable for starting a new group, even a group of new players. Published by basicfantasy.org
The doctor is out … of patients! An infection of mold is spreading in the city, and its haveing a mnsterous affect on the population. Its up to the party to deal with this growing threat. Pgs. 60-68

The Terror of Screeching Hill is an adventure designed for a party of four level 1-3 characters. Introduce your friends to Dungeons & Dragons or take a break from your current campaign and save the town of Stonehollow in this early level one-shot! To the villagers of Stonehollow, the flight of bats warns of an impending disaster. Earthquakes, which riddle the small mining town, often follow this omen causing cave-ins and trapping miners underground. Thankfully, the ground hasn't shaken in weeks. However, every night at sunset, a colony of bats fly over the town as a haunting cry echoes over Screeching Hill, a mound on the southern outskirts of the village. Villagers have begun to go missing, including the town's doctors Simon and Kirk Bartok, and some have suffered terrible wounds after being attacked by a relentless creature out of the darkness. With no doctors to treat the wounded and the expectation of more attacks, the villagers of Stonehollow turn to you for help. Will you investigate the terror of Screeching Hill and save the town from its reoccurring nightmare? Included: - A 16 page one-shot designed for level 1-3 characters - Unique maps - Two player handouts - A simplified document compatible with screenreaders

When her father goes missing, a young adventurer has no other choice than to gather her friends and head for the city of Loudwater. Soon after she gets swept away in an obscure design threatening to drag the entire region into chaos and war. At the heart of this mystery, lies not only her father, but the long-forgotten history of her once-despised family and a primordial beast influencing events from the shadows, moving her family like pieces on a chess board. Visit www.perfumersdaughter.com for more information. You can also address me directly on The Perfumer's Daughter Q&A on Facebook. All battlemaps and dungeons are free to download for use in digital platforms (such as roll20) on the aforementioned site.
The Road to Broadhurst written by Carlos Cisco is available for free. Internally, we called this “the Conventure.” It’s designed for experienced Directors who already know the rules, and want to run Draw Steel for new players at their local convention or game store. It doesn’t explain how to play, that’s what the director is for! Because RPG events at a convention can last anywhere from 45 minutes to 4 hours, The Road to Broadhurst has advice on how to skip sections you don’t have time for without affecting the flow of play. Road to Broadhurst is a short, modular adventure for Draw Steel. It’s written for three to six 1st-level heroes and a Director. This free adventure comes with pregenerated heroes and is meant to give experienced directors an easy way to introduce new players to the game, especially in environments such as game stores and conventions where time is limited. The Director should be familiar with the Draw Steel core rules found in Draw Steel: Heroes and Draw Steel: Monsters. This adventure can be run online on a virtual tabletop or in person at conventions, game stores, libraries, community centers, homes, and anywhere else roleplaying games are played. It can also serve as a lead-in to The Delain Tomb adventure for Draw Steel. The combat encounters in this adventure are optimized for a group of five heroes. Adjustments are included for groups as large as six or as small as three.

𝐓𝐡𝐞 𝐬𝐞𝐜𝐨𝐧𝐝 𝐚𝐝𝐯𝐞𝐧𝐭𝐮𝐫𝐞 𝐢𝐧 𝐭𝐡𝐞 𝐔𝐩𝐫𝐢𝐬𝐢𝐧𝐠 𝐒𝐚𝐠𝐚. An orcish emissary is travelling the lands south of the dwarven stronghold of Nirzumbil, attempting to keep the tribes in line and focused upon harassing the dwarves. If the PCs can defeat the emissary before he can complete his rounds, they might be able to splinter a part of the orcish alliance. A sandbox-style adventure for a party of 4th level player characters. Includes 5th edition writeups of the giant stag beetle and the krenshar.

Deep beneath the Isle of Dread, in a place forgotten by the world of light, an ancient, unfathomable evil festers. Within the desiccated ruin known as Golsimorga, the debased kopru servants of Demogorgon work foul rites, steeping immature shadow pearls in pits of liquid insanity. None from the world above have yet fathomed what terrors lurk beneath the Isle of Dread, nor what mad scheme roils to profane life deep within the city's gangrenous corpse. "The Lightless Depths" is the sixth chapter of the Savage Tides Adventure Path, a complete campaign consisting of 12 adventures appearing in Dungeon magazine. For additional aid in running this campaign, check out Dragon magazine's monthly "Savage Tidings" articles, a series that helps players and DMs prepare for and expand upon the campaign. Issue #353 of Dragon features ways to improve the PCs' vessel, the Sea Wyvern, as they take their adventures back to the seas. When the PCs journey deep under the Isle of Dread to find the source of the shadow pearls, they discover horrors beyond imagining in a haunted underground city perched on sanity's razored edge. Pgs. 28-66

Some weeks ago, a tiny sliver of shadow crept into Yarralanya Swamp. It fed on the worms, then on the fish and snakes, growing larger over time until it threatened the lives of the swamp folk, who took up their weapons and fought back, to no avail. In order to buy time for a second attempt, the swamp folk began to steal livestock from the nearby village to satiate the beast’s hunger. After all, who but those villagers could be responsible for unleashing this threat? Soon after, a band of adventurers visiting Rishel’s Hollow find themselves tasked with a simple mission: end the theft of cattle by whatever means necessary. This adventure should run for 3-5 hours, either as a standalone one-shot or as part of an existing campaign, especially one featuring creatures from the Shadowfell or the experiments of a mage. Encounters assume a party of 4-6 level 4 characters.

A fiend lurks among the Black Blade goblins. A shapeshifting barghest fashioned by the General of Gehenna to exact revenge on all goblin-kind. It’s aim: to kill as many goblin leaders as possible… A masked goblin approaches the party asking for help. Two tribe leaders are dead. But a rival for chief has control of the crime scene. Will the party discover the barghest among the goblin ranks? Can they stop this imposter before it strikes again? Adventure Overview The adventure’s story is spread over 4 parts and takes approximately 4 hours to play. The adventure begins with a Call to Action scene. Part 1: Goblin Politics. Krill sends his emissaries to implore help from any strong intermediary. The party is asked to investigate the murder of Thrawn in Dringly’s lair. This is Story Objective A. Part 2: The Opposition. Gain entry into Dringly’s lair and investigate the murder of Thrawn. Gather enough evidence to find the killer. This is Story Objective B. Part 3: To The Lair! Now that the players have determined the barghest (Yeep) is to blame, they need to get to Krill’s lair quickly as he is in imminent danger. This is Story Objective C. Part 4: The Barghest.When the players arrive at the lair, they need to get to Krill and expose and defeat the barghest. This is Story Objective D. Adventure Background A barghest named Yeep has begun its onslaught of attacks against the Black Blade goblins. Starting with Chief Gnar, then his second in command Thrawn, the barghest is moving methodically down the line of command. Krill is now chief. But he has some problems: Two leaders of the Black Blades are dead. Who killed them and why? Is he next? Dringly, the next in command, has decided to take his lair for himself, declaring himself Chief of the Black Blades. Who are the Black Blades? The Black Blades are a tribe of goblins in the local area. They are known for dipping their blades in a dark black substance. It is rumored these blades are poisonous. The Black Blades regularly attack passersby on the road to rob them. The Black Blades have two lairs, one run by a chief who leads the whole tribe, and another overseen by a boss lieutenant. The Black Blades have a well-established pecking order which is how Krill stands to become chief. The next in line is Dringly, who has also declared himself chief and wants Krill dead. Krill suspects that there is something suspicious about two leaders being killed within a day of each other, but he has already burned Gnar’s body without any investigation. He needs to investigate the body of Thrawn, but it is in Dringly’s lair. Krill wishes to avoid direct confrontation with Dringly at the present for three reasons: 1) Any violence would only kill his own tribe members and further divide the lairs. 2) He believes there is still hope for negotiation to reunite the Black Blades. 3) He believes that if he were to attempt negotiations himself, Dringly would kill him. This adventure features: Two maps. Ready for your favorite Virtual Tabletop. A full color pdf. A black and white pdf. One custom monster, a reprint of barghest, all others available in the Monster Manual. Four hours of entertainment involving: roll playing a goblin bard, investigating a murder scene, tracking down a barghest before it strikes again. Applicable to any setting.

𝐏𝐚𝐫𝐭 𝟒 of the Tower of Bondage “The Middle Tower” introduces Olive Slime and Slime Creatures from notable 1e AD&D fame as well as another of Aumvor’s tortured servants. In this adventure you will go deeper into the tower and find: ● 26 encounters ● More enslaved wraiths ● More traps ● More slime ● More phylacteries ● More danger Discover the Undying One’s library and find tools needed to defeat him, if your players are to escape the tower alive. This release also includes a side view of the tower to better understand the layout of the dungeons. 𝐀𝐥𝐬𝐨, 𝐟𝐨𝐫 𝐭𝐡𝐨𝐬𝐞 𝐰𝐡𝐨 𝐮𝐬𝐞 𝐑𝐨𝐥𝐥𝟐𝟎, 𝐜𝐨𝐦𝐢𝐧𝐠 𝐬𝐨𝐨𝐧: Roll20 Map Pack for Roll20, featuring plain maps for players, without the secret doors and other goodies marked. Coming very SOON. Look for it on DM’s Guild.

Urban Uprising and Oldschool Dungeon Crawling. A hobgoblin horde has subjugated the city for Freystand, searching for a relic of their god. Will the heroes save the town from the tyrannical hobgoblins? Will they discover the true purpose of the Bloodthrone of Maglubiyet? Work with the rebels of Freystand to sabotage the hobgoblin's by completing objectives in the city. Crawl the warrens to find and destroy the Bloodthrone of Maglubiyet. Discover the true purpose of the throne and cosmic horror that threatens the world. Designed like an old-school dungeon crawl but with modern sensibilites.