
The Claret Wellspring is an adventure for four 4th-5th level PCs. "The first spell cast has not yet finished its work." Strange lights in the desert lead the PCs to a long-forgotten oasis. Travelling towards the lights, the PCs are threatened by magic so old, it defies categorization. Arriving at the withered shore of a blood-colored pool, the PCs discover an ancient dial and three tooth-like columns rising from the ground. Turning the dial results in the water being magically siphoned into the column's hollow cavities. If the pool is emptied, a small door is revealed in the crimson-stained much. They must defeat a blood-infused water elemental before proceeding. Once inside, the PCs share a room with a dark ritual running since the origin of the world. The keeper of the place, an immortal fey inside a powerful suit of armor, offers little explanation as to the nature of the ritual, and he seeks to ensure they tell no one of the Claret Wellspring.
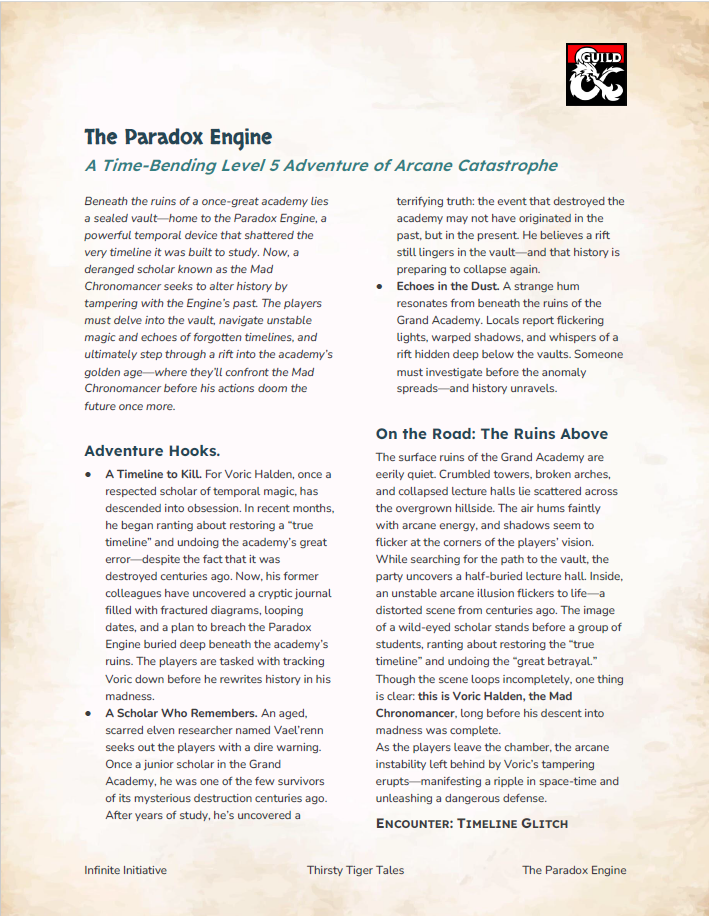
A Level 5 Adventure of Time-Bending Catastrophe Part of the Thirsty Tiger Tales series Beneath the crumbling ruins of a legendary arcane academy lies the Paradox Engine—a dangerous temporal device that shattered the very timeline it was built to study. Now, a deranged scholar known as the Mad Chronomancer seeks to rewrite history itself. In this time-twisting dungeon crawl, players must brave unstable magic, flickering echoes of the past, and a rift into the academy’s golden age—where they’ll confront the Mad Chronomancer before his actions doom the future forever. Two-timeline dungeon: Navigate the same vault in both past and present Puzzle rooms with lasting consequences Unstable combat environments and unique timeline hazards A solo boss fight that bends time against the players Includes the Temporal Warp Cloak, a rare magic item that glitches your image through time This one-shot is perfect for groups looking for a high-concept, low-prep adventure with puzzle-solving, combat variety, and an arcane twist.

When the Guildmaster speaks, everybody listens. When the going gets tough, the thieves get going. For 3-6 thieves. Pgs. 9-16 & 34
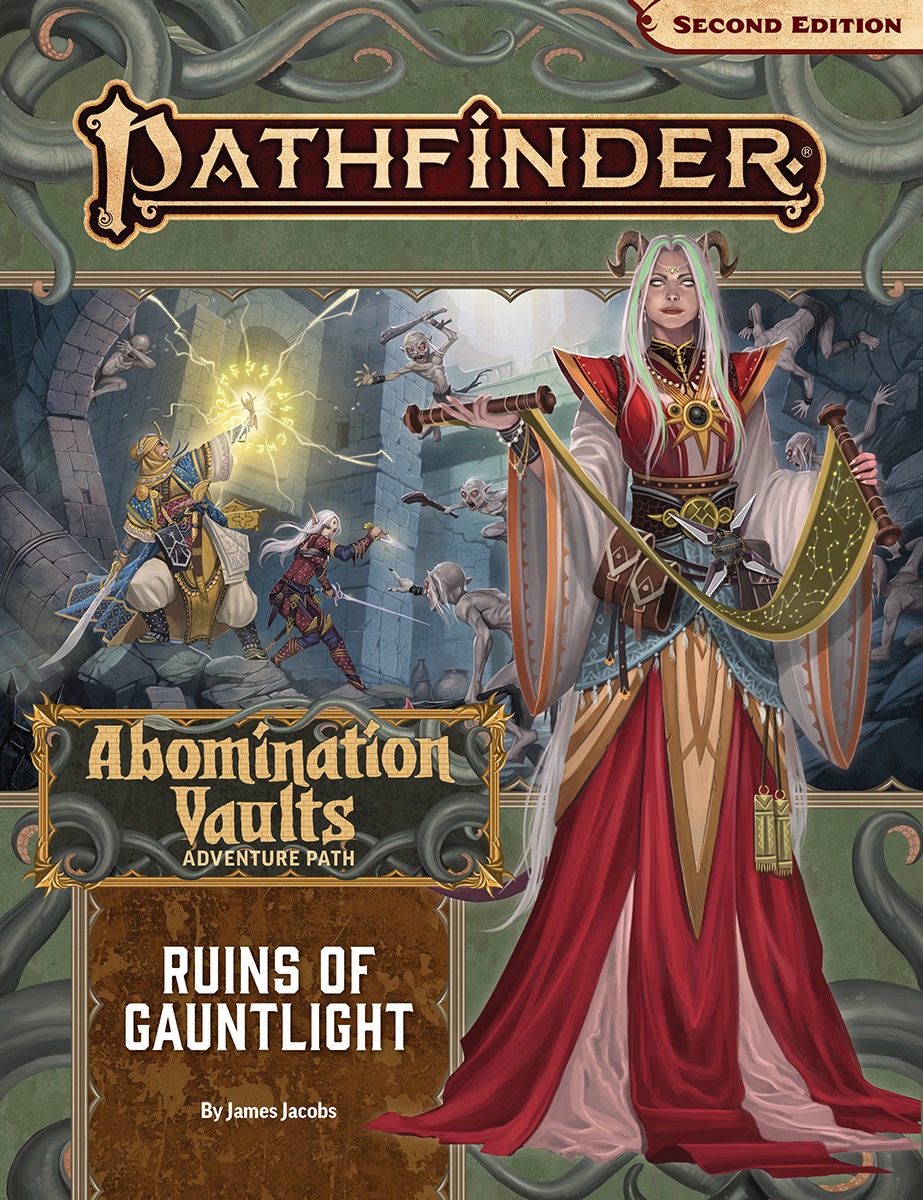
When the mysterious Gauntlight, an eerie lighthouse located inland from Otari, glows with baleful light, the people of Otari suspect trouble. The town’s newest heroes must venture into the ruins around the lighthouse—and delve into the dungeon levels far beneath it—to discover the evil that Gauntlight holds. Hideous monsters, deadly traps, and mysterious ghosts await the heroes who dare to enter the sprawling megadungeon called the Abomination Vaults! Content Warning: Does contain themes of suicide.

This module is especially for a party of elven PCs, level 8+. The Feadiel clan's Tree of Life is dying. As the bravest and strongest elves in the clan, you must undertake the challenge of the elders: seek out the source of the disease and destroy it. If you fail, the Tree of Life will surely perish, and all your family with it. The quest is great and you may die on the journey, never to find the cause of the disease. The journey will take you to the deepest part of ancient Selinar, Elvenhome, to find the guarded grave of the first Treekeeper... TSR 9166

Elven Tower presents a compilation document of all the content for DMs running Out of the Abyss module. This guide has been very well received by the DMs community. I have gotten great response during the creation of this content. The guide is over 60 pages long and contains hoards of information, guides, suggestions, and general information for DMs running this module. It now has clickable table of contents and bookmarks for all the different chapters for easy navigation. There are maps for Gauntlgrym, Sorcere Tower, Vizeran's Tower, Karazikar's Maw as well as some very needed flowcharts and infographics to better understand the adventure. The guide also features some maps drawn by me (Elven Tower) to supplement the missing illustrations for important locations.

𝐍𝐨𝐰 𝐰𝐢𝐭𝐡 𝐚𝐧 𝐢𝐥𝐥𝐮𝐬𝐭𝐫𝐚𝐭𝐢𝐨𝐧 𝐛𝐲 𝐂𝐇𝐑𝐈𝐒 𝐇𝐎𝐋𝐌𝐄𝐒 𝐚𝐧𝐝 𝐚 𝐏𝐑𝐈𝐍𝐓𝐄𝐑-𝐅𝐑𝐈𝐄𝐍𝐃𝐋𝐘 𝐃𝐔𝐍𝐆𝐄𝐎𝐍 𝐌𝐀𝐏! 𝐓𝐇𝐄 𝐑𝐔𝐈𝐍𝐄𝐃 𝐓𝐎𝐖𝐄𝐑 𝐎𝐅 𝐙𝐄𝐍𝐎𝐏𝐔𝐒 is a fifth edition (5E) conversion of the ground-breaking introductory adventure for Dungeons & Dragons that served as a DM aid in the first 𝐃&𝐃 𝐁𝐚𝐬𝐢𝐜 𝐒𝐞𝐭, released by TSR in 1977. This set included a 48-page rulebook covering the first three levels of play, and was skillfully edited by 𝐃𝐫. 𝐉. 𝐄𝐫𝐢𝐜 𝐇𝐨𝐥𝐦𝐞𝐬 from the original 1974 D&D rules written by 𝐆𝐚𝐫𝐲 𝐆𝐲𝐠𝐚𝐱 and 𝐃𝐚𝐯𝐞 𝐀𝐫𝐧𝐞𝐬𝐨𝐧. Holmes advanced the "Sample Dungeon" concept by writing a new thematic dungeon with a strong backstory, creating an adventure that has remained a fan favorite over the decades. Officially, its only title is "Sample Dungeon" but colloquially it goes by various names based on Zenopus, the doomed wizard who built the dungeon under his tower. An adventure for 1st to 2nd level characters; four pregenerated characters are included. Also includes ideas for using it as an adventure site in 𝐆𝐡𝐨𝐬𝐭𝐬 𝐨𝐟 𝐒𝐚𝐥𝐭𝐦𝐚𝐫𝐬𝐡. 𝐍𝐎𝐓𝐄: Using this conversion requires a copy of the original dungeon found in the (1977) Basic D&D rulebook. However, Wizards of the Coast has provided a free pdf of this dungeon since 2008 on their website, see the first page of the pdf for the link. 𝐂𝐎𝐍𝐓𝐄𝐍𝐓𝐒: Introduction, page 2 The Setting, page 3 About the Dungeon, page 4 Dungeon Master's Map, page 5 Areas of the Dungeon, pages 6-13 Appendix A: Further Reading, page 13 Appendix B: Dungeon Factions, page 14 Appendix C: Portown Rumors, pages 15-17 Appendix D: Use with Ghosts of Saltmarsh, pages 18-19 Appendix E: Pre-generated 1st level characters, page 20 𝐈𝐧𝐜𝐥𝐮𝐝𝐞𝐬 𝐭𝐡𝐞 𝐟𝐨𝐥𝐥𝐨𝐰𝐢𝐧𝐠 𝐧𝐞𝐰 𝐦𝐨𝐧𝐬𝐭𝐞𝐫𝐬, 𝐍𝐏𝐂𝐬, 𝐚𝐧𝐝 𝐌𝐚𝐠𝐢𝐜 𝐈𝐭𝐞𝐦𝐬 𝐟𝐨𝐫 𝟓𝐄: Cleaning Cube, Veteran Smuggler, Thaumaturgist, Monstrous Sand Crab, Lemunda, Monstrous Rat, Brazen Head of Zenopus, Verminslayer Longsword, Lesser Wand of Petrification, Scroll of Stone to Flesh The Ruined Tower of Zenopus was featured as part of the "D&D Classics" column in Issue #32 of Dragon+ magazine! Go to 𝐝𝐫𝐚𝐠𝐨𝐧𝐦𝐚𝐠.𝐜𝐨𝐦 or find the link on the Wikipeda page for Dragon magazine. 𝐂𝐑𝐄𝐃𝐈𝐓𝐒: Original Dungeon: J. Eric Holmes Conversion, Added Content & Cartography: Zach Howard Content Review & Editing: Scott McKinley Interior Art: Chris Holmes (“Octopus Attack”, page 9) Cover Art: “Italian Coast Scene with Ruined Tower” by Thomas Cole, 1838. Open Access Image from the National Gallery of Art at images.nga.gov Format: Derived from the “Adventure Template for Open Office/LibreOffice” by Dale Robbins on DMs Guild Dungeon Maps drawn using the application Gridmapper by Alex Schroeder

Freak show or sanctuary? It's all a matter of perspective when you're at Carnival. A carnival offers a glimpse of abnormal and unnatural things most genteel folk never talk about, much less see. This carnival is not a simple sideshow, though, and its performers are far more than freaks on display. Carnival is a wandering haven for those who have no place else to go - including adventurers who made enemies of the wrong people. Under the protection of its mysterious mistress Isolde, it offers refuge to those rejected by the world. Outcasts and lost souls of all kinds can find solace here, and sometimes even a second chance at life... but nothing at Carnival comes without a price. TSR 11382

Everyone comes to Taux for a reason, and yet they come. A few will brave the Ebon Swamp, but most come via ship, which is the method the party now employs. Unbeknownst to them, however, a strom is brewing, one with untold magical energy that can bend the very fabric of space and time. If they are lucky they will have a story to be told beyond imagination. If they aren't, they will become the fodder of sea-faring legend, just another lost ship that never made it into the sheltered bay of Taux. This mini-adventure sets up the events of Folio #11 (AT1 The Subtle Revenant) This adventure is formatted to both 1E & 5E gaming rules.

Nanfield is an island village of over 50 NPCs with mysteries plaguing both its present and its past. It contains a unique ecosystem and economy and a ship full of friendly pirates that will invite you by for dinner after accidentally attacking your party. It can be inserted into any campaign as an interlude during a travel montage, as a one-shot encounter, or as the base of future adventures. Nanfield contains over 50 NPCs you can use, several very unique and compelling characters, a Druid stat-bloc, a ship-to-ship fight, an investigation, and a fight with a Harpy (or more, depending on the outcome of the investigation).

Gifts for Him is a short, challenging, open-ended, gothic-horror, 5E-compatible Christmas adventure for tier 1 characters to be run in about three sessions, but it can be easily adapted as a one-shot. It contains over 25 pages with original artwork, three original battle maps, three unique monsters, stat blocks for five NPCs, three magic items, and a partridge in a pear tree. ----- The village of Bargrave has a secret. Every year, on Christmas Eve, the villagers cower in their homes while a savage beast prowls the streets, wreaking bloody doom on whomever has not left it a suitable gift on their doorstep. But Elias Buhl has had enough. This year, the old farmer won’t be buying the beast a gift, hoping instead to bait it into attacking him at his homestead, where he will trap and kill it once and for all. But he can’t do it alone. Buhl has hired a band of adventures to help him fortify his home, set traps, and slay the creature. They have three days to prepare, gather allies and equipment, and plan their defense. Or… They can dig a little deeper and uncover what Bargrave has been hiding all these years. Will they slay the beast, as agreed? Might they capture it to use it for their own ends? Can it be redeemed? Or will they die — their blood melting the snow — just the latest victims of the creature’s reign of terror? --- Gifts for Him is a complete, playtested, illustrated adventure that is currently pay what you want.

Alhaster is in flames, choking on the poison mists of the Wormgod's first tentative breaths on the Material Plane. The Age of Worms has begun, and unless the PCs can kill a god, this new age will be dark indeed. "Dawn of a New Age" is the final installment of the Age of Worms Adventure Path, a complete campaign consisting of 12 adventures, several "Backdrop" articles to help Dungeon masters run the series, and a handful of poster maps of key locations. For additional aid in running this campaign, check out Dragon's monthly "Worm Food" articles, a series that provides additional materials to help players survive this campaign. Issue #334 of Dragon presents some advice on rules specific to the Age of Worms to aid players (and DMs) in making the transition beyond 20th level. Pgs. 52-86

This higher level adventure takes the group on a survey mission for the Merchant’s Guild. The party will be asked to go through Uvarno, home of the Horselords, and attempt to locate a suitable passage for a merchant caravan into The Melcore. The party’s previous dealings with one of the Horselords, as well as they proven abilities to resolve “problems” has made them a natural choice for the mission. Built as a hex crawl, this scenario will require the party to map the wilderness as well as clearing out any “hostiles”.

"Doom Croaker's Branches" is a lindwurm lair suitable for four or five 4th level characters. This adventure can be completed in one session.
A good deed never goes unpunished in Ravenloft. Evil feeds upon itself - but it also feeds upon the good. Pgs. 54-74

A horror themed investigation of an abandoned village in the Moonshae Isles. Little more than an outpost, Dynnegall is the life-blood of resources that flow from Caer Moray, supporting Ffolk townships across the archipelago. But the supply boat is overdue by almost a tenday and hope is difficult to find. With the recent attacks repelled an opportunity exists to send aid, but who dares to venture outside the walls? Players will investigate an empty village haunted by skulks, who are invisible unless viewed through a mirror. The boss is a sorcerer trying to free the souls of the transformed villagers, but he fails and transforms into an Allip. In the end, the adventurers may attempt to finish his work. Along the way they encounter his mother, an elven warrior who may join them, and fight a few lycanthropes.

"A murderous laboratory comes to life in this adventure for 5th level characters." The players are tasked with investigating the disappearance of a mage who has been creating an A.I.-like arcane Workshop. Through the adventure, the PCS will soon learn that the A.I. has taken over and is using magic beyond it's understanding, having never ventured out into the world. How will the PCs stop a naive yet dangerously magical A.I. determined to get out into the world?

A half-marilith, half-medusa druidess lich known as the Hate Blossom lairs in this dungeon, having been run out of mortal society and shunned by demonkind. She possesses the petrified-yet-still-living body of Melenkir, the first human arch-mage and the single creature to remember a ritual that may save the realm from an extraplanar threat. Only slaying Hate Blossom or convincing her to lift the curse will revive Melenkir. Published by Defy Danger and Save Verses Death

"The creatures are just too intelligent, too crafty, and too strategy-minded to "rampage." Rampaging brings the wrath of oath-bound knights, powerful mages, and divinely-protected priests. Why would a dragon want such attention, unless it had some special secret, or unless it was insane? Or both. The northern reaches of the Derideth Swamp were once plagued by a rampaging dragon. This black dragon, named Storamere, took a mad glee in attacking human villages, wiping out orc camps, driving off the lizardfolk, and decimating farmland. He met his untimely end, though, in an ambush devised by the monks of the Order of St. Chausle. Storamere died with a curse upon his draconic tongue: "you could not have defeated me in my lair," he told his slayers. "I am forever invincible in my lair." Now Storamere is back, with a horde of his misshapen half-dragon offspring, to have his vengeance. All that remains of the once-heroic monks are two old men driven mad by their last encounter with the black dragon, so it falls to a band of adventurers to again defeat the mighty dragon -- this time in his palace, where the boastful Storamere claims he is at his strongest." Includes maps and damage rules for navigating Storamere's lair, a semi-solid palace made of a dangerous, corrosive liquid five feet thick and located on the ethereal plane. Most of the monsters in the lair have the Half-Dragon template applied. Published by Atlas Games

This Adventure is based on the web comic series, Table Titans. It is set in the same village that part of the comic takes place in, however the path of the adventure does not follow the story line set in the comics. There are familiar elements that are a wink and a nod to fans of the comic, but it is a unique story. The adventure is set around the village of Haverford, currently beset by an unknown [i]Terror[/i] that has resulted in many many deaths in the surrounding forest. The adventures have arrived at this once peaceful hamlet and if they discover the source of the [i]Terror[/i] plaguing the region they will be handsomely rewarded. The Terror of Haverford is a starter adventure. Characters will advance from level 1 to 4 if completed. This adventure has both social and combat encounters, as well as combat encounters that can be solved socially. If characters aren't thorough in their investigations they will be taken by surprise by what lies ahead.