
Sacred relics of the monastery, the eyes of the dragon, have been stolen from their rightful place in the eyes of the Ascendant Dragon statue. The elders have chosen one from among their ranks to go and retrieve these two fist-sized emeralds and bring them home.

The Cost of Beauty Deep in the snake infested jungle of Serpent Isle stands an ancient temple. Rumour has it that something still lurks in that place. Something evil from a lost era of devils and darkness. Now fishing boats are going missing off the island’s coast and dark shapes can be seen moving through the undergrowth. Could something have remained on that cursed isle?

A group of Azer were captured and brought here long ago to create a powerful weapons that ensured a long dead king’s victory in a bloody war. For some time they obeyed, churning out weapons and crafting monuments in the king’s honor, but as time went on, animosity towards the king grew stronger and stronger. The Azer betrayed the king, using the might of their “perfect” weapons to strike his men down before retreating to their forge and closing it off from the rest of the world. They have been locked a away in solitude for some time now. The entrance to this bunker has been uncovered though, and it is up to a brave group of adventurers to travel down into this place and see what they have been up to for all of these years. This dungeon has rules to modify all encounters for a group of players levels 3 through 6 and is intended for a party of four. If you have more players, feel free to adjust the difficulty up one level for each additional player or simply tune the monsters to your needs. This dungeon contains many original enemies, a unique puzzle, and an environment that is meant to inspire awe to the wonders of crafting. They are in a place of flame and metal, so a dwarf should feel at home while elves may be uncomfortable.

To a wizard, knowledge is power, and the wizard Lirdrium Arkayz wants to know the mysterious secret of The Rock. Many have tried to discover it - but The Rock keeps its secret well. The wizard offers a rich reward to anyone bold enough to solve this dark mystery. But the road to The Rock leads to danger and hidden peril - dangers that have claimed the lives of many brave adventurers. Rashness and folly will lead to quick death, but riches await the clever and brave. Have you the wits, courage and skill to survive the Journey to The rock? TSR 9106
:strip_icc()/pic1461851.png)
You will take up the mantle of heroism in a grim world where simple survival cannot be taken for granted. These heroes will shape the world of Athas while they grow in power and prestige - or die trying. Your character has been asked to aid a secretive faction of the Veiled Alliance in the Free City of Tyr against an unknown assailant. Ashes of Athas is a 4e D&D campaign set in the world of the Dark Sun campaign setting.

This Adventure is based on the web comic series, Table Titans. It is set in the same village that part of the comic takes place in, however the path of the adventure does not follow the story line set in the comics. There are familiar elements that are a wink and a nod to fans of the comic, but it is a unique story. The adventure is set around the village of Haverford, currently beset by an unknown [i]Terror[/i] that has resulted in many many deaths in the surrounding forest. The adventures have arrived at this once peaceful hamlet and if they discover the source of the [i]Terror[/i] plaguing the region they will be handsomely rewarded. The Terror of Haverford is a starter adventure. Characters will advance from level 1 to 4 if completed. This adventure has both social and combat encounters, as well as combat encounters that can be solved socially. If characters aren't thorough in their investigations they will be taken by surprise by what lies ahead.
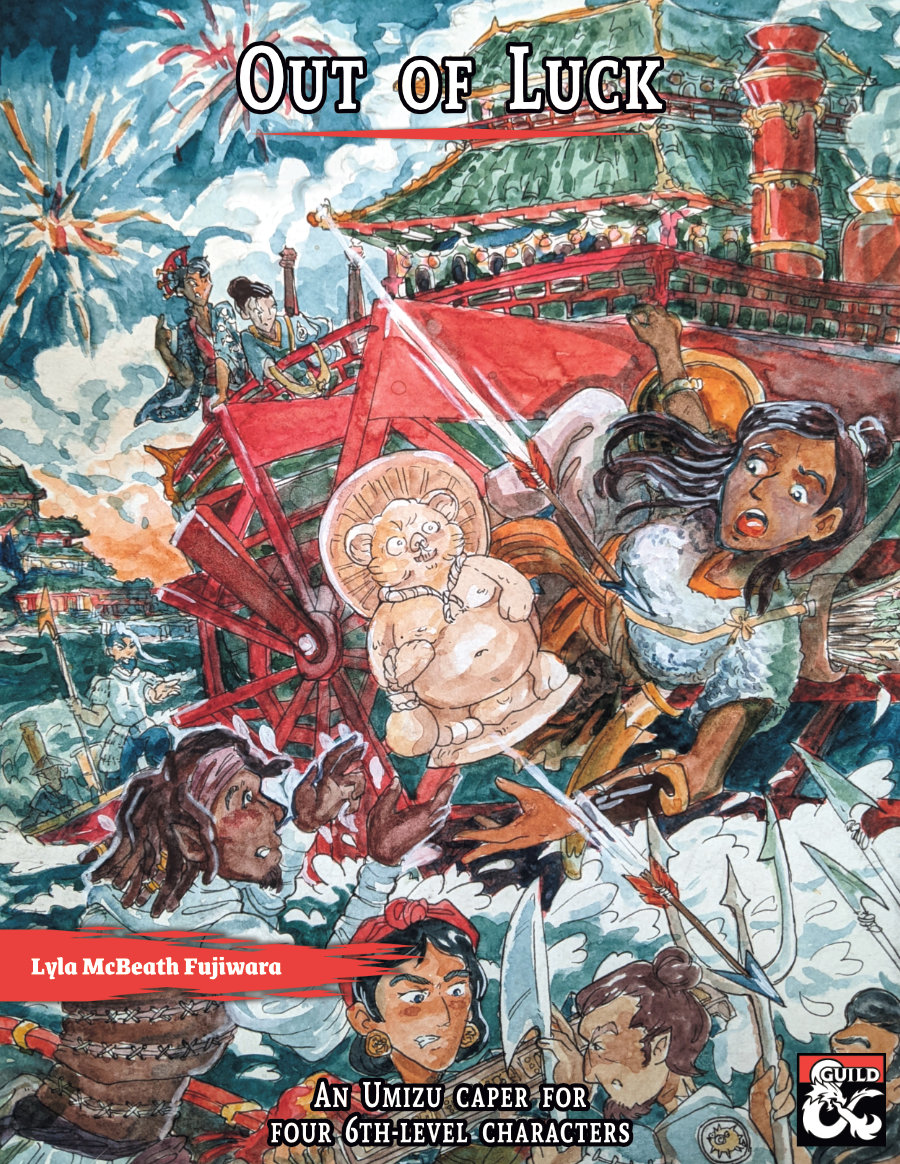
Take down a brutal crime boss in this one-shot heist with hijinx and heart. Explore Umizu, a seedy coastal steampunk city-state inspired by pre-modern Japan. Umizu is a Radiant Citadel locale that never got a full adventure--until now! Out of Luck features a cursed tanuki statue, a baby’s birthday party, and a steamboat fireworks battle! This one-shot includes everything you need to run a memorable caper: - Full-Color VTT-compatible steamboat bathhouse maps (DM and Player versions) - 8 Hand-drawn portraits and tokens for monsters and NPCs - Player handouts, a suspicion tracker, and three new stat blocks - Compatible with the Radiant Citadel or the Golden Vault; run as a one-shot or as part of a campaign - Thoroughly playtested and reviewed; over 30 players and DMs have gone through the adventure - A printer-friendly version Synopsis The Independent Merchants of Bright Moon Pier are sick of the Safe Oceans Society’s protection racket. After negotiations turn violent, the merchants opt for subterfuge. They hire the characters to infiltrate Boss Yashima’s birthday for her infant daughter and trick Yashima into accepting a cursed artifact, the Idol of Misfortune. Will this be a clean caper, or will the characters find themselves out of luck?

When the characters arrive at the fishing town of Estinn, they find it totally abandoned. Can they solve the grisly mystery of what happened to the town and stop a monstrous threat that lurks in the cold, deep waters of the bay? Born in Blood is a Lovecraftian horror one-shot for four or five 9th-level characters. It takes about 4-6 hours to complete and includes: -A gruesome mystery of betrayal and dark rituals -An underwater dungeon hidden beneath the sea floor -A harrowing battle with a newly born godling! -High-quality digital maps for use with virtual table tops

A fiend lurks among the Black Blade goblins. A shapeshifting barghest fashioned by the General of Gehenna to exact revenge on all goblin-kind. It’s aim: to kill as many goblin leaders as possible… A masked goblin approaches the party asking for help. Two tribe leaders are dead. But a rival for chief has control of the crime scene. Will the party discover the barghest among the goblin ranks? Can they stop this imposter before it strikes again? Adventure Overview The adventure’s story is spread over 4 parts and takes approximately 4 hours to play. The adventure begins with a Call to Action scene. Part 1: Goblin Politics. Krill sends his emissaries to implore help from any strong intermediary. The party is asked to investigate the murder of Thrawn in Dringly’s lair. This is Story Objective A. Part 2: The Opposition. Gain entry into Dringly’s lair and investigate the murder of Thrawn. Gather enough evidence to find the killer. This is Story Objective B. Part 3: To The Lair! Now that the players have determined the barghest (Yeep) is to blame, they need to get to Krill’s lair quickly as he is in imminent danger. This is Story Objective C. Part 4: The Barghest.When the players arrive at the lair, they need to get to Krill and expose and defeat the barghest. This is Story Objective D. Adventure Background A barghest named Yeep has begun its onslaught of attacks against the Black Blade goblins. Starting with Chief Gnar, then his second in command Thrawn, the barghest is moving methodically down the line of command. Krill is now chief. But he has some problems: Two leaders of the Black Blades are dead. Who killed them and why? Is he next? Dringly, the next in command, has decided to take his lair for himself, declaring himself Chief of the Black Blades. Who are the Black Blades? The Black Blades are a tribe of goblins in the local area. They are known for dipping their blades in a dark black substance. It is rumored these blades are poisonous. The Black Blades regularly attack passersby on the road to rob them. The Black Blades have two lairs, one run by a chief who leads the whole tribe, and another overseen by a boss lieutenant. The Black Blades have a well-established pecking order which is how Krill stands to become chief. The next in line is Dringly, who has also declared himself chief and wants Krill dead. Krill suspects that there is something suspicious about two leaders being killed within a day of each other, but he has already burned Gnar’s body without any investigation. He needs to investigate the body of Thrawn, but it is in Dringly’s lair. Krill wishes to avoid direct confrontation with Dringly at the present for three reasons: 1) Any violence would only kill his own tribe members and further divide the lairs. 2) He believes there is still hope for negotiation to reunite the Black Blades. 3) He believes that if he were to attempt negotiations himself, Dringly would kill him. This adventure features: Two maps. Ready for your favorite Virtual Tabletop. A full color pdf. A black and white pdf. One custom monster, a reprint of barghest, all others available in the Monster Manual. Four hours of entertainment involving: roll playing a goblin bard, investigating a murder scene, tracking down a barghest before it strikes again. Applicable to any setting.
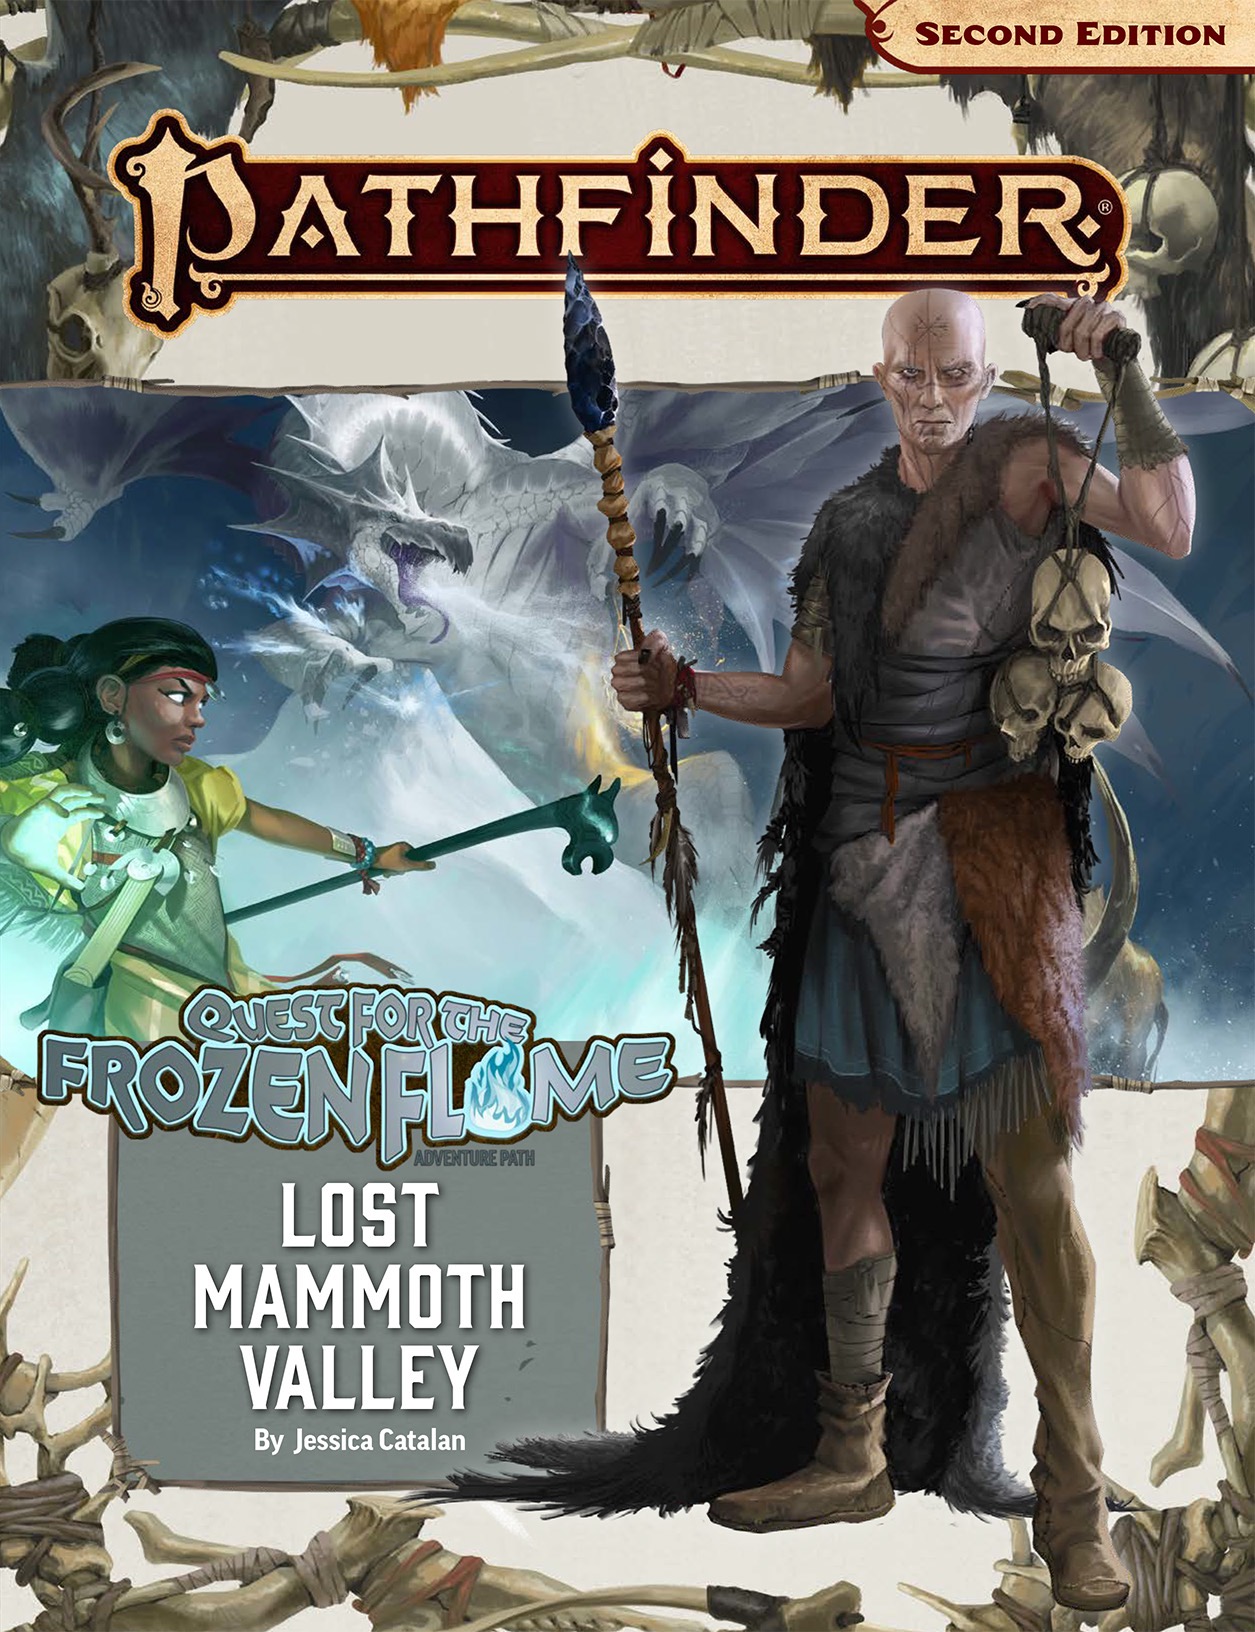
With danger close behind, the Broken Tusks journey through the bountiful but treacherous Lost Mammoth Valley in search of the Primordial Flame. The Tusks' scouts solve the riddles of the primordial valley and recruit a motley league of unlikely followers, all while evading the watchful gaze of the vale's villainous overlords. In order to fulfill their quest, the scouts must ultimately go toe to toe with these vile masters: a vicious white dragon, a sadistic necromancer, and a boarish beast-god. "Lost Mammoth Valley" is a Pathfinder adventure for four 4th-level characters by Jessica Catalan. This adventure continues the Quest for the Frozen Flame Adventure Path, a three-part monthly campaign in which the heroes lead a band of nomadic hunter-gatherers across a brutal primordial landscape. This adventure also includes an examination of megafauna, including advice and rules for creating your own new giant animals; a glossary of Mammoth Lords' depictions of Golarion's most popular deities; and new prehistoric creatures to befriend or bedevil your players. Each monthly full-color softcover Pathfinder Adventure Path volume contains an in-depth adventure scenario, stats for several new monsters, and support articles meant to give Game Masters additional material to expand their campaign. Pathfinder Adventure Path volumes use the Open Game License and work with both the Pathfinder RPG and the world's oldest fantasy RPG.

The Iron King's daughter has been cursed by a demon who lurks inside a mirror locked deep in the palace dungeons. Can the characters win their freedom from those same dungeons by entering the mirror demon's horrifying, maze-like realm and finding a way to end the curse? The Demon in the Mirror is a creepy dungeon crawl adventure for 5th-level characters. It takes about 5-7 hours to complete and includes: -An otherworldly, reality-bending realm inside a magical mirror -Four new monsters: the mirror demon, ceiling creep, reflection demon, and librarian of Leng! -Combat cards for each monster, PC, and special treasure -Gorgeous digital maps (with and without grid) for virtual table tops

Something evil is devouring the souls of the living in Chult, but before the characters take on the horrors in Tomb of Annihilation, they must first uncover the death curse’s origin by braving a lich’s tower in the Cloakwood. This introductory adventure is designed for a party of four to six 1st-level characters, who should advance to 2nd level by the adventurer’s conclusion. It is a prelude to Tomb of Annihilation that should take about 2 to 3 hours. This product includes Fantasy Grounds files for the adventure. What Inspired Cellar of Death? The introduction of Tomb of Annihilation states Syndra Silvane learned about the Soulmonger from the Harpers, who “received their intelligence from a lich.” This adventure is the story of how the Harpers gathered that information. Cellar of Death has a second purpose: to give characters a greater stake in the outcome of Tomb of Annihilation by creating an NPC they love. The death curse kills this NPC, giving the characters a personal reason to go to Chult.

"And they bade their slaves, 'Build unto us tombs to rival the palaces of the gods, for there shall we live or lives and sleep our deaths in splendor.' And the people of Maru-Qet wore their fingers down, broke their backs, burst their hearts to obey. Indeed they raised up great tombs to rival the palaces of the gods. And their masters were well pleased, for it was as gods they saw themselves." The brown dragon Urum-Shar lurks in a strange tomb, plotting schemes only a wyrm of incredible power could understand. Expanding on content from Draconomicon: Chromatic Dragons, this adventure takes the heroes into Urum-Shar’s dark and trap-filled lair, where they will eventually face the powerful dragon herself. The dungeon heavily employs the use of traps, with fewer monsters. The upper tomb consists of a great puzzle of twelve rooms, and the lower tomb contains the dreaded Urum-Shar, an ancient brown dragon and heir to the lost draconic empire of Maru-Qet. The dungeon has special protections against scrying and other divinations, as well as teleportation. Pgs. 55-90

A short plug in adventure that can be used as part of a larger campaign or run as a one shot for 3-4 Tier I or II characters. The Twin Temple was once a place where the people of the city can come to and get help and guidance, but change has come to the Twin Temple now. The characters seek to find what poisons this well and how they can get to the bottom of it and who is responsible. This adventure is ideal for for 3-4 tier I and II characters. Playable as a one shot or the start of a larger campaign. The characters are sent to investigate the Twin Temple and see if they can find the root cause of trouble with various clues and encounters in most rooms this adventure is customizable and adaptable to fit into most campaigns as needed.
Save Sharn from planar catastrophe in the epic thirteenth and final episode of the Across Eberron: Convergence Manifesto adventure path. This three-part adventure is designed for five 7th-level characters. Your party does not need to have played past episodes to enjoy Skyfall, though previous adventures (see below) with the Clifftop Guild will deepen their experience. Written for use with either Eberron: Rising from the Last War or the Wayfinder's Guide to Eberron by Keith Baker. Adventure Summary: In this climactic conclusion to Across Eberron: Convergence Manifesto, the adventurers are charged with saving the magical metropolis of Sharn before a vengeful academic can destroy its manifest zone using the convergence of Eberron’s 13 planes. Characters must race across the city’s diverse districts in a battle of wits and weapons, locating artifacts linking the 13 planes and disabling the Convergence Engine before it is too late.

A group of orcs has decided to start ambushing travellers on a forest road between two prosperous towns. Led by the enigmatic "Big Man" these orcs focus on robbing people, but tend to avoid violence. When the characters stumble upon this band of orcs robbing a halfling, do they give up their money to save him? Or risk the halfling's life to attack these bandits?

You and your cohorts have pulled into Free Haven, a port city in the northern reaches to settle down for the season. Your respite is short lived as word reaches the city that a small community further north has been attacked by humanoid raiders! Refugees from North Port have arrived and report their community has been sacked. There is little hope of survivors and the fear is that Free Haven may be next. With little else to do, it is time for the party to put on their “hero caps” and save the day!

A fearsome hound has been seen prowling the mist-soaked moors surrounding Cabell Manor, but what is the foul beast searching for? Is there any truth to the rumors tying the family to an ancient devilish evil, or is it just a local superstition? If the want to solve the mystery our adventurers will need to keep their wits as sharp as their swords. NOTE: The title of this adventure is incorrect in the store. The version you will receive upon purchase and download is titled as this entry suggests.

Meaningful decisions, unexpected twists and memorable characters are the foundations of this dark 4-hour adventure for 5th to 10th level characters. A chance encounter on an unassuming road leads to a dangerous and lucrative opportunity. But what seems simple on the surface turns out to be much more below. Thrust into a world where every enemy has an enemy and everyone has their own dark motive, the only chance to survive is to ally with the right foe. Sometimes “doing the right thing” comes only in shades of black. Six Summoned Swords is a stand-alone adventure that begins on the side of the road leading to Phlan and can be easily accessed by any adventurers traveling through the Moonsea region. In addition to a world full of intrigue and complex character choices, purchasing this adventure includes: An Official Adventurers League magic item certificate Printable portrait cards with roleplaying tips for important NPCs Gridded reference maps for combat encounters Condition icons to help track character status Special Certificate Holder ideal for event play NEW: Season 8 Item Unlock Handout - prints 9 to a page, one for every player! * Looking for an adventure to run at your special game day or convention? This adventure includes a “certificate holder” that features specially created art of the adventure’s magic item. When printed in colour and on card stock, it perfectly frames the official AL magic item certificate from this adventure and makes for an unforgettable souvenir. About the Swords Below the Moonsea Saga The saga consists of three adventures, with this adventure serving as a stand-alone prelude. The series continues with Six Striking Swords and Six Swords Unbound, the two of which should be played in tandem.

The Curious Tale of Wisteria Vale is the script of a play written in Common. It is split up into three acts, telling the story of a heroic bard before he becomes corrupted by evil. A wizard named Ryllia Liadon donated the book to Candlekeep as an entrance gift. She didn't tell the Avowed that the book contains the secret to accessing Wisteria Vale, a magical demiplane created by the Harpers to imprison a bard named Arrant Quill until they could free him from the influence of an evil artifact. The book has been hidden in the Candlekeep archives for three years, but the Harpers have finally discovered a cure for Quill's corruption, and the time has come to visit Wisteria Vale once more.