
Something is wrong in the endless gloom of Skullport, and the Baron of Blood has tasked you with setting things right. The vampire Masked Lord of Waterdeep, Artor Morlin, has found a temporary home in Skullport. After having his home frequented by treasure hunters, he has employed adventurers to find him a new home. Part One of the Undying Threat trilogy.

An offer of exploration and adventure leads to a chilling underground dungeon. A mystical object is being asked to be retrieved by the local Wizard. This is the second adventure in a miniseries with the following adventures being: A Chance Encounter An Urgent Rescue A Dark Veil Falls
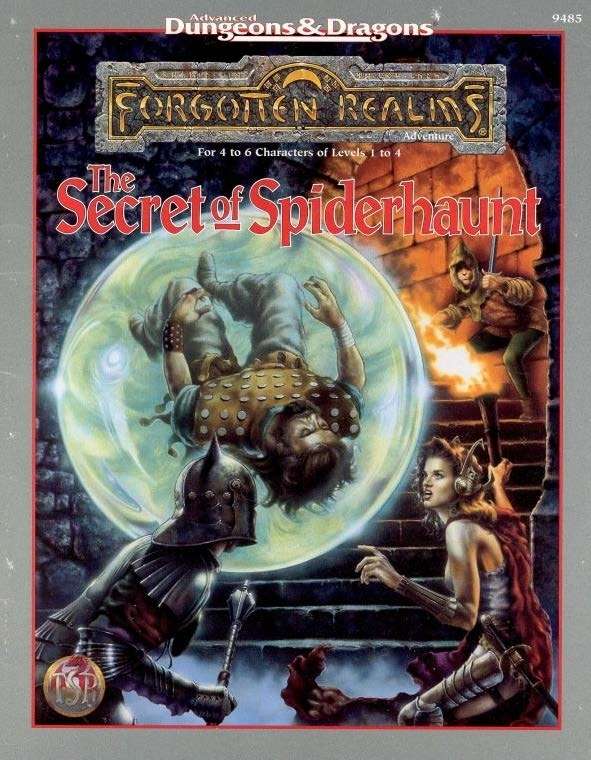
The infamous Sword of the Dales has always held a certain fascination in the eyes and hearts of the citizens of the Dalelands. Thus, it was no surprise when Randal Morn, rebel leader of Daggerdale, led an expedition into the crypt of a long-dead wizard to recover the weapon. Shaevyn the weapons-mage had created the Sword long ago, and it stood to reason that the blade would be waiting within his tomb. Perhaps the Sword of the Dales woulld allow Randal Morn to rule Daggerdale once again. But Randal Morn never returned from that fated party. Only tales of terror told by a lone survivor held any clues as to Randal's fate. A brave hand of heroes accomplished what Randal Morn's group failed to do in part one of this adventure trilogy, "The Sword of the Dales." Battling through the tomb's undead inhabitants, those heroes reached the burial crypt of Shraevyn. There, resting in the center of the coffin, was the Sword of the Dales, its azure glow filling the chamber. However, there was no sign of Randal Morn. Only a note signed by his hand held any clue as to his fate. "Seek me in Spiderhaunt," it proclaimed. "The fate of Daggerdale is in your hands." This is the second part of a trilogy of modules that began with "The Sword of the Dales." The saga concludes with "The Return of Randal Morn." TSR 9485
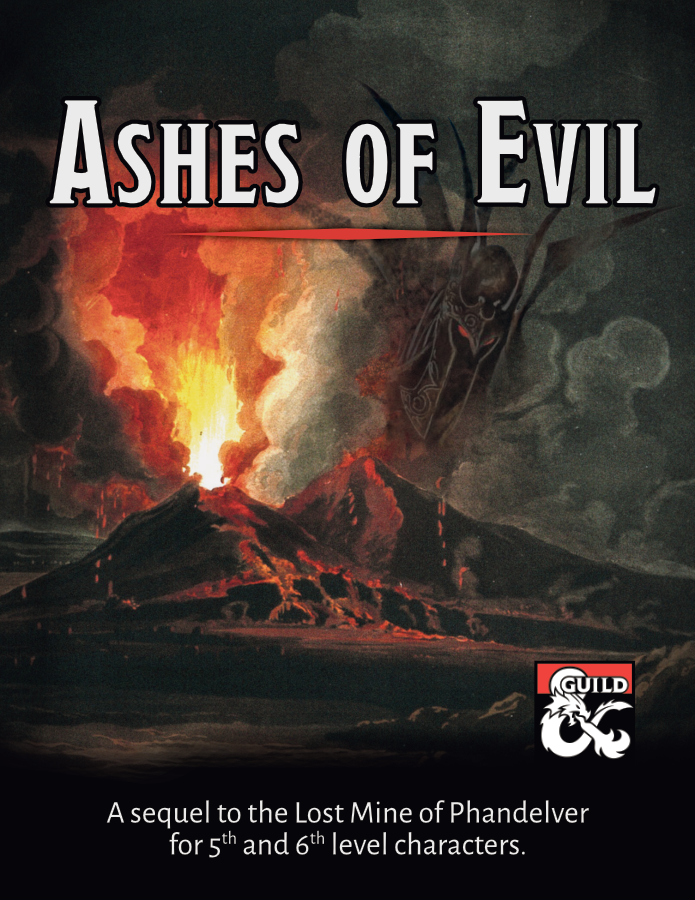
A sequel to the Lost Mine of Phandelver adventure for 5th and 6th level characters. An ancient forgotten evil threatens the Sword Coast once again! Our party of intrepid adventurers returns to Phandalin and Wave Echo Cave for what is at first glance a rescue and exploration mission. Prospectors for the Rockseeker mining concern have disappeared deep inside the flooded caverns that give the cave its name. The peril extends much deeper than mere lost explorers though, as the party stumbles upon an ancient, long-forgotten struggle between good and evil. Inexplicable cultists hide in ambush at every turn. A risky raft ride through treacherous underground waterways leads to an ominous discovery. Ancient ruins tell a story of the terrors of the night and a noble alliance sworn to fight them. A search for a powerful weapon of light leads the party on a mind-blowing, sky-high ascent into the unknown. Then, a whirlwind of danger: A rumbling volcano. Legions of undead. A desperate battle for the survival of the region. This adventure was designed as part of “The Next Adventure” Design Jam at the DMs Guild. It works best for a party that has just completed the Lost Mine of Phandelver adventure, but it can easily be inserted into any campaign. It is designed for a party of four to six 5th or 6th level characters and, based on playtesting, will take an average of about 3 sessions to complete.
The nearby jungle is growing at a disturbing pace -- overnight, whole villages have been swallowed up by creeping vines. Rumors say the source is a corrupt and powerful temple deep in the jungle. In reality, the blight lords of Talona created a monstrous corpse flower and imbued it with the power of a cursed gem from an ancient temple of their goddess. After the blight lords released it into the forest, the corpse flower bent the surrounding jungle to its semi-sentient whims, recreating the temple out of plant life -- with an insatiable hunger for expansion.
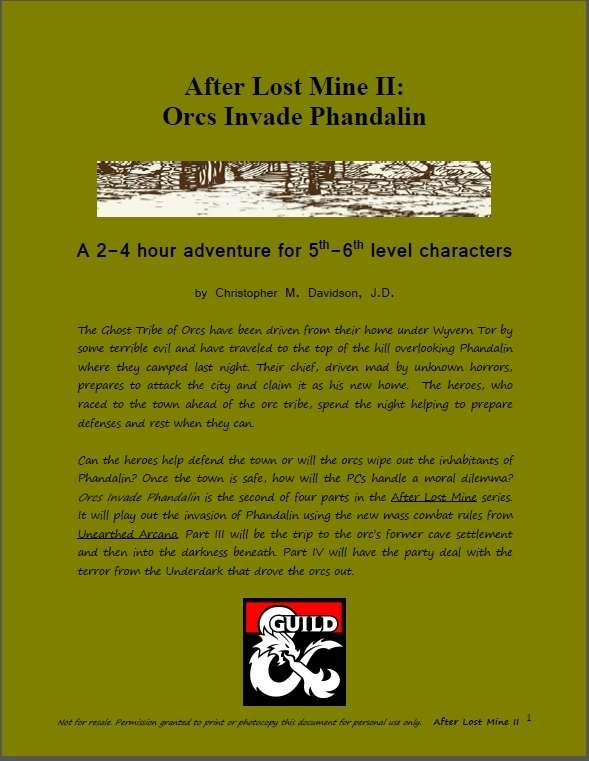
The Ghost Tribe of Orcs have been driven from their home under Wyvern Tor by some terrible evil and have traveled to the top of the hill overlooking Phandalin where they camped last night. Their chief, driven mad by unknown horrors, prepares to attack the city and claim it as his new home. The heroes, who raced to the town ahead of the orc tribe, spend the night helping to prepare defenses and rest when they can. Can the heroes help defend the town or will the orcs wipe out the inhabitants of Phandalin? Once the town is safe, how will the PCs handle a moral dilemma? Orcs Invade Phandalin is the second of four parts in the After Lost Mine series. It will play out the invasion of Phandalin using the new mass combat rules from Unearthed Arcana. Part III will be the trip to the orc’s former cave settlement and then into the darkness beneath. Part IV will have the party deal with the terror from the Underdark that drove the orcs out.
Into the Dragon's Lair takes place in the Forgotten Realms setting, and takes place after the novels The High Road and The Death of a Dragon by Troy Denning. The nation of Cormyr tries to rebuild after the death of King Azoun IV, and seeks the treasure hoard of a dragon to fund these efforts and keep the kingdom from falling into chaos. The player characters must find this treasure before all the other seekers.

In response to a new but as-of-yet-unnamed threat, the factions have called upon adventurers to venture into the jungle in search of a location for a new base of operations. As such, you have been charged with scouting several locations to assess their viability. Surely something so trivial as a scouting mission couldn’t go wrong?

Six months ago, an adventuring group that calls itself the Company of the Shining Stone learned of an aged wizard’s tomb that lay in the rocky foothills of a prominent mountain range, and sought to plunder it. What they were not counting on was that a band of stone giants would move into the immediate area to make their lair. The giants have rebuffed the company’s attempts at getting past them and to their goal. Now is the time of the annual fair in Adurath, a small town located not far from the tomb, and thus, the giants. The giants have no interest in the town or the tomb, but are instead interested in a rare mineral found only in that region. A few of the townsfolk have seen the giants, but there has been no confrontation other than between the giants and the Company of the Shining Stone.

A sunken ruin deep beneath the bay of Mulmaster holds the key to unraveling the Cult of Glaugrax’s nefarious plans. Dare you brave danger and duplicity to plumb its depths? Part 2 of The Neverdusk Trilogy. A Two-to-Four Hour Adventure for Tier 2 Characters. Optimized for APL 8. The Sequel to Ooze There?, an ENnie Awards 2019 nominee in the Best Organized Play category! This adventure is Part 2 of "The Neverdusk Trilogy", and continues the tale of Fenaria Neverdusk, Sovad Klim, and the mysterious Cult of Glaugrax! Ooze Next? debuted at Lion City Conclave 2019 - a charity convention by the D&D AL Singapore Community. The v1.02 package includes: - Full color cover art by digital artist Lau Shang Hui (NezArt), with additional art inserts for key scenes - A high quality digital map pack for key encounter locations - A two (2) page cheat sheet with Jason's personal tips for running Ooze Next?

5e Solo Gamebooks presents Tyrant of Zhentil Keep by Paul Bimler, a 160+ page solo adventure for Dungeons and Dragons Fifth Edition. This adventure is designed for one 3rd-level PC of any race or class, without a DM. Tyrant of Zhentil Keep continues the narrative of The Death Knight’s Squire (the first solo adventure in this series) but can be played as a standalone also. It follows the story of your PC as they continue their journey across Faerun, a lone adventurer wandering wherever the wind takes them. Eventually, it takes them to Zhentil Keep in the Moonsea Region, a strange city, full of secrets. There they begin a quest which takes place over two books, this being the first one, part 2 being Citadel of the Raven. Tyrant of Zhentil Keep is a mini-sandbox in gamebook form, with multiple sidequests and locations to explore. Everything leads towards a central story arc that becomes clearer as the book progresses. Where Death Knight’s Squire had a clear-cut mission at its core, this adventure is pure exploration at first, similar to how a game with a Dungeon Master might commence. The nature of your quest becomes clearer as you advance, collecting snippets of information and encountering various NPCs and locations. The adventure builds upon The Death Knight's Squire in several ways, introducing new combat sheets, sidequests and even audio sound FX embedded in the PDF! You have two ways to approach playing this adventure. You could print out the maps booklet and use actual tokens or miniatures (you’ll need access to a printer for this), or you can load individual .png files of the maps (included) into Roll20 or similar applications and place and move tokens on your device.

A magical conk is stolen and planted by an unsuspecting pawn. The tree which grows from this 'tato threatens the whole village of Hempholme and the characters have to take matters into their own hands. There are a number of threats to deal with and number 3 will shock you!

The Tower of Bondage is a frightening place for player characters that are used to raiding dungeons and once they have grown tired or run out of spells, can leave the dungeon, and find a warm comfortable inn. Not so with the Tower of Bondage. Once you enter, you may not leave unless you escape, and the only way out is down. The first level contains: ● 17 deadly encounters ● New stats for animated statues ● Traps ● Even a riddle to solve to save their lives The Tower of Bondage is a fresh look at the ancient Netherese lich known as Aumvor the Undying of the Forgotten Realms, and featured in Champions of Ruin. Having finally fled to the Endless Caverns and having reached lichdom, he was no longer able to feed upon the life force of others. His minions built hidden portals to his domain in order to trap living victims to slake his lust and continually feed his gluttony. That was long ago and the portals have been forgotten with time. Recently, a forest ranger has stumbled onto the location of one of the old portals and has made it public. Dare to enter the snare and be teleported deep into the Star Mounts without the luxury of returning to town at your leisure for supplies and rest. If you escape, you will have a better appreciation for life and a whole lot of Aumvor’s treasure to boot. Rumor has it that Aumvor the Undying is getting old and slow, and perhaps – hungry The Tower of Bondage “Aumvor’s Welcome” is the first level of a much larger complex that opens to the Endless Caverns and the under dark. 𝘐𝘧 𝘺𝘰𝘶 𝘦𝘯𝘫𝘰𝘺 𝘱𝘢𝘳𝘵 𝘰𝘯𝘦, 𝘣𝘦 𝘴𝘶𝘳𝘦 𝘵𝘰 𝘨𝘦𝘵 𝘱𝘢𝘳𝘵 2 “𝘍𝘢𝘯𝘦 𝘰𝘧 𝘵𝘩𝘦 𝘑𝘢𝘪𝘭𝘦𝘳𝘴”

In this adventure, the player characters discover the illegal actives of an ambition Red Wizard operating out of an enclave in a small town. This adventure is short and a great way to introduce players to Red Wizards. For a group willing to use diplomacy fighting they can cut down there combat. The adventure is found on pages 284-287

This side trek encounter challenges the heroes to recover a precious item from the lair of an evil hag. Estimated play time - 2 hours. This product contains a pair of encounters designed to challenge 4th level PCs. It also includes an extensive backstory, new monsters and new magic items to add to your campaign. The encounters are easily adapted to almost any campaign setting. The text includes optional changes that DMs may consider when running the adventure for their own campaigns. This side trek encounter is the final chapter of a three-part "Fey's Bargain" encounter series.

The monks of the Monastery of the Yellow Rose have long cloistered themselves in their home atop the Earthspur Mountains, practicing their strange lifestyle which is rumored to give them longevity. Now, their dietary restrictions and practices of breath control have become the fashion amongst the well-to-do of Mulmaster. But when a few of these lay practitioners start dropping dead from suffocation and starvation, others start to question the validity of the monks’ claims. Is this simply a deadly ignorance, or is there a fell wind blowing through the rich and powerful of Mulmaster?

BREAK A CURSE THAT ECHOES THROUGH TIME! You awaken on the morning of the Pudding Faire: just as you did yesterday… and the day before that… and the day before that! To escape the loop, you must break a curse that strikes to the heart of halfling and gnome lore. Pudding Faire is a 3-4 hour Dungeons & Dragons module for character levels 1-4. It is part of a series of adventures that expands upon the material presented in Mordenkainen's Tome of Foes™. It can be played on its own or as a part of any D&D campaign. This product is a DMs Guild Adepts adventure! The Dungeon Masters Guild Adept program brings highly talented individuals together for creative development. Guild Adept products are identified with the golden ampersand and logo. Pudding Faire is legal for play in the D&D Adventurers League and has the following code: DDHC-MORD-04

When Fort Iron was taken from the duergar who inhabited it, much of their subterranean quarters were never fully explored. An ancient oubliette has been discovered and its contents have disturbed the miners. Can the mine and the miners be saved from the dangers of the Oubliette of Fort Iron?

A dwarven expedition has stopped in Mulmaster for much-needed supplies. Furgis Boltsmelter, their founder and leader, is looking for some “no questions asked” protection for the duration of his stay in the city. Whatever he is trying to protect may not stay hidden for long. Can you keep his secret treasure out of the wrong hands? A four-hour adventure for 1st-4th level characters.

When a Thayan research expedition returns from the Glacier of the White Wyrm with only two survivors that are reduced to whispering about an ancient pyramid under the ice, perhaps it is time to discover just what scares the life out of a nation of necromancers. The events of DDEP2 Mulmaster Undone resulted in terrible geographic upheaval all around the southeastern region of the Moonsea. Massive landslides, earthquakes, tidal waves, and gnashing tornados devastated the land and the city of Mulmaster was nearly scrubbed from the face of Faerun. Fortunately, these events also revealed previously hidden artifacts—trinkets, mostly—from the ancient Netherese all around the city. The Thayans have long held an interest in the port city and wasted no time in assisting in the rebuilding efforts. They simply asked that a blind eye be turned to their archaeological interests, and in return they would continue to spend their own resources (at no expense to the Mulmasterites or even the High Blade) to rebuild the city, bigger and better than before. It wasn’t long before their interests paid off with the discovery of a research laboratory beneath the Glacier of the White Worm, far to the east of Mulmaster and nestled in the mountains. The Thayans sent a sizable expeditionary force but only two acolytes returned. The visiting Zulkir has found this particularly troublesome, and with the assistance of Rastol Shan, the head of the Cloaks, has arranged for a mercenary force to perform a more pointed investigation of the area. In return the Thayan noble has promised significant compensation. Upon arrival at the dig site, the characters are quick to discover that the laboratory hides ancient and palpable evil. The purpose of the facility can be discerned with careful investigation, and the effect of the still-active fragment of the Dark Obelisk has empowered (some may say attracted) servants of the Worm that Walks. Danger and death await, certainly, though the characters always have the option of running away and living to fight another day…