
Gadof Blinsky is a famed toymaker known for bringing joy to children throughout the bleak country of Barovia. Or at least, he used to be. That all changed after Blinsky and his wife welcomed their first child. The toymaker fell into a deep fit of anxiety and depression from which he never recovered. In this mini-adventure, you will investigate Blinsky's toy shop and battle a strange toy that seems to have taken on a life of its own, eventually uncovering what happened to Blinsky’s family and unraveling the secret of what the toymaker is hiding in his attic. Blinsky is No Fun! is a one or two session side adventure, for characters of levels 4-5, for use in the Curse of Strahd campaign setting.

The town of Canticle Bay has long been dependent on ocean fishing for its economy, and as demand has grown, the town has increased its efforts to supply the inland cities with the best seafood. Recently, however, the men who go out on the boats haven’t been coming back. A newly formed group of adventurers have been sent by the guild to investigate the missing men. Where are they? Those that are still alive can be found in the watery depths amongst the Sirens sworn to protect the ocean. Faced with the truth, whose side will the party take?

In their previous adventure they discovered a strange magic item that no one in Fort Myers can identify. After receiving the suggestion that a trip to the capital may be in order, a different tip points out that there is Steinhäuser. This location is known as a vast repository of knowledge. You set out and quickly realize that the Grey Cloaks, a group of evil knights, is ahead of you yet again…

You and your associates dreamed of being big shot heroes but all you've managed to do was run afoul with a group of humanoids. Your speed has managed to distance yourself out of spear range and reached the river. The pounding waterfall matches the blood rushing in your ears and you try to move across the waterway only to find a cave system behind the water.Leaping in, you take a fortified position against the "horde"!

A storm of unparalleled fury has been ravaging the peaks of the Earthspur Mountains for a tenday, and the Monastery of the Yellow Rose sits in its eye for now. Some monks have fled the monastery to the safety of Mulmaster and beseech you to convince their more obstinate brothers to retreat to the city before the eye of the storm shifts, and the monestary is in terrible danger. Can you brave the elements and convince the monks to escape?

X11 Saga of the Shadow Lord consists of two linked adventures as a mini-campaign: In the first adventure called Elvenstar, PCs try to steal a magic item from the Shadow Lord to thwart his planned invasion of a peaceful neighboring kingdom. Encounters in this adventure include a village populated by adventurers, and a cloud giant living in a small castle, before the party reaches the Shadow Lord's lair for the final encounter. In the second adventure, also enclosed in module X11, The Halls of Drax Tallen, the Shadow Lord returns more powerful than ever. His undead minions are searching for another magical item to give him immense power and the PCs must find this item before he does. Player characters must get past the undead army of the Shadow Lord and infiltrate his haunted fortress to retrieve the magical Elvenstar. TSR 9165

Something evil is devouring the souls of the living in Chult, but before the characters take on the horrors in Tomb of Annihilation, they must first uncover the death curse’s origin by braving a lich’s tower in the Cloakwood. This introductory adventure is designed for a party of four to six 1st-level characters, who should advance to 2nd level by the adventurer’s conclusion. It is a prelude to Tomb of Annihilation that should take about 2 to 3 hours. This product includes Fantasy Grounds files for the adventure. What Inspired Cellar of Death? The introduction of Tomb of Annihilation states Syndra Silvane learned about the Soulmonger from the Harpers, who “received their intelligence from a lich.” This adventure is the story of how the Harpers gathered that information. Cellar of Death has a second purpose: to give characters a greater stake in the outcome of Tomb of Annihilation by creating an NPC they love. The death curse kills this NPC, giving the characters a personal reason to go to Chult.

A Villain with a Vison A stolen jewel leads to the heart of the swamp, where one man’s thirst for vengeance threatens to destroy an entire town. Pgs. 68-92

High tide is coming in in this week’s encounter: Sea Trolls in the Net, a tongue-in-cheek combat encounter about a troll troubling fishermen and getting tangled up in their net. This encounter works best when it can add flavor to a grim, seaside locale as a random encounter the adventurers stumble across while exploring. While exploring a blighted shoreline on some forsaken coast, the adventurers find a sea troll feasting upon fishing nets full of freshly caught fish while their fishermen flee from the shore.
Resist the tyranny of UNISOL, and confront the mighty herald of XXAXX in this Draw Steel quest for 7th-level heroes! Spanning 1-2 sessions, heroes can earn up to 8 victories. This adventure assumes both the Director and the players are highly familiar with Draw Steel as each challenge is designed at the hard difficulty level. If you are looking to challenge your players in the higher worlds of the timescape, then look no further - this is the quest for you.
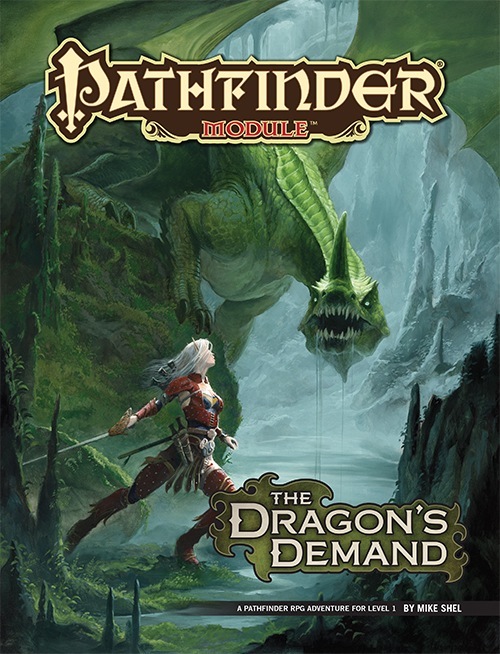
Founded by a famous dragonslayer, the small town of Belhaim has become a sleepy rural community just off the beaten path, a settlement where everyone knows everyone and strangers are the talk of the town. But when Belhaim’s peace and quiet is shattered by the sudden collapse of the last standing tower of its founder’s castle, things quickly bloom out of control. Why were there bodies of kobolds amid the rubble? What’s the sinister secret behind the strange sounds of flapping wings in the night? And what’s happened to local wizard Balthus Hunclay, who’s not answering knocks on his door? The collapsed tower had long been an eyesore to the cantankerous old man—could he have had something to do with its destruction? And what of the rumors of strange stirrings in nearby Dragonfen? Has Belhaim’s ancient draconic nemesis returned?

The Chapel on the Cliffs is a 5th edition horror adventure optimized for a group of 4-5 characters of 3rd level. In this module, the characters will need to explore the ruined village of Kennmouth and its surroundings, find out why a small army of skeletons rises from their graves every night to drive out intruders, and search for a way to lift this unholy curse. The PDF comes with a companion PDF for scaling from levels 2-6. Produced by Goblin Stone

The High Hunt leaves the streets of Waterdeep and heads beneath the City of the Dead where monstrous criminal overlords compete for the favor of their mysterious master. It will take more than skill with a blade to cut through the web of deceit and treachery that surrounds the Vampire Master of Waterdeep. Do you have what it takes to survive the Dungeon of the Crypt? "Dungeon of the Crypt" is part two of the three-part Vampires of Waterdeep Campaign Arc. Pgs. 62-88

A nearly-penniless merchant wants heroes to secure and return priceless heirlooms. But can they do it with goblins all around, raiding and pillaging? Can the heroes reach a peaceful settlement with the raiders, or will they wreak mayhem and slaughter? Find out in Eastbarrow! This package (adventure, maps, and handouts within) forms a complete module for use with DUNGEONS & DRAGONS® 5TH EDITION RULES. It is especially designed for Dungeon Masters to initiate play with a minimum of preparation. Also includes full-sized maps for the VTT of your choice! Old School Look and Feel!

A gnomish settlement is plagued by inexplicable earthquakes, the wrath of an Earth Elemental. Can the heroes save the gnomes? Do the greedy gnomes deserve to be saved? "Valanche's Eye" was inspired by a desire to write an adventure which blurs the line of who the bad guy actually is, or indeed whether or not there's a really tangible villain. It takes the "patron hires adventurers to clear dungeon" trope and twists it – the patron turns out to be a pretty rotten bastard, and the monsters in the dungeon are just trying to live their lives. It starts when gnome gem-miners strike the mother lode of emeralds and sapphires, only to find themselves run off their claim. First they accidentally broke through to the Elemental Planes of Earth and Fire, and mephits burst out to annoy them. When they were just about done dealing with the mephits, they disturbed an earth elemental who just wants to be left alone, and emeralds are its favorite snack. The mine boss hires the adventurers to come kill all the elementals. But should they?
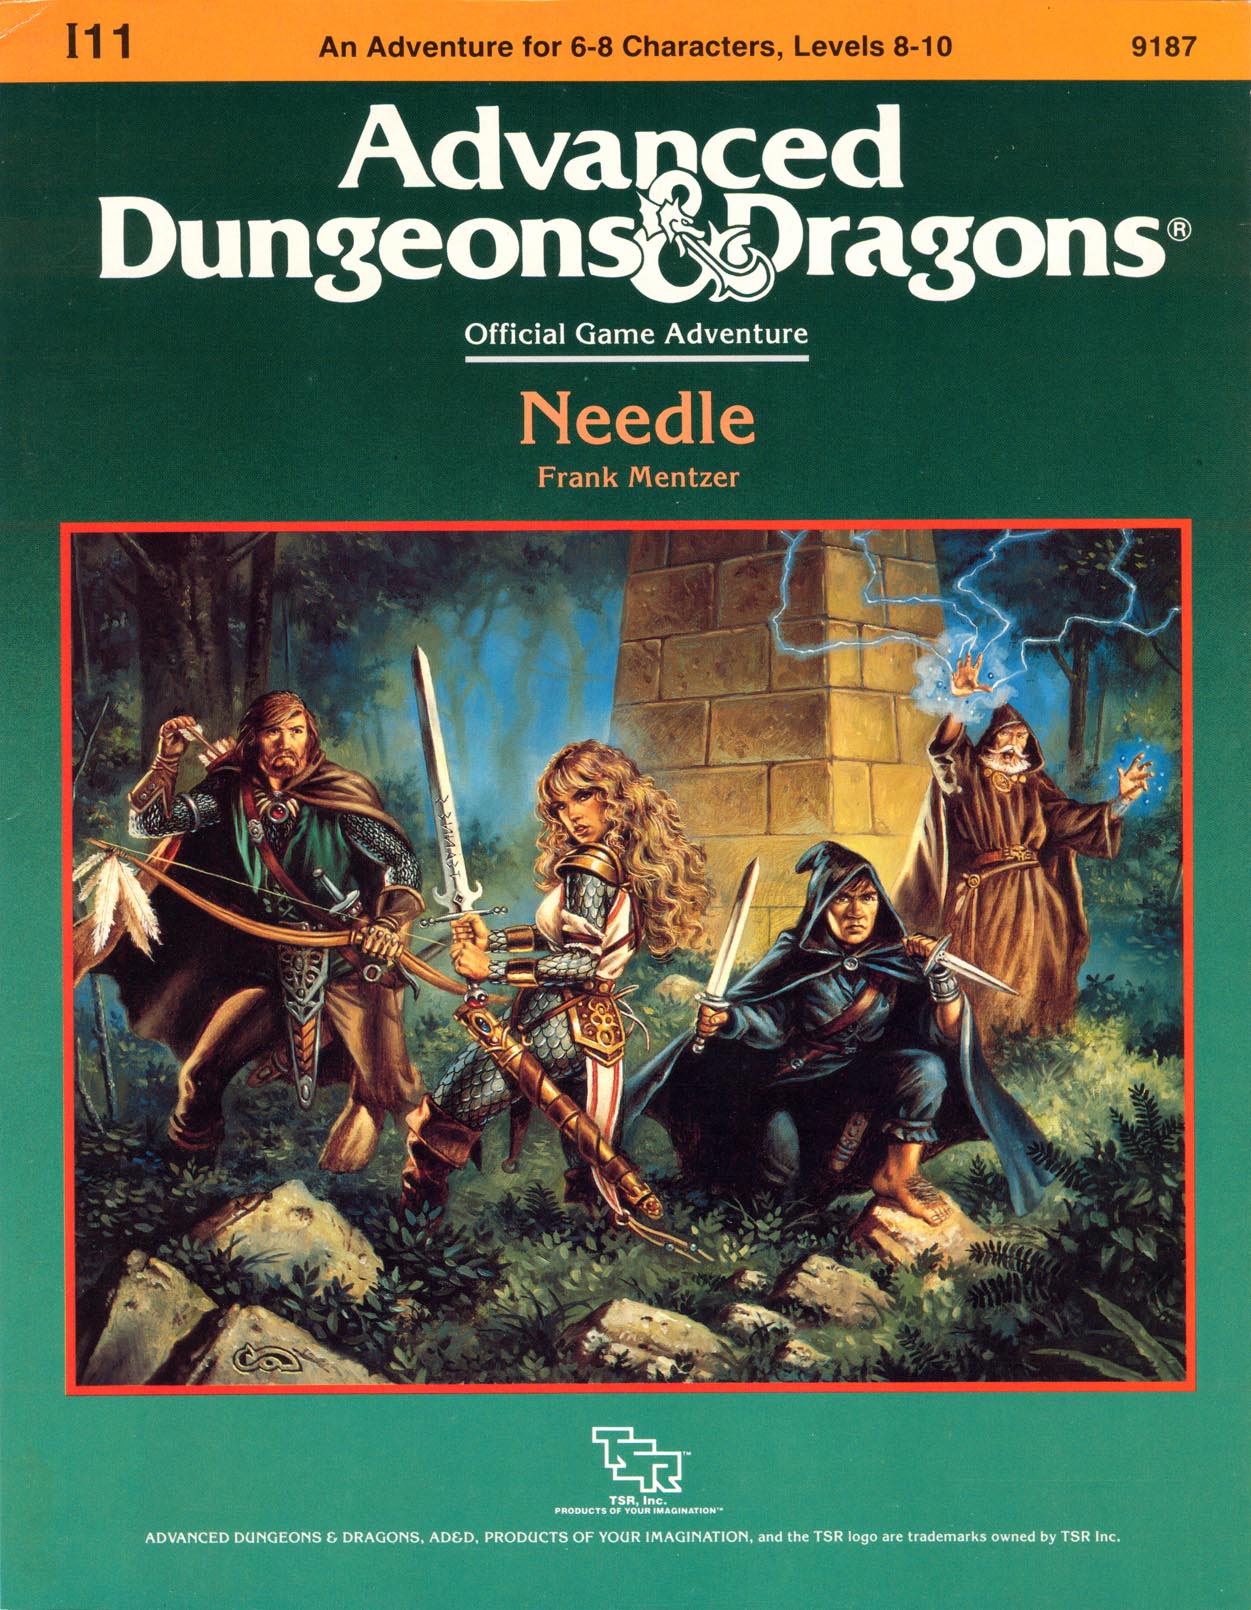
The king's notice asked for adventurers to undertake a mission to a far land. It was marked with the rune for "high danger, high reward" so of course you volunteered. The king has heard of a great obelisk that towers over a ruined city in a far country. He wants to know more about the obelisk and its strange powers. Your job is to find the obelisk and bring back a report to the king. The mission seems absurdly easy...until you reach the jungle. Don't think the king is through with you if you get back to the capital city alive. You haven't seen the last of that jungle yet. Is a share in the spoils of an ancient civilization worth the risk? Don't forget to pack you bug repellent! TSR 9187

A flameskull lord that calls itself the Bright Lord of Everburning Fire has taken control of a primordial node deep within the Elemental Chaos. It long ago shrugged off the control of its original creator and now follows its own plans and desires. Top among these is the desire to tap into the power of a fire primordial and increase its own status from undead creature to demigod. Pgs. 156-161

Deep within a forgotten temple lies the Storm's Eye, a powerful sapphire coveted by the monstrous Behir, Krykzor. In The Storm's Eye, adventurers must navigate deadly traps, confront ghostly knights and phase spider minions, and solve a lightning-powered puzzle, all while racing against time to escape a collapsing temple. Designed for a party of levels 6-7, this one-shot adventure offers thrilling combat, intricate puzzles, and dynamic challenges as players face the storm and claim the treasure—or risk being lost forever.
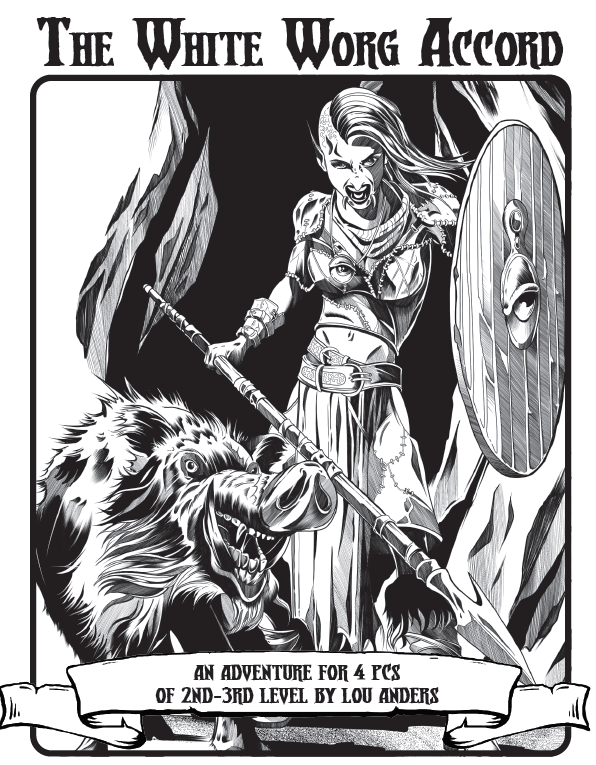
The noble dwarf Wulfstan vom Meer seeks adventurers to travel on his one remaining ship to the clan’s village, and to protect his vessel against any threats at sea. When they meet the White Worg Reavers, he wants the party to negotiate for the loan of two longships and their crew. Vom Meer offers 500 gp to anyone willing to undertake this task. It seems like easy money. However, the Wolfheim clan has troubles of its own—a group of trollkin bandits known as the Mossback Raiders have been competing with the White Worgs for territory west of Wolfheim. Their rivalry is coming to a head. When the PCs arrive at the White Worg homestead, they learn that the reaver dwarves are recovering from a recent attack. Their homestead has been sacked and vom Meer’s kinsman, Knud Stoneson, has been slain. Without a family connection, the clan’s chief will agree to vom Meer’s proposal only if the PCs will help rid them of that troublesome band of trollkin. If the PCs are to succeed in their task and help vom Meer, then a reavin’ they must go! This adventure for the 5th Edition of the world’s first RPG is meant for four 2nd and 3rd-level characters. Designed by Lou Anders, with cartography by Dyson Logos and cover art by Phil Stone.

Modrons, Mephits & Mayhem is a Dungeons & Dragons 5E tier 2 adventure for three to five characters of levels 5-8. It is primarily set in a modron-designed research facility that has been abandoned by its creators but retains guardians that are still active. Additionally, two groups have broken into the facility with their own goals in mind; the githyanki and their red dragon cohort are antagonistic and provide the main source of combat in this adventure, while a modron traveling with a few mephits may prove friendly although ultimately troublesome. Inspired by adventure games in which the protagonists explore baroque, esoteric technological fortresses, and seeded throughout with factions that sport competing and often bizarre goals, Modrons, Mephits & Mayhem is sure to test the mettle of any group of players, and will provide endless amusement for Dungeon Masters seeking something different from the typical hack-and-slash dungeon crawl. This 70-page adventure features: *Two wilderness areas, random wilderness encounters, and a massive, interlinking 3-level dungeon filled with bizarre puzzles. *Ancient machinery powered by elemental portals, all of which can be activated, turned off, or manipulated by the player characters and the various factions within the modron facility. *Planar creatures like githzerai and githyanki, modrons, mephits, and elemental guardians, skillfully placed into the High Moor area of the Forgotten Realms setting. *Monsters and NPCs that have detailed (yet easy to run!) personalities and goals that will provide tons of roleplaying opportunities. *Notes and sidebars on running the NPCs with added complexity, or simplifying the NPCs' motives to make the adventure more straightforward. *Tactics notes for every single encounter! *An appendix that features all monster stat blocks, and both tagged (DM) and untagged (Player) versions of the dungeon maps. *Wilderness hex map by Elven Tower Cartography! Three interlinked dungeon levels by Dyson Logos...and one of them is a flying fortress! Cover art by Patrick E. Pullen!