Lightning rail rides in Breland are never as relaxing as they should be, especially when the coach is being used to transport a monolith hauled from the mysterious depths of Xen'drik Can the unsuspecting PC's overcome their surprise in time to repulse the invaders from the inside, or will they finish their journey in chains? Pgs. 18-27

The Cage: A valuable trinket was stolen from the well-protected manor of the lady Morrigan Strange, and she enlists the help of some able-bodied adventurers to retrieve it. As it is the way of things, it turns out the problem is not as simple as it first seemed. A vile demon was trapped in the stolen orb and threatens to kill everyone in sight after its release! The package includes background information about the involved characters, a few details about the town of Beregost, several maps, and lots of adventure!
The characters are introduced to the coup occurring in Whitehorn and are tasked with warning a friend, whose family is involved, about it. (characters can choose one instrument as a reward)

Escape from Elturel is a 6-8 hour Dungeons & Dragons adventure for characters of levels 1-2, for use as an introduction to Baldur's Gate: Descent into Avernus. Pilgrims and travelers flock to the holy city of Elturel to bask in the light of its second sun. But when the Companion starts to malfunction, the characters must escape the doomed city before it is pulled down to the Nine Hells. In the aftermath, a caravan of refugees needs their help to find a safe haven in that notorious hive of scum and villainy, Baldur's Gate! The adventure has everything you need to start a new campaign in Elturel, including: - a new adventure hook for Descent into Avernus - short introductory encounters set during and after the fall of Elturel - a skill challenge for escaping Elturel as it is pulled down to Avernus - resources, encounters, travel activities, and NPCs for a caravan to Baldur's Gate - notes for transitioning into Descent into Avernus - two creature and NPC stat blocks - a map pack with two maps by Dyson Logos Escape from Elturel also includes suggestions for combining this adventure with Burial in Baldur's Gate if you want to run a mixed party of characters from Elturel and Baldur's Gate.
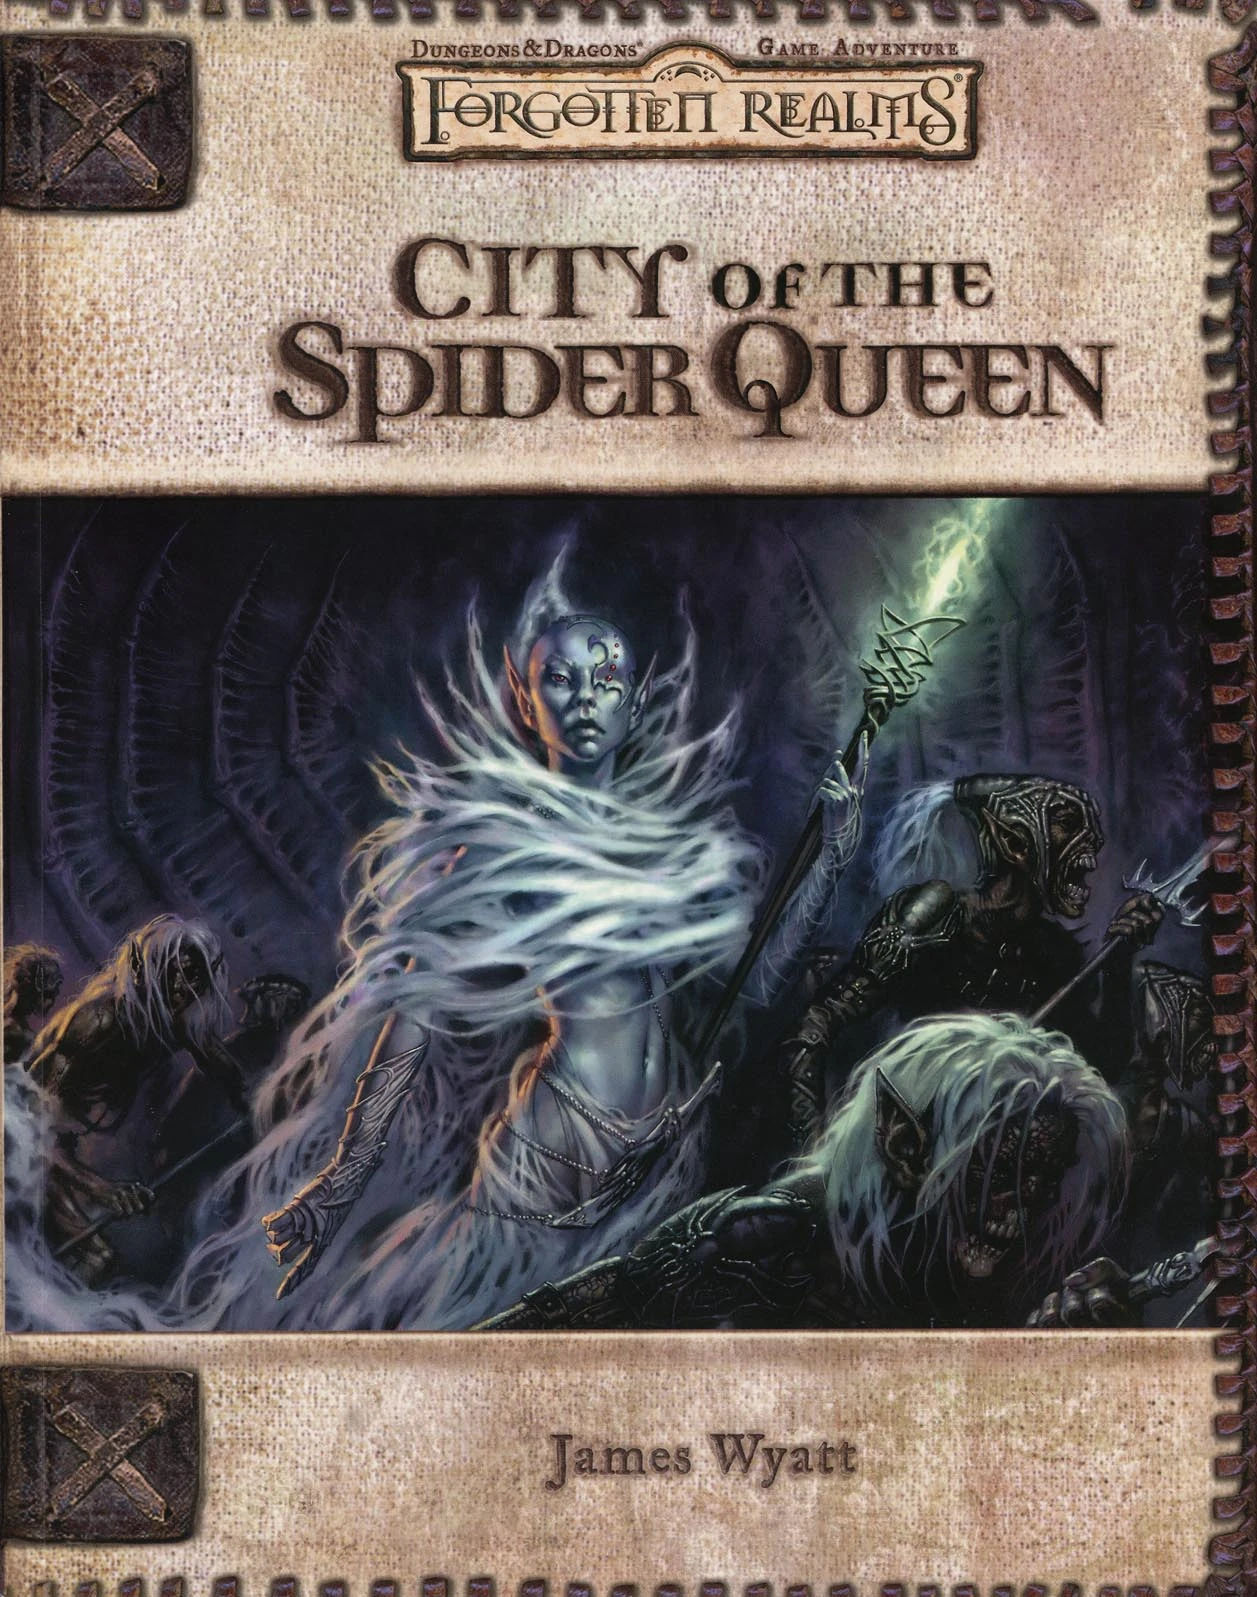
The Fate of Faerûn Lies in Shadowy Darkness! Daggerdale is reeling from a sudden series of murderous drow raids. As a grave threat to the entire surface world develops in the war-torn dark elf city of Maerimydra, intrepid heroes must discover its source and destroy it, if they can.

The baron’s wife is dead. But she isn’t gone. Can the players lay her to rest and defeat the festering evil hidden away inside the Gilded Tower? Another thrilling tale of madness and mystery inspired by Edgar Allan Poe’s writing! Following the events of Masque of the Worms, the story continues into the hauntingly beautiful forests of the Painted Valley… Valley of the Gilded Tower is a one-shot for four to six 2nd-level characters. It takes about 2-3 hours to complete and includes: Events inspired by Edgar Allan Poe's most ethereal writing: -A new monster that can take over the minds of its victims -Combat cards for each monster, PC, and special treasure -Gorgeous, hand-drawn maps by Jake from Beware the Wizard

The Blistering Forge Situated atop Mount Marazbor, an active volcano, it the dwarven lava-forge once known as Citadel Grungharaz. Once, this great armoury produced hordes of weaponry for dwarven regiments in far off lands, but now it has been taken over by rampaging fire giants. Are you capable of infiltrating the Gauntlet of Flame?

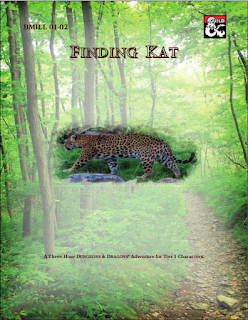
While searching for a series of missing people in the Galago Hills, the party comes across a cave decorated with disturbingly life-like statues. What lurks in the cave isn’t anything as simple as a monstrous basilisk, however. After all, what evil could possibly be as dark and dangerous as that which lurks in the heart of mortal men?

Order of the Goat is an introductory adventure that is 1/3 of a mini campaign designed to take a group of PCs on the road to 6th level. The Kingdom of Neville is an aging monarchy that is currently being attacked from all sides. The current threat that the PCs will be dealing with is a group of brigands known as “The Triad”. This group is coming out of the wastelands and are attempting to cut the kingdom in half so that they can take it as their own. This adventure offers a wide area to be investigate with multiple encounters of varying difficulty. While best used in conjunction with the other adventures, it can easily be dissected as one-shots or as a quick scenario in your own campaign!

This adventure focuses on a Zhentarim attempt to spread terror in Mistledale, although it is suitable for almost any lightly settled area northwest of the Sea of Fallen Stars. "The Raiders of Galath's Roost" is suitable for four 1st-level characters, but PCs should be at least 2nd level before tackling the adventure's second half, the Zhentarim Citadel. Even in the first half of the adventure, many of the encounters are quite formidable for 1st-level characters, and the PCs might find it necessary to withdraw and recover one or more times before completely exploring the ruins.
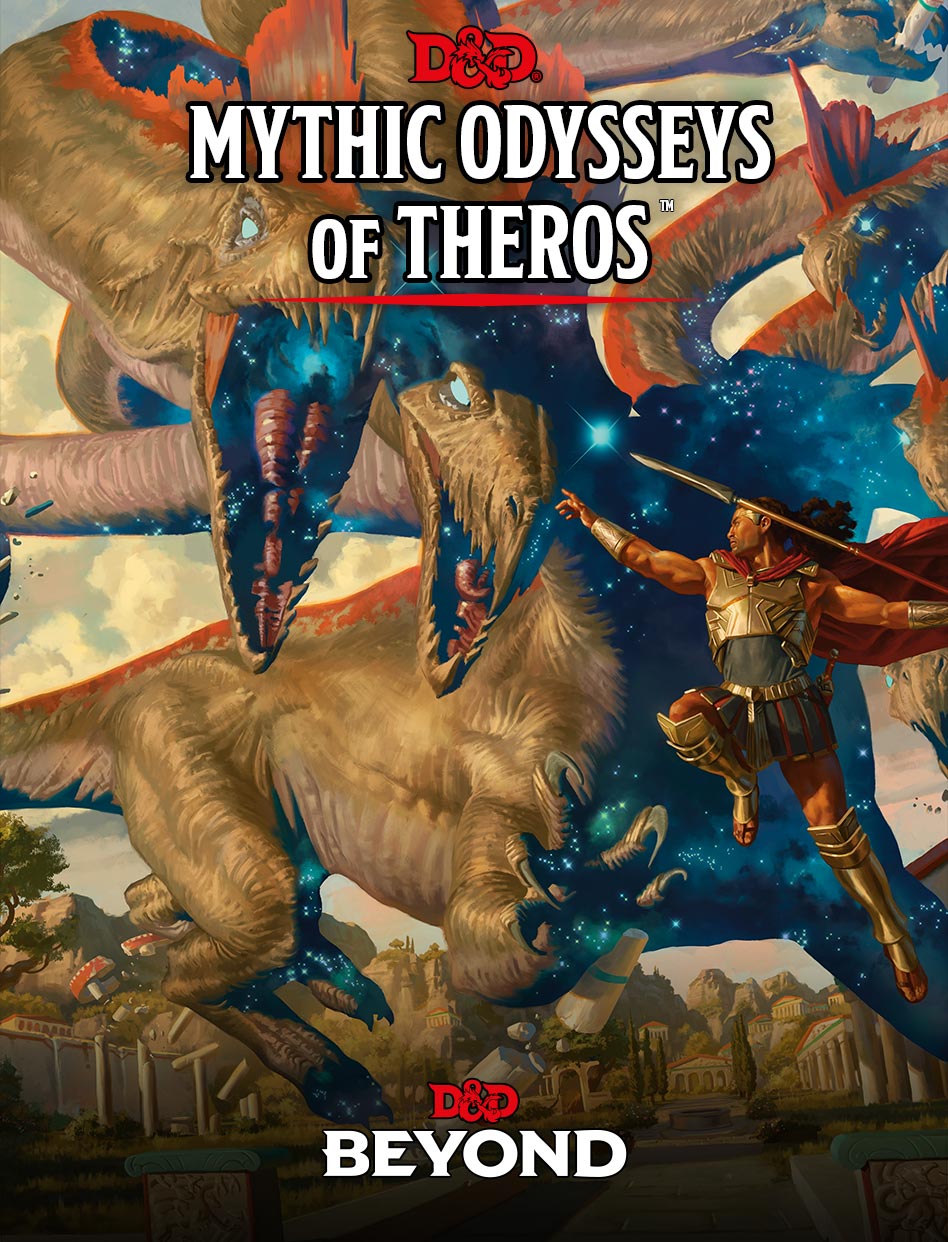
The adventure begins with the characters discovering the recently murdered Returned, Varyas, and confronting his killers. Varyas's gold mask bears a code on it, one that points toward the sage Khea who lives in the nearby polis. When the characters investigate, they learn from Khea that the writing is undecipherable except for the first line, which refers to the legendary Court of Orestes, a site sacred to the god Phenax. She also notes that a recent earthquake has uncovered a cave along the Khystonos River that could be the secret site's location. If so, then perhaps within lies the key to deciphering the mask, along with its own treasures. With the information provided by Khea, the adventurers set forth into the wilds, where they'll face multiple storied dangers before reaching the Court of Orestes. Once at the lost holy site, the characters discover ancient guardians, as well as an unliving entity with the potential to reveal Phenax's lost secret.

Cargo ships are being dashed against the rocks west of Hulburg, lured off course by a mysterious light. Is this the work of ordinary thieves, or are more nefarious forces at work? Wreckers is a stand-alone adventure that premiered at Kumoricon in Portland, Oregon in October of 2017. Includes: Adventure .pdf in English and Spanish Magic Item Certificate .pdf All maps as high-res .jpg

Ever been on a long running campaign and in one of the sessions one or a few players couldn’t make it? This adventure was made to be used as sort of a filler episode to fix that. Made for a small party of 1st-4th lvl characters and to be played in a single session. Story summary - The Gold Knife Bandits, a gang formed by a former army squadron that deserted. They are remarkably loyal to each other and are known in the area for attacking army caravans and camps. However, after several months of unfortunate loots. They decided to house a cultist of Beshaba and do what he asks to take away the curse of misfortune the gang is obviously under. Unfortunately, that includes using some members of the party as a sacrifice. The party will find the bandits cavernous hideout, clear through it, face the cultist, the Bandit's old boss, or both! All in a day’s worth of adventuring.

A fiend lurks among the Black Blade goblins. A shapeshifting barghest fashioned by the General of Gehenna to exact revenge on all goblin-kind. It’s aim: to kill as many goblin leaders as possible… A masked goblin approaches the party asking for help. Two tribe leaders are dead. But a rival for chief has control of the crime scene. Will the party discover the barghest among the goblin ranks? Can they stop this imposter before it strikes again? Adventure Overview The adventure’s story is spread over 4 parts and takes approximately 4 hours to play. The adventure begins with a Call to Action scene. Part 1: Goblin Politics. Krill sends his emissaries to implore help from any strong intermediary. The party is asked to investigate the murder of Thrawn in Dringly’s lair. This is Story Objective A. Part 2: The Opposition. Gain entry into Dringly’s lair and investigate the murder of Thrawn. Gather enough evidence to find the killer. This is Story Objective B. Part 3: To The Lair! Now that the players have determined the barghest (Yeep) is to blame, they need to get to Krill’s lair quickly as he is in imminent danger. This is Story Objective C. Part 4: The Barghest.When the players arrive at the lair, they need to get to Krill and expose and defeat the barghest. This is Story Objective D. Adventure Background A barghest named Yeep has begun its onslaught of attacks against the Black Blade goblins. Starting with Chief Gnar, then his second in command Thrawn, the barghest is moving methodically down the line of command. Krill is now chief. But he has some problems: Two leaders of the Black Blades are dead. Who killed them and why? Is he next? Dringly, the next in command, has decided to take his lair for himself, declaring himself Chief of the Black Blades. Who are the Black Blades? The Black Blades are a tribe of goblins in the local area. They are known for dipping their blades in a dark black substance. It is rumored these blades are poisonous. The Black Blades regularly attack passersby on the road to rob them. The Black Blades have two lairs, one run by a chief who leads the whole tribe, and another overseen by a boss lieutenant. The Black Blades have a well-established pecking order which is how Krill stands to become chief. The next in line is Dringly, who has also declared himself chief and wants Krill dead. Krill suspects that there is something suspicious about two leaders being killed within a day of each other, but he has already burned Gnar’s body without any investigation. He needs to investigate the body of Thrawn, but it is in Dringly’s lair. Krill wishes to avoid direct confrontation with Dringly at the present for three reasons: 1) Any violence would only kill his own tribe members and further divide the lairs. 2) He believes there is still hope for negotiation to reunite the Black Blades. 3) He believes that if he were to attempt negotiations himself, Dringly would kill him. This adventure features: Two maps. Ready for your favorite Virtual Tabletop. A full color pdf. A black and white pdf. One custom monster, a reprint of barghest, all others available in the Monster Manual. Four hours of entertainment involving: roll playing a goblin bard, investigating a murder scene, tracking down a barghest before it strikes again. Applicable to any setting.

The village of Farleigh's Well is the target of a vindicative fey noble. The villagers have been seen parading through the Misty Forest, leaving their crops to rot in the field. The characters must contend with powerful fey creatures on their home plane in this action-packed adventure. What's Inside: A highly adaptable single session adventure. Two original NPCs with full stat blocks. Two original magic items. Detailed combat tactics and roleplaying hints for novice and experienced DMs alike. Two brilliant maps to help you bring the adventure to life. Choose from either the Full version with art and page design or the Lite version for easy printing.
Incandium’s youth was fairly typical, at least for a half-dragon raised amongst dragons, filled with years of endless physical and mental abuse. It was always clear he was different than his clutch-mates, though his mother only claimed it was because he was ‘special’, never explaining what latent power his elemental blood held. And so, after studying magic and drawing on untold power, he slew his mother and claimed control over the volcano he called home, which he has ruled with an iron fist ever since. Now, however, he sees the PCs as a threat to his plans, and he calls them to the field of battle! Even if he is defeated, can the party stop his machinations to unleash a wave of dragons on Klavek’s western border? Also included in “Incandium’s Erruption”: A new magic item, the bracer of shields Two new alchemical solutions, azure powder and engraving solution A new spell, redirect teleport A new deity, Hado, the god of summer and judgement Details on Elemental Princes, and the blessings and curses they can bestow on characters Details on the Serpins Sanguis cult, including their origins and goals Maps and Illustrations by 3x ENnie Award winning Cartographer Todd Gamble

5e Solo Gamebooks presents Tyrant of Zhentil Keep by Paul Bimler, a 160+ page solo adventure for Dungeons and Dragons Fifth Edition. This adventure is designed for one 3rd-level PC of any race or class, without a DM. Tyrant of Zhentil Keep continues the narrative of The Death Knight’s Squire (the first solo adventure in this series) but can be played as a standalone also. It follows the story of your PC as they continue their journey across Faerun, a lone adventurer wandering wherever the wind takes them. Eventually, it takes them to Zhentil Keep in the Moonsea Region, a strange city, full of secrets. There they begin a quest which takes place over two books, this being the first one, part 2 being Citadel of the Raven. Tyrant of Zhentil Keep is a mini-sandbox in gamebook form, with multiple sidequests and locations to explore. Everything leads towards a central story arc that becomes clearer as the book progresses. Where Death Knight’s Squire had a clear-cut mission at its core, this adventure is pure exploration at first, similar to how a game with a Dungeon Master might commence. The nature of your quest becomes clearer as you advance, collecting snippets of information and encountering various NPCs and locations. The adventure builds upon The Death Knight's Squire in several ways, introducing new combat sheets, sidequests and even audio sound FX embedded in the PDF! You have two ways to approach playing this adventure. You could print out the maps booklet and use actual tokens or miniatures (you’ll need access to a printer for this), or you can load individual .png files of the maps (included) into Roll20 or similar applications and place and move tokens on your device.

In FQ13 – Future Past our brave adventurers are summoned by the Duke of Bast to the capital city. You quickly learn that your exploits have earned you a celebration in Bast and are to be honored by all! Prior to the festivities, the duke’s advisor Thril Galia requests to meet you and makes a unique proposal and shows you an arcane piece of the historic book…what have you gotten yourselves into now?

The PCs are called on to assist in retrieving the legendary Scrolls of Thoth on behalf of Khemet III, the Ruby Prince of Osirion. Along the way, they discover the ultimate fate of the ancient Song Pharoah -- and potentially assist her in her journey through the Duat, the final series of tests that a Pharaoh must face in the afterlife. It was designed as a one-shot lasting approximately 5-6 hours, but could be run as a side-quest in the Mummy's Mask adventure path. See the site for notes on adjustments to make if you are using it in that way. It includes maps, handouts, stat blocks for all of the NPCs, and Hero Lab files for Hero Lab users. Because the adventure is born digital, the page count is a rough estimate based on print previewing the pages in the site. There is no source of a printed copy other than printing one yourself (which you are welcome to do). This adventure has not been published, and is made available under the terms of the Paizo Community Use License.

Zhentarim traders. Shadowy figures roaming the fields near Hillsfar. How do these all relate? Everything traces back to the recently unearthed grave-barrows. Rescuing a caravan from undead attackers, the adventurers learn of an ancient danger. An Adventurer's League Four-Hour Adventure for 5th-10th Level Characters.