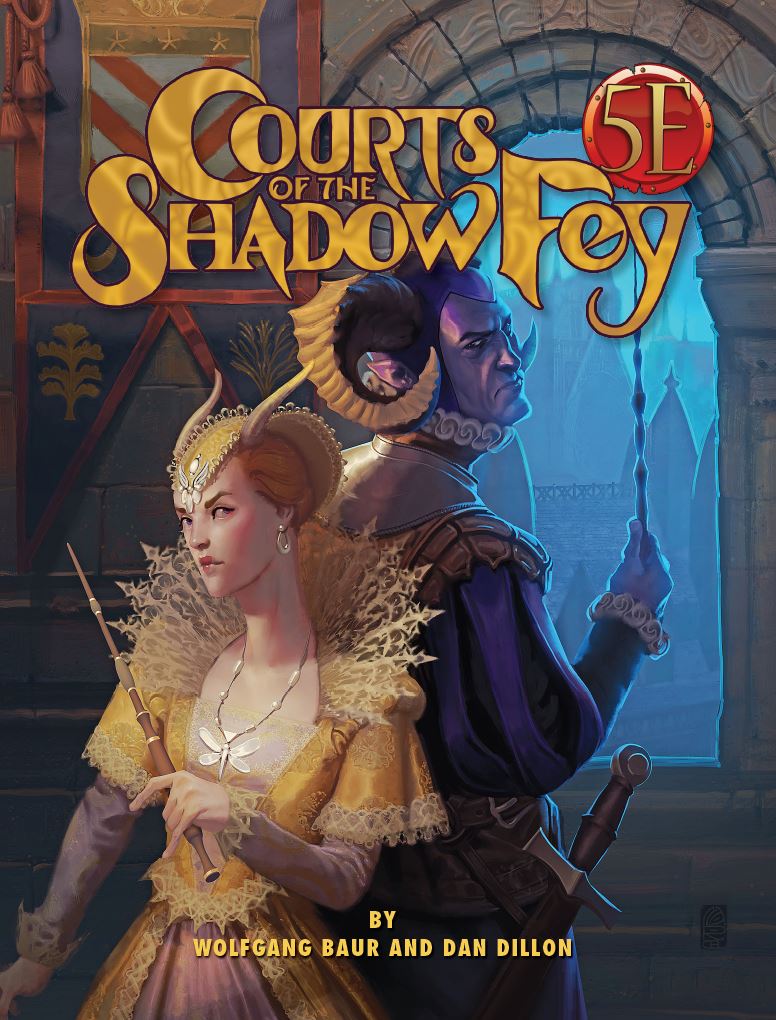
The Free City of Zobeck has thrived since overthrowing the tyrannical Stross family. But an ancient bargain gives the Queen of Night and Magic a claim to the city—and now the shadow fey have seized Zobeck as their own. The city’s only hope lies with a band of heroes who can outfight and outwit the shadow fey in the heart of their own realm: the maze of treachery and deceit that is the Courts of the Shadow Fey. This 148-page 5th Edition adventure contains 100 NPCs, a map with more than 60 locations of the Courts, and more than 40 combat and roleplaying encounters. Courts of the Shadow Fey takes you from the mortal world to the heart of Shadow, where you’ll: Fight your way through the dangers of the Shadow Realm to reach the shadow fey’s courts Engage in dangerous courtly intrigue, trying to increase your status to win an audience with the Queen herself Duel for honor, and perhaps win the hand of a lover among the fey nobility Can you free Zobeck from the grasp of the shadow fey? Or will your fate become a tale told in hushed tones as a warning against angering the Queen?

This dungeon is suitable as a one-shot or drop-in for characters between levels 12 and 17. Taken from the Against the Idol of the Sun high-level hexcrawl campaign, the Death Knight's Tomb is a location-based exploration adventure. It features increasing localized time distortions that ultimately pit the party in a fight against an ogre Death Knight and his minions who just destroyed an elven time lab over ten millenia ago, which is just a few seconds ago in relative terms at the bottom level. There are six distinct sections to the dungeon containing four combat encounters of increasing difficulty. As written, the party enters the structure to rescue an overly adventurous Scorpionfolk couple and their rescuers, but they can be omitted or rewritten to any other species.
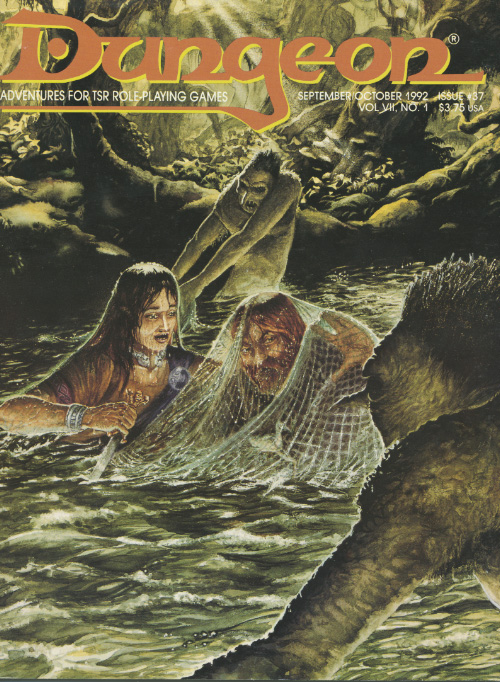
Everybody's a fool for a lost kid. He wanted power but settled for scraps - for now. The outcast wizard Lertol has adopted two leucrotta, and their team is ambushing passing travelers and robbing them with no-one the wiser. The players first fall into this trap when the leucrottas mimic a lost child and a search party in the middle of a night at camp. If the players leave to investigate the voices, the wizard loots the camp while they are gone. The players can then follow the wizard back to his lair and get their treasure back. Pgs. 48-49 & 28

Player's pickup the quest from the Greyhawk Adventurer's Guild to escort a barge down the Nyr Dyv.

With the discovery of an enormous diamond deposit nestled on their borders, the kingdoms of Peldadrin and Belford both claim the repository of indispensable gemstones as their own. After years of negotiations fail to bring a peaceful resolution, the two nations (further incited by sentiments of national pride that have risen over the years of negotiations) determine the diamonds will be claimed only through war. In the early days of the war, Private Geth Heston, a Belford scout with rich Peldadrin ancestry, was dispatched into enemy territory to uncover Peldadrin unit formations, patrol routes, and any other information he could find. It’s been two weeks since Geth sent his latest report, putting Belford command in a state of unease. The information Geth alluded to in his last message could change the course of the war, if proven true.
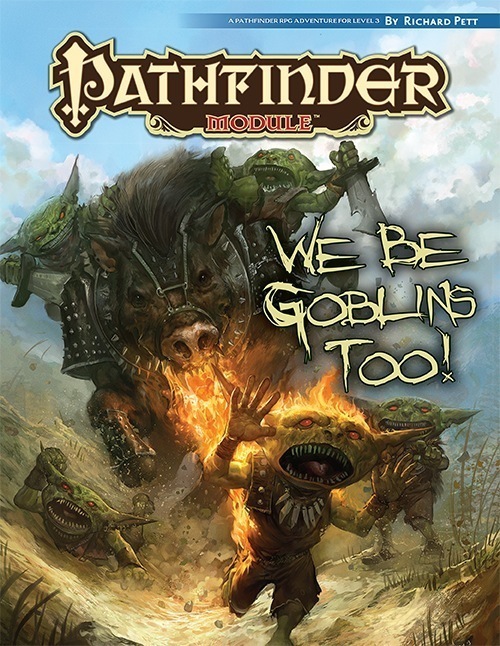
The Licktoads, once the great and fierce goblin tribe in Brinestump Marsh, were defeated by human adventurers! All that remains of the tribe are its four goblin "heroes". Homeless and bored, they left their swampy homeland to join the neighboring goblin tribe, the Birdcrunchers. The good news is that the Birdcrunchers are willing to let the goblin heroes join their tribe. The better news is that the Birdcrunchers have heard of these four, and want one of them to become their new chieftain. The bad news is that before the goblins can join, they'll need to endure a series of dangerous and humiliating tests. Very dangerous. Very humiliating. The worse news is that lately Birdcruncher chieftains have had really short lifespans—they're being killed by the pet fire-breathing boar of a local ogre who wants the Birdcruncher land as his own. Part 2 of the We Be Goblins series.

Many centuries ago, the dwarven kingdom of Sarphil stretched out across the Galena Mountains east of the Moonsea. They dug for the precious metals hidden beneath the rocky terrain, and they established numerous cities and settlements to aid in their excavation and manufacturing efforts. This was during the early days of Myth Drannor, the elven kingdom in the forest of Cormanthor, and the dwarves and elves initially clashed as each sought resources and expanded their territories. Myth Drannor and Sarphil eventually settled their differences, and many dwarves moved into the elven city to offer their services and expand their knowledge. In the Galena Mountains, Sarphil continued to flourish. Unfortunately, these days of prosperity did not last long. The last great king of Sarphil was lost in the dwarven city of Mount Throndor, beneath the mountain peak of the same name, and Sarphil withered under bitter clan disputes since no single family could claim legitimate lineage over the fragmented kingdom. What happened under Mount Throndor has been a mystery for thousands of years. Many attempts have been made to reclaim the lost riches and legacy of the last Sarphilan king, but powerful wards have prevented intrusion under the mountain, wards erected by the dwarves of Sarphil. Were the wards built to keep outsiders from intruding – or to keep something inside from escaping? An enterprising dwarven leader wants to find out, but she is going to need some help from a band of heroes. Horrors of Mount Throndor is a Dungeons & Dragons adventure of exploration, darkness, and terror featuring a lost dwarven city overrun by forces from the Far Realm and the journey to cleanse it once and for all. The adventure is designed for a group of 11th-level characters, and successful completion of the adventure should put the characters at 16th level. Here There Be Monsters Mount Throndor has become infested with madness from the Far Realm. During their journey to penetrate the ward and through the city itself, the characters are going to face gibbering horrors, unpredictable slaadi, fanatic stone giant cultists, degenerate star spawn horrors, mutant derro, undead dwarves, and countless golems. The ancient breweries of Mount Throndor have produced alementals who slither in the darkness, and a great dwarven war juggernaut named Big Hans stomps through the city. Legendary Villains and Epic Moments Though it has been sealed, Mount Throndor is not empty. The characters have opportunities to meet, interact with, and (likely at least) combat against powerful foes within the legendary dwarf city. A dwarf lich, a Far Realm spider goddess, an iron-encased demilich, and a melted flesh derro warlock monstrosity all await, along with a mind-bending force - Great Cthulhu! The characters have a chance to face an avatar of Great Cthulhu in the dwarven depths in the final confrontation of the adventure to free Mount Throndor and rid Faerun of a Far Realm invasion! An Adventure of Exploration Mount Throndor is a big, sprawling complex, a dwarven city with two major strongholds, a bridge system spanning a massive underground lake, and a deep mining complex. The scale is difficult to grasp and convey. Previous examples of adventures featuring these elements have included maps - usually lots of them, great spawling maps connected at ends to make huge subterranean dungeons. It is the classic image of a D&D dungeon crawl, and the map is a key component to its visualization. However, in this adventure, the maps are handled differently. There are certain areas, ususally outside the dwarven city itself, that include maps that are suitable for use at the game table, either in theater of the mind style or grid-and-miniatures. Mount Throndor itself is presented with an abstract map, and exploring it utilizes the exploration procedure outlined in Appendix A. Characters traverse the huge subterranean system using this abstract system, and during their travels they are going to run into random encounters and sites with more interesting and complex encounters.

Getting there is half the fun? The town of Timel is suffering under a plague and the townspeople need the cure that Havendale has! The safest way to Timel is through the Dorgel Mountains where the Hammerskin Dwarves operate some kind of system that allows for faster travel. Hopefully the Dwarves will allow you to get to Timel faster!

This guide describes how to run a one-session festival for your players. It combines a black market, costumes, and various activities suitable for different PC skills. The setting is a beach at night near a coastal town or city, but it can be easily adapted for other locations. It is suitable for players with little experience, and characters of any level. It makes a good first session for new players since they can try various skills without risk.

In the Yatil Mountains south of Perrenland there is rumored to be a magical hoard of unsurpassed value, a treasure of such fame that scores of adventurers have perished in search of it. Find the perilous Lost Caverns of Tsojanth and you may gain the hidden wealth of the long-dead arch-mage-- if you live. Module S4, this contains a brief wilderness journey to the caverns, but the bulk is underground. The caverns are noted as a previous lair of the Arch-mage Iggwilv- though she is long gone, her Demonomicon remains. This module marks the first appearance of several monsters and items that would later appear in the Monster Manual 2 and Unearthed Arcana. A labyrinth features in the caves. TSR 9061

While the name Codic Keep used to have prestige associated with it in the past, it is now a crumbling fortress blasted years ago by a large tornado. Now the ruin sits next to a swamp and is pretty much left ignored. Recently word has reached Feastelburg that strange lights have been noticed near the keep and many have wondered if the wanted criminal relative has returned to reclaim the property. Wanted posters of “Si” Codic have been circulating for quite some time with a reward of 1500 gp for his capture. Who’s up for a swamp trip?

A trek across the Shadow Marches leads weary travellers to Blackroot, a quiet village of ramshackle huts nestled among the darkwood trees. Here, orcs and humans live in peace. However, all is not well. Something evil has crawled up from below, threatening to devour the village and its denizens. Only a party of brave heroes stands in its way. In Khyber’s Harvest, the PCs battle an ancient evil threatening a remote village in the Shadow Marches. The dark power of the planes has grown strong in this place. Depraved cultists and twisted aberrant creatures are dragging innocents down into ancient caverns to undergo a horrific transformation. To save these helpless villagers, the PCs must overcome the terrors of Khyber—a quest that brings them to the attention of the dreadful Belashyrra, the Lord of Eyes.

It’s been a long few days of travel and the adventurers are tired of eating rations and sleeping on the ground. The road opens to a small town with an inviting tavern. The smells of grilling meat and ale fill their nostrils and the sounds of laughter and music float out the tavern’s door. Unlucky for the adventurers, they’ve stumbled upon Dragon’s Breath Tavern. What starts out as a pleasant evening of food, drink, and entertainment soon evolves into an adventure that takes the party into and under Dragon’s Breath Tavern. The adventure includes roleplay, exploration, combat, and a dice game called Demon Dice. Although written in a non-specific location, this adventure could be run as a one-shot during the WoTC official campaign – Curse of Strahd. The adventure includes an isometric map and a top-down map of Dragon’s Breath Tavern. Available as PDF or for Fantasy Grounds.

The Hungering Maze A Dungeon Crawl Adventure for Characters Level 5-7 Beneath the silver-rich mining town of Silberflut, a labyrinth lies waiting for those brave (or foolish) enough to enter. Twisting tunnels, shifting walls, and an ever-present sense of doom make The Hungering Maze a deathtrap for any adventurer. Dark magic has corrupted the once natural cave system, turning it into a place where madness takes root and lost souls are consumed by despair. This adventure is designed for four characters of levels 5-7 and will challenge their wit, resolve, and resourcefulness. As they explore the ever-shifting maze, they will encounter cursed creatures, dangerous traps, and dark secrets buried in the maze’s twisted corridors. Adventure Highlights: Maze Shifting Mechanics: A dynamic dungeon that shifts during exploration and combat, challenging players to stay sharp. Unique Monsters: Face off against terrifying new monsters like the Treasure Maw and Lonely Revenant. Multiple Adventure Hooks: Choose between three compelling story hooks to lead your party into the depths of the maze. Strategic Dungeon: Give your players opportunities to manipulate the maze and gain advantages over its traps and denizens. Rich Storytelling: Uncover the tragic fate of those who entered before, and seek a powerful artifact that could be both a blessing and a curse. Do your players have what it takes to escape The Hungering Maze, or will they, too, become part of its dark history?

In lieu of a monetary reward for their latest adventure, the PCs have been 'gifted' land ownership in the form of a former religious holding on the coast. While the party cannot collect taxes, they can rennovate the building and use it as a base of operations as they adventure around the Katorian Sphere. Best of all, it sits on a vineyard!

On the border between Anuire and the land of the Khinasi, the Three Brother Mages fight an ancient and immortal awnshegh, the Chimera. The game of cat and mouse has recently begun to draw regents from the entire region. Rumors say that the blade of the last Anuirean emperor, the Sword of Roele, has been tracked to the Chimera's domain, the Chimaeron. The fact that the Gorgon's armies are mustering in Kiergard seems to support the rumor. But choosing sides between the Chimera and the Three Brothers is not easy matter. If the chimera drives the Brothers out, the trade routes through the Chimaeron may be sealed, leaving the seas free for the Khinasi to monopolize trade. If the Brothers drive the Chimera from the magical sources that give her strength, they may establish a beachhead for the Khinasi traders, who are slowly gobbling up the lands of Anuire just as their own lands were once annexed by the empire long ago. Who will you and your comrades ally yourselves with? Who is the true enemy? Can you recover the Sword of Roele before anyone else does, and lay claim to the Iron Throne? This Birthright adventure is suitable for use with any party of three to six characters of levels 5-8, including at least one regent. You must have a copy of the AD&D game rules, the Birthright campaign setting, and the Cities of the Sun campaign expansion to play. TSR 3118
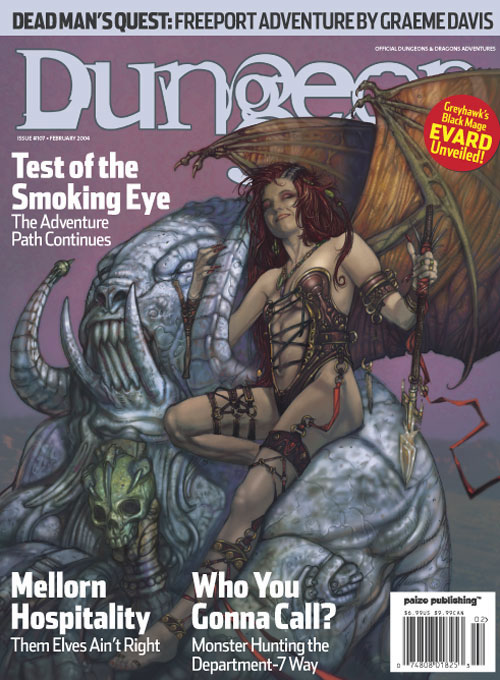
Living pirates are a common enough hazard around the islands known as the Serpent's Teeth. A dead one is even more trouble- especially when his treasure has been stolen. Characters who successfully complete this adventure should be of sufficient level to tackle the award-winning Freeport trilogy, Death in Freeport, Terror in Freeport, and Madness in Freeport. Pgs. 84-103

The fabled mines of Dhol Kuldhir once showered the Dalelands, Cormyr, and points beyond with precious gems and expertly crafted jewels. Operating from a hidden complex in the Thunder Peaks, their exquisite craftsmanship was said to rival that of even Thunderholme. Almost as quickly as it rose to prominence it vanished, along with all of the dwarven miners, crafters, and untold riches. Some speculate that the mine ran dry, and the inhabitants abandoned it for a more plentiful location. Others believe that they probably fell victim to one of the many goblin tribes plaguing the area. The truth, however, is much more grave. Centuries later, the nearby town of Keen is beset upon by unlikely thieves, the local innkeeper charges a small band of unlikely allies to investigate the string of burglaries. What they uncover leads them to the long-lost dwarven mine. In the darkness, they will have to brave insidious traps, cunning monsters, and the dreaded new lord of Dhol Kuldhir.

...There are older things in these forests too; the knights did not just battle the pagan kings of man but also the forest dwellers; the wodewose. Spend too long in any tavern or listen to a village alewife and you’ll hear stories of knights and wodewose duking it out in little patches of now cleared pastures. One of these little villages is the village of Levnec, a sad little town ruled by a self appointed lord banished from his seaside villa far to the south. His name is Lord Kristoph and he has been looking to hire some transient sell swords to solve his problem. Some of the townsfolk are (repeatedly) going missing and others are refusing to work, even after examples were beaten and hobbled by his men. Seeing as the townsfolk are blaming the local Gnomes, he would simply like these drifters to saunter in the wood, murder some Gnomes and bring them back to show the townsfolk there is nothing to fear (except him) and to get back to work.

The Raven Queen’s servants often seek out mighty allies. One of these is the black dragon Quetzallus, who resides in a deep cavern on the Shadowfell guarding a stream of souls flowing into the Raven Queen’s realm. But a death knight named Raxikarthus, betrayed by the Raven Queen in life, now seeks to enslave this dragon for his own purposes. He madly believes that he can stand against the Raven Queen, and seeks allies of all stripes—even her own servants—to do so. The death knight has found a pathway into the Shadowfell thought closed by mortals. Beneath a decayed keep, the undead dragonborn has reopened this portal and led his forces into the Shadowfell itself. The PCs are called in to beard the death knight in his lair. They find it abandoned, but discover a strange passage in the lower reaches. Pgs. 162-167