In a small hamlet, things are strangely becoming tidy in the night. Far from being pleased, the citizens are alarmed by these events. A local painter has gone missing, as has a travelling scholar. What is going on here?
This adventure is a supplementary scenario for Baldur’s Gate: Descent into Avernus, which can be used while the party is fleeing Elturel and are heading towards Fort Knucklebone at level six. It entails a bargain with Bagrivyek, the goblin deity of cooperation. The God offers them a deal they can’t refuse, significant magical assistance for their quest, should they become its test subjects in a fight to the death with some of its elite troops. Devils that have been infected with a special substance, which is called soul-ichor and was created by a psychomancer, in search of his own power. The heroes will have a chance to interact with a god and bargain with it, a fight to the death at the Hellbent Fighting Pits, and also get a chance to learn of or even be introduced into a long-forgotten school of magic. Will the players reap all the benefits of this god-deal, or suffer the consequences of failing?

The players are invited to a Winter Gala in Waterdeep. After a guest is killed, investigations ensue to the fiendish nature of the home that the gala took place in. There are shopping opportunities on the way in.
What the living forget, the dead remember forever. For some, duty and revenge are stronger than death. Pgs. 4-7

The PCs begin in the port city of Luskan, where they're hired on by a caravaning merchant to perform guard duty for the long, dangerous journey over the Spine of the World Mountains. If the heroes do well, they reach the small town of Targos, where they hear rumors of a dead mage's lost tower out on the tundra. In order to find it, the PCs must overcome numerous obstacles but may find allies in the peoples of the Ten-Towns region, including a barbarian prince, a sly halfling, and a unique ranger. Not all is as it seems, though, nor can all smiling faces be trusted. Can the PCs separate the truth from the lies, locate the Accursed Tower, determine all its secrets, and survive?
The Free City: a shining gem in the crown of cultured civilization. Beneath the surface of this bustling metropolis is a rot, festering in the darkness, manipulating the lives of those unaware of its presence. Now a small adventuring band from out of town may be in over their heads. Their actions in Diamond Lake have attracted the wrath of one of the city’s hidden masters. A gang of infiltrators and an enigmatic mastermind plot their destruction, and only tracing the rot to the root can stop the onslaught. "The Hall of Harsh Reflections" is the fourth installment of the Age of Worms Adventure Path, a complete campaign consisting of 12 adventures, several "Backdrop" articles to help Dungeon masters run the series, and a handful of poster maps of key locations. For additional aid in running this campaign, check out Dragon's monthly "Worm Food" articles, a series that provides additional materials to help players survive this campaign. Check out issue #336 of Dragon for five attractions to tempt your PCs to spend some of their hard-earned loot. This issue of Dragon also features an Ecology of the Spawn of Kyuss, one of the central creatures featured in this campaign. Pgs. 34-60

The Kroth Magg hobgoblins run the trade city of Glip Dak in the Troll Hills of Thar. From there they have taken control of the trade routes along the northern Moonsea. A young noble has been captured for refusing to pay their tariffs and his house looks to hire adventurers to rescue him.

The battles of the Blood War have raged for longer than mortals have known life, the conflict's savagery and hatred fueling the dreams, desires and obsessions of the multiverse. One way or another, the war spills through all the layers of existence, and little escapes its influence. Some clashes have consequences that shake the Lower Planes. Others are far less meaningful - they're fought solely for the sake of violence and killing. "The Field of Nettles" is set in the aftermath of an especially pointless battle. The adventure rips the player characters from their comfortable lives and thrusts them into the Blood War full force. The goal is to cross one of the more infamous battlefields, seeing the scope and the power of the fighting - and hopefully coming away with a greater understanding of just how big the Blood War is. The adventure is designed for a party of 4-6 PCs of 5th-8th level. The characters don't get to save the multiverse, nor do they find the key to unlock the dark of any great secrets. But they might come to realize their importance (or lack of it) in the scheme of things. On the fickle borders of the planes, that can be worth almost as much.

Welcome to the dark heart of Forlorn, brooding Castle Tristenoira. In this stony ruin, ghosts rule the night and mortals quake in fear until morning comes. Few enter the gloomy halls of this keep and live to recross its crumbling drawbridge. Those adventurers who have survived such a foray tell eerie tales of half-seen shapes, shifting hallways, and ominous shambling beasts. "All is not as it seem sin Castle Tristenoira," they say through trembling lips. "Time itself has no meaning there." This adventure booklet is set entirely within the confines of Castle Tristenoira, and it serves as a climax to Melancholy Meetings, the other 32-page adventure booklet found in the Castles Forlorn boxed set. Eve of Sorrows brings together adventurers and the inhabitants of the castles three, providing a chance to solve several mysteries of this lonely domain. Included in Castles Forlorn - https://www.adventurelookup.com/adventures/castles-forlorn TSR 1088

5e Solo Gamebooks presents Tyrant of Zhentil Keep by Paul Bimler, a 160+ page solo adventure for Dungeons and Dragons Fifth Edition. This adventure is designed for one 3rd-level PC of any race or class, without a DM. Tyrant of Zhentil Keep continues the narrative of The Death Knight’s Squire (the first solo adventure in this series) but can be played as a standalone also. It follows the story of your PC as they continue their journey across Faerun, a lone adventurer wandering wherever the wind takes them. Eventually, it takes them to Zhentil Keep in the Moonsea Region, a strange city, full of secrets. There they begin a quest which takes place over two books, this being the first one, part 2 being Citadel of the Raven. Tyrant of Zhentil Keep is a mini-sandbox in gamebook form, with multiple sidequests and locations to explore. Everything leads towards a central story arc that becomes clearer as the book progresses. Where Death Knight’s Squire had a clear-cut mission at its core, this adventure is pure exploration at first, similar to how a game with a Dungeon Master might commence. The nature of your quest becomes clearer as you advance, collecting snippets of information and encountering various NPCs and locations. The adventure builds upon The Death Knight's Squire in several ways, introducing new combat sheets, sidequests and even audio sound FX embedded in the PDF! You have two ways to approach playing this adventure. You could print out the maps booklet and use actual tokens or miniatures (you’ll need access to a printer for this), or you can load individual .png files of the maps (included) into Roll20 or similar applications and place and move tokens on your device.

The Adventurers arrive at a drow outpost in the Underdark. They must either dispose of the drow or ally with them against the invading legions of Orcus!
Invasion of Veluna - Level 1 Demons have invaded Veluna, laying waste to Verbobonc and small towns! Survive the siege, and track down their origins. This adventure has inspiration from The Village of Hommlet. Infiltration of Dorakka - Level 2 Rumors of Demonic Invasions have the characters traveling across the lands of Iuz, surviving in the war torn wastelands to reach the Rift and back to infiltrate the capital of the fiendish Empire. This adventure has inspiration from The City of Skulls, with a special optional twist. Scant Rebellion - Level 3 Rumors of demonic forces across the Flanaess are forcing the hand of the Scarlet Brotherhood. Aid or covertly work against the Brotherhood to eliminate or save the Free Onwall Army of Rebellion and create a temporary peace. Assassination - Level 4 The Free Onnwall Army of Rebellion has been weakened. The Scarlet Brotherhood mean to end its threat with the permanent removal of a key leader and funder of the army. Beneath the Gnarled Root - Level 3 Mad demonic cultists wandering listlessly across the Gnarley have been ranting and raving of a secret asylum hidden beneath the gnarled root. Find the dungeon, and learn what secrets it may hold. Quarry of Elemental Chaos - Level 4 The demonic forces near the Gnarley have constructed a massive quarry to tap into the elemental chaos, using its power to locate a magical artifact for a greater evil. Dive into this massive dungeon and end the insanity in an adventure inspired by the Temple of Elemental Evil. Irongate Heist - Level 3 Azure Masks have tracked an important magical relic to be in the possession of a traveling author who has just come home to Irongate to celebrate his newest book launch. During the party, enter his home and steal the artifact while forces work against you. The Bright Desert - Level 4 Rary the Traitor has partnered with the demons to gain information on the Lost Pyramid of Kesh. Within is the legendary Scorpion Crown that would hand the fiends an army of tlincalli. You must race across the desert to reach the pyramid before Rary's forces in this adventure based on Rary the Traitor and Desert of Desolation. Bastion on the Borderlands - Level 5 The bravery of the characters has seen them rewarded with a bastion in Keoland abandoned by the Knights of the Watch due to political pressure. The characters may take a moment to breath, place roots down, or bring order to the nearby chaotic caverns in this adventure inspired by Keep on the Borderlands. The Neverending War - Level 6 Transported to and trapped within the neverending war in the lost city of Rauxes, the characters are tasked with ending the curse upon the city to escape this D&D roguelike adventure. Jungles of Hepmonaland - Level 7 The mirror of gates, an artifact to easily bring groups of people across the planes, has been split. The first piece has been discovered to be deep within the Jungles of Hepmonaland in this adventure inspired by Needle. Across the North - Level 8 Rumors of artifacts in a hidden vault in the northern Flanaess have circulated for decades, but with the keys now showing up, and demons circling, this rumor could be a key to stopping this invasion in this adventure inspired by Five Shall Be One. City of the Lizardking - Level 9 The Silent Ones have maintained a close relationship with a band of Lizardfolk in the Hool Marsh. Their recent silence, following a discovery of another piece of the Mirror of Gates could only mean one thing... They need to be saved in an adventure inspired by Tomb of the Lizardking. Lair of the Kraken - Level 10 The Ladies of Crede had discovered yet another shard of the Mirror of Gates, having it transported to Oakenisle when the shipment was attacked by a kraken. Now the characters must go on a very deep sea adventure to take back what is theirs. The Demonic Rainbow Dungeon - Level 11 Unbeknownst to most, beneath the Free City of Greyhawk is a massive dungeon constructed by a variety of creatures to funnel power for Demogorgon to maintain his charade of an alliance with the Queen of Chaos. Put an end to his scheming in this adventure inspired by Castle Greyhawk. Comes Sail Away - Level 12 The characters partner with the Scarlet Brotherhood to traverse the sea of worlds and enter the City of Glass in the Elemental Plane of Water, trying to gain the Ax of Severance before the Queen of Chaos. This adventure was inspired by The Vortex of Madness and Other Planar Perils. Fly Away With Me- Level 12 Dropped into the middle of Aaqa in the attempt to stop the Queen of Chaos' plan, the characters must naviagte politics and the infinite skies to reach the Ax of Severance before the demons. Through the Fire and the Flames - Level 12 Inspired by Secrets of the Lamp, this is a political-intrigue quest, with characters forced to navigate the politics of the City of Brass, getting a new sultan in power to gain the Ax of Severance before the demons under the Queen of Chaos can seize upon the chaos they wrought. Underground - Level 12 The characters must navigate the shifting labyrinths of the Elemental Plane of Earth to pull off a heist and find the Motherlode before the demons! Portal of the Drow- Level 13 The time has come to enter the Abyss. The nearest - permanent - portal is inside the drow city of Erelhei-Cinlu and is guarded by the son of Demogorgon. As a result, only one action is reasonable: besiege the great city in this adventure inspired by Vault of the Drow. Invasion of the Abyss - Level 14 Upon finding themselves in the Abyss, the characters arrive in the uppermost layer of the Abyss, trudging through 13 layers to reach the home of the Queen of Chaos in this adventure inspired by the Demonweb Pits.

In the hills near the Sword Coast is an old, abandoned temple to the goddess Mystra. A young halfling wizard named Raoul Footpad finds the abandoned temple and converts it into a laboratory. One day, Raoul returns home to the village of Prairiedale, only to find his parents gravely ill. With few options for their recovery, Raoul becomes obsessed with creating a magic spell to cure them. He and his assistant work feverishly to find the right magic, but instead they release calamity upon this portion of the world. Raoul is transformed into a hideous monster, and undead now inhabit the laboratory. 𝐍𝐞𝐞𝐝 𝐭𝐨 𝐠𝐞𝐭 𝐲𝐨𝐮𝐫 𝐩𝐥𝐚𝐲𝐞𝐫 𝐜𝐡𝐚𝐫𝐚𝐜𝐭𝐞𝐫𝐬 𝐭𝐨 𝐚 𝐡𝐢𝐠𝐡𝐞𝐫 𝐥𝐞𝐯𝐞𝐥 𝐛𝐞𝐟𝐨𝐫𝐞 𝐛𝐞𝐠𝐢𝐧𝐧𝐢𝐧𝐠 𝐲𝐨𝐮𝐫 𝐧𝐞𝐱𝐭 𝐚𝐝𝐯𝐞𝐧𝐭𝐮𝐫𝐞? 𝐖𝐚𝐧𝐭 𝐚 𝐰𝐚𝐲 𝐭𝐨 𝐠𝐞𝐭 𝐬𝐨𝐦𝐞 𝐥𝐨𝐨𝐭 𝐢𝐧𝐭𝐨 𝐭𝐡𝐞 𝐡𝐚𝐧𝐝𝐬 𝐨𝐟 𝐲𝐨𝐮𝐫 𝐩𝐥𝐚𝐲𝐞𝐫𝐬 𝐛𝐞𝐟𝐨𝐫𝐞 𝐭𝐡𝐞𝐲 𝐬𝐭𝐚𝐫𝐭 𝐲𝐞𝐭 𝐚𝐧𝐨𝐭𝐡𝐞𝐫 𝐥𝐨𝐧𝐠 𝐚𝐝𝐯𝐞𝐧𝐭𝐮𝐫𝐞? 𝐎𝐫 𝐝𝐨 𝐲𝐨𝐮 𝐣𝐮𝐬𝐭 𝐧𝐞𝐞𝐝 𝐚 𝐥𝐢𝐭𝐭𝐥𝐞 𝐦𝐨𝐫𝐞 𝐜𝐨𝐧𝐭𝐞𝐧𝐭 𝐢𝐧 𝐭𝐡𝐞 𝐜𝐚𝐦𝐩𝐚𝐢𝐠𝐧 𝐲𝐨𝐮 𝐚𝐥𝐫𝐞𝐚𝐝𝐲 𝐡𝐚𝐯𝐞 𝐠𝐨𝐢𝐧𝐠? 𝐓𝐡𝐞𝐧 𝐒𝐰𝐨𝐫𝐝 𝐂𝐨𝐚𝐬𝐭 𝐒𝐢𝐝𝐞 𝐐𝐮𝐞𝐬𝐭𝐬 𝐢𝐬 𝐟𝐨𝐫 𝐲𝐨𝐮! This adventure also features a new creature: The Greater Nothic! This adventure module is meant to assist the DM with providing content to their players. This adventure is intended to run in the Forgotten Realms Campaign Setting, but it can be compatible with any campaign setting, especially Ravenloft. This module is intended for 4 to 6 players, 3rd level characters.
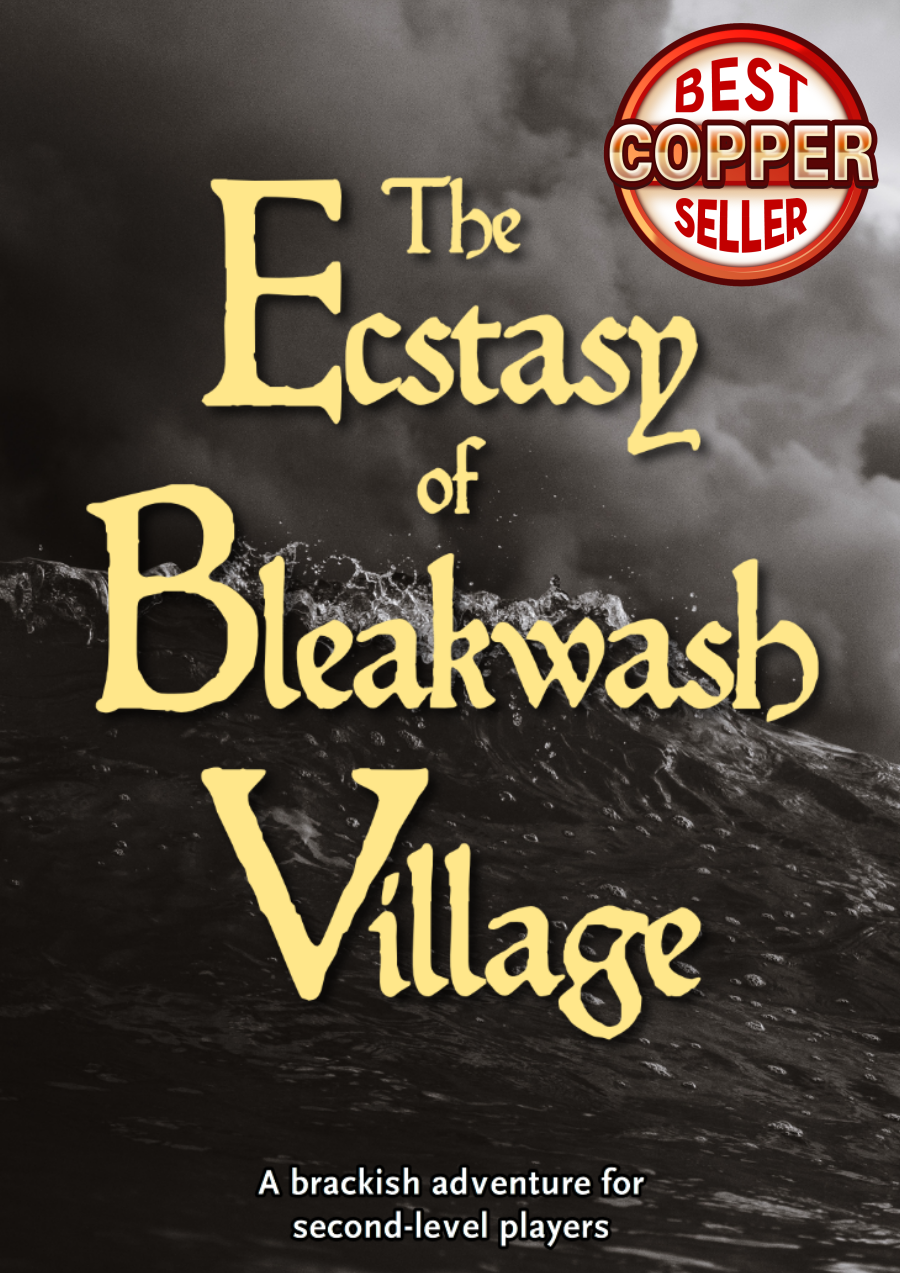
Explore a cult-ridden village in this adventure for 2nd-level characters set in the world’s greatest roleplaying game! Syra Fallbrook, a talented blacksmith, is due to be executed. Her only crime was trying to prevent the Cult of the Engine from taking and sacrificing her daughter, Ariadne, in a dark ritual beneath the town. The party find Bleakwash a closed off and inhospitable town, with zealous cultists and downtrodden citizens so tightly entwined that nobody trusts anybody else, and nobody can be trusted. Eventually, the quest takes them to the dungeon beneath the town, a dank, sodden crypt where the cult’s enigmatic leader seeks to awaken The Engine Of Salvation. This second-level adventure is perfect for new DMs and players alike. Visit the grim portside town of Bleakwash, save Syra and her daughter, investigate a dark cult, and do battle in the salt-crusted catacombs! Included in this adventure: A quest to clear a town of corrupting influence. An open-ended investigation in a full town map. Broken, sea-washed catacombs. 5 random encounters to support you during travel. Approx. 4 hours of fun. A gripping adventure for 2nd-level players. Visit the grim shores of Bleakwash for a holiday you'll never forget!

A One-on-One Competition Module for Thieves Level 8 Your peaceful evening has been interrupted by an unusual request. As a thief, your skills are unmatched, but can you rise to the challenge of thieving for a powerful and frightening wizard? Do you have a choice? The Gem and the Staff is a special One-on-One competition module designed for one player and on Dungeon Master. The Module contains two separate scenarios, so you can switch roles with the other player after the first adventure. Scoring sheets and encounter summaries are provided for each adventure to make running competitions quick and simple. Character figures and a map book are also provided to help visualize the adventures. The player's maps are designed so you can see the rooms as they would appear. Complete DM's Maps are included. TSR 9050

Dracula, the Lord of Shadow and Darkness, has covered the land in shadow and dispatched armies of monsters and undead from his magical castle. His armies threaten to overrun major cities and plunge the world into a literal Dark Age. The last of the vampire-hunting clan that traditionally opposed him has disappeared, and still the armies advance. He must be stopped. If that's not enough motivation, it is well-known that his castle is full of magical items and great riches... but also great danger. If you've ever wanted D&D and Castlevania to meet, look no further. This adventure is exactly what you wanted. Every area of the castle poses different and unique challenges to keep the party engaged and on their toes. Written for the DM as a ready-to-run adventure, it is designed for four to six characters. The adventure starts at level 3 at the outer defenses of the castle, and ends with the party advancing to level 13 after defeating Dracula in an epic battle. The adventure includes documentation to help even a new DM succed, including suggestions for how to run each of the area "boss" monsters in combat. There are approximately 50 new enemies and over 3 dozen new magical items. It also comes with a list of suggested music for many areas of the castle, and a 25-page campaign log recounting an actual tabletop play-through of this adventure from the DM's perspective.

The Notorious Goblin crime boss Krenko has escaped confinement in the Udzeo prison under suspicious circumstances. Now he plots to reestablish control over his criminal enterprise, raising the spector of a goblin gang war that could jeapordize the tenuous peace among the guilds. You must find Krenko and secure him before all-out war ensues! An introductory adventure.
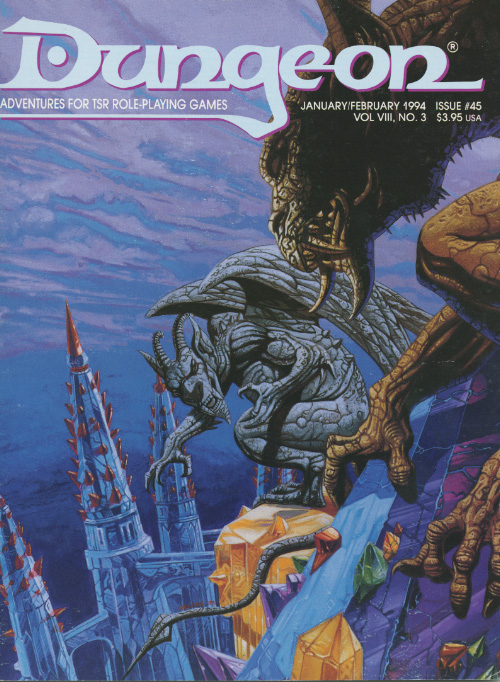
To a reigar, art doesn't imitate life, it is life. "An Artist's Errand" is an AD&D Spelljammer adventure for 4-6 good-aligned characters of level 6-8 (about 35 levels total). The module assumes the party is familiar with spelljamming. The party should include at least one spell-caster, preferably a wizard, but a party of resourceful (and powerful) fighters and rogues should be able to complete the adventure. PCs with an understanding of navigation, elvish, and engineering will come in handy as well. The party need not own a spelljamming ship to complete this adventure. Pgs. 8-31

A group of Azer were captured and brought here long ago to create a powerful weapons that ensured a long dead king’s victory in a bloody war. For some time they obeyed, churning out weapons and crafting monuments in the king’s honor, but as time went on, animosity towards the king grew stronger and stronger. The Azer betrayed the king, using the might of their “perfect” weapons to strike his men down before retreating to their forge and closing it off from the rest of the world. They have been locked a away in solitude for some time now. The entrance to this bunker has been uncovered though, and it is up to a brave group of adventurers to travel down into this place and see what they have been up to for all of these years. This dungeon has rules to modify all encounters for a group of players levels 3 through 6 and is intended for a party of four. If you have more players, feel free to adjust the difficulty up one level for each additional player or simply tune the monsters to your needs. This dungeon contains many original enemies, a unique puzzle, and an environment that is meant to inspire awe to the wonders of crafting. They are in a place of flame and metal, so a dwarf should feel at home while elves may be uncomfortable.

The door slams open so hard that the wall shakes and the hinges groan. To everyone’s astonishment, a goblin staggers in. He is badly wounded, with dried blood covering about half of his body. Only a moment before the air was full of the rattle of dice, the slap of cards, and cries of victory and defeat. Now the Gambling Golem is dead silent. The goblin lurches toward your table then collapses right in front of you. “Help me,” he croaks, looking up at you with bloodshot eyes. “I’ll make you rich!”