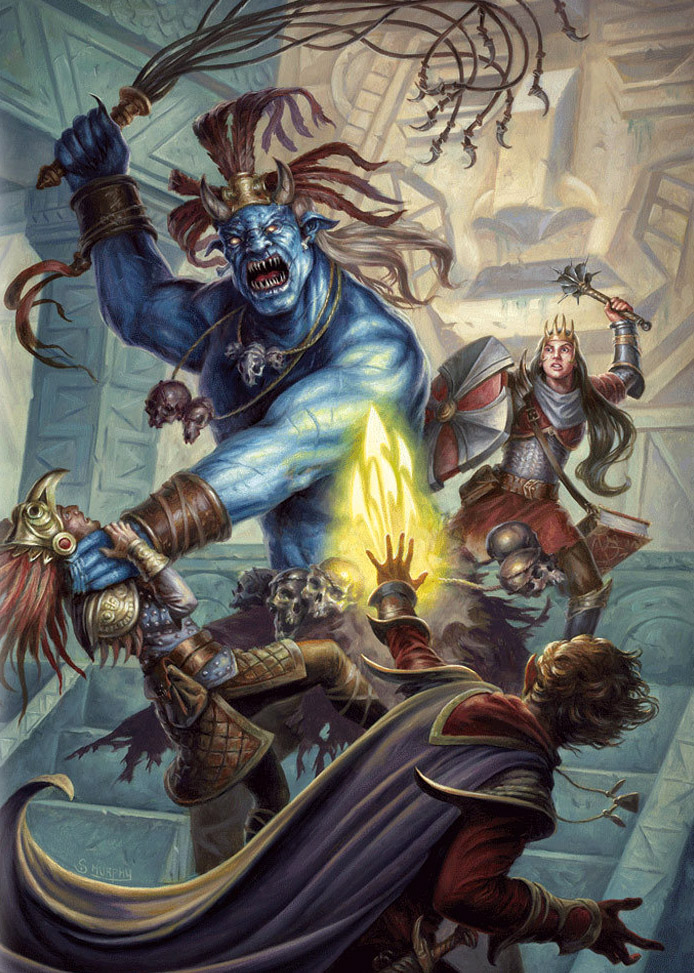
The ancient ruined city of Tamoacha is familiar to a select few scholars and fortune seekers, who know of it but not always exactly where it is. Even more secluded, lying somewhere within or beneath the ruins, is a hidden shrine said to be dedicated to Zotzilaha, the vampire god of the underworld. Adventurers who catch wind of the place are likely to find its lure irresistible. Remake of the AD&D module by the same name.

In The Standing Stone, a tiefling sorcerer named Dyson discovers a circle of standing stones constructed centuries ago by druids to hold their annual rituals; the druid community was later destroyed by the great dragon Ashardalon. Dyson uses the magic of the stones to replace people with animals transformed into humanoid form, loyal to him. Dyson encounters the player characters in the village of Ossington and tries to manipulate them into eliminating the remaining enemies standing in his way.
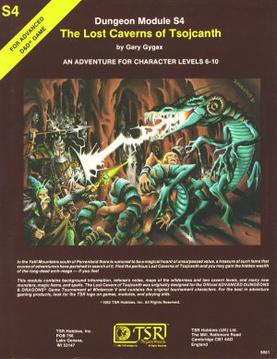
In the Yatil Mountains south of Perrenland there is rumored to be a magical hoard of unsurpassed value, a treasure of such fame that scores of adventurers have perished in search of it. Find the perilous Lost Caverns of Tsojanth and you may gain the hidden wealth of the long-dead arch-mage-- if you live. Module S4, this contains a brief wilderness journey to the caverns, but the bulk is underground. The caverns are noted as a previous lair of the Arch-mage Iggwilv- though she is long gone, her Demonomicon remains. This module marks the first appearance of several monsters and items that would later appear in the Monster Manual 2 and Unearthed Arcana. A labyrinth features in the caves. TSR 9061
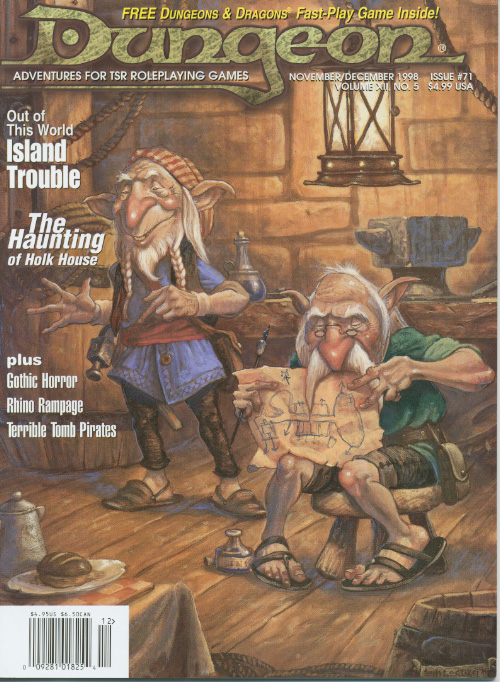
Something's rotten in Restenford! A plague of giant rats is the least of Restenford's worries. The adventure is set in the town of Restenford but with a little work can be adapted to fit almost any setting that features pirates (or once did). Pgs. 10-29
/pic2762974.jpg)
As an aspiring hero of Highfolk and the Flanaess, you are asked to come to a feast of small proportions to celebrate your deeds. A home-cooked meal, a warm cozy fire, a hearty tale from an old gnome, a journey deep in the Vesve again, where n one can hear you scream. This is an RPGA competition scenario. Four hours is allocated for its completion.

Somewhere under a lost and lonely hill of grim and foreboding aspect lies a labyrinthine crypt. It is filled with terrible traps and not a few strange and ferocious monsters to slay the unwary. It is filled with rich treasures both precious and magical, but in addition to the aforementioned guardians, there is said to be a demilich who still wards his final haunt (Be warned that tales told have it that this being possesses powers which make him nearly undefeatable). Accounts relate that it is quite unlikely that any adventurers will ever find the chamber where the demilich Acererak lingers, for the passages and rooms of the Tomb are fraught with terrible traps, poison gases, and magical protections. Furthermore, the demi-lich has so well hidden his lair, that even those who avoid the pitfalls will not be likely to locale their true goal. In the far reaches of the world, under a lost and lonely hill, lies the sinister TOMB OF HORRORS. This Labyrinthine crypt is filled with terrible traps, strange and ferocious monsters, rich and magical treasures, and somewhere within rests the evil Demi-Lich. TSR 9022

Lost Tombs, Volume 2 The lich Lyzandred: a madman, an undead archmage, a survivor of the twin cataclysms that destroyed tow great empires. His name invokes fear in the hears of the smallest children, the bravest warriors, and the wisest sages. Like a malicious cat, the lich toys with all who stumble into his maze, tormenting them with strange puzzles and obscure riddles, monsters and demons, weird traps and dangerous magics. All who enter the crypt of Lyzandred find themselves scarred with his rune, proof of their visit -- and their folly. But there is a method to the madness of Lyzandred, a purpose to his twisted games. If you're lucky, you might even live to learn about it. The Lost Tombs series begins with Star Cairns (Volume 1) and concludes with The Doomgrinder (Volume 3). Each adventure is playable separately, or they can be linked to form an epic-length story. TSR 9580

Giants have been raiding the lands of men in large bands, with giants of different sorts in these marauding groups. Death and destruction have been laid heavily upon every place these monsters have visited. This has caused great anger in high places, for life and property loss means failure of the vows of noble rulers to protect the life and goods of each and every subject -- and possible lean times for the rulers as well as the ruled. Therefore, a party of the bravest and most powerful adventurers has been assembled and given the charge to punish the miscreant giants. This module contains background information, referee's notes, two level maps, and exploration matrix keys. It provides a complete module for play of ADVANCED DUNGEONS & DRAGONS, and it can be used alone or as the first of a three-part expedition adventure which also employs DUNGEON MODULE G2 (GLACIAL RIFT OF THE FROST GIANT JARL) and DUNGEON MODULE G3 (HALL OF THE FIRE GIANT KING). TSR 9016
Prince Zeech, the ruler of the town of Alhaster and lord of the domain of Redhand, is throwing a party. Bandits, slavers, pirates, and worse have been invited, along with a mysterious woman who holds the key to the coming apocalypse. "The Prince of Redhand" is the eighth installment of the Age of Worms Adventure Path, a complete campaign consisting of 12 adventures, several "Backdrop" articles to help Dungeon masters run the series, and a handful of poster maps of key locations. For additional aid in running this campaign, check out Dragon's monthly "Worm Food" articles, a series that provides additional materials to help players survive this campaign. Issue #340 of Dragon presents guidelines for what the PCs can do to dress to impress, and perhaps eke out a few precious bonuses on their Diplomacy checks. Pgs. 48-79
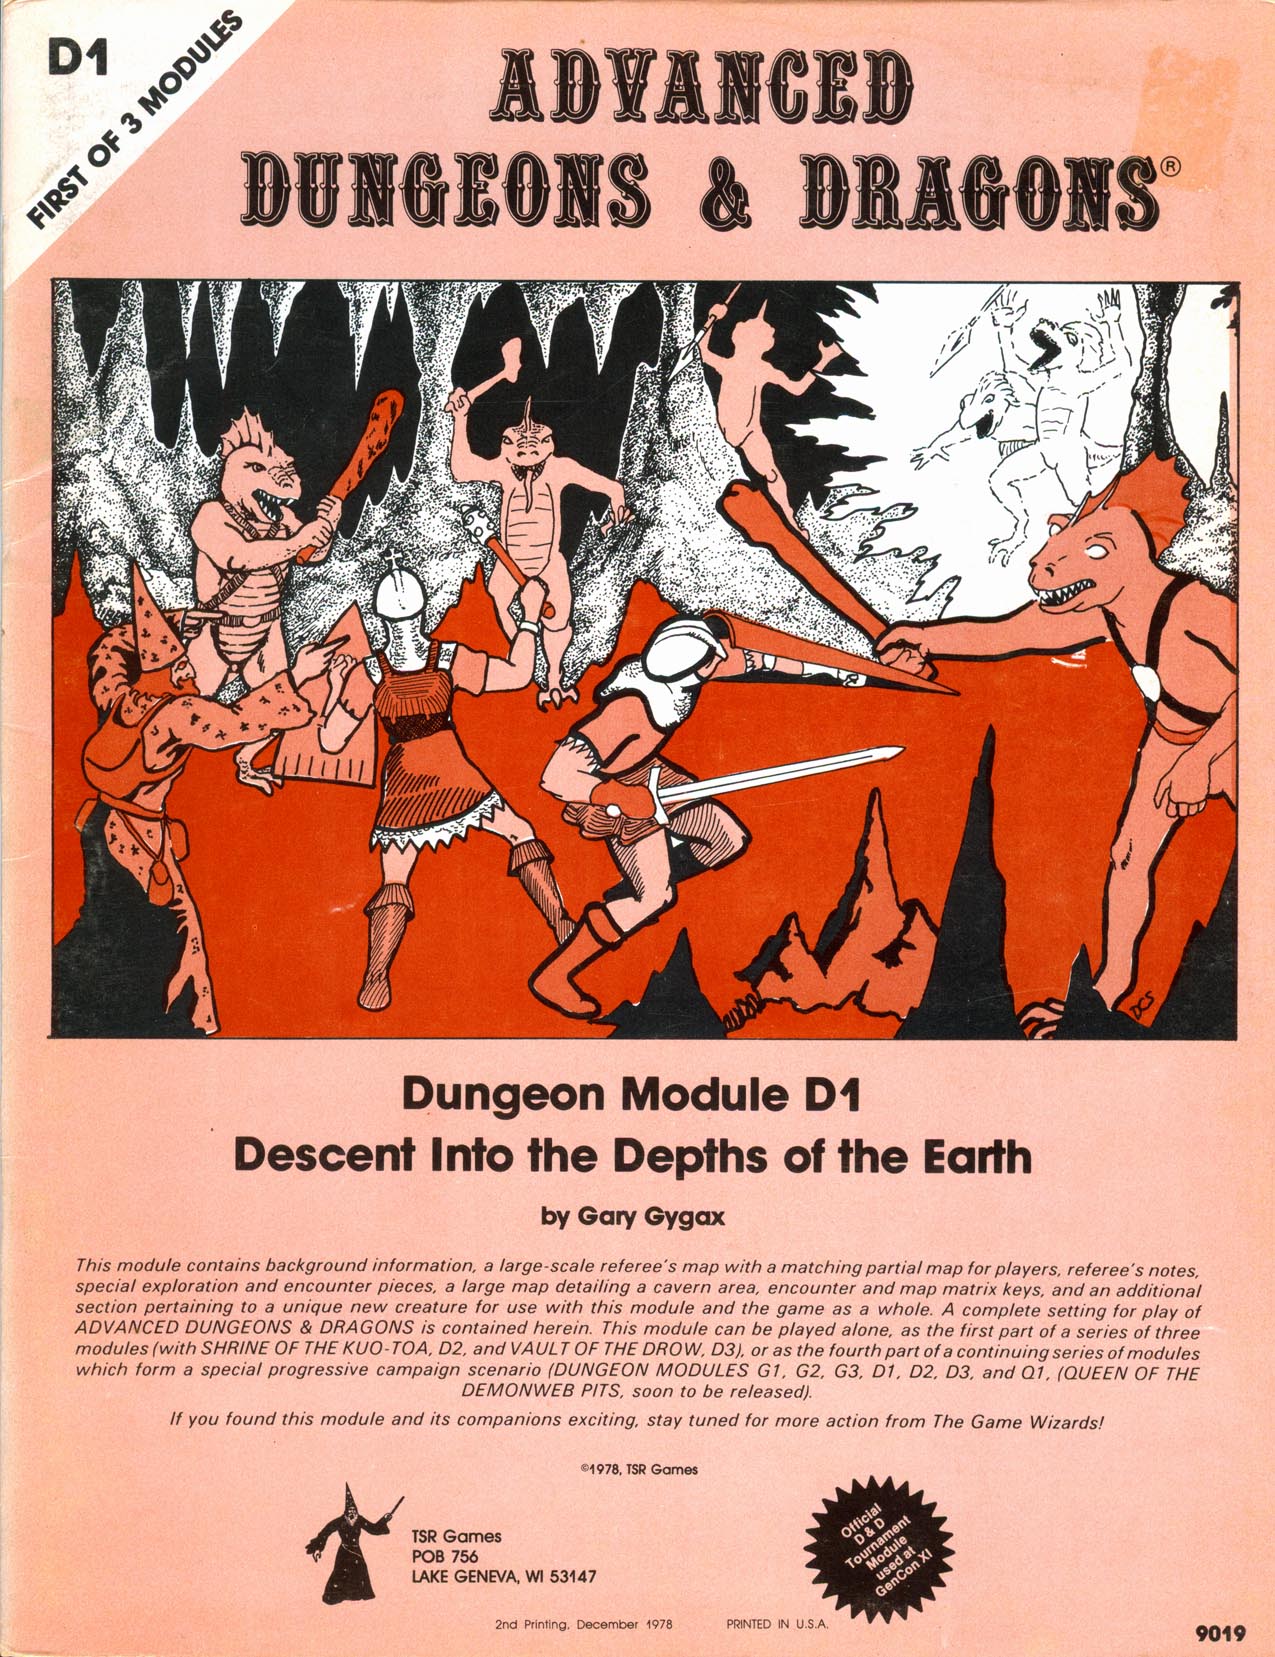
The final confrontation with the giant, King Snurre, and the entry of mighty adventurers into the caverns under his stronghold (DUNGEON MODULE G3, HALL OF THE FIRE GIANT KING) discovered the Dark Elves, the Drow, had instigated the giant alliance and its warfare upon mankind and its allied races. This module contains background information, a large-scale referee's map with a matching partial map for players, referee's notes, special exploration and encounter pieces, a large map detailing a cavern area, encounter and map matrix keys, and an additional section pertaining to a unique new creature for use with this module and the game as a whole. A complete setting for play of ADVANCED DUNGEONS & DRAGONS is contained herein. This module can be played alone, as the first part of a series of three modules (with SHRINE OF THE KUO-TOA, D2, and VAULT OF THE DROW, D3), or as the fourth part of a continuing series of modules which form a special progressive campaign scenario (DUNGEON MODULES G1, G2, G3, D1, D2, D3, and Q1, (QUEEN OF THE DEMONWEB PITS). TSR 9019
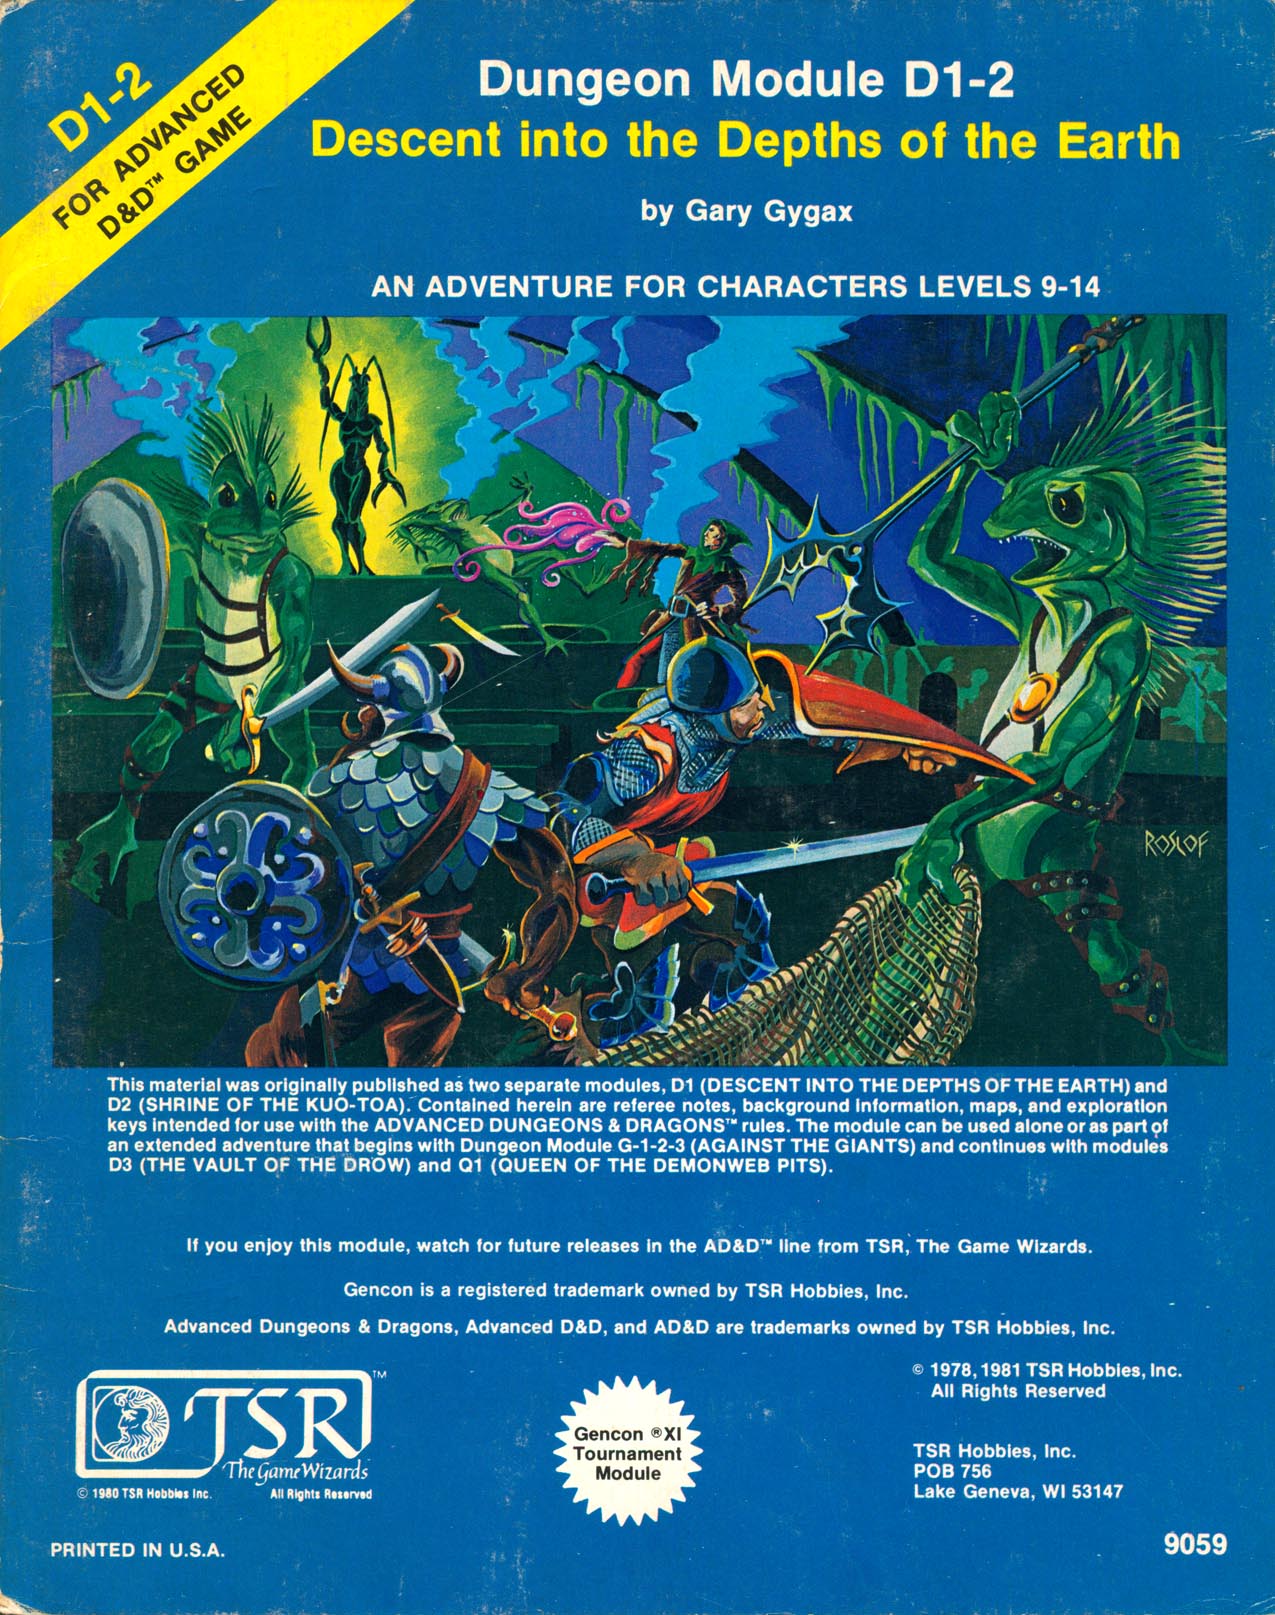
This material was originally published as two separate adventures, D1: "Descent into the Depths of the Earth" and D2: "Shrine of the Kuo-Toa." Contained herein are referee notes, background information, maps, and exploration keys intended for use with the Advanced Dungeons & Dragons rules. The adventure can be used alone or as part of an extended adventure that begins with G1-3: "Against the Giants" and continues with D3: "The Vault of the Drow" and Q1: "Queen of the Demonweb Pits." TSR 9059

"Gnolls have captured the heroes! After stripping the characters of all equipment except their armor and clothing, the gnolls drag them to an expansive briar maze known as the Twisted Thickets and set them loose. Then, armed to the teeth, the gnolls hunt down their prey. The characters must survive the hunt and outwit their pursuers. Stripped of your armor and weapons, you are cast into the Twisted Thicket and hunted like rabbits. If you want revenge, you must first survive Yeenoghu's evil Hunters. After dealing with the gnoll hunters, the heroes can try to reclaim their lost equipment and exact revenge on the tribe, which lairs in the caves beneath Dead Gnoll’s Eye Socket." Pgs. 2-14

A combination wilderness/dungeon module, first searching for then exploring the temple of Tharizdun. Tharizdun is long gone from the place, so there's no epic final fight. Rather, a mysterious Black Cyst waits at the bottom of the dungeon. The encounter with it is almost scripted, having no hazard except for careless/foolish players. Contains several monsters from the Fiend Folio. Loosely follows Lost Caverns of Tsojcanth. TSR 9065
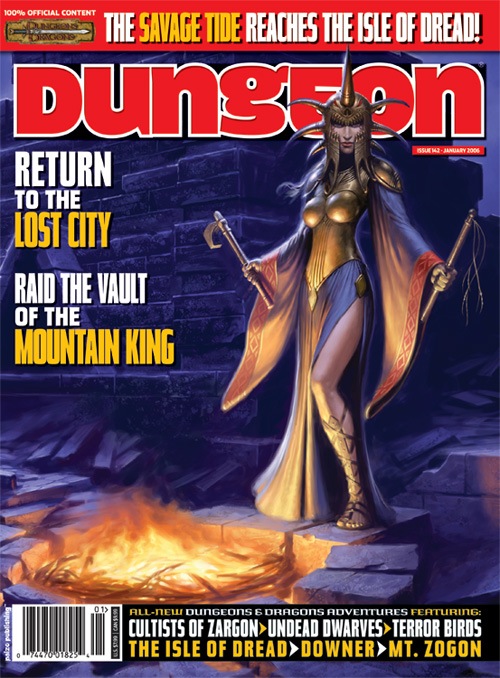
A long, perilous ocean journey behind them, the crew of the Sea Wyvern finds itself shipwrecked on the Isle of Dread. Their destination lies well over 150 miles to the south, miles heavy with the threat of the island's terrible inhabitants. Yet the unknown enemies are far more sinister, for more than just dinosaurs hunt the vast jungles. Before long, a cunning fiend picks up their trail, and its duplicitous master demands their sacrifice. "Here There Be Monsters" is the fourth chapter of the Savage Tide Adventure Path, a complete campaign consisting of 12 adventures appearing in Dungeon. For additional aid in running this campaign, check out Dragon's monthly "Savage Tidings" articles, a series that helps players and DMs prepare for and expand upon the campaign. Issue #352 of Dragon explores the Isle of Dread in detail, providing a complete ecology of the island and the writing of Larissa Vanderboren. This article can be used as a player handout to represent the journals the group recovered from the Vanderboren family vault in the first adventure in the Campaign. Shipwrecked on the Isle of Dread! Faced with a dangerous journey, the PCs must escort a ragged band of castaways through monster-infested wildlands in order to reach the safety promised by the colony of Farshore on the isle’s southern tip. Pgs. 32-60
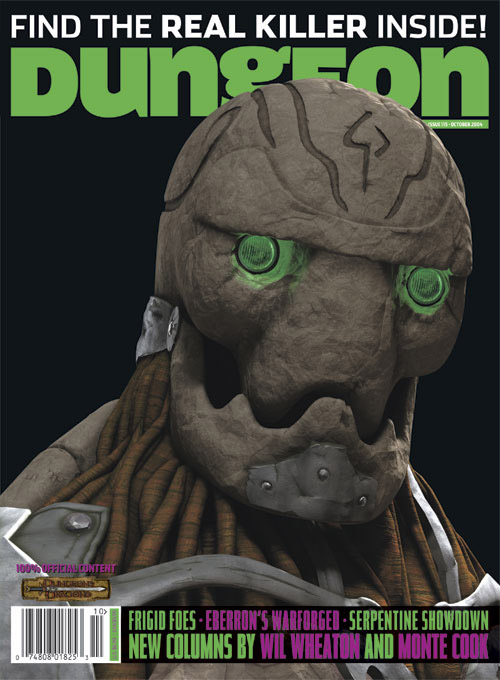
Smoke still rises from the shattered buildings and ruined streets of the troubled town of Cauldron, yet if not for the actions of a band of heroes, it would not exist at all. A sinister cabal of cultists bent on plunging Cauldron into the prison plane of Carceri had awakened the volcano below the town, and amidst the attacks of dragons and fiends from the outer planes, these heroes were able to evacuate the city and then strike at the cultists in their lair near the volcano's heart. Now, this cult, the Cagewrights, lies shattered, their members put on the defensive for the first time. All that remains is to finish the job, but the surviving Cagewrights still have some surprises left in their mysterious stronghold under the snake-haunted ruins of Shatterhorn. "Strike on Shatterhorn" is a Dungeons & Dragons adventure designed for four 18tth-level characters. This adventure is part of the Shackled City Adventure Path that began with "Life Bazaar" (Dungeon #97) and continued with "Flood Season" (Dungeon #98), "Zenith Trajectory" (Dungeon #102), "The Demonskar Legacy" (Dungeon #104), "Test of the Smoking Eye" (Dungeon #107), "Secrets of the Soul Pillars" (Dungeon #109), "Lords of Oblivion" (Dungeon #111), "Foundation of Flame" (Dungeon #113), and "Thirteen Cages" (Dungeon #114). The Adventure Path concludes in Dungeon #116 with "Asylum." Pgs. 56-82

In order to stop a series of devastating giant raids, the party must venture into the stronghold of the frost giant jarl Grugnur to both recover the giants' plans and eliminate Grugnur, who is the tactical head behind the operations. The adventure is part of the "Against the Giants" series originally by Gary Gygax, hence the writing credit.

Trapped in the dungeons of the Slave Lords! The hardy adventurers must find a way out, with only their wits and courage to help them. But can they do it before everything is destroyed by the dreaded Earth Dragon? This module contains a challenging scenario for experienced players, the tournament scoring system, and nine fully-equipped playtested characters. Also included are large-scale referee maps, playing aids, notes, and background information. A4 is a complete adventure in itself, but can also be used in conjunction with A1 (SLAVE PITS OF THE UNDERCITY), A2 (SECRET OF THE SLAVERS' STOCKADE), and A3 (ASSAULT ON THE AERIE OF THE SLAVE LORDS). TSR 9042

Somewhere in the heart of the steaming jungle lies the answer to the whispered tales - rumors of a magnificent city and foul, horrid rituals! Here a brave party might find riches and wonders - or death! Is your party brave enough to face the terrors of the unknown and find the Forbidden City! TSR 9046

Greatwall is in peril - not from military forces of Iuz, but from lack of goods and supplies. Caravans from Willip have ceased thanks to increased dangers on the Willip Critwall Grabford Trail. As the key fort positioned to contain the Iuzian flood, Greatwall is a strategic necessity. Its failure would mean a major incursion along the border. Your characters are hired to escort a caravan from Greatwall to Willip; if its merchants are afraid to come to the fort, the fort will go to them. This should be simple, cut and dried guard job. Right? Of course not. There are many surprises in store for your little caravan, and your characters will need to keep their wits about them day and night in order to make it to the other end. Secret plans are afoot, conspiracies are brewing, and nothing is as it seems while on the Border Watch. This module uses information presented in the From the Ashes boxed set and the Iuz the Evil accessories. However, ownership of these two products is not necessary to play this module. TSR 9406
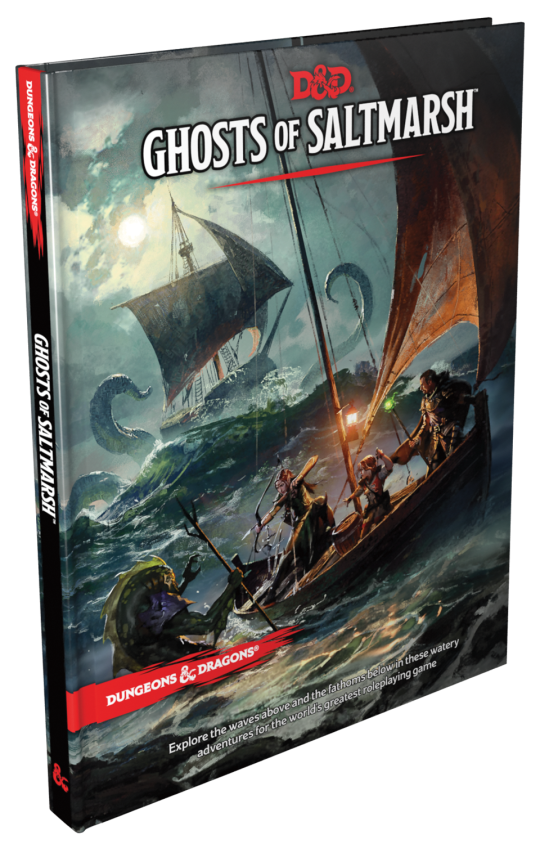
Chapter 2: The Sinister Secret of Saltmarsh In this version of the adventure, the characters find navigational charts and logs aboard the Sea Ghost that implicate its crew as slavers. Ned Shakeshaft is a Scarlet Brotherhood agent. He makes an attempt to foil the characters, but his true intent is to surrender and implicate Gellan Primewater as a key villain. The distraction afforded by the lizardfolk and the looming sahuagin threat gives the Scarlet Brotherhood the opportunity to bring more agents into town. posing as mercenaries brought in by Anders to protect the town. If Gellan can be removed from the council, Solmor might ask one of the characters to take his place.