
Lost Laboratory of Kwalish explores an alternate expedition into the Barrier Peaks. The legendary inventor disappeared in the peaks eons ago… as it turns out, finding a crashed planar ship and studying its technology to fuel his own experiments—only now, Kwalish’s lost research is desperately needed! This adventure explores two locations within the Barrier Peaks, and includes new monsters, magic items, and spells, plus sci-fi trinkets, random encounters, and even rumors of the area submitted by the player community! Further featuring new art, maps (from Claudio Pozas), and even a cartoon (from Jason Thompson)—as well as the famed suit of powered armor, as edited by Jeremy Crawford on the Dragon+ livestream! Best of all, all monies that Wizards of the Coast receives from sales of this PDF are donated to Extra Life. Your purchase of this adventure goes to a truly great cause!
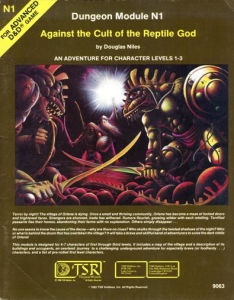
"Terror by night! The village of Orlane is dying. Once a small and thriving community, Orlane has become a maze of locked doors and frightened faces. Strangers are shunned, trade has withered. Rumors flourish, growing wilder with each retelling. Terrified peasants flee their homes, abandoning their farms with no explanation. Others simply disappear. . . No one seems to know the cause of the decay -- why are there no clues? Who skulks through the twisted shadows of the night? Who or what is behind the doom that has overtaken the village? It will take a brave and skillful band of adventurers to solve the dark riddle of Orlane!" TSR 9063
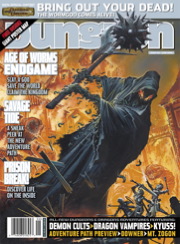
Alhaster is in flames, choking on the poison mists of the Wormgod's first tentative breaths on the Material Plane. The Age of Worms has begun, and unless the PCs can kill a god, this new age will be dark indeed. "Dawn of a New Age" is the final installment of the Age of Worms Adventure Path, a complete campaign consisting of 12 adventures, several "Backdrop" articles to help Dungeon masters run the series, and a handful of poster maps of key locations. For additional aid in running this campaign, check out Dragon's monthly "Worm Food" articles, a series that provides additional materials to help players survive this campaign. Issue #334 of Dragon presents some advice on rules specific to the Age of Worms to aid players (and DMs) in making the transition beyond 20th level. Pgs. 52-86
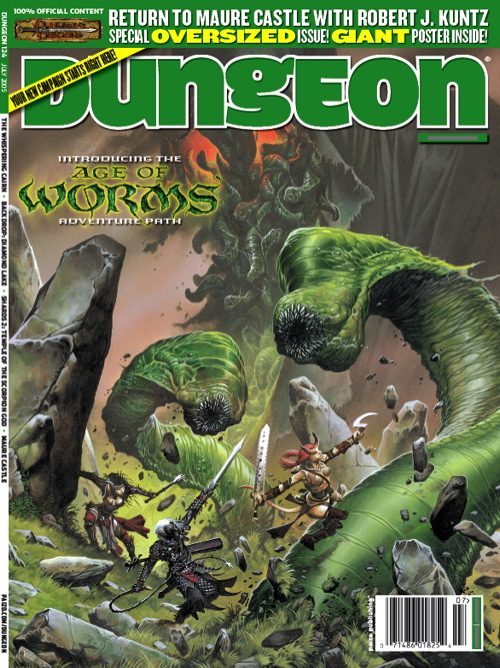
Deep under the ruins of Maure Castle lie the Chambers of Antiquities, vaults designed by ancient wizards to store magic items even they didn't quite understand. A continuation of last year's hit "Maure Castle." This adventure is set under the infamous ruins of Maure Castle, a monolithic edifice of night-black granite built by a powerful family of wizards. The Maures sealed themselves into the dungeons below their castle long ago, and today these dungeons have become one of the most infamous adventuring sites in the land. Although estimates have placed the number of monster-infested and trap-haunted dungeon levels below Maure Castle at 17, there may in fact be even more. This adventure presents one of those dungeon levels in detail. Pgs. 76-101

Nestled on the coast of the Azure Sea is Saltmarsh, a sleepy fishing village that sits on the precipice of destruction. Smugglers guide their ships to hidden coves, willing to slit the throat of anyone foolhardy enough to cross their path. Cruel sahuagin gather beneath the waves, plotting to sweep away coastal cities. Drowned sailors stir to unnatural life, animated by dark magic and sent forth in search of revenge. The cult of a forbidden god extends its reach outward from a decaying port, hungry for fresh victims and willing recruits. While Saltmarsh slumbers, the evils that seek to plunder it grow stronger. Heroes must arise to keep the waves safe! Ghosts of Saltmarsh combines some of the most popular classic adventures from the first edition of Dungeons & Dragons including the classic ‘U’ series and some of the best nautical adventures from Dungeon magazine: The Sinister Secret of Saltmarsh Danger at Dunwater The Final Enemy Salvage Operation Isle of the Abbey Tammeraut’s Fate The Styes All adventures have been faithfully adapted to the fifth edition rules of Dungeons & Dragons. Furthermore, this book includes details on the port town of Saltmarsh, as well as plenty of hooks to kick-off each adventure. Play through each story in a seafaring campaign leading characters from level 1 through level 12, or pull out sections to place in ongoing campaigns in any setting. The appendices also cover mechanics for ship-to-ship combat, new magic items, monsters, and more! “The Saltmarsh series consistently ranks as one of the most popular classic D&D adventures,” said Mike Mearls, franchise creative director of D&D. “With its ties to ocean-based adventuring, it was an obvious step to augment it with additional sea-based adventures and a robust set of rules for managing a nautical campaign.” Hoist your sails, pull up anchor, and set a course for adventure!
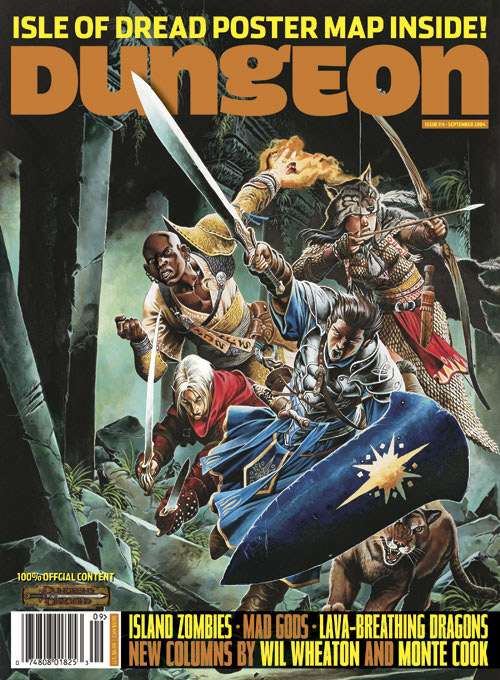
This adventure is the ninth part of the Shackled City Adventure Path that began with "Life's Bazaar" (Dungeon #97) Wherein a group of diverse and talented allies learns the folly of not working together against a common foe.

Stirrings of an ageless war between Law and Chaos are drawing you into an epic adventure! A Struggle More Savage than Good vs. Evil Imagine a time before the words Good and Evil had meaning, a day when the world was young. Discover an ancient conflict that predates the stars. It was in these days that Law and Chaos forged worlds out of nothingness; their war began while the cosmos was yet unfinished. The Rod of Seven Parts defines epic role-playing. The reappearance of the Rod has awakened the powers of Chaos, and their queen seeks to turn the whole world into a battleground. Bold heroes must undertake the enormous task of seeking out and assembling the pieces of the Rod, but even its power cannot stand alone. Ages ago, primal forces of Law stood fast against Chaos; now their champions must once more confront the Queen of Chaos and her foul spyder-fiends, lest the flame of civilization be extinguished. Follow the quest for the capricious Rod as it leads characters on a journey of high fantasy. The Rod of Seven Parts is designed for four to six heroes and heroines of levels 10 to 12. This boxed set includes: Initiation to Power, a 96-page book of grand adventure playable in any AD&D world, including original campaigns; The War Against Chaos, a 64-page book of world-crossing adventures pitting PCs toe to toe against the minions of Chaos; Might and Menace, a 32-page book detailing the mysterious powers of the Rod of Seven Parts: how it affects both its enemies and its friends; Monsters, a 16-page book of new villains, new monsters, and even a new race! 6 two-sided reference cards; 6 full-color poster maps portraying the key locations heroes can visit. Read about this ancient artifact in the epic novel The Rod of Seven Parts by best-selling author Douglas Niles! TSR 1145

The corrupt town guard of the Styes refuse to help when a mysterious monster begins to slaughter the residents of Hopen'er Asylum, an old decrepit mental aslyum. A call is put out for any adventurers willing to defeat this mosnter and save Hopen'er before it falls any further into madness... From the author of Murder on the Primewater Pleasure comes The Horrors Beneath Hopen'er Asylum. If you enjoyed that adventure then you will love this! This horror adventure takes place in and below Hopen'er Asylum. Originally designed to serve as an introduction to the location known as The Styes frorm the Ghosts of Saltmarsh campaign book, this adventure can be easily transferred to any setting (advice is given on how to do this). The characters will explore an abandoned underground wing of the mental asylum, before delving into a forgotten cave system to face an unknown enemy, a Dubh. The adventure is designed for 6th - 7th level characters and takes anywhere between 4 - 6 hours to finish. The adventure contains full colour maps, as well as VTT versions of the maps.

Important: The adventure is 1e but it has monster conversion notes for D&D 4th edition The town of Highport, once a human community overlooking Wooly Bay from its perch on the northern coast of the Pomarj, fell prey to hordes of humanoids swarming out of the jungle-covered hills surrounding the settlement. Though the orcs, goblins, kobolds, ogres, and gnolls razed much of the place in their ferocious rampages, the smoldering ruins they left behind soon became a new kind of community, a place of trade between the humanoid “locals” and the unsavory human traders who have no compunction about doing business with them. Slaves are a commodity in ready supply in Highport’s market, since many pirates raid up and down the coast of the bay, putting fishing villages to the torch and filling their holds with captured refugees. Slavery has become a thriving business in the town, and rumors abound of a cartel of Slave Lords who run things from behind the scenes, filling their coffers in secret from the buying and selling of human chattel. The trade has become so prolific that the good folk to the north have grown tired of these depredations and decided to fight back. Forces of righteousness and honor have recently descended upon Highport, some openly and others in secret, in various attempts to destroy the machinations of the Slave Lords and abolish the abominable enterprise that has taken far too many loved ones from home and hearth. One such doughty servant of goodness is Mikaro Valasteen, a cleric of Trithereon. Mikaro slipped unnoticed past the crumbling walls of Highport with a single mission: to rescue and transport as many slaves to their freedom as possible. Mikaro and a handful of faithful assistants located a number of escaped slaves—as well as rescued a few more not sufficiently restrained and guarded—and shepherded them through the gates and beyond the reach of their humanoid tormentors, returning them to their lands and homes. This covert freedom brigade enjoyed remarkable success early on, since the servants of the Slave Lords were often lax in their vigilance and sloppy in their efforts to prevent loss of the “merchandise.” After one too many shipments never made its destination, the humanoids stepped up their security and the normal channels of escape from Highport closed to Mikaro and his team. He cannot risk exposure by smuggling the freed slaves through the gates as merchandise any longer, since shipments of goods are now regularly stopped and checked. No longer able to free the slaves in that manner, Mikaro began hiding his charges in an abandoned villa in a particularly rundown part of the town. Although they are safe for the moment, their numbers have grown unmanageable, and the priest fears it is only a matter of time before someone slips up and brings slavers to their doorstep. Ever more desperate to find a new means of escape from Highport, Mikaro has started work on a plan that is both daring and dangerous. He intends to use a series of old sewers coupled with natural caverns running beneath the town as an escape route to the sea beyond the walls. But he needs someone to clear out the creatures and pitfalls he knows lie within. Pgs. 2-27
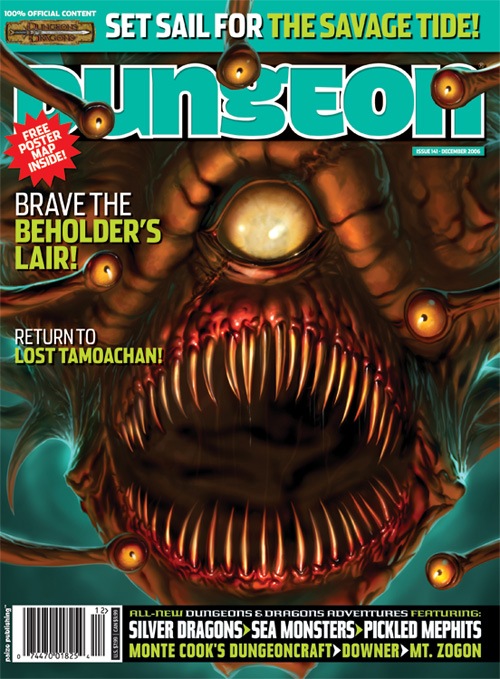
All ocean voyages are fraught with peril, yet a voyage to the infamous Isle of Dread might seem to some old salts to be a deliberate goading of the gods of the sea. Many of those who have attempted the voyage before managed to return to civilization often choose not to speak of the trials they experienced on that dangerous route, yet those whose lips can be loosened by a draught of grog whisper amazing stories... tales of pirates, sea monsters, terrifying storms, and perhaps most harrowing of all, of a strange and sinister land without land, a floating graveyard of dead ships mired in a sargasso the size of an island. This place has many names, but its most well-known may be it's most apt - Journey's End. "The Sea Wyvern's Wake" is the third chapter of the Savage Tide Adventure Path, a complete campaign consisting of 12 adventures appearing in Dungeon magazine. For additional aid in running this campaign, check out Dragon magazine's monthly "Savage Tidings" articles, a series that helps players and DMs prepare for and expand upon the campaign. Issue #350 of Dragon magazine features a regional guide to the seafaring environs the PCs can expect on the journey to the Isle of Dread. It’s time to bid farewell to the city of Sasserine as the PCs board the Sea Wyvern for a 3,000-mile voyage south into the uncharted waters of the Vohoun Ocean. Their destination: the Isle of Dread. Pgs. 16-48

In order to stop a series of devastating giant raids, the party must venture into the stronghold of the frost giant jarl Grugnur to both recover the giants' plans and eliminate Grugnur, who is the tactical head behind the operations. The adventure is part of the "Against the Giants" series originally by Gary Gygax, hence the writing credit.

Giants have been raiding the lands of men in large bands, with giants of different sorts in these marauding groups. Death and destruction have been laid heavily upon every place these monsters have visited. This has caused great anger in high places, for life and property loss means failure of the vows of noble rulers to protect the life and goods of each and every subject -- and possible lean times for the rulers as well as the ruled. Therefore, a party of the bravest and most powerful adventurers has been assembled and given the charge to punish the miscreant giants. This module contains background information, referee's notes, two level maps, and exploration matrix keys. It provides a complete module for play of ADVANCED DUNGEONS & DRAGONS, and it can be used alone or as the first of a three-part expedition adventure which also employs DUNGEON MODULE G2 (GLACIAL RIFT OF THE FROST GIANT JARL) and DUNGEON MODULE G3 (HALL OF THE FIRE GIANT KING). TSR 9016

The Village of Hommlet has grown up around a crossroads in a woodland. Once far from any important activity, it became embroiled in the struggle between gods and demons when the Temple of Elemental Evil arose but a few leagues away. Luckily of its inhabitants, the Temple and its evil hordes were destroyed a decade ago, but Hommlet still suffers from incursions of bandits and strange monsters. TSR 9026

Barbarian legends tell of five magical blades of measureless power. The more civilized cultures of warmer climes believe these tales to be nothing more than delirious dreams of frost-bitten brains. "Those frozen louts- they're trying to scare respect out of us!" At least that's what they want to believe. Three of the legendary blades of Corusk have been unearthed, and their powers have proven to be all that the tales claimed. You have been given these to use in the quest for the remaining two blades. However, word has spread to the peoples of the neighboring areas, and two groups are working against you to prevent your securing these swords. Beware the Hold of the Stonefist and the Rovers of the Barren! Only so much time remains for you to locate the last two Blades of Corusk ... and your enemies are on the horizon. Find the blades, and reclaim your birthright of honor and respect; fail, and be outcast from your tribes for life. The choice is yours. TSR 9337

The battle against the slavers continues! You end your fellow adventurers have defeated the slavers of Highport, but you have learned of the existence of another slaver stronghold, and you have decided to continue the attack. But beware! Only the most fearless of adventurers could challenge the slavers on their own ground, and live to tell of It! Second part of Scourge of the Slavelords (A1-4) TSR 9040
Dragotha's phylactery lies hidden somewhere in the ruined city of Kongen-Thulnir, a ruin now inhabited by tribes of giants and besieged by an army of dragons desperate to claim the phylactery for their undead master. "Kings of the Rift" is the tenth installment of the Age of Worms Adventure Path, a complete campaign consisting of 12 adventures, several "Backdrop" articles to help Dungeon masters run the series, and a handful of poster maps of key locations. For additional aid in running this campaign, check out Dragon's monthly "Worm Food" articles, a series that provides additional materials to help players survive this campaign. Issue #342 of Dragon presents several magical items that the PCs can construct using Item Creation feats that fit into the mythos of the Age of Worms Campaign. Pgs. 52-86
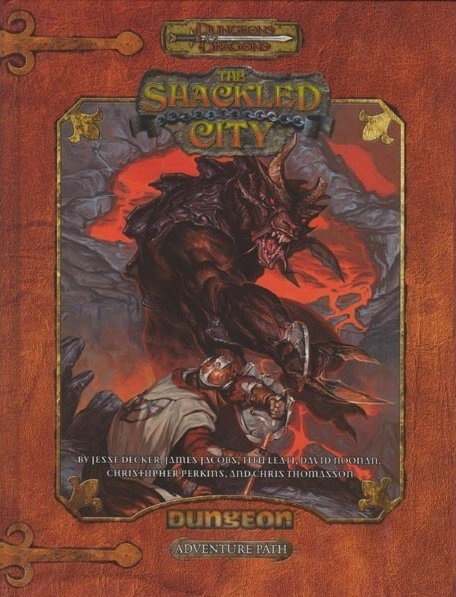
Evil schemes are afoot in Cauldron, a metropolis of merchants built into the caldera of a long-dormant volcano. To foil the agenda of evil cultists, your band of adventurers must brave haunted jungle ruins, slay mighty dragons, and bind themselves to a layer of the infinite Abyss. Will their swords and spells be enough to save the Shackled City? Originally published as 11 linked adventures in the award-winning Dungeon magazine, the Shackled City Adventure Path is the most ambitious official Dungeons & Dragons campaign ever created. Now, for the first time ever, everything you need to play the campaign has been compiled into a deluxe 416-page full-color hardcover that also includes an 8-panel fully detailed map of the City of Cauldron, a 16-page full-color map and illustration booklet, and a brand new Shackled City adventure written by fan favorite author Christopher Perkins.
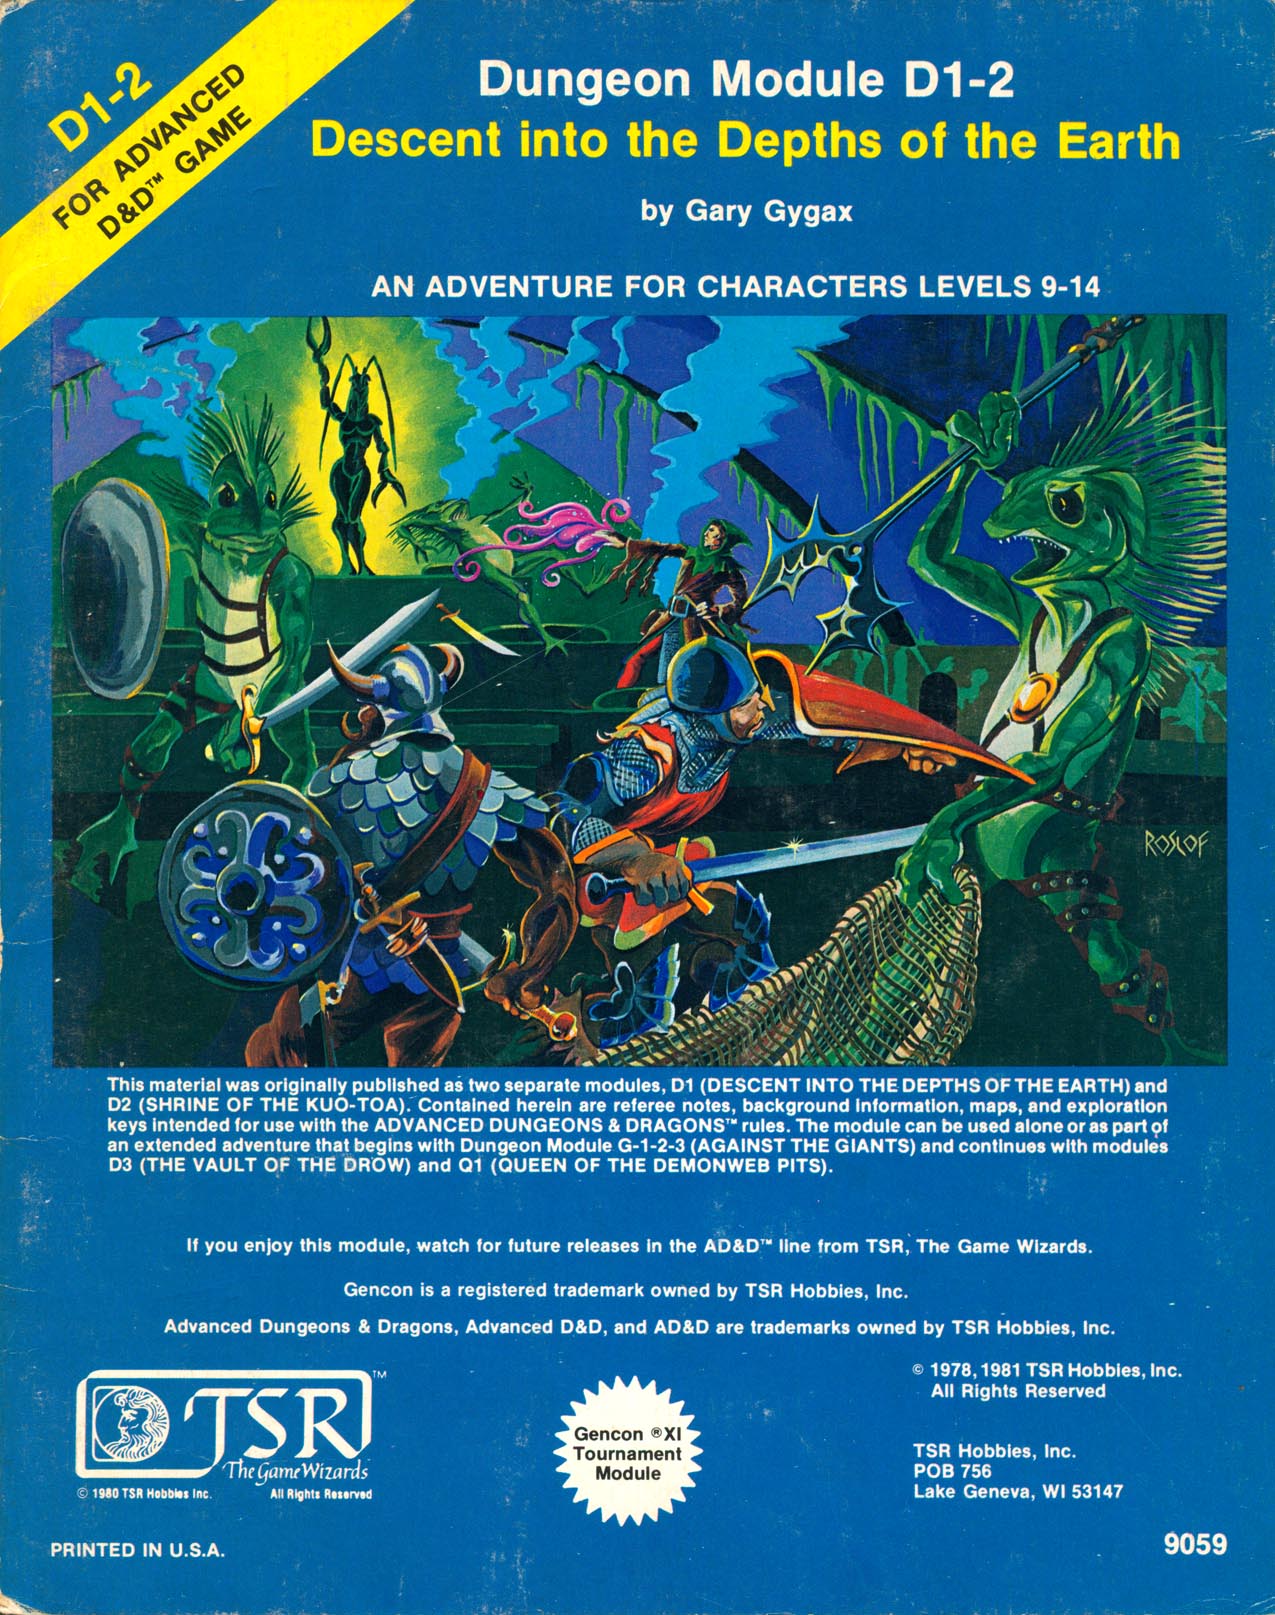
This material was originally published as two separate adventures, D1: "Descent into the Depths of the Earth" and D2: "Shrine of the Kuo-Toa." Contained herein are referee notes, background information, maps, and exploration keys intended for use with the Advanced Dungeons & Dragons rules. The adventure can be used alone or as part of an extended adventure that begins with G1-3: "Against the Giants" and continues with D3: "The Vault of the Drow" and Q1: "Queen of the Demonweb Pits." TSR 9059

At the end of the Hateful Wars, Lord Sandor led his army into the Barrier Peaks in pursuit of a host of goblins and orcs. He and his army vanished, and now a group of adventurers follows his footsteps to discover what doom fell upon him and his men. Pgs. 30-46
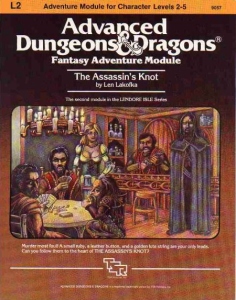
The Assassin's Knot is a sequel to The Secret of Bone Hill, picking up on themes from that module and shifts them to a new locale. The player characters must solve the mystery of who killed the Baron of Restenford, with evidence pointing to somebody from the town of Garrotten. The scenario describes the town and its castle. The Assassin's Knot module is different from most of its contemporaries in that it contained no dungeon or dungeon-like area. The longer the players take to find the murderer, the more unfortunate events occur in the village. The village, Garrotten, is reputed to be the place to go to have someone killed. The entire village shuts down when the Baron of Restenford is found dead, mutilated beyond the possibility of magical restoration. Three small clues are all the player characters have to unravel the mystery. TSR 9057