
The party is enlisted to assist the Righteous Host, an army formed as a last resort to defend the world against the monsters of Elemental Evil. The host is greatly outnumbered. Its leaders send the party on a series of missions, each of which will give the Righteous Host an edge in the great battle to come. This epic adventure ends with the final push against the forces of Elemental Evil in the Meadows, and the outcome is informed by how effective the party is in their missions... and whether they are willing to risk putting themselves in the front lines. If the Righteous Host loses, players may decide to travel to Hommlet or other nearby towns to defend them. Whether the host is successful or not, players can decide to follow many different plot threads: exploring the Temple of Elemental Evil, finding the lich Kell the Eldest's lair and destroying his phylactory, or following the will of Bitbaern's Shield and discovering historical sites that were previously lost. Pgs. 44-69

Smoke still rises from the shattered buildings and ruined streets of the troubled town of Cauldron, yet if not for the actions of a band of heroes, it would not exist at all. A sinister cabal of cultists bent on plunging Cauldron into the prison plane of Carceri had awakened the volcano below the town, and amidst the attacks of dragons and fiends from the outer planes, these heroes were able to evacuate the city and then strike at the cultists in their lair near the volcano's heart. Now, this cult, the Cagewrights, lies shattered, their members put on the defensive for the first time. All that remains is to finish the job, but the surviving Cagewrights still have some surprises left in their mysterious stronghold under the snake-haunted ruins of Shatterhorn. "Strike on Shatterhorn" is a Dungeons & Dragons adventure designed for four 18tth-level characters. This adventure is part of the Shackled City Adventure Path that began with "Life Bazaar" (Dungeon #97) and continued with "Flood Season" (Dungeon #98), "Zenith Trajectory" (Dungeon #102), "The Demonskar Legacy" (Dungeon #104), "Test of the Smoking Eye" (Dungeon #107), "Secrets of the Soul Pillars" (Dungeon #109), "Lords of Oblivion" (Dungeon #111), "Foundation of Flame" (Dungeon #113), and "Thirteen Cages" (Dungeon #114). The Adventure Path concludes in Dungeon #116 with "Asylum." Pgs. 56-82
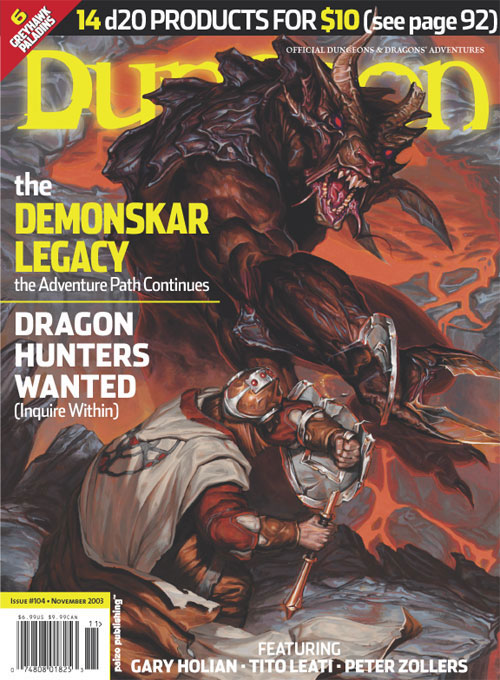
After a riot erupts in the streets of Cauldron, the PCs must track down a missing paladin before the mob tears the city apart. The PCs try to stop an assassin during the riot and get invited to a meeting, where they are tasked to search for the missing paladin. After some investigating they will travel to Vaprak's Voice, an ancient Spell Weaver laboratory, at the edge of the Demonskar. In the dungeon they will find the "Starry Mirror", a puzzle/travel device through which they have to travel, to find the missing paladin. Part 4 of The Shackled City Adventure Path Pgs. 44-82
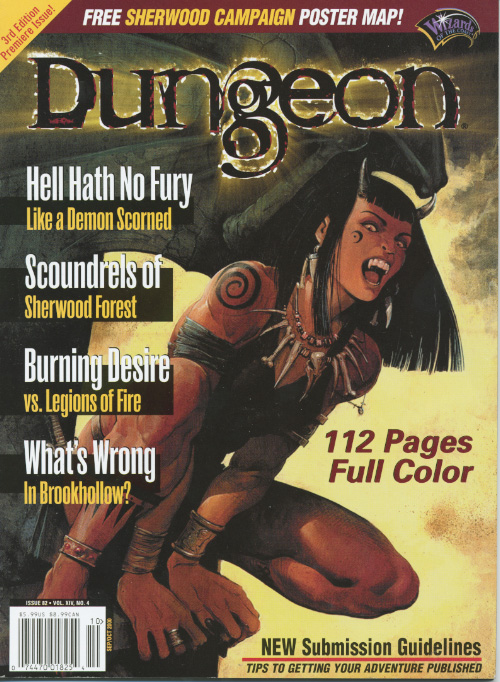
Digging in the Dark People are vanishing from the village of Brookhollow. Can you solve the mystery in time to save your friends? Pgs. 12-29
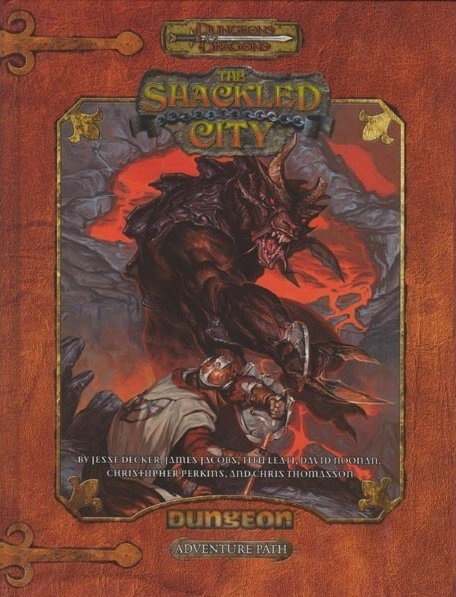
Evil schemes are afoot in Cauldron, a metropolis of merchants built into the caldera of a long-dormant volcano. To foil the agenda of evil cultists, your band of adventurers must brave haunted jungle ruins, slay mighty dragons, and bind themselves to a layer of the infinite Abyss. Will their swords and spells be enough to save the Shackled City? Originally published as 11 linked adventures in the award-winning Dungeon magazine, the Shackled City Adventure Path is the most ambitious official Dungeons & Dragons campaign ever created. Now, for the first time ever, everything you need to play the campaign has been compiled into a deluxe 416-page full-color hardcover that also includes an 8-panel fully detailed map of the City of Cauldron, a 16-page full-color map and illustration booklet, and a brand new Shackled City adventure written by fan favorite author Christopher Perkins.
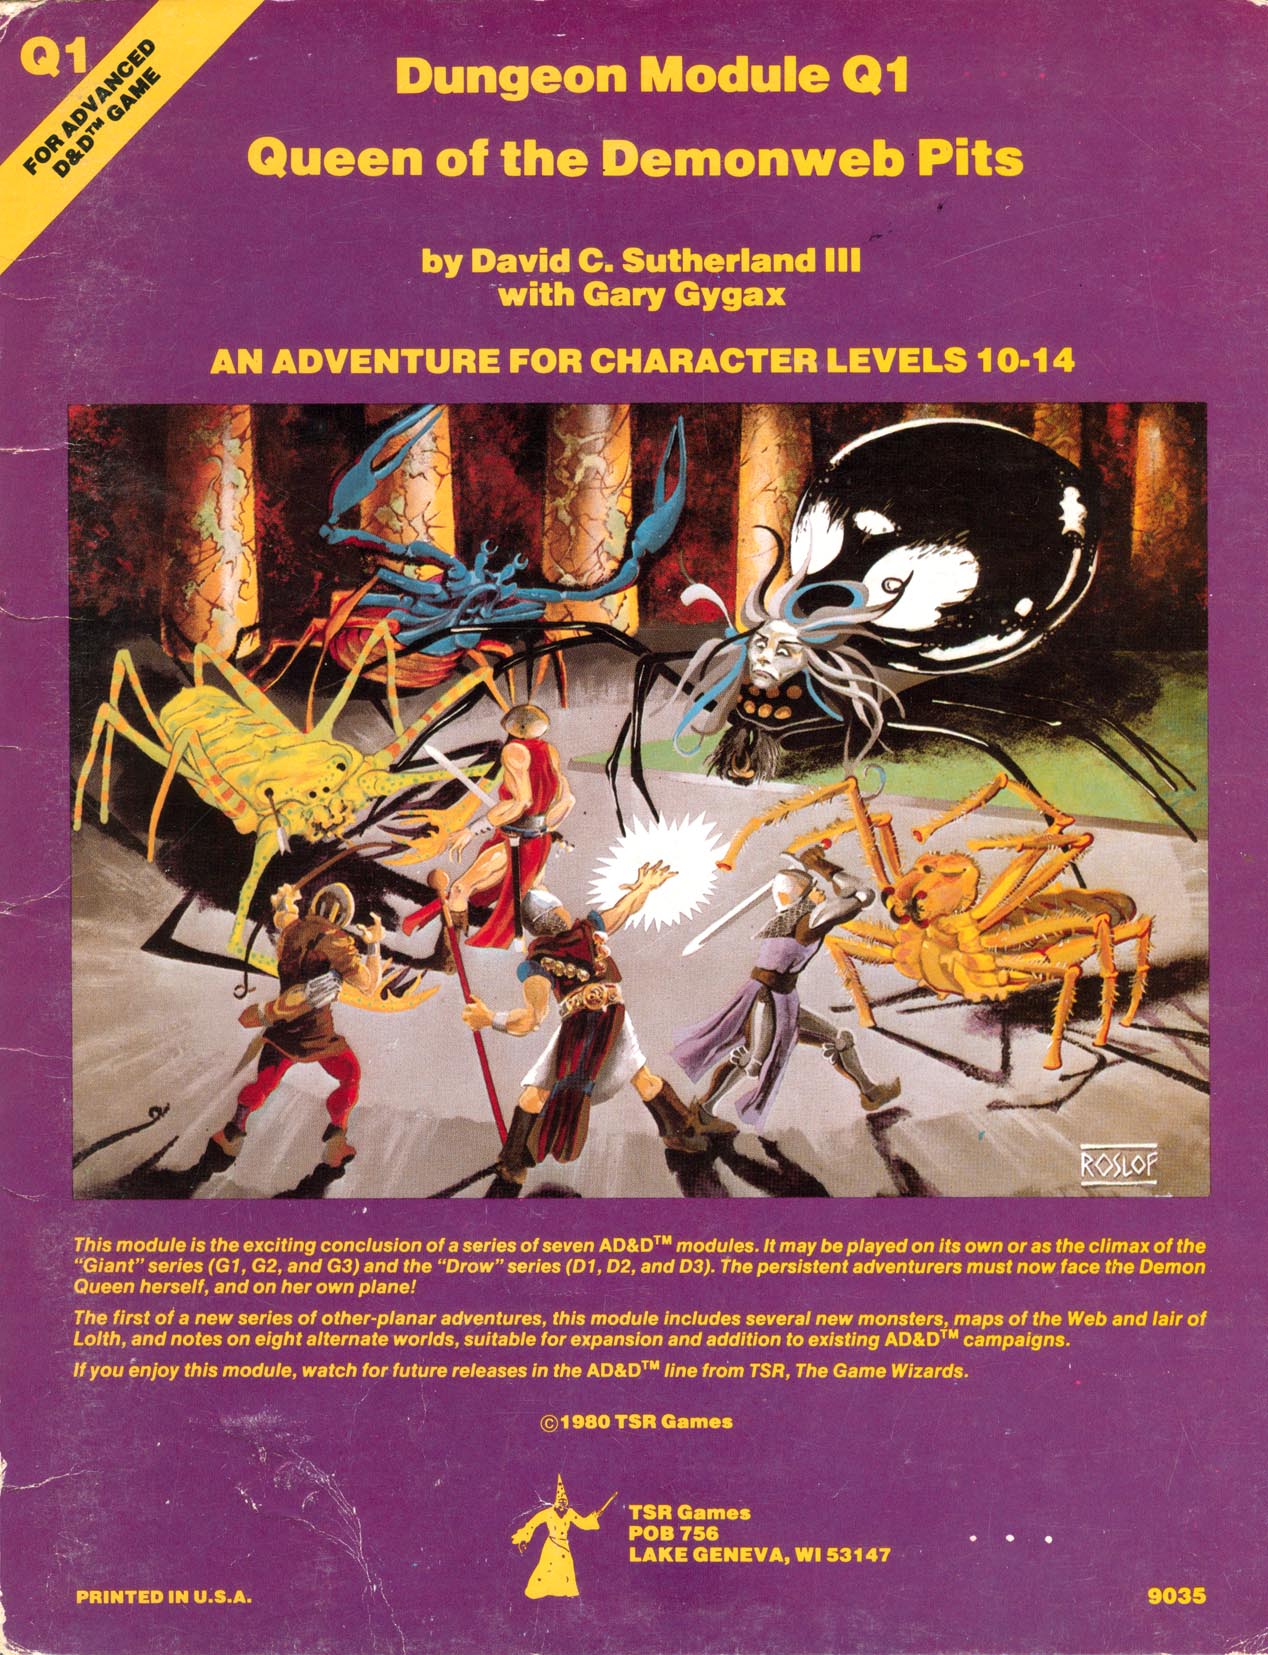
How different things seem now from when you undertook the crushing of a few rebellious hill giants! What seemed a simple adventure has turned into a major expedition. Much time has passed since you discovered the conspiracy that led you to the frost giants, fire giants, and eventually to the long-forgotten Drow. Through your encounter with the dark elves, you have found the true source of the evil -- the demon queen Lolth! This module is the exciting conclusion of a series of seven AD&D modules. It may be played on its own or as the climax of the "Giant" series (G1-G3) and the 'Drow' series (D1-D3). The first of a new series of other-planar adventures, this module includes several new monsters, maps of the Demonweb and lair of Lolth, and notes on eight alternate worlds, suitable for expansion and addition to existing AD&D campaigns. TSR 9035
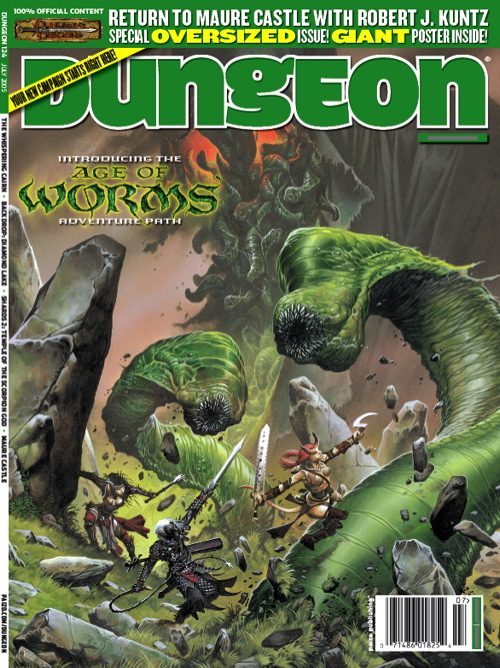
Deep under the ruins of Maure Castle lie the Chambers of Antiquities, vaults designed by ancient wizards to store magic items even they didn't quite understand. A continuation of last year's hit "Maure Castle." This adventure is set under the infamous ruins of Maure Castle, a monolithic edifice of night-black granite built by a powerful family of wizards. The Maures sealed themselves into the dungeons below their castle long ago, and today these dungeons have become one of the most infamous adventuring sites in the land. Although estimates have placed the number of monster-infested and trap-haunted dungeon levels below Maure Castle at 17, there may in fact be even more. This adventure presents one of those dungeon levels in detail. Pgs. 76-101
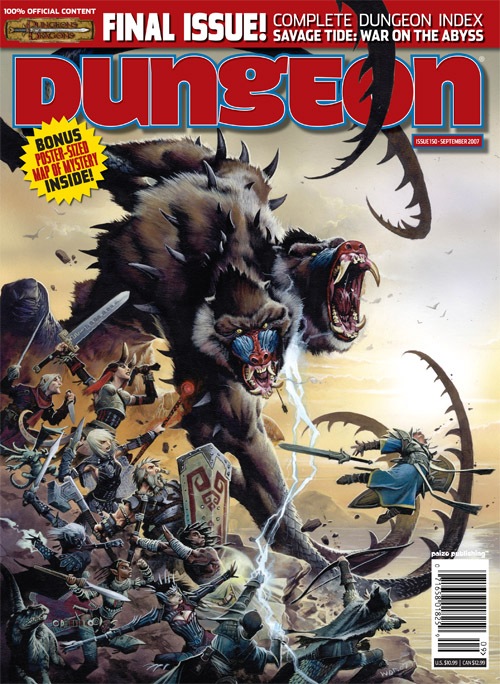
Ruling uncontested in his Abyssal layer of the Gaping Maw for eons, Demogorgon's reign as first among demon lords may be coming to an end. The storm clouds gather as his inviolate sanctum is about to be breached by an unlikely alliance from across the planes. Despite its combined strength, this invasion offers no guarantees of success. For the alliance faces no house of straw, but rather the entrenched hordes and reinforced ramparts of the home of the Prince of Demons. "Prince of Demons" is the final chapter in the Savage Tide Adventure Path, a complete campaign consisting of 12 adventures appearing in Dungeon magazine. For additional aid in running this campaign, check out Dragon magazine's monthly "Savage Tidings" articles, a series that helps players and DMs prepare for and expand upon the campaign. The time has come to challenge the Prince of Demons! An army of demons and eladrins stands ready to mount an assault on his Abyssal realm of Gaping Maw, which should give your players the distraction they need to prevent Demogorgon from activating the savage tide and driving a world insane. Pgs. 60-99

Fleeing the rage that consumed their feuding families, Juliana and Orlando fled to the Cave of Echoes, where it is said every wish is granted. Two years have passed, and all attempts to return the lovers to their parents have failed, though some believe them lost in the enchanted garden beyond the cave. Many are the rescuers venturing into that enchanted park; a few have returned after long absences, their minds and memories curiously disturbed. Now, the handsome reward offered for the return of the lovers has tempted you, but who knows that lies beyond the Crystal Cave? TSR 9066

Lost Laboratory of Kwalish explores an alternate expedition into the Barrier Peaks. The legendary inventor disappeared in the peaks eons ago… as it turns out, finding a crashed planar ship and studying its technology to fuel his own experiments—only now, Kwalish’s lost research is desperately needed! This adventure explores two locations within the Barrier Peaks, and includes new monsters, magic items, and spells, plus sci-fi trinkets, random encounters, and even rumors of the area submitted by the player community! Further featuring new art, maps (from Claudio Pozas), and even a cartoon (from Jason Thompson)—as well as the famed suit of powered armor, as edited by Jeremy Crawford on the Dragon+ livestream! Best of all, all monies that Wizards of the Coast receives from sales of this PDF are donated to Extra Life. Your purchase of this adventure goes to a truly great cause!
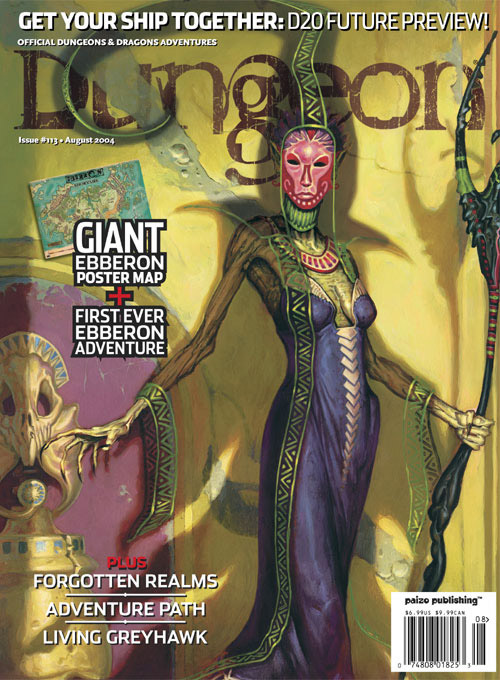
Wherein the weather takes a turn for the worse. All hell breaks loose in the city of Cauldron, as a long-dormant volcano sputters to life. The heroes must deal with the terrible consequences, ushering citizens to safety and negotiating fiend-filled streets littered with collapsed buildings. And with the death of the Lord Mayer, who will lead what's left of the City? "Foundation of Flame" is the eighth adventure in the Shackled City Adventure Path. Pgs. 56-84
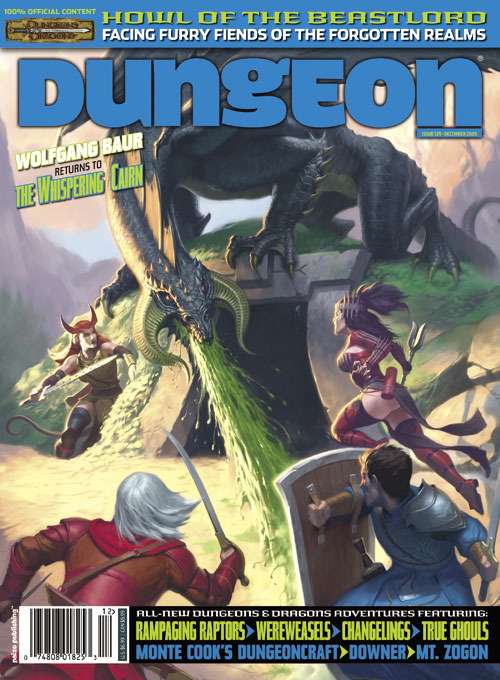
The PCs return to Diamond Lake to consult with the sage Allustan, they find the town in shambles and Allustan is missing. Locals tell tales of a terrible dragon's rampage through town. Unfortunately for the characters, the dragon is only the beginning. "A Gathering of Winds" is the sixth installment of the Age of Worms Adventure Path, a complete campaign consisting of 12 adventures, several "Backdrop" articles to help Dungeon masters run the series, and a handful of poster maps of key locations. For additional aid in running this campaign, check out Dragon's monthly "Worm Food" articles, a series that provides additional materials to help players survive this campaign. Those who have studied the cult of Kyuss and read through the Apostolic Scrolls they recovered in "The Champion's Belt" may qualify for the wormhunter prestige class, a highly customizable five-level prestige class detailed in Dragon #338's "Wormfood." Pgs. 38-66

An expansion on the original Tomb of Horrors with plot and explanation. Contains a facsimile of the original adventure. The Dark Intrusion is causing the dead to rise from their graves. This is linked to a being known as the Devourer. Following the trail of Desatysso, a wizard who followed a similar quest, the players must enter the Tomb, and beyond that, the cursed City that Waits and the Fortress of Conclusion.

The battle against the slavers continues! You end your fellow adventurers have defeated the slavers of Highport, but you have learned of the existence of another slaver stronghold, and you have decided to continue the attack. But beware! Only the most fearless of adventurers could challenge the slavers on their own ground, and live to tell of It! Second part of Scourge of the Slavelords (A1-4) TSR 9040

Adventure in the world of Greyhawk! Powerful forces are set in motion as your party searches for the legendary Blades of Corusk. Take them on the perilous journey from Rookroost to the Lair of the Shadow Dragon in the frozen northlands. Will they survive the ramifications of events that they have initiated? Those who hold the magical blades will not easily give them up. Plucking them from the grasp of a jealous dragon or stealing them from the center of the subterranean City of the Ore Horde will strain your adventurers to their limits! TSR 9317
Dragotha's phylactery lies hidden somewhere in the ruined city of Kongen-Thulnir, a ruin now inhabited by tribes of giants and besieged by an army of dragons desperate to claim the phylactery for their undead master. "Kings of the Rift" is the tenth installment of the Age of Worms Adventure Path, a complete campaign consisting of 12 adventures, several "Backdrop" articles to help Dungeon masters run the series, and a handful of poster maps of key locations. For additional aid in running this campaign, check out Dragon's monthly "Worm Food" articles, a series that provides additional materials to help players survive this campaign. Issue #342 of Dragon presents several magical items that the PCs can construct using Item Creation feats that fit into the mythos of the Age of Worms Campaign. Pgs. 52-86
Tilagos Island does not appear on most maps of the Nyr Dyv, yet the storm-shrouded island hides the greatest repository of knowledge of an ancient cabal of druids who defeated Kyuss 1,500 years ago. "The Library of Last Resort" is the nineth installment of the Age of Worms Adventure Path, a complete campaign consisting of 12 adventures, several "Backdrop" articles to help Dungeon masters run the series, and a handful of poster maps of key locations. For additional aid in running this campaign, check out Dragon's monthly "Worm Food" articles, a series that provides additional materials to help players survive this campaign. High-level characters have a staggering array of options at their fingertips for exploration and travel, and issue #341 of Dragon outlines several of these. Pgs. 58-89
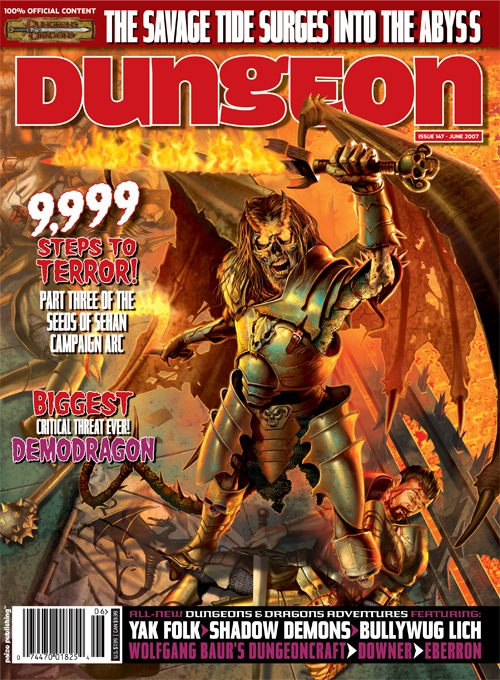
Atop a distant mountain peak, a monstrous entity plots dark deeds. The final chapter of the Seeds of Sehan campaign arc. "To a mind that is still, the whole universe surrenders." Chuang-Tzu. Pgs. 30-47
Important: The adventure is 1e but it has monster conversion notes for D&D 4th edition The town of Highport, once a human community overlooking Wooly Bay from its perch on the northern coast of the Pomarj, fell prey to hordes of humanoids swarming out of the jungle-covered hills surrounding the settlement. Though the orcs, goblins, kobolds, ogres, and gnolls razed much of the place in their ferocious rampages, the smoldering ruins they left behind soon became a new kind of community, a place of trade between the humanoid “locals” and the unsavory human traders who have no compunction about doing business with them. Slaves are a commodity in ready supply in Highport’s market, since many pirates raid up and down the coast of the bay, putting fishing villages to the torch and filling their holds with captured refugees. Slavery has become a thriving business in the town, and rumors abound of a cartel of Slave Lords who run things from behind the scenes, filling their coffers in secret from the buying and selling of human chattel. The trade has become so prolific that the good folk to the north have grown tired of these depredations and decided to fight back. Forces of righteousness and honor have recently descended upon Highport, some openly and others in secret, in various attempts to destroy the machinations of the Slave Lords and abolish the abominable enterprise that has taken far too many loved ones from home and hearth. One such doughty servant of goodness is Mikaro Valasteen, a cleric of Trithereon. Mikaro slipped unnoticed past the crumbling walls of Highport with a single mission: to rescue and transport as many slaves to their freedom as possible. Mikaro and a handful of faithful assistants located a number of escaped slaves—as well as rescued a few more not sufficiently restrained and guarded—and shepherded them through the gates and beyond the reach of their humanoid tormentors, returning them to their lands and homes. This covert freedom brigade enjoyed remarkable success early on, since the servants of the Slave Lords were often lax in their vigilance and sloppy in their efforts to prevent loss of the “merchandise.” After one too many shipments never made its destination, the humanoids stepped up their security and the normal channels of escape from Highport closed to Mikaro and his team. He cannot risk exposure by smuggling the freed slaves through the gates as merchandise any longer, since shipments of goods are now regularly stopped and checked. No longer able to free the slaves in that manner, Mikaro began hiding his charges in an abandoned villa in a particularly rundown part of the town. Although they are safe for the moment, their numbers have grown unmanageable, and the priest fears it is only a matter of time before someone slips up and brings slavers to their doorstep. Ever more desperate to find a new means of escape from Highport, Mikaro has started work on a plan that is both daring and dangerous. He intends to use a series of old sewers coupled with natural caverns running beneath the town as an escape route to the sea beyond the walls. But he needs someone to clear out the creatures and pitfalls he knows lie within. Pgs. 2-27
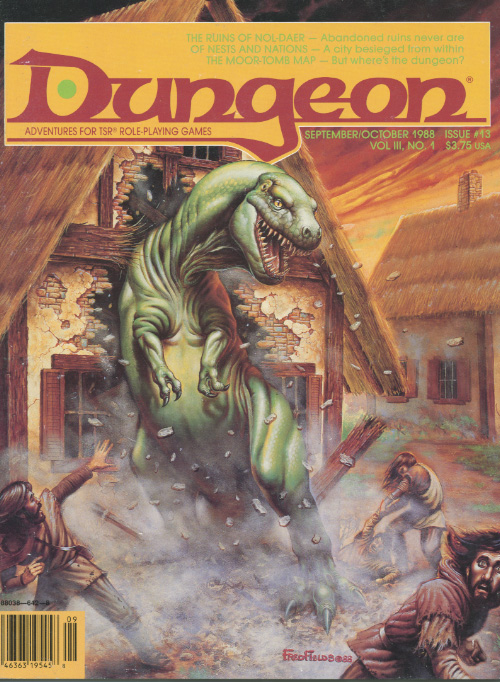
Abandoned and forgotten ruins never are. He left the Abyss to visit his human mother, not realizing he was a century too late. Still, there was a lot he had left to do... An ancient castle, Nol-Daer, has of late become the site of frequent strange occurrences. Gargoyles and Blood Hawks roost in the keep's ruined towers, Dwarves have been disappearing from the nearby area, and a Cambion controls it all from the shadows. Pgs. 3-17 & 64