
The Siegue of Sâlorium is a lvl 1-3 adventure in a fantasy world for 4-5 players with the characters have to find the origin of the tremendous attacks on Slorium. An adventure with pregenerated characters, suitable to any campaign in a fantasy setting.

Blinsky's Toyshop is our take on what happens to Blinsky and Piccolo during, or after the Curse of Strahd campaign. Blinsky, the toymaker in Vallaki with the cute monkey wearing a pink tutu, received a large inheritance from a long-time client. The client, Obtavius Swat, a retired adventurer and avid collector of toys, left his entire estate to Blinsky. The estate included coin, precious gems, art, and his collection of toys, some made by Blinsky and others he acquired during his travels. Blinsky used the fortune to pay a wizard to create a small island in the middle of Lake Zarovich, located just outside of Vallaki. He then paid masons and workers to build a fantastic new toyshop, which he designed to be an experience for both the young and old alike. Though the number of children in Barovia was increasing, mostly imparted to the devil Strahd’s downfall, Blinsky wanted to touch the inner child of the adults in the city. He wanted happiness. He wanted smiles. He named the castle Blinsky’s Toyshop of Marvels. One of the toys, a small silver tiara kept in a black satin-lined ivory jewelry box, was such a lovely piece. Blinsky couldn’t stand the thought of leaving it in the box. He already had enough gold and losing the small tiara wouldn’t be a large loss, so he decided to give it to his monkey – Piccolo (see Creatures of the Toyshop). He smiled at the thought of her running around in her pretty, shiny tiara. Sadly, as Barovian luck would have it, trapped inside the tiara is the sole of an evil gnome wizard named Aribetha Strangge. In his old age, Obtavious Swat forgot that he and his fellow adventurers used the tiara to imprison the gnome’s soul. Yesterday, when Blinsky placed the tiara on Piccolo’s head, silver tendrils cascaded from the tiara and into poor Piccolo’s skull, allowing Aribetha to control the monkey. Now, Aribetha has incapacitated Blinsky in the toyshop’s tower, brought many of the toys to life, and imprisoned or killed many of the workers and customers. The adventure includes costumes (which the character may wear), Strahd Hand Puppets, and a possessed Piccolo.

With the discovery of an enormous diamond deposit nestled on their borders, the kingdoms of Peldadrin and Belford both claim the repository of indispensable gemstones as their own. After years of negotiations fail to bring a peaceful resolution, the two nations (further incited by sentiments of national pride that have risen over the years of negotiations) determine the diamonds will be claimed only through war. In the early days of the war, Private Geth Heston, a Belford scout with rich Peldadrin ancestry, was dispatched into enemy territory to uncover Peldadrin unit formations, patrol routes, and any other information he could find. It’s been two weeks since Geth sent his latest report, putting Belford command in a state of unease. The information Geth alluded to in his last message could change the course of the war, if proven true.

A Brelish spy steals and defects with a powerful magic sword and the adventurer's have been hired to track down and recover the item. This adventure features a lengthy chase overland on horseback, on a train, and an airship. Along the way the adventurers will also have to deal with third parties seeking to recover the sword for themselves, such as Warforged agents of the Lord of Blades who have hired halfling mercenaries riding glidewings (pteranodons), and Emerald Claw raiders piloting an opposing airship. This adventure can be run stand-alone or as a sequel to The Forgotten Forge and Shadows of the Last War.
Provost Nigel Faurious’s research has revealed the location of an icy spire near the eastern side of Icewhite Island. The Provost needs the Hoarfrost Flower, an artifact found inside this spire, to make his Convergence Manifesto a reality. Eager to complete his work as quickly as possible, the Provost previously paid for an expedition from the Deathsgate Guild to explore the icy spire at the same time the Clifftop Guild surveyed the Shining Valley in the last adventure. The Deathsgate expedition’s ship, the Nightwood Cask, was destroyed by the cold of the Risia manifest zone. They made it to the island on lifeboats and headed to the spire, hoping to use it as shelter until someone from the Deathsgate Guild comes to rescue them. The spire’s builders are long gone and forgotten, but their traps and magic remain. Mror archeologists once found this place while in search of their ancestors that many believe hailed from the Frostfell. Only their camp remains in the foyer of the spire, where the party from Deathsgate waits. While the Deathsgaters’ supplies dwindle, they argue among themselves on their next steps. Should they try and make it to shore and hope their ship somehow survived, continue to wait, or delve deeper into the spire to complete the task they were hired for?

An alternative way for the Directors to start their new Draw Steel campaign. Fight off the goblin bandits, survive the ravenous undead, and lift the curse from the town of Sour Falls. This short first-level adventure provides you with two possible combat encounters, a montage test, and a negotiation. From the Ashes is a short 3–4 hour adventure for Draw Steel, written for a group of three to six 1st-level heroes and the Director. This free adventure is an alternative way for experienced Directors to start a campaign. The adventure provides you with two possible combats, a montage test, and a negotiation. By the end of From the Ashes the heroes restore an abandoned town, gaining a base of operations that could lead them to future adventures.

During a summer drought, Mulmaster is threatened by a series of arson attacks. As the populace riots, accusations fly blaming Thayans, residents of the ghettos, rowdy sailors, the refugees from Phlan and dozens of others. Can you solve the mystery before the city burns?

The Triad Series continues with Lion’s Breath Prison. After success against the Order of the Goat troops your next challenge awaits. The spiritual arm of The Triad is known as the Lion’s Breath. With some unfinished business in the form of Marquis Forten, the PCs continue to seek out their quarry. Can they locate the elusive traitor and bring him to justice? This adventure continues to send the party across the fields of Neville!

*THIS IS A D&D NEXT/5E PLAYTEST ADVENTURE* Imani, a Turmishan wizard and former adventurer, seeks the aid of heroes to infiltrate Dretchroyaster’s lair and recover the Diamond Staff of Chomylla—the key to powerful magic and wisdom locked away for thousands of years. In addition to his own sagely interest in the lore of lost Uvaeren, Imani recognizes the dangers of such powerful magic falling into evil hands. The dracolich has secured the staff in his lair’s cen- tral chamber, using ancient wards of protection that can be bypassed only by four artifact-idols once belong- ing to a cult of Bhaal. Each group of adventurers enters the dungeon through a different section of the dun- geon—a forgotten temple of Bhaal, a vast underground lake, a troglodyte village, or Dretchroyaster’s vaults. Dretchroyaster’s lair is no simple set of caverns and ancient ruins. It sits atop a source of great power and energy, which the dracolich and his Cult of the Dragon allies hope to use to unlock the secrets of the staff. Only by undertaking a unified assault against Dretchroyas- ter’s lair can the adventurers hope to recover the Diamond Staff and survive the dracolich’s fury. The adventurers must make their way through the lair and recover the Bhaalite idols that will help unlock the Diamond Staff, all the while dealing with the lair’s creatures and avoiding the dracolich as he pur- sues intruders. Entering the Chamber of the Diamond Staff, the heroes must overcome its magical wards and claim the staff before being slain by the dracolich and his servants.
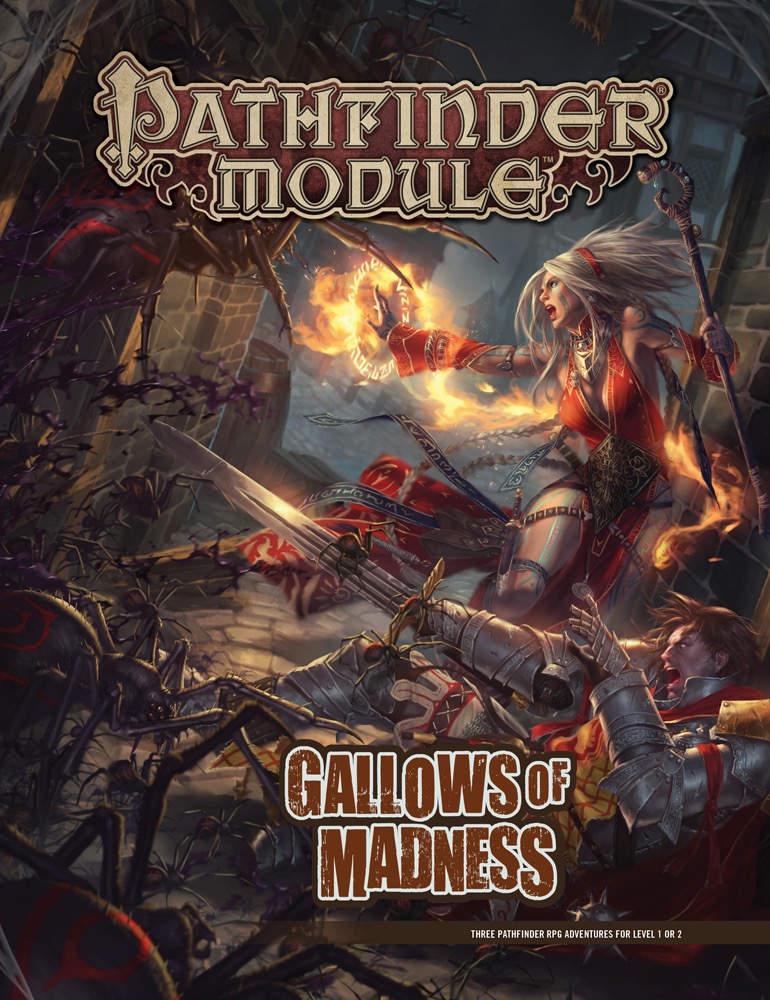
The Abyss Approaches! Something wicked—and monstrous—stirs around the rugged Isgeri town of Saringallow, where the hated legacy of noble Chelish diabolists runs deep. With the recent disappearance of several apprentices, the nearby menace of particularly grotesque goblins, and the unsettling rumors about the old Sarini Estate, Mayor Sandra Trinelli knows that she needs help, and she needs it fast! The heroes must confront one of these crises, or all three, if they hope to stem the tide of darkness that looms. Before too long, the heroes discover that villains with ties to the Abyss have set their sights on Saringallow, and won't rest until the settlement and all its innocent inhabitants fall victim to their madness-inducing predations! Gallows of Madness is a 64-page, highly versatile collection of three adventures for 1st-level characters. Each adventure also includes scaling information for parties of 2nd-level characters. Written with beginning Game Masters and players in mind while also providing challenging content for veterans, these adventures can be prepared quickly and run separately or in any order. For GMs who wish to run a deeper, more narrative game, this volume also offers an overarching timeline of events and detailed tips for running these adventures as a cohesive whole. Bonus content includes new monstrous foes and a gallery of NPCs to help easily connect the adventures, plus a gorgeous double-sided poster featuring an overview of Saringallow and a miniatures-scale battlemap!

When the adventurers are tasked with destroying a symbol of Demogorgon, they end up falling foul of the great mage Mordenkainen himself – or at least a simulacrum of him. Will they agree to help maintain the great Balance of the Blood War, even if means sacrificing innocent lives in the process?

City of the Dead A 4th Level adventure for 4-6 players A strange thief wandered into Waterdeep and stole from the wrong person. Now, he has died of “natural causes” on his visit to the City of Splendors. Having no known friends or relatives, he was hastily buried, along with his possessions, at Waterdeep’s Cemetery (The City of the Dead) in The Road’s End Tomb. While the PCs are dining in the taproom at The Dripping Dagger Inn, they are approached by a stranger who claims that the unknown man had stolen a necklace from his employer, and he needs the adventures to reclaim it. Unfortunately, the thief’s fresh corpse has been pilfered by a dire evil with unknown motives. What starts off as a simple recovery mission, turns into a fight for survival in the City of the Dead. The Adventurers must solve the mystery and destroy the evil that lurks beneath the cemetery, if they are to succeed in their quest and escape with their lives!

Devastated in a war with a nearby wizards' school, the Fighters' Academy has since been surrounded by a foul and dank swamp - the Gloomfens. Since the climatctic battle between the wizards and fighters, the tower has decayed. The spirit of the head of the academy haunts the building, eternally plotting his revenge on the wizards who killed him. his loyal sutdents remain faithful to him even in death. Other foul undead have made their home in the rotting, spacious academy. From their lair, they make forays into farmsteads near the swamp in search of victims to feed their unspeakable appetites. The Problem of these terrible attacks by the savage undead will not stop until the evil that has found a home at the tower is burned from the face of the land forever. Will your party heed the call and help the town of Melinir? Will they be able to clear the former Academy of its undead? The Fighters' Academy is the first in a three part adventure, The Haunted Tower. Or, it can be ran as a stand alone adventure. The choice is up to you. Part of TSR 1081 The Haunted Tower

In the eastern desert stands the ancient tomb of Solomon III. Like all tombs, it is full of magical treasure and crawling with deadly creatures. But unlike other tombs, this one is screaming. Years ago, soldiers and wizards went in to silence the screams, and they succeeded, but they never returned. Now Solomon’s tomb is once again screaming out across the dunes, and no one knows why. Solomon’s treasure is still down there, but then, so is whatever is screaming. ADVENTURE TYPE: Small Linear Dungeon DESIGN NOTES: This adventure is intended for characters levels 5 to 7. It includes a desert wilderness area, an oasis, the tomb exterior, the tomb interior, and a cave system below the tomb to explore. Each area contains various NPCs, new monsters, old traps, shiny treasures, and strange magical items. There are many opportunities for (deadly) combat, and a few of them may be inescapable, but it is possible for players to have complex interactions and to experience very different consequences, depending on their choices. INCLUDES: Story hooks, dialogue prompts, creature stat blocks, dungeon overview map, and full-sized battle maps of each dungeon room that can be printed and used right on the table. KEYWORDS: Tomb, ghuul, ghoul, skeleton, ooze, demon, devil, thief, wizard, desert, sabercat, oasis, spider, viper
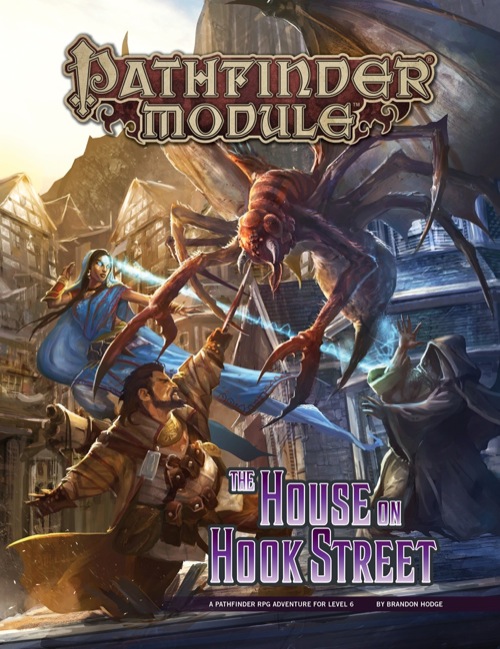
In Old Korvosa, nightmare-spawned horrors begin stalking the district's shiver addicts, sparking a manhunt to bring those responsible to justice. What role does the strange cult known as the Brotherhood of the Spider play in the mysterious deaths, and why is the veil between the dreaming and waking worlds so thin? To solve these mysteries and others, the heroes must walk the unseen paths of Bridgefront's occult underworld, and even enter the Dimension of Dreams itself to unravel the web of intrigue concealing the cult's deadly machinations. But what will happen when the heroes' own dreams turn against them, and what becomes of those who uncover esoteric secrets too terrible to know? Beset by dangers from their own minds, the heroes must race against time to save Korvosa—and their sanity.

Run, play or splice up 66 pages of mayhem and weirdness in this Slavic mythic-inspired (with an acid fantasy-twist) mini-sandbox for Labyrinth Lord or the well-aged fantasy rpg of your druthers. Contains: • A 25-site pointcrawl of the otherwordly Slumbering Ursine Dunes region. Beyond the big ticket adventure sites you will find along the way a Polevik-haunted rye field, a Zardoz head-living hermit, bearling pilgrimage site, antediluvian beaver engineers and other assorted madness. • Two separate “dungeons”, the bio-mechanical, lost-in-time Golden Barge and the faction-contested Glittering Tower, with enough detail and portability to be slotted into an existing campaign. • The Chaos Index, a dynamic events system for modeling the mythic weirdness of the Dunes. Actions of the players in the sandbox will escalate or de-escalate the levels of events. • Four competing factions operating inside the Dunes, plus guidelines for their mutual interactions.

Adventuring in the Principality of Lockerbie continues with Issue in the Canyon. Your party has enjoyed the advantages of being considered a hero but as the days’ progress, it is back to normal in Gormell. After having a bit of ale at the local tavern you notice a wagon caravan has arrived in town and the people are abuzz over their arrival. Noticing that some of employees are a little beat up, you find yourself in the sheriff’s office being told of a brazen, humanoid attack on the merchants. Looks like you just found a job opportunity!

An old elf has wandered into the city from the jungle--prattling on about his long-lost daughter to anyone whose ear he can bend. Though most in Port Nyanzaru dismiss him as mad, he speaks the truth. Can you find and save his daughter?

Uncover a Hidden Legacy A lost passageway on the upper level of the most infamous dungeon in Faerûn has recently been uncovered. When a patron hires a band of adventurers to brave the dangers of Undermountain, a search is on to uncover secrets of an apprentice of the dungeon’s lost creator – Halaster.

A gnomish settlement is plagued by inexplicable earthquakes, the wrath of an Earth Elemental. Can the heroes save the gnomes? Do the greedy gnomes deserve to be saved? "Valanche's Eye" was inspired by a desire to write an adventure which blurs the line of who the bad guy actually is, or indeed whether or not there's a really tangible villain. It takes the "patron hires adventurers to clear dungeon" trope and twists it – the patron turns out to be a pretty rotten bastard, and the monsters in the dungeon are just trying to live their lives. It starts when gnome gem-miners strike the mother lode of emeralds and sapphires, only to find themselves run off their claim. First they accidentally broke through to the Elemental Planes of Earth and Fire, and mephits burst out to annoy them. When they were just about done dealing with the mephits, they disturbed an earth elemental who just wants to be left alone, and emeralds are its favorite snack. The mine boss hires the adventurers to come kill all the elementals. But should they?