
Ever needed to spice up a stay in a city? Or, ever needed something to fill the gap between sessions when you are missing a player? Add a little flavor to the adventurers’ city visits with a rampaging mummy, a circus gone wild, a haunted inn, and much, much, more. This 80-page supplement contains 26 encounters written by best-selling Dungeon Masters Guild writers and new writers! Encounters in the Savage Cities includes: •26 unique encounters / mini-adventures ◦A mix of combat, roleplay, and investigation •Scaling Suggestions for CR 1-10 •New creatures •Custom Art •Downloadable Custom Maps (as a separate file) These encounters are location generic and are designed to be easily added to any campaign. Use them to introduce new players, as inspiration for a new campaign, as a one-shot, or whatever else you can think of.
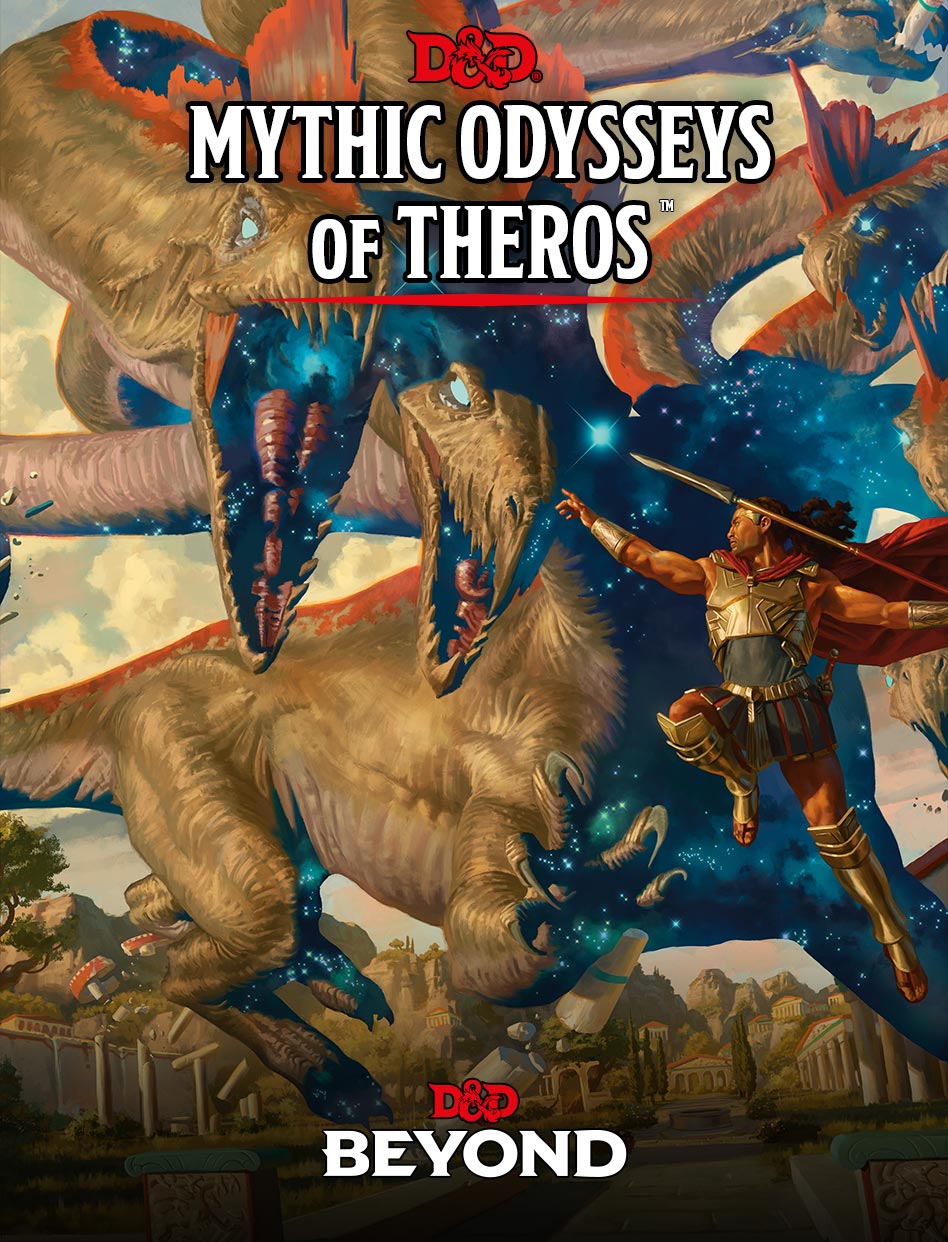
The adventure begins with the characters discovering the recently murdered Returned, Varyas, and confronting his killers. Varyas's gold mask bears a code on it, one that points toward the sage Khea who lives in the nearby polis. When the characters investigate, they learn from Khea that the writing is undecipherable except for the first line, which refers to the legendary Court of Orestes, a site sacred to the god Phenax. She also notes that a recent earthquake has uncovered a cave along the Khystonos River that could be the secret site's location. If so, then perhaps within lies the key to deciphering the mask, along with its own treasures. With the information provided by Khea, the adventurers set forth into the wilds, where they'll face multiple storied dangers before reaching the Court of Orestes. Once at the lost holy site, the characters discover ancient guardians, as well as an unliving entity with the potential to reveal Phenax's lost secret.

Recent earthquakes have unearthed a small section of a lost dwarven fortress. The dwarves are long gone, but rumors suggest they might have left treasure or weapons behind. After a journey into the Underdark, the characters find a barred iron door bearing the names of several ancient dwarven clans. Pgs. 90-95
Two Red Wizards of Thay have undertaken a secret mission into the High Moors east of the Sword Coast. They are searching for something or someone. Whatever their goal out there in the cold and windswept hills, if the Red Wizards want to keep it secret then it is probably best uncovered swiftly for the good of everyone else. Even the mercenaries who escorted them into the wilderness earlier agree: someone should stop them. Pursuing the Red Wizards leads the adventurers to a barrow mound in the wild grasses of the High Moors. At the barrow, they discover the remnants of a wizards' sanctum still being plundered. The fate of its lore and treasures is up to the characters. Without caution, things may get out of hand. This Dungeons & Dragons adventure is written to suit four to six characters of 8th level. With this text and the core D&D manuals, you have everything you need to play. You may also benefit from the Sword Coast Adventurer's Guide to learn more about the High Moors of Faerûn. Made for the Magic: the Gathering set "Adventures in the Forgotten Realms".

5e Solo Gamebooks presents Citadel of the Raven, the third in our series of solo adventures. Citadel of the Raven is the sequel to Tyrant of Zhentil Keep, but is also playable as a standalone solo adventure. The first solo adventure in this series is titled The Death Knight’s Squire. At 589 entries, you can expect a lot of variety from this solo quest. There are several main paths your character could take, and numerous encounters and options on those paths (including short sub-threads designed for specific classes), making the number of possible adventures practically endless. Add to that the characteristics of your class, and the numerous variegated combat encounters, and it’s safe to say that no two run-throughs of Citadel of the Raven will be the same.

After escaping the oppressive rule of the hobgoblin empire, a tribe of goblins stumbles across a long-abandoned iron mine that would make the perfect home for them, if only it wasn’t already full of dangers. What lurks in the mine is however a secondary problem for the goblins, as they know that hobgoblin scouts will be hot on their heels. Looking to gain a valuable ally, they turn to the local town of Cathric for help. Under orders from the Marquess of Cathric, your band of adventurers is tasked with ensuring that the mine can provide a steady source of iron. Of course, this will mean helping the goblin tribe to get the mine working and defending them from their old masters. Your players will have to face off against the monsters in the mine, a hobgoblin scouting party and some over enthusiastic mining equipment, all while trying to put on a brave face in front of three trainee goblin fighters. Content warnings: spiders, enclosed spaces, displaced populations, authoritarian regimes. It is also implied that a monstrous creature is wounded by another monstrous creature.

The Jail of Gundavold is a scenario designed for a solo player but adjustable enough for a party size if needed. After a foray into the wilderness Ruins of Borgdell, you found yourself ambushed with a bag tossed over your head. After a grueling trek across uncertain terrain you find yourself in jail. Are you smart enough to get yourself out of this mess?

For over a hundred years, Skyhold Tower has floated harmlessly above the lands of Faerun. But now it is plumeting toward the earth - directly at Neverwinter! Our heroes have been urgently recruited to enter the tower and avert disaster - but can they uncover the shocking secret of Skyhold Tower before it's too late?

In this adventure, the PCs discover that not all souls rest easy, particularly those spirited away to Nightwyrm Fortress. To learn the truth, players must pierce death's veil itself and enter the Shadowfell, where sinister echoes of life wing through eternal gloom. This adventure can be run as a stand-alone adventure or as Part Three of a three-part series of adventures (starting with P1 King of the Trollhaunt Warrens(TM) and P2 Demon Queen's Enclave(TM)) that spans 10 levels of gameplay.
Provost Faurious has procured an Aethervane, an astrolabe-like instrument tied to Kythri that's used to navigate manifest zones. Unfortunately for the Provost, the Riedran ship that was carrying the Aethervane across the Sea of Rage to deliver it to their agent in Regalport fell victim to piracy. The player characters are dispatched to Regalport to meet up with the Provost’s agent there and petition High Prince Rygar for more information about the stolen cargo. When the characters dock in Regalport, they meet the Provost’s contact and are ushered into a meeting with High Prince Rygar. Wishing to show his intolerance for piracy, Rygar charters one of his own ships for the party’s use as they investigate the stolen cargo. Upon arriving at the crash site of the stolen cargo, the party is set upon by a fleet of pirates known as the Wind Whisperers. When things turn sour, a new surprise reveals itself as an unnatural storm rolls in, a stolen airship at its heart. The Wind Whisperers have found a way to convert the Aethervane to serve their own purposes. Seeking aid from Rygar and House Lyrandar, the heroes chase after the pirates by sail and airship. As they do, they are bedeviled by the Chaos Fleet—strange ships sailed by an even stranger crew that are drawn to the Aethervane and the chaos it brings. In a final airborne confrontation, the party boards the rogue airship and retrieves the sought-after artifact, with a chance to salvage or sink the stolen vessel in the process…

You visit the peculiar village of Basht expecting a pleasant evening filled with good food and drink, and a chance to learn their strange customs and superstitions. Your evening is interrupted when you are asked to rescue their mayor. Their mayor? A goat that lives in the center of town. Why is he so vital, and why is this a job for adventurers? A Two to Four-Hour Adventure for Tier 1 Characters. Optimized for APL 3. The Goat Mayor originally debuted at U-Con on November 2019. (https://www.ucon-gaming.org/)

A unique skill-challenge focused adventure on a perilous cliff wall! A rift descending adventure where certain doom is mere inches away at any given moment.

Everyone in the villages that once made up the Kingdom of Lilies knows the tragic tale of Queen Niva Brysis, a fair and beautiful sovereign from a past generation. The queen and her kingdom are often thought of in the same regard; the kingdom didn’t truly come into being until her birth, blossomed in her youth, and wilted away as the queen aged and succumbed to madness. Of course, this is in the annals of history now, as Queen Niva died decades ago, crazed and alone in her mountain keep… right? Not according to a new cult calling itself The Queen’s Adherents. This group not only claims that Queen Niva is alive and well, but she has regained her youth and former beauty. What’s more, they promise any that join their ranks may receive their queen’s blessing and become immortal themselves! The PCs are ultimately the ones that need to dissolve the cult from growing, and in doing so look into the mystery behind the queen’s enigmatic return. But be careful, because if looks could kill, this mission could be murder! Dungeons on Demand is a line instant dungeons you can drop into your campaign, each is designed for 4-5 player parties of specified levels, and each dungeon is complete with a back story, hand drawn maps, traps, puzzles, and reference information to monsters and treasure. You can customize each one to fit in your campaign however you wish, and each one can be played through in one or two gaming sessions.
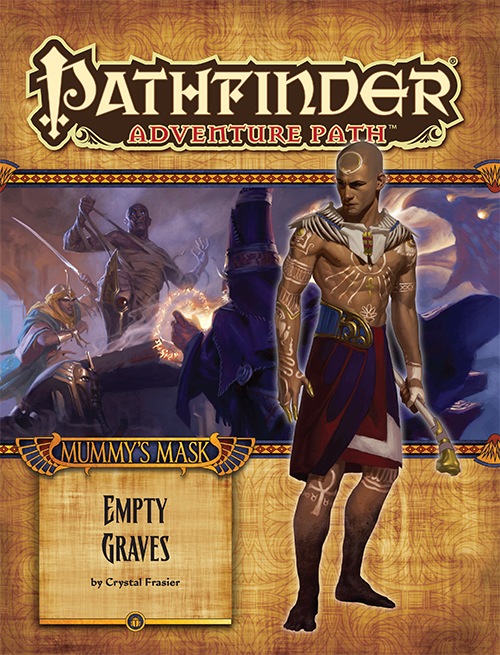
Following the opening of its necropolis, the city of Wati is overrun by hordes of the unquiet dead. The heroes must once more brave the abandoned streets and dusty tombs of Wati’s necropolis in search of the powerful artifact called the Mask of the Forgotten Pharaoh, as well as the necromancer who is using it to create the undead uprising. But mysterious masked cultists also seek the artifact so they can bring a pharaoh from the ancient past back to life. Can the heroes defeat the evil necromancer and return the deceased to their graves, or will Wati truly become a city of the dead?

In The Black Midwinter is a Festive adventure, designed to be played in one session. The PCs battle an ancient evil threatening a remote village in the subarctic north. Very much the same as most D&D adventures, only this time, it’s Christmas themed! The adventure includes a new Legendary Item, The Deck of Merry Things (with full printable art to create a prop deck), five new monsters including Krampus (obviously) and The Yule Lads (not so obviously, unless you're really into Finnish Christmas Folklore), ten additional magic items and four new alignments (really!). This adventure is ideal for a one off, not entirely serious game separate from your regular campaign. Mulled wine, stupid hats and holiday cheer not included, but very highly recommended.

CALLING ALL BEGINNER GMS AND PLAYERS! Prepare to be schooled! Exallizar Preparatory Academy is a place that, for generations, has trained the best and brightest heroes in the land. All of the students are the children of famous heroes, and as one of the fortunate attendees, it is your job to uphold the legacy of excellence attached to your family name. As a student in Exallizar, you will be put through the paces like never before. This first year will see you and three strangers attempting the Gauntlet – a mysterious crucible that will put all of your studies to the test! Also included in “A Learning Time”: The first look at an exciting new miniature campaign setting specifically intended for the basic version of Pathfinder Four new iconic pre-generated PCs for quick and immersive play A classic monster never before seen in the basic version of Pathfinder A grading system to let you know how well you’ve done at the end of the adventure The first chapter of a series of seasonally thematic modules that can be run to completion in 3-6 hours HERO LAB files available for all encounters within the adventure as well as the BASIC Iconics, all playable as PCs!

When a Thayan research expedition returns from the Glacier of the White Wyrm with only two survivors that are reduced to whispering about an ancient pyramid under the ice, perhaps it is time to discover just what scares the life out of a nation of necromancers. The events of DDEP2 Mulmaster Undone resulted in terrible geographic upheaval all around the southeastern region of the Moonsea. Massive landslides, earthquakes, tidal waves, and gnashing tornados devastated the land and the city of Mulmaster was nearly scrubbed from the face of Faerun. Fortunately, these events also revealed previously hidden artifacts—trinkets, mostly—from the ancient Netherese all around the city. The Thayans have long held an interest in the port city and wasted no time in assisting in the rebuilding efforts. They simply asked that a blind eye be turned to their archaeological interests, and in return they would continue to spend their own resources (at no expense to the Mulmasterites or even the High Blade) to rebuild the city, bigger and better than before. It wasn’t long before their interests paid off with the discovery of a research laboratory beneath the Glacier of the White Worm, far to the east of Mulmaster and nestled in the mountains. The Thayans sent a sizable expeditionary force but only two acolytes returned. The visiting Zulkir has found this particularly troublesome, and with the assistance of Rastol Shan, the head of the Cloaks, has arranged for a mercenary force to perform a more pointed investigation of the area. In return the Thayan noble has promised significant compensation. Upon arrival at the dig site, the characters are quick to discover that the laboratory hides ancient and palpable evil. The purpose of the facility can be discerned with careful investigation, and the effect of the still-active fragment of the Dark Obelisk has empowered (some may say attracted) servants of the Worm that Walks. Danger and death await, certainly, though the characters always have the option of running away and living to fight another day…

The Disappearance of Esme is a short adventure for four or five characters of 2nd to 4th level. It will take a party from an ancient forest to a magical island at the fringe of the Feywild to the Feywild itself. As a standalone one shot, it is possible to complete it within a session of six+ hours. However, it is ideally played over two or even three sessions so that the players have time to absorb all that is happening and make decisions with more care. It can be placed within any setting where travel to the Feywild is a possibility. Features A painstakingly crafted 25 page full-color and fully illustrated PDF, a printer friendly B&W version, and a tested for screen readers accessible version A customisable, standalone adventure with opportunities for exploration, skill challenges, NPC interactions and combat Multiple entry and exit points, suggested developments for many different pathways Well rounded, complex NPCs with old school portraits Tooth Fairies, Flying Monkeys and Foglings: custom monsters with stat blocks A colorful battle map with both DM and player versions and separate monster and environment art assets

The corrupt town guard of the Styes refuse to help when a mysterious monster begins to slaughter the residents of Hopen'er Asylum, an old decrepit mental aslyum. A call is put out for any adventurers willing to defeat this mosnter and save Hopen'er before it falls any further into madness... From the author of Murder on the Primewater Pleasure comes The Horrors Beneath Hopen'er Asylum. If you enjoyed that adventure then you will love this! This horror adventure takes place in and below Hopen'er Asylum. Originally designed to serve as an introduction to the location known as The Styes frorm the Ghosts of Saltmarsh campaign book, this adventure can be easily transferred to any setting (advice is given on how to do this). The characters will explore an abandoned underground wing of the mental asylum, before delving into a forgotten cave system to face an unknown enemy, a Dubh. The adventure is designed for 6th - 7th level characters and takes anywhere between 4 - 6 hours to finish. The adventure contains full colour maps, as well as VTT versions of the maps.

Blinsky's Toyshop is our take on what happens to Blinsky and Piccolo during, or after the Curse of Strahd campaign. Blinsky, the toymaker in Vallaki with the cute monkey wearing a pink tutu, received a large inheritance from a long-time client. The client, Obtavius Swat, a retired adventurer and avid collector of toys, left his entire estate to Blinsky. The estate included coin, precious gems, art, and his collection of toys, some made by Blinsky and others he acquired during his travels. Blinsky used the fortune to pay a wizard to create a small island in the middle of Lake Zarovich, located just outside of Vallaki. He then paid masons and workers to build a fantastic new toyshop, which he designed to be an experience for both the young and old alike. Though the number of children in Barovia was increasing, mostly imparted to the devil Strahd’s downfall, Blinsky wanted to touch the inner child of the adults in the city. He wanted happiness. He wanted smiles. He named the castle Blinsky’s Toyshop of Marvels. One of the toys, a small silver tiara kept in a black satin-lined ivory jewelry box, was such a lovely piece. Blinsky couldn’t stand the thought of leaving it in the box. He already had enough gold and losing the small tiara wouldn’t be a large loss, so he decided to give it to his monkey – Piccolo (see Creatures of the Toyshop). He smiled at the thought of her running around in her pretty, shiny tiara. Sadly, as Barovian luck would have it, trapped inside the tiara is the sole of an evil gnome wizard named Aribetha Strangge. In his old age, Obtavious Swat forgot that he and his fellow adventurers used the tiara to imprison the gnome’s soul. Yesterday, when Blinsky placed the tiara on Piccolo’s head, silver tendrils cascaded from the tiara and into poor Piccolo’s skull, allowing Aribetha to control the monkey. Now, Aribetha has incapacitated Blinsky in the toyshop’s tower, brought many of the toys to life, and imprisoned or killed many of the workers and customers. The adventure includes costumes (which the character may wear), Strahd Hand Puppets, and a possessed Piccolo.