
Agents of the fire giants of Maerimydra, a city in the Underdark, have overtaken the drow outpost of Szith Morcane. The factions seek out adventurers to free the outpost’s leaders for questioning on the giants’ activities. Can you extricate them before it’s too late?

A Ship in the Mist - A Horror One Shot In A Ship in the Mist, the players are hired to recover a lost skyship known as the Sky Scythe and retrieve an experimental artifact called the Veil of Aramis. The Sky Scythe disappeared decades ago under mysterious circumstances, only to resurface in a desolate region. As the players investigate the ship, they uncover its eerie connection to a plane of madness and horror. The adventure features a blend of horror, mental manipulation, and high-stakes combat, culminating in a tense race against time as the ship’s fate hangs in the balance. This adventure is meant for low levels (1-3) and a cast of 3-5 players, contains some combat, but mostly exploration oriented encounters. Expected playtime 4 hours (1 session) - One shot The adventure is leans heavily into horror, with no real redemption ending. This adventure can also be a replacement for Death House as a starter quest for Curse of Stradh, where at the end of the adventure they would end up in the mist outside Barrovia.
The Cult of the Dragon leads the charge in an unholy crusade to bring Tiamat back to the Realms, and the situation grows more perilous for good people with each passing moment. The battle becomes increasingly political as opportunities to gather allies and gain advantage present themselves, all centered in Waterdeep. Continuation of Hoard of the Dragon Queen.
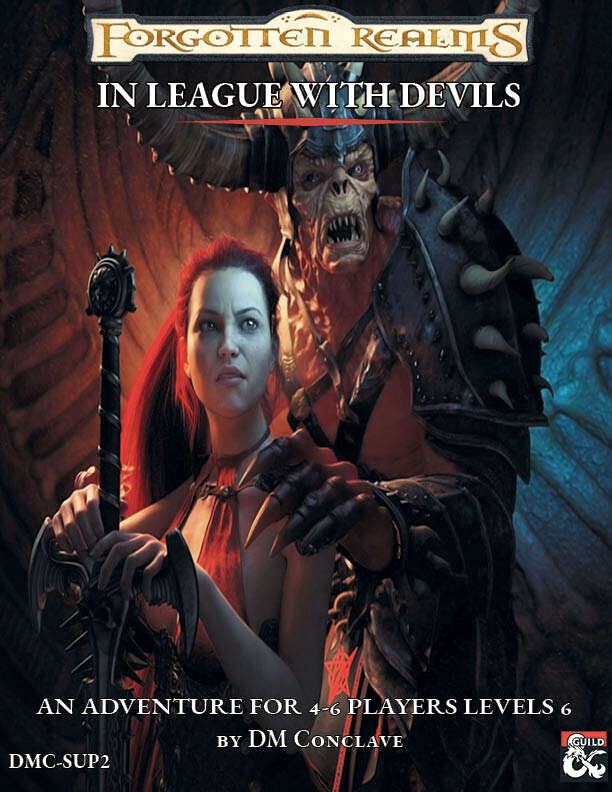
This adventure is a supplementary scenario for Baldur’s Gate: Descent into Avernus, which can be used while the party is fleeing Elturel and are heading towards Fort Knucklebone at level six. It entails a bargain with Bagrivyek, the goblin deity of cooperation. The God offers them a deal they can’t refuse, significant magical assistance for their quest, should they become its test subjects in a fight to the death with some of its elite troops. Devils that have been infected with a special substance, which is called soul-ichor and was created by a psychomancer, in search of his own power. The heroes will have a chance to interact with a god and bargain with it, a fight to the death at the Hellbent Fighting Pits, and also get a chance to learn of or even be introduced into a long-forgotten school of magic. Will the players reap all the benefits of this god-deal, or suffer the consequences of failing?

The heroes hurry to reclaim a treasured item that an evil hag has hidden away. The item they seek is well guarded by dangerous foes bent on destroying any that dare enter their domain. Estimated play time - 1 hour. This product contains two combat encounters designed for 4th level PCs, an extensive backstory, new monsters and new magic items. The encounters are easily adapted to almost any campaign setting. The text also includes optional changes that DMs may consider when running the adventure for their own campaigns. This side trek encounter is the second of a three-part "Fey's Bargain" encounter series.

Szass Tam, the lich lord of Thay, and his Red Wizards threaten to dominate all of the Sword Coast. The Bloodgate, an elemental node of power, must be destroyed in order to stop him. Remake of the original 4th Edition adventure.

The sages of Candlekeep have come calling. They’ve come to Port Nyanzaru on the trail of a colleague. He came to the jungle to pursue his studies in solitude some twenty years ago, but within the last year, his regular communications have fallen silent. They are in search of brave (and discrete) adventurers to escort them around the peninsula for a health and welfare check. Are you brave and discrete enough for the job? A Four-Hour Adventure for 11th-16th Level Characters

Everyone in Moonfern Ford knows to avoid the Tainted Grove, a place of darkness and evil amidst the sylvan beauty of Cormanthor. When a young hunter goes missing in the forest, things in the village take a dark turn. Part 3 of the Elvenflow Saga.

A noble scion and his retinue from Baldur’s Gate left on an adventure amid much fanfare. That was two weeks ago. Rumours in the taverns suggest only a single soldier returned, bearing grievous wounds and a ransom demand. Is this a simple case of misadventure, or are darker conspiracies afoot? Can you locate and rescue the nobleman, or will you fall victim to the malevolent powers stirring deep within the Temple of the Opal Goddess?

Sinister, twisting images...Horrific nightmares lurking at the corners of the mind...These are descriptions used to tell the tales of the Labyrinth of Madness. But these tales of the labyrinth are only legends, really, nothing more than stories used to frighten children at night - until a mysterious scepter is found, bearing within its crystal head a visage of insanity and terror, and also delivering a message: "Disturb not the Labyrinth of Madness again, and live a while longer." Now a powerful temple suffers from a tragic curse that is somehow linked to the labyrinth. Does there exist a group of heroes who can penetrate this dark and terrible place to life the curse...and survive? Labyrinth of Madness is a multiple-level, three- dimensional dungeon adventure, a puzzle within a puzzle, that commemorates 20 years of gaming with TSR. TSR 9503
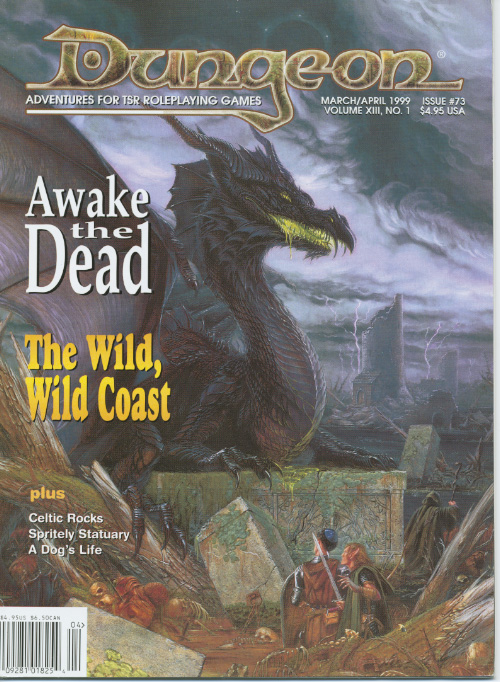
Retrieve the bones of a dracolich to save the life of a paladin. The epic conclusion of the Mere of Dead Men series. Set in the Mere of Dead Men region of the Forgotten Realms.

Buried in the desert sands of Mulhorand, near the city of Mishtan, lies an ancient stone statue of a sphinx queen. After a fierce sandstorm reveals a huge tablet etched with hieroglyphs between the statue’s paws, the PCs must translate the strange writing to find the secret entrance into the Temple of the Sphinx Queen. The conclusion offers three optional endings for DMs to choose from to suit their players, including a wicked trap, a twist that leads to further adventures, or a tough climactic combat suitable for a one-shot. Included are: Five new Egyptian-themed monsters: The Sphinx Queen, Black Lion Guardian, Zombie Scarabs, Snake of Set and Desert Spirit. A new weapon, the khopesh Four new magic items: Statue of Set, Guardian Khopesh of Set, Warded Puzzle Box and Minor Concoction of Healing Two hieroglyphic puzzle player handouts and a DMs translator sheet

All Eyes on Chult is a 2–3 session adventure for player characters of 1st level. These characters will rise to 3rd level by the end of the adventure. It takes place in Port Nyanzaru, Chult just after two ships flying black flags enter the port under cover of dark. Though this takes place in locales familiar to players of the Tomb of Annihilation storyline and can be played as a side quest in Port Nyanzaru, it has no relation to the Death Curse nor any other major plot elements of Tomb of Annihilation. Instead, it focuses on two nefarious Faerûnian factions—the Zhentarim and the Xanathar Guild—working together to plunder Chult for their own gain.

Located in The Vast north of the Sea of Fallen Stars, Adhe Wood is a small but deadly place. Legends swirl of a mysterious temple in Adhe Wood where statues of snakes hold massive emeralds. But the citizens of Sevenecho, the town nearest to Adhe Wood, seem to know nothing of this legend and refuse to speak of it. Travelers into Adhe Wood rarely return, devoured by the mutated spiders that lurk in the trees.

The recent discovery of an entrance to the Underdark has set local leaders on edge. In a display of initiative, the First Lord of Hillsfar has ordered the construction of defensive structures surrounding what locals have begun to call "The Waydown." You have been charged with escorting an emissary back to his home in the Underdark without alerting the Red Plumes.
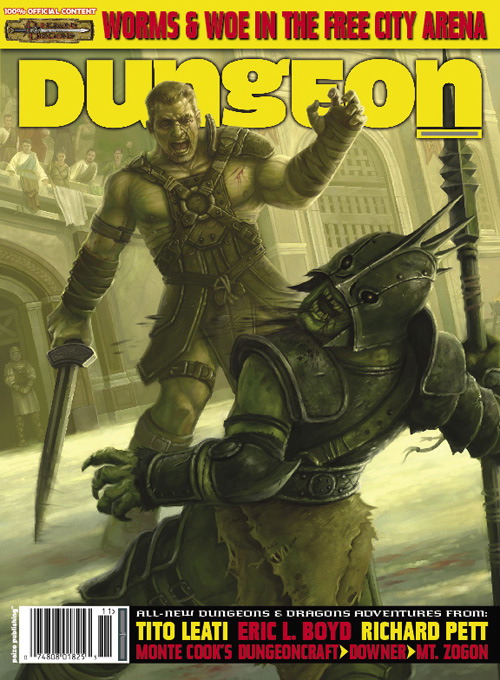
As the party faces an ancient foe who has never been defeated, their hunt threatens to unleash the buried ghosts of a forgotten feud between two of Waterdeep's powerful merchant houses. The third adventure in the Vampires of Waterdeep Campaign Arc. Pgs 70-93

An Adventurers League Con-Created Content Module. Tier 1, 2-4 Hours. (Compatible with Homebrew games too!) May I have the next 100 words to convince you to purchase this adventure? **PITCH BEGINS!** This module features three ways to play: join the Knights of Holy Judgment, the Cult of Zariel, or the forces of Chaos as you search for a lost Angel of Tyr, Ser Vindictus. Play like it is 1990 and experience the first Adventurer’s League module to use 16-bit art for maps, tokens, NPC portraits, and magic items! Each purchase includes the PDF, Fantasy Grounds module, four maps, 15 tokens, comic art for the backstory, and an imaginary high five from the author. Make a DC 92 Wisdom saving throw. On a success, reroll! On a failed save, buy this adventure! **PITCH ENDS!** Author’s note: This is part one of a two part Tier 1 series. I plan to make future Verses if these do well and people like them. Thanks for looking at my adventure and please leave an honest review! -Anthony Joyce (Twitter: @Thrawn589) All artwork was commissioned and commercially licensed for this module. Pixel Art by: Joaquin Reymundo "Dsurion" (Twitter: @Dsurion) Comic Art by: James Gifford (Twitter: @Mrjamesgifford) Fantasy Grounds Module by: Chris Jernigan

Charasta, an old white dragon, has not reached her age by being unprepared or foolish she is, in fact, much more intelligent than most white dragons. Her lair is well defended and tailor-made to help her defend herself. Not only that, but when she leaves the caves to hunt she’s taken to using change self to disguise her exact color. This wily white makes a perfect foe for your party adventuring in the North of Faerûn or in almost any other campaign setting as well.

After the first expedition to locate an ancient tomb was prematurely ended by monsters, the Search and Locate Treasure Consortium is doubling down. Camp established, they are looking for adventurers to make their dreams come true, but the leader of the Consortium is hiding something. Will the characters be able to avoid the Man Slayer tribe that destroyed the first expedition, help Larazmu settle his internal struggles, and locate the tomb that they have been searching for without getting into Moor Trouble?
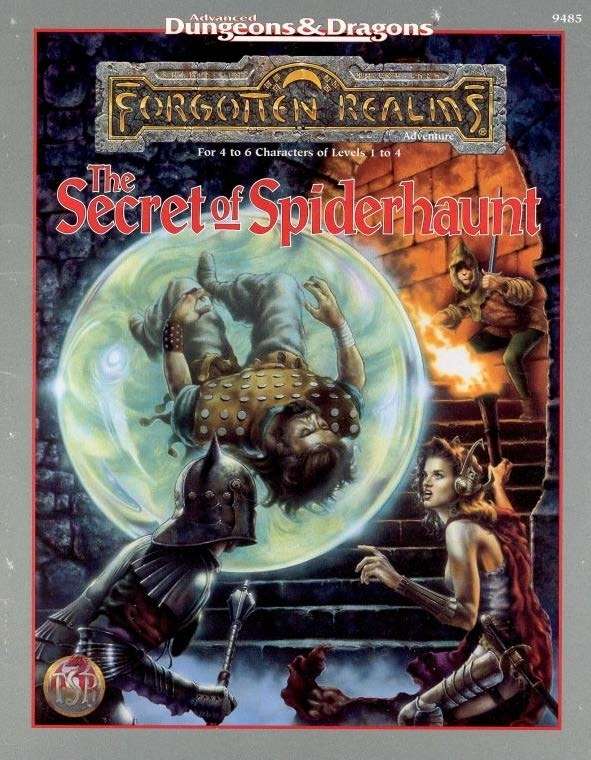
The infamous Sword of the Dales has always held a certain fascination in the eyes and hearts of the citizens of the Dalelands. Thus, it was no surprise when Randal Morn, rebel leader of Daggerdale, led an expedition into the crypt of a long-dead wizard to recover the weapon. Shaevyn the weapons-mage had created the Sword long ago, and it stood to reason that the blade would be waiting within his tomb. Perhaps the Sword of the Dales woulld allow Randal Morn to rule Daggerdale once again. But Randal Morn never returned from that fated party. Only tales of terror told by a lone survivor held any clues as to Randal's fate. A brave hand of heroes accomplished what Randal Morn's group failed to do in part one of this adventure trilogy, "The Sword of the Dales." Battling through the tomb's undead inhabitants, those heroes reached the burial crypt of Shraevyn. There, resting in the center of the coffin, was the Sword of the Dales, its azure glow filling the chamber. However, there was no sign of Randal Morn. Only a note signed by his hand held any clue as to his fate. "Seek me in Spiderhaunt," it proclaimed. "The fate of Daggerdale is in your hands." This is the second part of a trilogy of modules that began with "The Sword of the Dales." The saga concludes with "The Return of Randal Morn." TSR 9485