/pic3143465.png)
Once a powerful proponent of Law, the Archmage Tazimack the Red was eventually driven mad by a fear of mortality. As he slipped into insanity his retirement home began to reflect the chaotic bent of his mind. Long after Tazimack’s unnaturally animated body has disintegrated, his manor house remains as a shadow cast by a twisted intellect. Can the characters bring order to this chaos?

The land lies under a curse. Fruit drops to the ground, its pulp black and rotten. Leaves curl and wither on the branches. Animals flee the parched vale, or starve. Long ago, the Downs prospered under the care of Druids, but the priests of nature have retreated deep into the woods and rarely show themselves. One old man claims that the Druids have the power to save the valley, if only someone could find their Oracle to seek help. Will you reach the Forest Oracle of the Druids in time? And if you do, can they really lift the curse? Or does the answer lie elsewhere? Only the most daring and cunning adventurers will save the Downs. N2: "The Forest Oracle" (1984), by Carl Smith, is the second AD&D adventure in the novice (N-) series. Unlike its predecessor, it is not intended for 1st-level adventurers, but instead for 2nd level and up. This conversion guide allows DMs to run the original module with 5th Edition rules and provides a reference sheet for encounters. Also contains suggestions for placement in the Forgotten Realms. To use this conversion guide you will need a copy of The Forest Oracle, originally available in hard-copy and now for sale in Digital format on the DMs Guild. Visit Classicmodulestoday.com to find out how you can create your own classic module conversions and sell them on the DMs Guild.

A series of small earthquakes have brought a sense of disquiet to the town of Daern Kelton and Roslof Keep. Against these strange earthly portents, the members of the Ivory Scimitar have claimed their place as a true Mithel Company, but even greater danger now awaits them in the second level of the Dungeon of the Black Fey Mithelvarn. What lost secrets will be revealed as they journey below? What new threats and adventures can be had in Daern Kelton? The town opens its doors to the brave new heroes of the Company of the Ivory Scimitar. Here continues the Roslof Keep Campaign in the pages of ROS2, The Tremors in the Machine. This adventure is formatted to both 1E & 5E gaming rules. Also available in PDF.
An embattled outpost at the edge of the wilderness has finally been overthrown. Strange creatures patrol the land. A local hamlet is in ruins. But just who-or what-has taken over this once mighty fortress?
In the city of Waterdeep rests a tavern called the Yawning Portal, named after the gaping pit in its common room. At the bottom of this crumbling shaft is a labyrinthine dungeon shunned by all but the most daring adventurers. Known as Undermountain, this dungeon is the domain of the mad wizard Halaster Blackcloak. Long has the Mad Mage dwelt in these forlorn depths, seeding his lair with monsters, traps, and mysteries—to what end is a constant source of speculation and concern. This adventure picks up where Waterdeep: Dragon Heist leaves off, taking characters of 5th level or higher all the way to 20th level should they explore the entirety of Halaster’s home. Twenty-three levels of Undermountain are detailed herein, along with the subterranean refuge of Skullport. Treasures and secrets abound, but tread with care!

It all begins with a simple request (doesn’t it always?) from an old farmer. The request – protect his cattle herd from vicious wolves. Simple enough for the brave adventurers, right? But it doesn’t stay that way. Not at all. Soon, the adventuring party will find themselves in the thick of it as they solve puzzles, avoid traps, fight for their lives, and endure witty taunting. And in the end, they discover an artifact that may, or may not, be useful to them. This adventure includes a cursed shield, a new undead creature, and a new artifact. Total party experience earned is approximately 14,500.
The legacy of Dr. Frankenstein lives on as the handiwork of a rash young scientist responds in an unexpected manner. An angry lover and an evil monster. The party must stop this monster before he kills the young lovers.

There is no particular overarching story here, just a prospect gate keep dungeon you can drop into your own sandbox and run as you see fit. This adventure is formatted to both 1E & 5E gaming rules.
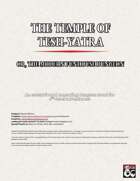
The Temple of Tesh-Yatra is a setting-neutral dungeon delve for a party of 6th level adventurers, inspired by the classic funhouse dungeons of yesteryear. The dungeon takes 6-10 hours to fully explore. It features a high proportion of non-combat encounters: puzzles, exploration, and the occasional deadly centrifuge. The ungodly fusion of a mad scientist’s lab and a planar temple, the dungeon includes an encounter that can launch your players into the Nine Hells – for a price... The Temple of Tesh-Yatra includes two new constructs to use in your game: the sinister Maimers, and the enigmatic Skorverra; as well as a new magic item: the Amulet of Tesh-Yatra, an artisan’s dream! The Temple of Tesh-Yatra also comes with a VTT battlemap (transparent PNG format). The Temple of Tesh-Yatra was originally set in the Outlands, as an extraplanar dungeon. But given its self-contained nature and the Temple's age, it is well-suited to any wildnerness, and would work equally well seeding a hex crawl.

For the past 5 years this elven village has been plagued by undead creatures of the nearby swampland. The undead are consisted of unlucky elf villagers or travelers who were foolish enough to walk through the swampland. It is unknown how the undead appeared in the swampland in the first place, but it is rumored that a demonic entity has found shelter in a cave inside the dark forest next to the swampland and it is being worshipped by necromancer cultists. This adventure is for parties no larger than 5 characters and no higher than level 5.

Designed for a party of five characters of at least 9th level, this adventure will challenge players seeking a powerful magic item of the GM’s choosing. A sphere of annihilation has been provided and is woven into several elements of the adventure, but any appropriately powerful item can be substituted if something else suits your campaign better. Though the adventure is designed to test every type of character class, a rogue who can deal with traps is essential, as is a wizard or sorcerer of at least 9th level. Larger groups will have an easier time; parties of four or fewer characters will be in for a very bad time unless you mitigate some of the tower’s more lethal traps and encounters. This adventure culminates in an encounter with devils and a sphere of annihilation. The sphere of annihilation is hidden deep within the tower-and-dungeon complex of Crane the Sorcerer. Originally set atop a high mountain in a secluded and wild part of the world, the tower and dungeon can be relocated to meet the situation in your campign. Crane, an introvert, stayed as far away from civilization as possible, as is detailed below. The tower above the dungeon doesn’t present many difficulties for a group of powerful characters or alert players. It might lull PCs into a false sense of security before they enter the areas where they’ll really be put to the test.

Three artifact weapons have gone missing and you adventurers have been sent after them. Going only by the riddle left on the thief's note, part ransom part guide, You stand before White Plume Mountain, stronghold of the supposedly long dead Wizard Keraptis.
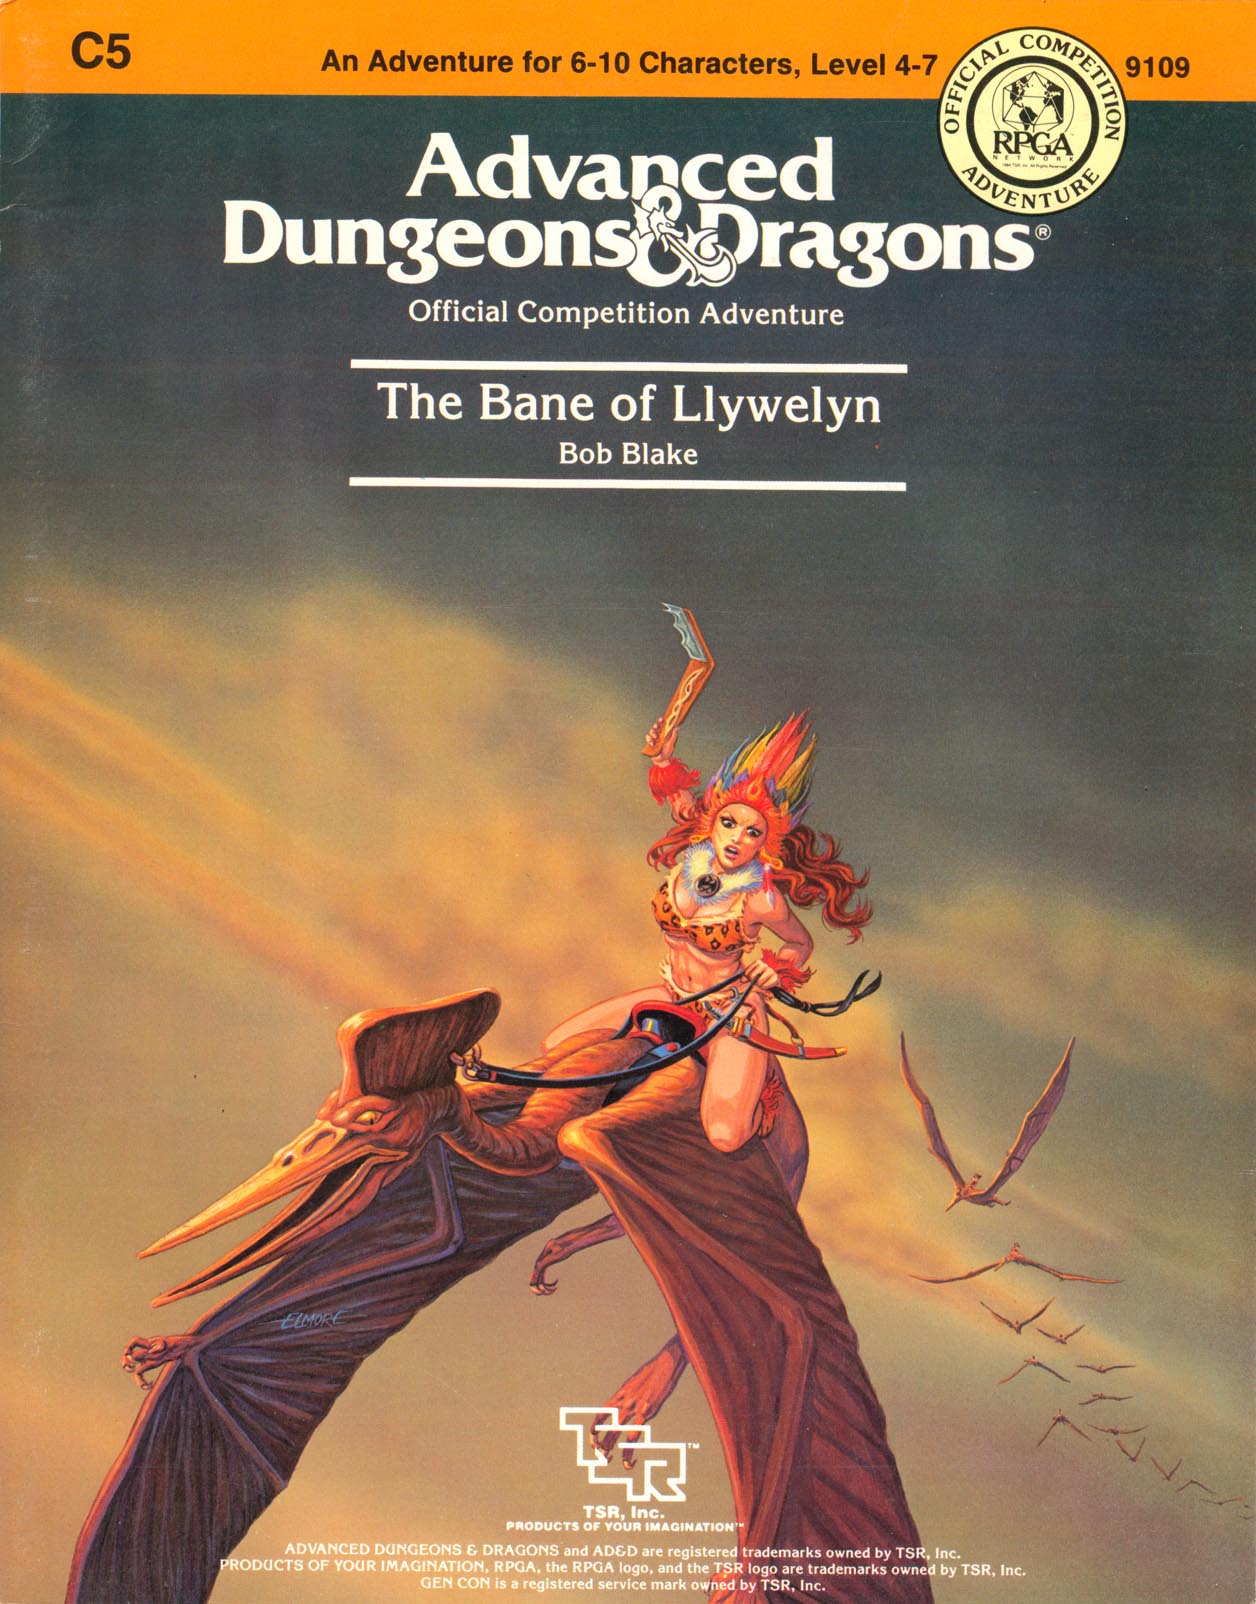
Excitement and unrest grip the land of Pellham. Two hundred years ago, the royal line of kings was deposed and replaced by a High Council. The current council is well-meaning but hopelessly incompetent. Everyone agrees that a drastic change is needed for the kingdom to survive. The ancient Prophecy of Brie foretells that in Pellham's darkest hour, a king from the past will return to restore the kingdom. The time of the prophecy is now. All is in readiness: the symbols of the ancient kings have been recovered, the keys to the royal tomb are in hand, powerful magics to revive the long-dead king have been secured at great cost. Only one problem remains... no one knows where the king is buried! The Bane of Llywelyn concludes the epic adventure of the Prophecy of Brie -- can YOU insure that the quest will be a success? The adventure can be played as a separate adventure or as the second part of the Prophecy of Brie series. TSR 9109
The waters of a sunless sea meet a pebble-strewn shore, beyond which opens a wide Underdark vista shimmering with pale cave-light. Titanic columns as big as castles march miles into the misted distance. The wide, steeply sloping base of the nearest colossal column is carved with streets, walls, and elaborate structures, many with gaping, empty windows. A few glimmer with faint illumination. Are you brave enough to explore the spire-city and face the terrors that lurk within? Part 2 of the Barrow of the Forgotten King series. Followed by Fortress of the Yuan-ti.

Exploring Baba Yaga's Dancing Hut. This adventure design to test high level PCs can be used in a variety of scenarios as the DM sees fit.

Slain in disgrace, reborn in fury, armed to the teeth: Flame returns! Flame is back - and is he mad! The sequel to "Into the Fire" from Dungeon 1. Pgs. 42-63

Many Cannith creation forges were lost on the Day of Mourning, but a rogue artificer has uncovered one of those that pursued some of the most experimental and dangerous research during the Last War. But while seeking the forbidden knowledge in the forge, this explorer awakened a dark power that was more than she could handle, and that now threatens the region. Pgs. 4-34
Follow a crazy halfling into a vampire’s castle. Kingdom in the Swamp is an AD&D adventure for higher-level characters; 6th to 9th level would be suitable. While it is necessary to have strong combatant characters and at least one cleric, it is more important that the players be ready to find solutions beyond the sword or spell book. Adventure Background A few days ago, Candor Pletten, a halfling thief known more for his urban exploits, returned from a journey to the southern jungles and rain forests (or so he says). Few people have believed him in the past -- usually they have been too busy taking inventory of their possessions to even listen to him — but some are guessing that he may actually be telling the truth (certainly, he’s got a good story). Candor left town a couple of months ago with some other adventurers, but has come back alone. Most tavern patrons are of the opinion that he took his companions’ purses and ran, but why would he come back to town? And why, then, aren’t his former companions hot on his trail? Candor may be a thief, but he’s not a murderer. He even gets nauseated by cockfighting. Maybe the halfling's tale is worth hearing...

A storm of unparalleled fury has been ravaging the peaks of the Earthspur Mountains for a tenday, and the Monastery of the Yellow Rose sits in its eye for now. Some monks have fled the monastery to the safety of Mulmaster and beseech you to convince their more obstinate brothers to retreat to the city before the eye of the storm shifts, and the monestary is in terrible danger. Can you brave the elements and convince the monks to escape?

*THIS IS A D&D NEXT/5E PLAYTEST ADVENTURE* Imani, a Turmishan wizard and former adventurer, seeks the aid of heroes to infiltrate Dretchroyaster’s lair and recover the Diamond Staff of Chomylla—the key to powerful magic and wisdom locked away for thousands of years. In addition to his own sagely interest in the lore of lost Uvaeren, Imani recognizes the dangers of such powerful magic falling into evil hands. The dracolich has secured the staff in his lair’s cen- tral chamber, using ancient wards of protection that can be bypassed only by four artifact-idols once belong- ing to a cult of Bhaal. Each group of adventurers enters the dungeon through a different section of the dun- geon—a forgotten temple of Bhaal, a vast underground lake, a troglodyte village, or Dretchroyaster’s vaults. Dretchroyaster’s lair is no simple set of caverns and ancient ruins. It sits atop a source of great power and energy, which the dracolich and his Cult of the Dragon allies hope to use to unlock the secrets of the staff. Only by undertaking a unified assault against Dretchroyas- ter’s lair can the adventurers hope to recover the Diamond Staff and survive the dracolich’s fury. The adventurers must make their way through the lair and recover the Bhaalite idols that will help unlock the Diamond Staff, all the while dealing with the lair’s creatures and avoiding the dracolich as he pur- sues intruders. Entering the Chamber of the Diamond Staff, the heroes must overcome its magical wards and claim the staff before being slain by the dracolich and his servants.