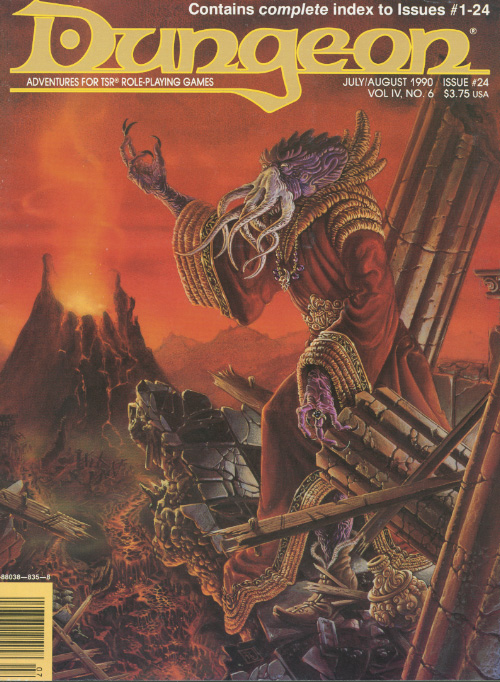
A trap that perhaps works too well. No matter how much loot you take, you never took anything at all. Confused? Wait until you try this dungeon. The players are hired to investigate and clear a tomb of a time wizard. This tomb is heavily guarded both by creatures and traps, and some sages are concerned that the defenses are lasting longer than they were supposed to. Unknown to the sages, the wizard, Sur-in Am, bound a time elemental to guard the treasures of the tomb. This guardian's duty is to frustrate robbers by returning stolen items to their original place and also reset traps in the tomb. Pgs. 26-36

*THIS IS A D&D NEXT/5E PLAYTEST ADVENTURE* Imani, a Turmishan wizard and former adventurer, seeks the aid of heroes to infiltrate Dretchroyaster’s lair and recover the Diamond Staff of Chomylla—the key to powerful magic and wisdom locked away for thousands of years. In addition to his own sagely interest in the lore of lost Uvaeren, Imani recognizes the dangers of such powerful magic falling into evil hands. The dracolich has secured the staff in his lair’s cen- tral chamber, using ancient wards of protection that can be bypassed only by four artifact-idols once belong- ing to a cult of Bhaal. Each group of adventurers enters the dungeon through a different section of the dun- geon—a forgotten temple of Bhaal, a vast underground lake, a troglodyte village, or Dretchroyaster’s vaults. Dretchroyaster’s lair is no simple set of caverns and ancient ruins. It sits atop a source of great power and energy, which the dracolich and his Cult of the Dragon allies hope to use to unlock the secrets of the staff. Only by undertaking a unified assault against Dretchroyas- ter’s lair can the adventurers hope to recover the Diamond Staff and survive the dracolich’s fury. The adventurers must make their way through the lair and recover the Bhaalite idols that will help unlock the Diamond Staff, all the while dealing with the lair’s creatures and avoiding the dracolich as he pur- sues intruders. Entering the Chamber of the Diamond Staff, the heroes must overcome its magical wards and claim the staff before being slain by the dracolich and his servants.
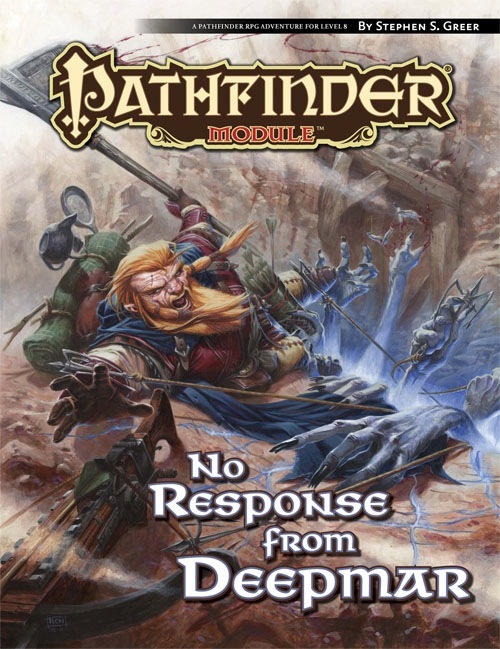
A hundred miles off the Chelish coast lies the remote island of Deepmar, where the House of Thrune sends prisoners to work in crystal mines, wresting valuable spell components from the depths of the earth. A month ago, all contact with the penal colony ceased, and now someone must discover what mysterious fate has befallen the prisoners and guards of this isolated mining operation.
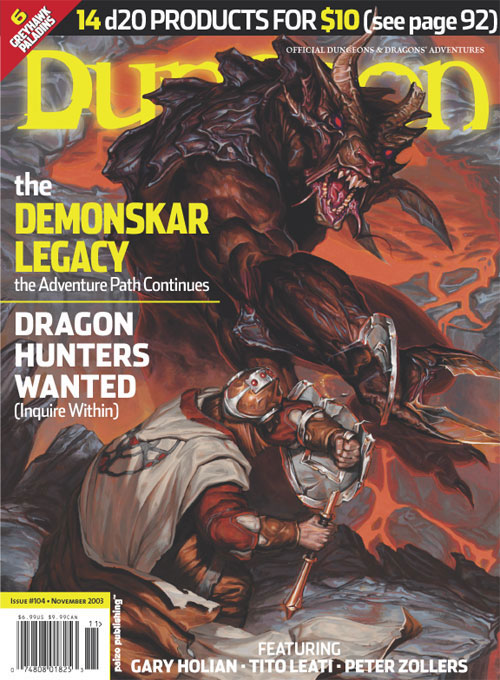
Fort Akor has come under attack by a dragon, but when the PCs seek out the beast in the surrounding jungle they discover the dragon may be the least of the fort’s troubles. The Pcs travel to Fort Akor, where they learn that the fort has been under attack by a dragon (which is really a tyrannosaur). Prince Henri asks the PCs to slay the dragon attacking his fort before it causes further damage. If the PCs investigate the fort before setting out after the tyrannosaur, they may discover the hidden corpse of its hatchling. They may also discover the truth behind the fort's dark history. Tracking the "dragon" to its lair and slaying it for Prince Henri forces the characters into conflict with a faction of the centaurs living in the jungle, who disposed the hatchlings corpse at the fort. Discoveruing the truth of the prince's conflict with the jungle natives might lead to an alliance. Pgs. 16-41
Few are the wizards that seek to prolong their lives with dark rituals and foul magic to become the powerful undead beings called liches. But far fewer are those that seek to undo what necromancy what done and take back their lives after initiation to lichdom. Balipur is one of those few. Turned to a vassalich by the darklord Azalin against his will for impersonating him, Balipur, after Azalin's departure at the destruction of Il Aluk, seeks to imitate his former master's Grim Harvest project, inverted, in a smaller scale to forge a soul from the lives of other men.

The PCs are singled out by happenstance as prophesied heroes who will find and return a great wizard to his family. Once brought back to the the family chateau, they are brought on as paid companions and free to explore the location as they wish. This is a large sandbox style adventure with several plots going on, including assassination, a wedding, false accusations of murder, and many machinations of the nobles to solidify or gain power. Whole this is going on the PCs are dropped into dream sequences where they learn more about the missing wizard and learn how and where to find and free him

This deluxe adventure takes heroes into the ruins of Gardmore Abbey, a monastery that was once the base of a militant order of paladins devoted to Bahamut. According to legend, the paladins brought a dark artifact back from a far crusade and stored it in their abbey for safekeeping, and evil forces gathered to assault the abbey and take it back. What the legends don’t tell is that this artifact was actually the Deck of Many Things, a force of pure Chaos. This adventure brings characters into the extensive dungeons beneath the ruins - dungeons that are warped and twisted with the raw forces of Chaos surrounding the cards of the deck.

The Haunt Unlock the secrets and drive back the evil from Montarthas Manor In ages past, an ancient town was lost and destroyed to a seige of orcs. Only one building survived and to this day, the manor is the only still standing building to be seen for miles around. Some say it is haunted, a few whisper of great treasures within, whilst others whisper that it is the manor itself that lives! No one knows for sure, only that a great evil haunts its halls. Do you dare enter Montarthas Manor? Published by P.B. Publishing
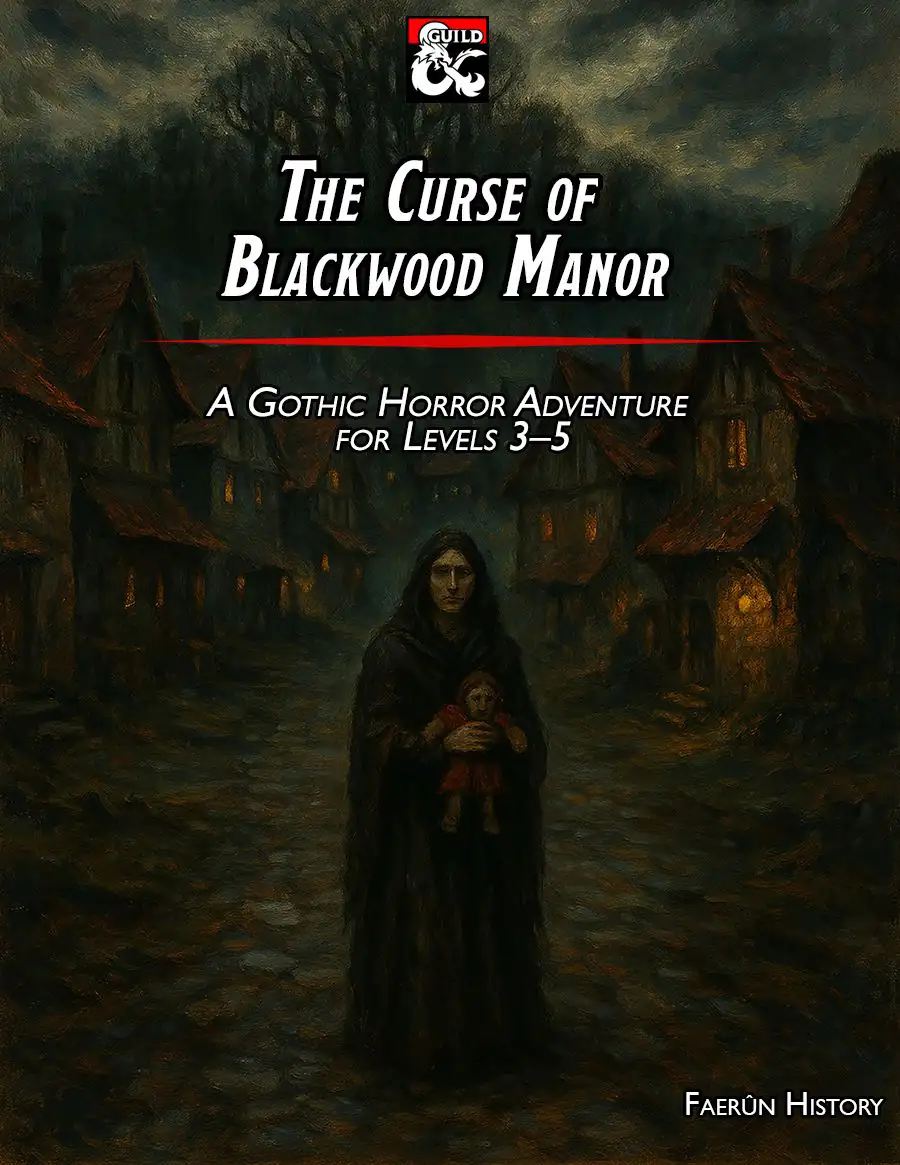
Gothic horror adventure for levels 3-5 set in rural Halruaa. Features a missing child mystery, cursed village, haunted forest, decaying manor, ancient green hag, fey bargains, tragic constructs, moral ambiguity, investigation, exploration, and multiple endings.
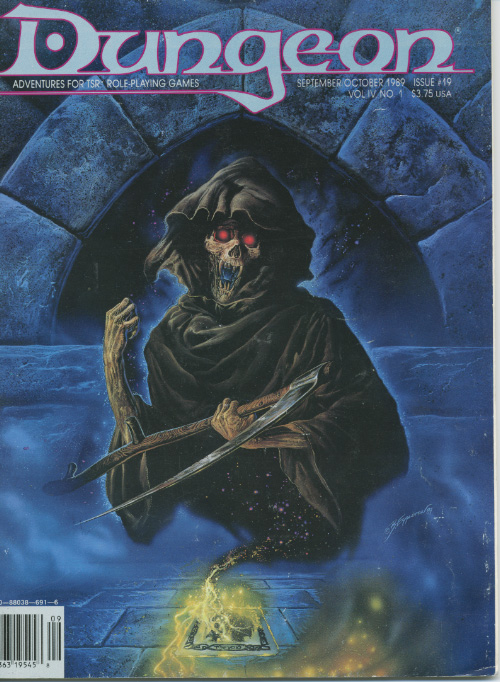
The fate of a city lies within a dungeon whose doors are sealed with - cards It's up to you to bring it tumbling down. “House of Cards” combined dungeon exploration with the Deck of Many Things to create an adventure experience unlike anything seen before. The deck is both a treasure and a trap, guarding a tomb complex that’s being used by the Night Masks thieves’ guild as a lair. If the PCs want the deck for themselves, they must first gather all the cards, which is easier said than done. - Christopher Perkins Pgs. 38-64
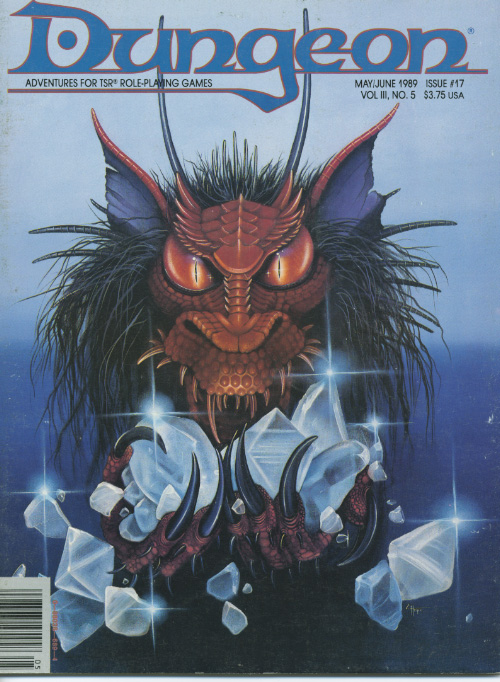
Slain in disgrace, reborn in fury, armed to the teeth: Flame returns! Flame is back - and is he mad! The sequel to "Into the Fire" from Dungeon 1. Pgs. 42-63
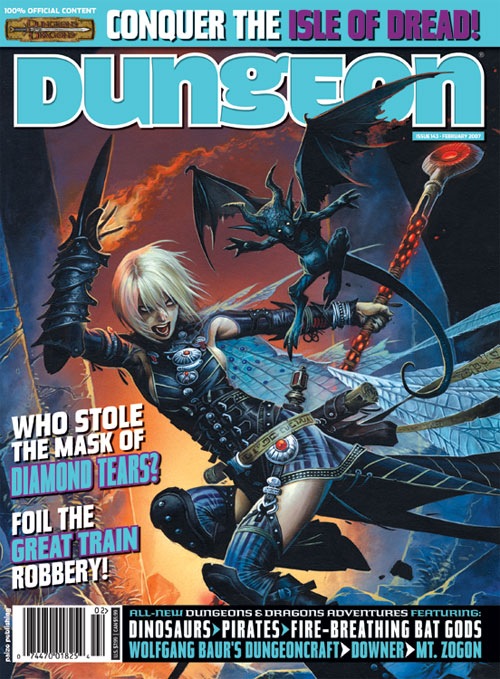
The colony of Farshore has survived on its own for years, a secluded and struggling hamlet perched on the western shore of the tiny island of Temute. An island dwarfed by the savage landscape across the narrow channel to the north, a landscape of rugged mountains, tangled jungles, and trackless swamps. This is the Isle of Dread, and its resources and hidden treasures are matched only by its peril. Yet for all these dangers, what may bring doom to Farshore is not an invasion of inhuman monsters from the mainland, but an invasion of all-too-human monsters from across the sea. "Tides of Dread" is the fifth chapter of the Savage Tides Adventure Path, a complete campaign consisting of 12 adventures appearing in Dungeon magazine. For additional aid in running this campaign, check out Dragon magazine's monthly "Savage Tidings" articles, a series that helps players and DMs prepare for and expand upon the campaign. Issue #352 of Dragon magazine features rumors of Farshore, a helpful list of improvements the PCs can make to the colony, and other features to help get PCs oriented in their new home on the Isle of Dread. The destruction of a pirate ship signals the beginning of a Crimson Fleet invasion. The PCs must race against time to prepare for the onslaught before an old enemy can release another savage tide. Pgs. 28-59 Also see Pgs. 60-71 Backdrop: Farshore City of Hope.

The End of the World Is at Hand! A hideous death cult has seized control of an ancient artifact-monument known as Tovag Baragu. The power behind the cult is the Old One himself, Iuz the Evil, demonic master of an empire. He's on an all-or-nothing quest for supremacy over the world—and the heavens beyond. To stop him, heroes must face horrors never dreamed of, journeying to a shadowed city where Death rules and the living cower. Here, Iuz will achieve his mad dream by destroying the imprisoned master of that alien citadel: Vecna, the mightiest lich, an immortal demigod. Two items exist with the power to stop Iuz—the Eye and the Hand of Vecna—but using them carries fantastic risks. Not even the gods know what will be unleashed when these items are fully activated. Die Vecna Die! takes the heroes from the Greyhawk campaign to the demiplane of Ravenloft and then to the Planescape city of Sigil. However, none of the material from those settings is required for play. TSR 11662
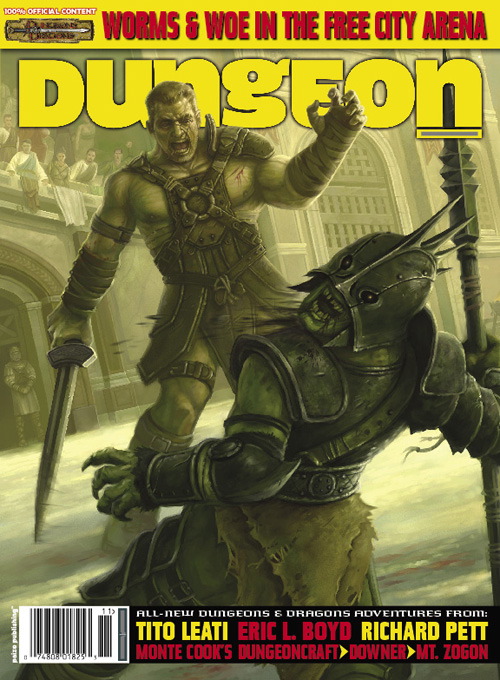
The hidden masters of the Ebon Triad have something special planned for the culmination of the Champion’s Games: a foul ritual designed to transform the arena into a stage of enormous carnage to honor their dark overgod. To stop them, the PCs must explore the dark complex of the arena’s master, and destroy his pet monster before it’s too late. An Age of Worms Adventure Path Adventure for 9th level characters. "The Champion's Belt" is the fifth installment of the Age of Worms Adventure Path, a complete campaign consisting of 12 adventures, several "Backdrop" articles to help Dungeon masters run the series, and a handful of poster maps of key locations. For additional aid in running this campaign, check out Dragon's monthly "Worm Food" articles, a series that provides additional materials to help players survive this campaign. Check out issue #337 of Dragon for guidelines on what they can purchase in the Free City. Pgs. 30-62

Experience this totally wicked two-hour adventure for 3-6 characters levels 5-10 from the fantabulous minds of Anthony Joyce and Oliver Clegg! Whoa! You’ve just killed Strahd but his body remains?! How can this be?! Lead your party on a retro journey through Castle Ravenloft to collect five pieces of a powerful artifact known as the Pentaforce to summon a powerful entity that can put an end to Strahd’s reign once and for all! Experience the rad music of the 1980’s as it guides you from room to room, confronting horrors like the Brunch Club, Ghost Hunters, thrilling zombies, Ricky Roll, the Loonies, Prom (Barovian Winter Fantasy ‘86), a flash-dance off with hags, aerobics with undead, Jeremy Krawfjord, Kris Purkens, and much more! This 1980’s inspired PDF is professionally designed and illustrated by Gordon McAlpin (Creator of Death by Goblins!). Inside you’ll find hyperlinks to each creature and their stat blocks on D&D Beyond accessible for free! This PDF also includes hyperlinks to a curated “Weekend at Strahd’s” playlist on Spotify so you can wow your players and relive the epic music of the 1980’s as you put an end to the reign of Strahd von Zarovich! This adventure does not require players to have played Curse of Strahd, nor does it spoil anything in Curse of Strahd. This adventure is designed to play casually as a one shot in a tubular party atmosphere, it’s soooo bodacious. P.S. One player plays as Strahd’s corpse...yes, you read that correctly...one lucky player gets to play the entire time as the corpse of Strahd! Oh, and the player that dies the most wins a crayon drawing of Frankenstein Ronald Reagan. Enjoy!
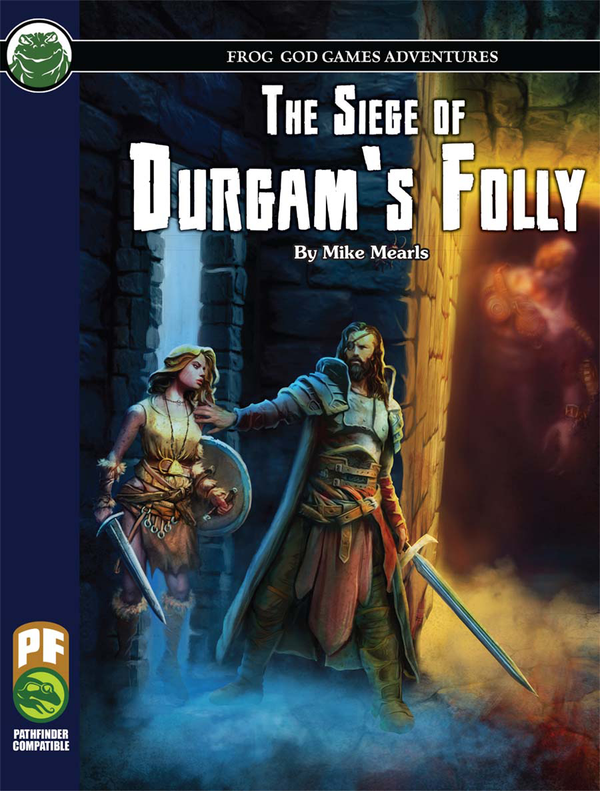
An embattled outpost at the edge of the wilderness has finally been overthrown. Strange creatures patrol the land. A local hamlet is in ruins. But just who-or what-has taken over this once mighty fortress?

Exploring Baba Yaga's Dancing Hut. This adventure design to test high level PCs can be used in a variety of scenarios as the DM sees fit.

The PCs are looking to gain entry to the Glantri School of Magic, after the initial admission tests they are drawn into a commotion where one of the other students is being attacked by an evil sorceress. He tries to flee but but is killed, and the PCs are framed for the murder. The authorities are called and bribed to just kill the PCs, they flee and are chased and taunted by the evil sorceress. Eventually, during one of her attacks, she opens a weak spot in the ground and the heroes are dropped into the warrens under the school. They must navigate the warrens, which are shrouded in magical darkness, defend against further attacks, and find escape where they can prove their innocence.
Something is killing people in Palebank Village, and if the party does not stop it they could be next.
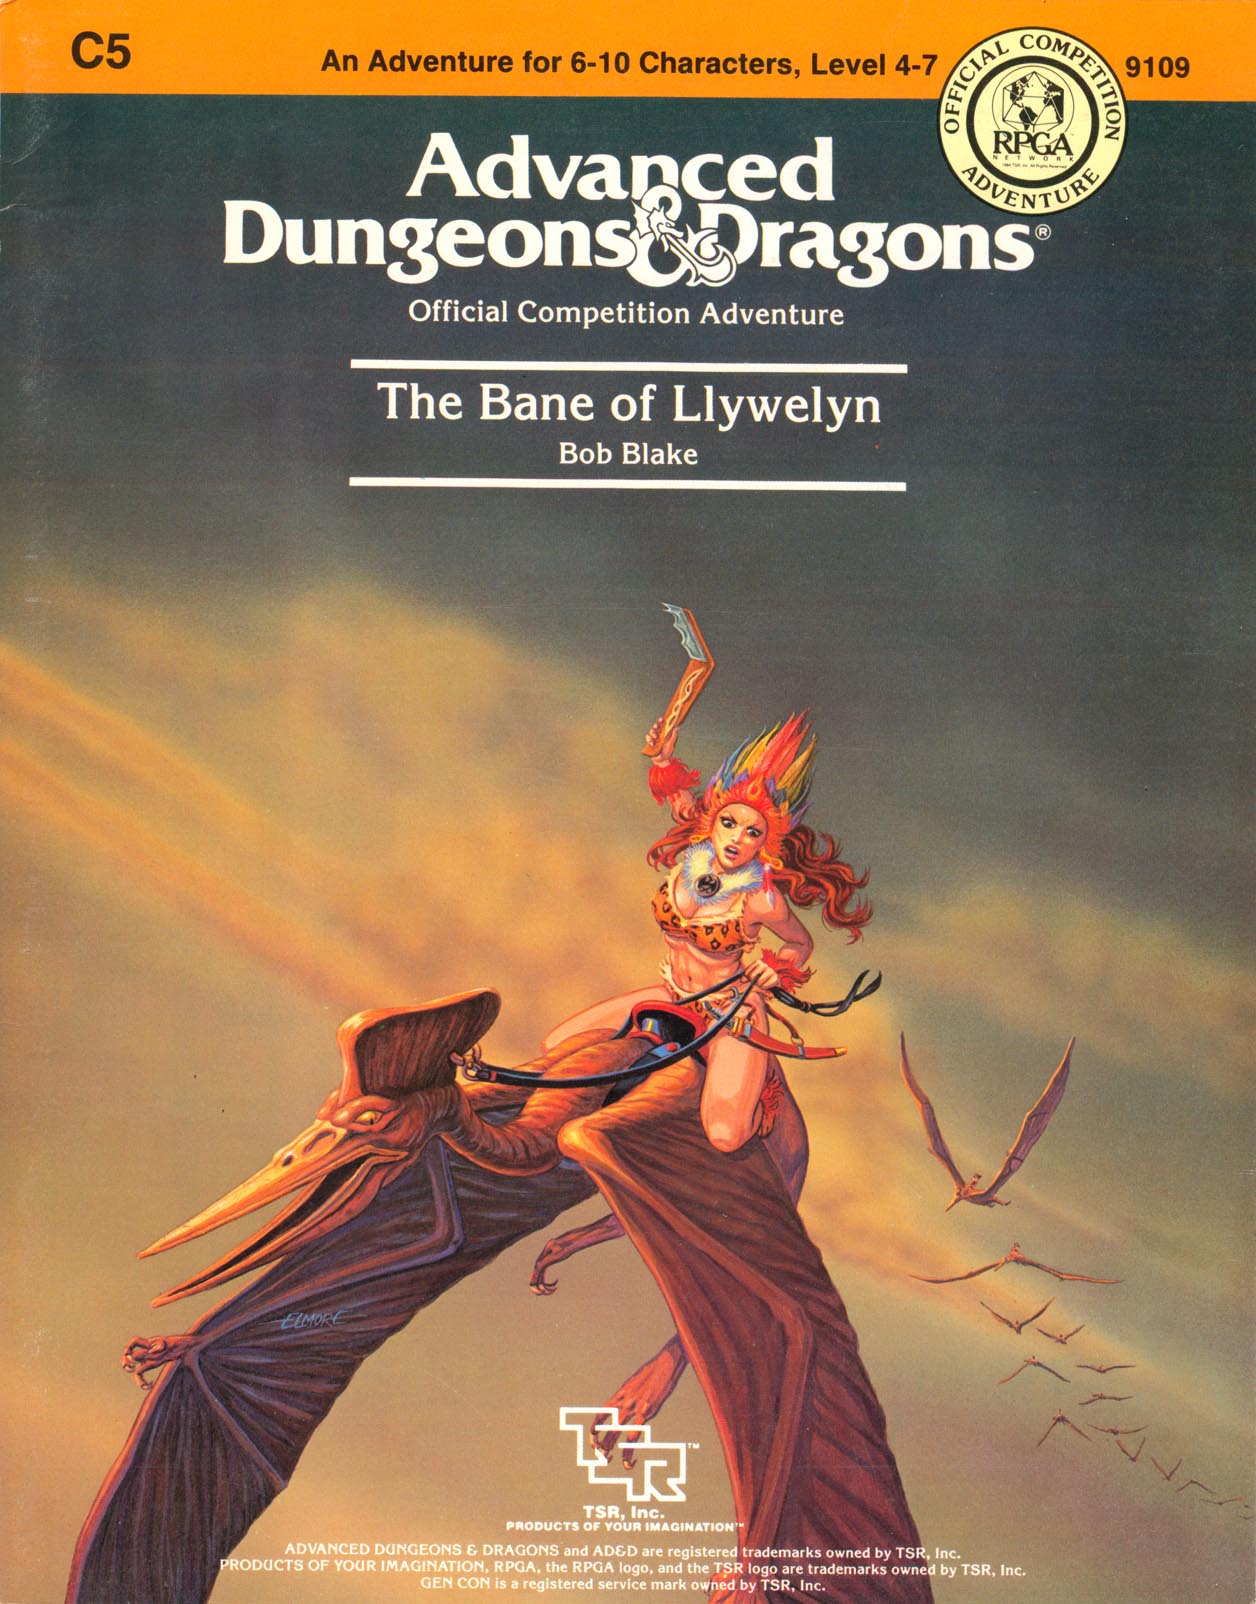
Excitement and unrest grip the land of Pellham. Two hundred years ago, the royal line of kings was deposed and replaced by a High Council. The current council is well-meaning but hopelessly incompetent. Everyone agrees that a drastic change is needed for the kingdom to survive. The ancient Prophecy of Brie foretells that in Pellham's darkest hour, a king from the past will return to restore the kingdom. The time of the prophecy is now. All is in readiness: the symbols of the ancient kings have been recovered, the keys to the royal tomb are in hand, powerful magics to revive the long-dead king have been secured at great cost. Only one problem remains... no one knows where the king is buried! The Bane of Llywelyn concludes the epic adventure of the Prophecy of Brie -- can YOU insure that the quest will be a success? The adventure can be played as a separate adventure or as the second part of the Prophecy of Brie series. TSR 9109