
The battle against the slavers continues! You end your fellow adventurers have defeated the slavers of Highport, but you have learned of the existence of another slaver stronghold, and you have decided to continue the attack. But beware! Only the most fearless of adventurers could challenge the slavers on their own ground, and live to tell of It! Second part of Scourge of the Slavelords (A1-4) TSR 9040

Dragonspear Castle. All who live within several hundred miles have heard the name and know its import. Once home to the proud and the brave, it stands now a ruin, cloaked behind a history of murder and diabolic plots. Few go there, for the only reward to be found is death. Rumors abound that Dragonspear holds a portal to the sinister planes, but until now those have been unfounded. Following a great battle against orcs and trolls from the High Moor who had taken possession of the castle, a temple to ward against further evil was established. However, by the Time of Troubles, that temple and its clergy had disappeared. Now, a horde of fiends and monsters has amassed at Dragonspear Castle, and it terrorizing the surrounding countryside. The portal is active, that is for certain. The army of Daggerford needs reinforcements! Is you party made of the stuff of heroes? Hordes of Dragonspear can be played using either the Battlesystem miniatures rules, or the quick combat resolution system found in DMGR2, The Castle Guide. Alternatively, a few simple changes render the entire module playable without any special rules. TSR 9369

Candlekeep is under siege, and it needs adventurers to help protect it! Heed the call to defend the legendary monastery and stand against the tide of evil. Confrontation at Candlekeep was used as a D&D Next playtest for D&D 5E. It was released to organized play Dungeon Masters in August 2013, and ran at Gen Con, PAX, and other major conventions. The adventure includes rules for running multiple tables, but can also be run for just one table. The attack on Candlekeep by forces of Asmodeus is tied to the events in Ed Greenwood's novel about the Sundering, "The Herald."
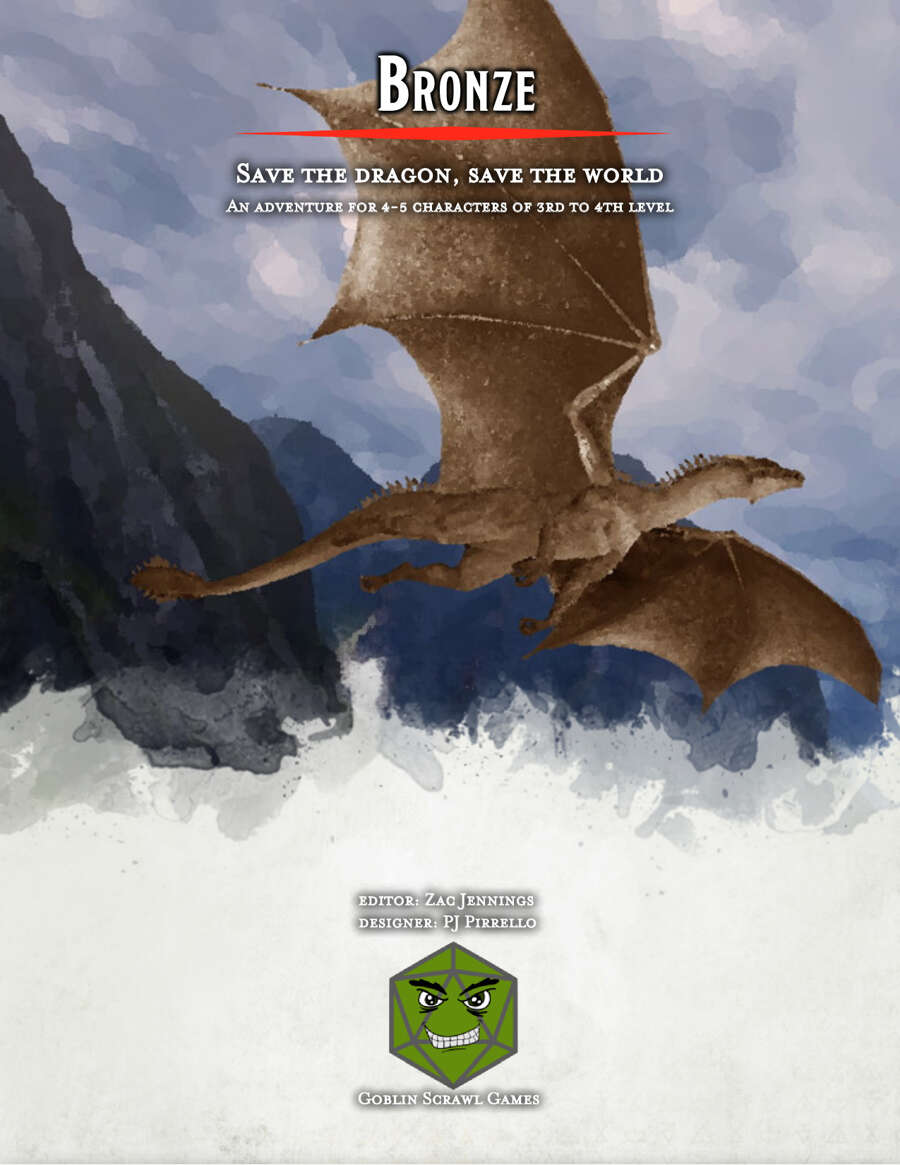
The idyllic town of Evershade is about to get a lot less peaceful. Nestled in a small valley near the border of two kingdoms, Evershade is a small but prosperous town. But ranchers have been finding their livestock slaughtered, with no idea what's behind it. What begins as a simple mission to scare off a predator, turns into a race across hills and mountains to prevent agents of evil from destroying a future force for good. Includes A adventure for 4-5 characters of 3rd to 4th level A regional map of the areas surrounding the town of Evershade Descriptions of the town of Evershade and several of the notable NPCs that live there A map of the dragon's lair on a cliff near the sea Stat blocks for all monsters Unnumbered map suitable for use in your favorite VTT Published by Goblin Scrawl Games

Gazing down from the pinnacle of Hardway Mountain, who would not be drawn by the far-off glint of the Serpent's Eye? The descent will be hard, the mountains know neither mercy nor compassion. Many are the lessons to be learned, but fate has left you little choice - are you equal to the challenge? "Eye of the Serpent" is a one-on-one wilderness adventure module for one player and one Dungeon Master, and has been designed to develop the specialist skills of a 1st-level druid, ranger, or monk character. It can also be used for a normal party of four to six 1st-level player characters. The perils of Hardway Mountain are unchanging, but the routes between them are not. This module includes a unique route planning system with different of routes linking the encounters to challenge the abilities of druids, rangers, or monks. TSR 9125
The characters are introduced to the coup occurring in Whitehorn and are tasked with warning a friend, whose family is involved, about it. (characters can choose one instrument as a reward)

This couldn’t get worse. The key you are searching for has fallen into the hands of the eye tyrant of Skullport himself. Now you just need to rob Xanathar without getting disintegrated. Part Three of the Skullport Shakedown trilogy. A 2-4 Hour Adventure for Tier 2 Characters. Optimized For: APL 8
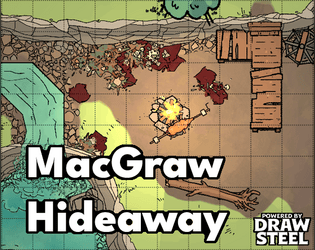
In the Tullow Vale of Vasloria, the MacGraw tribe of goblins terrorize the Baron's Road as it passes through the forest north of Ivywatch, plundering caravans and kidnapping merchants and travelers. The heroes arrive upon an ambushed caravan just as the tribe scurries away with their screaming haul into the forest. Can you save the good folk of Tullow Vale before they meet their end at the hands of the goblins and their cruel leader? In This Quest MacGraw Hideaway is a short, not-full-level-length adventure, or in other words, a quest! This quest is about fighting monsters and being heroic. Combat encounters are built to be complex! The heroes will be expected to spin multiple plates at the same time! The quest will reward up to 6 Victories. Depending on your experience running and your table’s experience playing Draw Steel, it could run around 4 to 6 hours of playtime. 2 combat encounters 1 optional negotiation
The PCs must infiltrate a city ruled by monsters to search for the spymaster that holds the key to saving a besiged nation. Pgs. 26-50

In this scenario, the adventurers pass through magical portals into a series of interlinked chambers. The characters are encouraged by a young scholarly mage to voyage into the Sea of Pastures, to explore a mysterious island connected with a number of recent shipwrecks and disappearances. The island is grassy and windblasted, but eventually the characters discover a stone door leading into a subterranean complex. There, they discover 18 rooms linked by secret passages and magical portals. Most of these rooms have been ransacked by a variety of other survivors, human and monstrous. These survivors are likewise trapped within the labyrinth and are either eking out a miserable existence there or else desperately searching for a means of escape. Also within the building are a number of extraplanar creatures, collectively known as gingwatzim, who can shift between various forms: an energy form (glowing ball of light), an inanimate form (usually a magical weapon), and an animate form (an animal or monster). Eventually the characters may find the exit, and are once again deposited on the dreary islands to await rescue. TSR 9110

Azaketh, a sly and industrious devil, prepares his revenge against his bitter enemy Zirkex. Naturally, the mortals affected by his schemes are mere pawns to further his goals. It is up to the heroes to stop Azaketh in his tracks before he takes control of a powerful weapon – Logrimm’s Tower Golem. The Tower Golem is an adventure designed for 3-7 2nd to 4th level characters and is optimized for five characters with an average party level (APL) of 3. It's the second and final chapter of the saga about Logrimm’s Tower Golem. The first chapter The Soulmonger isn't necessary to play The Tower Golem but it sets up the villian Azaketh and introduces NPCs that can help the characters conquer the Tower. The focus of The Tower Golem is set on roleplaying and interesting fights. In theory, the Tower is an infinite web of rooms and portals that the characters may never escape. However, eventually, the characters reach the end for one final encounter. You can change, interweave, or exchange the different parts as you see fit. There are several proposals and fully fleshed out levels in this document, but you may add your own adventures to the list!
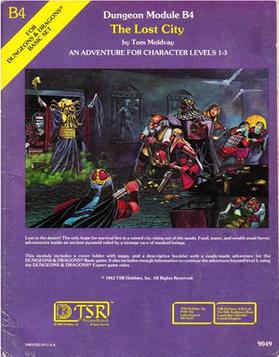
The Lost City is a low-level adventure, in which the only hope of the PCs' survival can be found in a ruined city slowly rising out of the sands. The adventure is set inside a huge step pyramid, with the lower pyramid only sketched out and the city itself described with a list of the major areas and a map. The adventure’s main villain is Zargon, a giant one-eyed monster and his minions. The entire double pyramid, not including the city, contains over 100 rooms. The module is designed to give novice Dungeon Masters experience fleshing out adventures and is only partially complete. Later TSR material hints that this adventure possibly takes place in Mystara, but the material is largely setting-neutral. TSR #9049

In part one of the Randal Morn Trilogy, "The Sword of the Dales," the legendary leader of Daggerdale, Randal Morn, was captured by unknown assailants as he sought to regain the great weapon for which that adventure was named. A stalwart band of enthusiastic heroes was recruited to ride to his aid, yet all they recovered was the Sword itself and a message: "Seek me in Spiderhaunt Wood." In the second part of the trilogy, "The Secret of Spiderhaunt," those same adventurers found Randal and freed him briefly, yet he was almost as quickly torn from their grasp by an agent of the evil Zhentarim, seeking to end the threat of Randal Morn's return to power. In this final episode, the heroes must follow the kidnapper's trail and rescue Randal Morn again before the Zhentarim finish interrogating him and the axe falls upon his neck. Armed with the Sword of the Dales and aided by a powerful spirit that lives within the weapon, the heroes must march into the heart of Zhent-occupied Dagger Falls, free Randal Morn, and save the city from utter destruction. The job is dangerous - perhaps more than the heroes can handle - yet those who would live in songs and legends cannot concern themselves with living to a ripe old age! This is the final part of a trilogy of modules that began with "The Sword of the Dales" and "The Secret of Spiderhaunt." TSR 9488
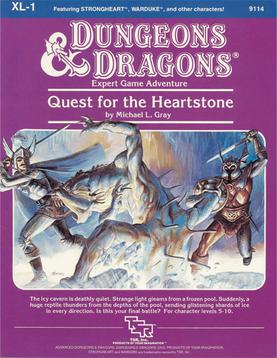
The King is dead! And the queen is in trouble. She has chosen you to find the fabled heartstone, which is buried somewhere deep in the Mountains of Ice. Is the gem I the hands of the corrupt Master Thief? Has he harnessed its powers for his own vile purposes? Or does it lie unguarded in the frozen ranges to the north, which teem with horrible creatures? This is your kind of quest! Quest for the Heartstone is a combined wilderness/dungeon adventure designed to be compatible with the Advanced Dungeons & Dragons Action Toys from LJN Toys, Ltd. and the Advanced Dungeons & Dragons Fantasy Adventure Figures from TSR, Inc. The adventure also includes complete maps, new monsters and players' illustrations. Will the heartstone be the key to peace in the kingdom? By her majesty's request... it's up to you to find out! TSR 9114

The beginning adventure to the Dragonlance, War of the Lance series of adventures, upon which the Dragonlance novels are based. The companions meet in the Inn of the Last Home to discover a barbarian couple with a mysterious staff. The PCs journey to discover the staff's history which leads them to a ruined temple to the Forgotten Gods. Includes a full map of Xak Tsaroth and overland maps, some color. Art by Jeff Easley. TSR 9130

Rauvin Vale: Ashes of Lhuvenhead After a scout arrives at Hilltop and reports that hobgoblins have been spotted approaching the ruins ofLhuvenhead, the adventurers must travel to the destroyed town and dispatch the hobgoblin forces, working for the Blue Dragon Nahaunglaroth and the Blood of Morueme, before they can establish a base. A Forgotten Realms Adventure for 2nd Level Characters.

The first part of the Dreams of Red Wizards adventure path originally published for the D&D NEXT Playtest. Following the events Ghosts of Dragonspear Castle, a new set of adventurer's will see some of the repercussions of that adventure. This adventure is intended to be continued in the Dead in Thay adventure (Note that they Dead in Thay 5e adventure featured in Tales from the Yawning Portal is missing a significant portion of interlude that links Scourge of the Sword Coast to the events within the Doomvault). The adventurers arrive when Daggerford is crowded with refugees from outlying lands. Goblins, gnolls, and orcs have been raiding the countryside. Now, food is scarce and tension is high. Blame for a theft has fallen on the refugees, and the Duke of Daggerford has forbidden more of the displaced from coming into town. After overcoming difficulties to enter Daggerford, the characters learn more about the raids. As they fight against the humanoids and delve deeper in the darkness that encircles Daggerford, the characters learn of Bloodgate Keep. After a final fiendish ambush, they’re ready to confront the real threat to the area. DM Note: This adventure points the adventurers strongly towards Bloodgate Keep but that location does not appear until the Dead in Thay adventure; at several points the party may feel drawn to explore that location rather than continue their investigations around Daggerford. However, since Bloodgate Keep is only eluded to as a source of great evil power, it can serve to easily segue to an entirely different adventure path. As a NEXT Playtest adventure, Scourge of the Sword Coast uses milestone leveling and the included stat blocks for creatures do not necessarily match or even appear in the 5e Monster Manual, nor do they have XP values or challenge ratings. In some places it will reference rules used in the Playtest but dropped or changed in the 5e release, these are unlikely to substantially impact gampley with 5e rules.
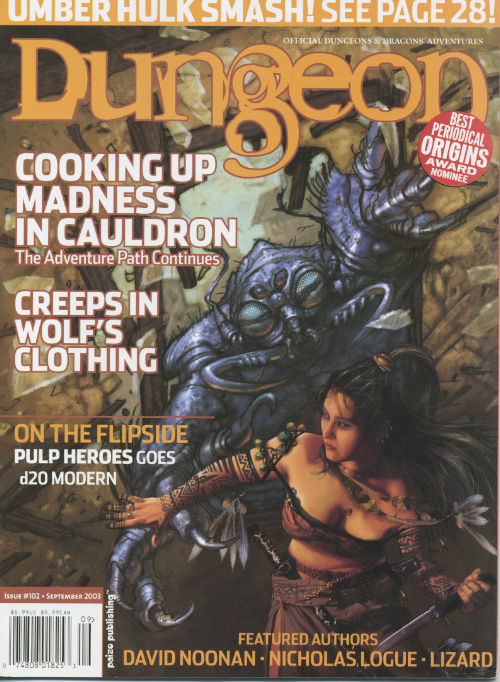
A rare breed of wolf has apparently been staging daring attacks on citizens of Rendrick. A group of hunters seek to claim bounty on the beast, but as the PCs quickly learn, the wolf isn't all it appears. Something sinister lurks in the woods near town, and the PCs must act quickly to save innocent lives. Pgs. 16-26
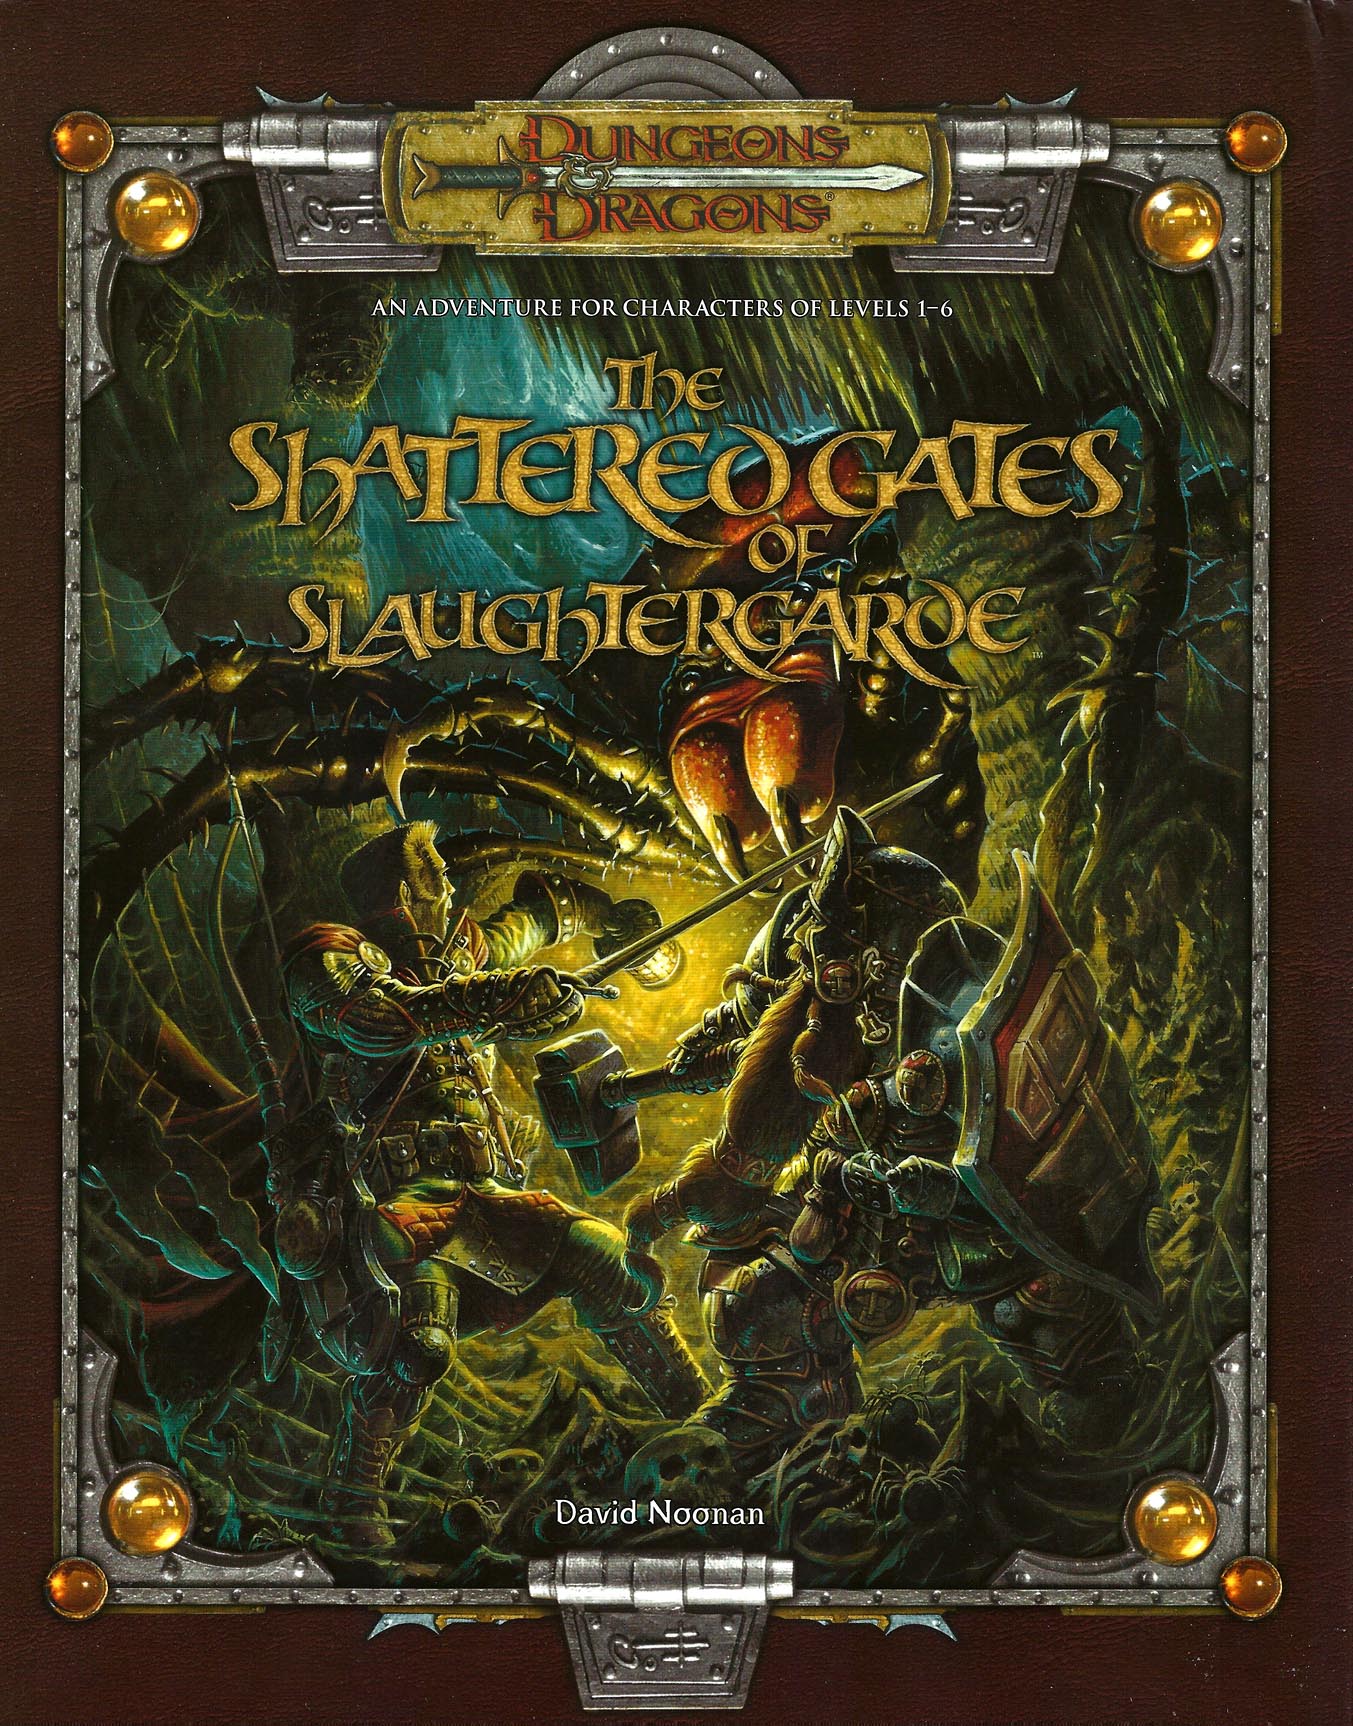
An ancient gate to the abyss lies undisturbed in the Valley of Obelisks. Sinister forces seek to reactivate the gate for their own ends, can the heroes stop them in time?
The characters, members of the Clifftop Adventurers’ Guild, have been tasked with acquiring the Chains of Mur’taal, an artifact tied to Thelanis, by their guild handler, Lhara. This artifact is the latest in a series that Provost Nigel Faurious has commissioned the Clifftop guild to retrieve for him. The adventure starts when the characters arrive in Rhukaan Draal via Orien caravan. They’re given a chance to explore a small portion of the city before they head to a local bar to meet their contact provided by Lhara. Accompanied by a local guide, they make their way to the Seawall Mountains, where they’ll have to follow clues and their intuition to find the Valley of the Hero, which conceals the artifact that they’ve been hired to obtain. In order to earn the artifact, characters must first pass three tests laid before them by the Story: The Test of Courage, the Challenge of Wisdom, and the Trial of Honor. Once they finish the tests and collect the artifact, the party heads back toward Rhukaan Draal. But there are Marguul forces in the area, and they don’t intend to let the heroes escape with a priceless piece of their folklore…