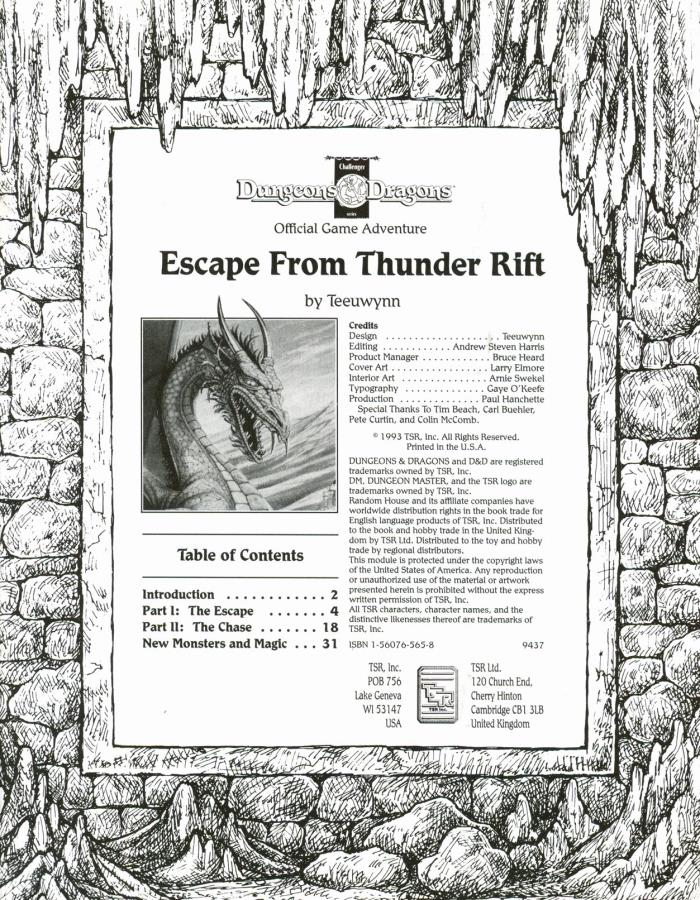
An emissary from the dwarven community of Hearth-Home approaches the player characters, beseeching them to aid the dwarves in finding a powerful mage who might bring disaster upon not only their mountain fortress, but all of the Thunder Rift! Escape from Thunder Rift adventure leads the heroes into a dark dungeon where they may discover a gate between the valley of Thunder Rift and the World of Mystara. Packaged with a DM screen. TSR 9437

What began as a subtle sickness has now spread into a full-blown contagion of magical origins around Roslof Keep! Although protected from the outbreak by their Mithel Standard, the Company of the Ivory Scimitar is now challenged with not only continuing their quest to defeat the Dungeon but also saving the town that they have grown to love. With unlikely allies forming from the other Mithel Companies, as well as unforeseen help within the labyrinth itself, the Ivory Scimitar must now take on the perilous task of curing the Violet Corruption while trying to discern the nature of its cause from somewhere deep within Mithelvanr's mad dungeon of self-propagating monstrosities! This adventure is formatted to both 1E & 5E gaming rules. Also available in PDF.

The valley of Haven was a peaceful land. Its crops were abundant, its citizens prosperous. Elves, Dwarves, Halflings, and Humans lived together in harmony. Hidden away in the heart of the Thunder Mountains, Haven was a safe place to live. The rivers were sweet and pure; the weather was pleasant and warm. Something terrible has come to pass in Haven - terrified refugees speak of a fabulous ruby uncovered in the mountains and a catastrophe that befell the palace. Whatever the cause, Haven now lies in chaos. Raiding bands of orcs, goblins, and hobgoblins terrorize the countryside. The disaster happened so suddenly that the citizens are confused and helpless. Without their leaders, who are trapped in the palace, they have no courage to fight back. The situation has become desperate. TSR 9044

A gang of ogres is raiding a farming community, stealing crops and livestock, and advancing closer and closer to the town, and the townsfolk need your help!

The Sea Witch is a short adventure for four 10th-level characters. The difficulty of the adventure can be adjusted by changing the level of main antagonist (Black Molly, the sea hag pirate) or by altering the number of her ogre servants. To tailor the encounter to groups of different levels, refer to table 4-1 in Chapter 4 of the DUNGEON MASTER’S GUIDE. The adventure is set off a lightly populated coastline known as Misty Bay, but adapts easily to any coastal region in existing campaigns. The sea hag known as Black Molly is a notorious pirate who has plagued the coastal cities for the better part of a decade. A successful Knowledge (local) check (DC 15) will reveal that Molly and her ogre crew have a filthy reputation as merciless killers who delight not only in plundering vessels for their riches, but also in destroying the ships themselves and sending all hands to the bottom of the sea. Now the villain and her followers have seized control of the Old Lighthouse of Misty Bay located off a lightly populated coastline. For generations the lighthouse beacon has protected the fishermen of this region, warning them of the dangerous rocks that lurk just below the level of the high tides. Recently, the hag has put out the beacon, darkening the lighthouse; misery and destruction are sure to follow as ships start to blunder into the rocks. Blackmail is apparently Black Molly’s aim in this venture: She conveyed a message to the nearest shore community, the fishing village of Poisson, demanding the princely sum of 50,000 gp. Until she receives this ransom, she intends to hold the lighthouse and its beacon hostage. The fate of the human keepers who tend the lighthouse is unknown to the seaside communities at this time, but they fear the worst. The Sea Witch is ostensibly a rescue mission: The PCs are pitted against the evil of Black Molly and the brawn of her savage ogre crew. It is the heroes’ task to retake the lighthouse and, if possible, free its captives from the clutches of their jailer. What neither the PCs nor the shore communities yet realize is that while she 1would be pleased to have the gold, Black Molly is in fact after bigger treasure. Molly has no intention of giving up the lighthouse — at least, not until she finds what her master sent her here for. Lying on the sea floor practically at the base of the rock on which the lighthouse sits is the wreck of the war galley Flying Cloud, which according to popular legend was captained by a cleric who wore around his neck an amulet of the planes. Black Molly wants this prize, but so far she hasn’t been able to find it. She’s scoured the wreck without finding any sign of the magic item. Now she’s trying to determine where to search next, for the item might well be somewhere near the wreck. If she can’t find it, she’ll start torturing her captives to find out if they have any useful knowledge about the amulet.

The PCs begin in the port city of Luskan, where they're hired on by a caravaning merchant to perform guard duty for the long, dangerous journey over the Spine of the World Mountains. If the heroes do well, they reach the small town of Targos, where they hear rumors of a dead mage's lost tower out on the tundra. In order to find it, the PCs must overcome numerous obstacles but may find allies in the peoples of the Ten-Towns region, including a barbarian prince, a sly halfling, and a unique ranger. Not all is as it seems, though, nor can all smiling faces be trusted. Can the PCs separate the truth from the lies, locate the Accursed Tower, determine all its secrets, and survive?

Indomitable it stood for centuries, a symbol of order in a world of chaos. Bastion of the pass through the Kamph Mountains, the very stones of the Keep of Adlerweg were the stuff of legends. What evil power had strength enough to take it? How were its defenses swept aside? Fell creatures now attend the battlements that overlook the only pass between Berghof and the sea. This is not a pretty problem to be solved by the militia of the local villages. These and more may be needed to withstand the mayhem stirred up by the fall of the keep. Indeed, if the Keep is not retaken, and retaken soon, the Hold of the Sea Princes itself may not be secure. Now is the time for heroic action. Aided by the Sentinel, former protector of the legendary Guardians of Adlerweg, have you the courage and the determination to rid the keep of its sinister occupants? UK3: "The Gauntlet" (1984), by Graeme Morris, is the third UK-series adventure and the second half of the two-part Adlerweg series. It was run as the final round of the GamesFair 1983 AD&D Open (and won by a RuneQuest fan!). It was then published in 1984. TSR 9111

The Village of Hommlet has grown up around a crossroads in a woodland. Once far from any important activity, it became embroiled in the struggle between gods and demons when the Temple of Elemental Evil arose but a few leagues away. Luckily of its inhabitants, the Temple and its evil hordes were destroyed a decade ago, but Hommlet still suffers from incursions of bandits and strange monsters. TSR 9026

Chaos reigns outside Roslof Keep, and the spread of the violet corruption runs deep within Mithelvarn's Dungeon. Now, the Company of the Ivory Scimitar must not only face the challenges of the Roslof delve, but will also find the dangers of the Kelmalin Wildlands must be overcome as well if they are ever to get to the bottom of the deadly plague that ravages the land. Time is running out, and only those brave enough will be able to face the horrors of the Glade of the Burning Dead and the dark recesses of The Hill. This adventure is formatted to both 1E & 5E gaming rules. Also available in PDF.

Claiming to possess Hartkiller's Horn, Ryndölg makes his move to take control of the Hartsvale. The non-giant residents have been pressed to declare their allegiance or be destroyed. Do they swear fealty to Jarl Ryndölg, or is there another option? Is there another contender to the throne? Sometimes the best choices can be the most dangerous. A Four-Hour Adventure for 5th-10th Level Characters. Optimized for five 8th level characters.

To a wizard, knowledge is power, and the wizard Lirdrium Arkayz wants to know the mysterious secret of The Rock. Many have tried to discover it - but The Rock keeps its secret well. The wizard offers a rich reward to anyone bold enough to solve this dark mystery. But the road to The Rock leads to danger and hidden peril - dangers that have claimed the lives of many brave adventurers. Rashness and folly will lead to quick death, but riches await the clever and brave. Have you the wits, courage and skill to survive the Journey to The rock? TSR 9106

A young boy befriends an extra-planar construct that has mysteriously appeared at his family’s farm. Once the boy finds out that other creatures are coming to take it back home, he comes up with a plan to get help from the party to save his new friend. Fairly in depth adventure with plenty of RP opportunity.

Haedirn Lastlight is a respected elven wizard and sage. After the death of his lover Lyonthel, the elf has been overcome with grief and has locked himself away in his study- a small manor on the cliffs of Wailing Crag. Haedirn has not been seen for over a year now, and those that knew him are beginning to worry. Worse still, a band of ogres has been terrorizing the nearby town, slaughtering the town folk and haughtily boasting the elf wizard is dead. The PCs must put a stop to the ogres' attacks, make way to Wailing Crag to root out the rest of their gang, and lay Haedirn Lastlight's tortured remains to rest.

After the first expedition to locate an ancient tomb was prematurely ended by monsters, the Search and Locate Treasure Consortium is doubling down. Camp established, they are looking for adventurers to make their dreams come true, but the leader of the Consortium is hiding something. Will the characters be able to avoid the Man Slayer tribe that destroyed the first expedition, help Larazmu settle his internal struggles, and locate the tomb that they have been searching for without getting into Moor Trouble?

Terror grips the city of Sharn. A serial killer stalks the streets and catalogues his slaughter in the annals of the city’s newspaper, to the delight and horror of its readers. To catch this elusive criminal, the PCs must match wits with an old adversary. Even beaten, scarred, and imprisoned, Viktor Saint-Demain is determined to have the final word. This is a sequel to Dungeon Magazine issue #133’s adventure “Chimes at Midnight”.

This material was originally published as three separate adventures: G1 (STEADING OF THE HILL GIANT CHIEF), G2 (THE GLACIAL RIFT OF THE FROST GIANT JARL), and G3 (HALL OF THE FIRE GIANT KING). Contained herein are referee notes, background information, maps, and exploration keys for three complete adventures using the ADVANCED DUNGEONS & DRAGONS rules. This module can be used alone or as the first in a series of adventures that includes Dungeon Modules D1-2 (DESCENT INTO THE DEPTHS OF THE EARTH), D3 (VAULT OF THE DROW), and Q1 (QUEEN OF THE DEMONWEB PITS). TSR 9058
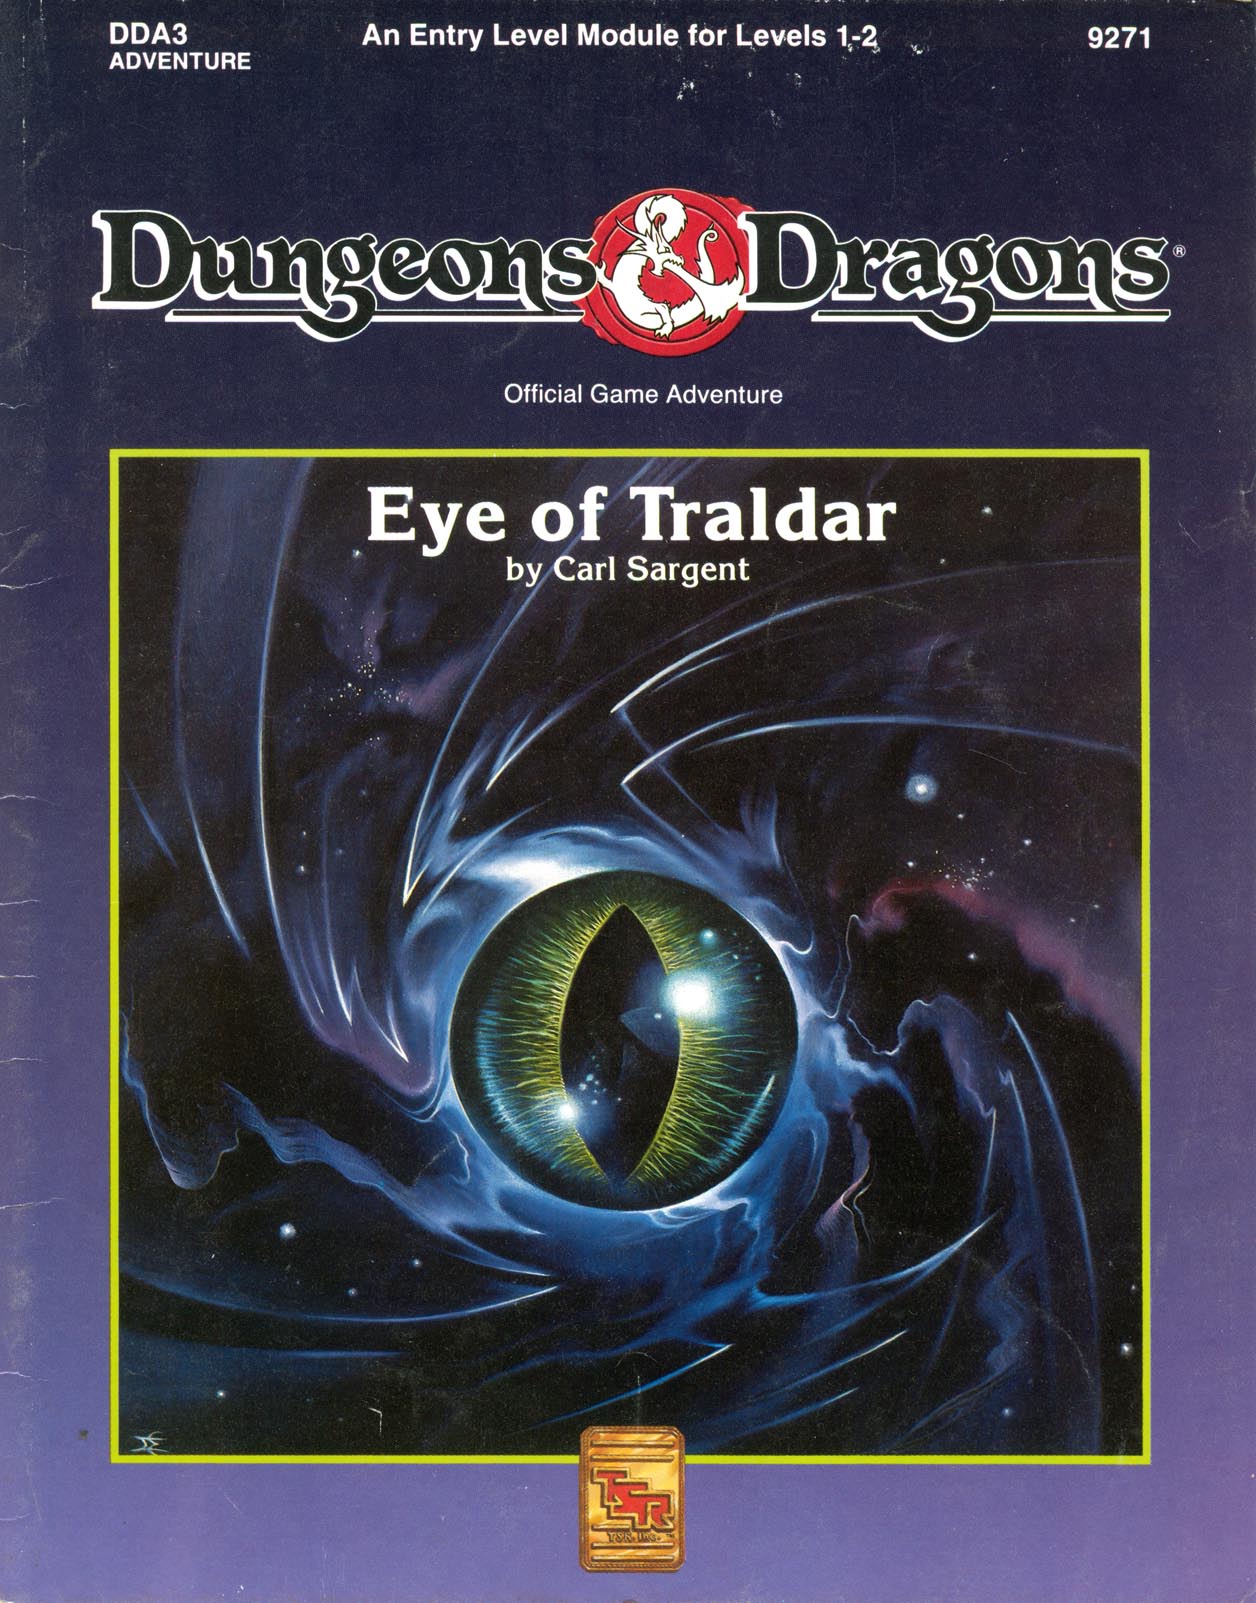
Powerful Magics are Loose in Karameikos! You and your companions are starting on your first adventure and you've been swept into the intrigues surrounding the infamous Black Eagle Barony. To prevent the evil Baron von Hendricks from gaining more power, you and your cmpanions must retrieve the magical Eye of Traldar from the wizard's tower at Fort Doom. Can you escapes the clutches of the armed garrison? Will the Baron gain the powerful artifact and use it for evil? You and your friends make the choices and affect the entire Grand Duchy of Karameikos. This module is particularly recommended for novice Dungon Masters and players who want to try their hand at overland adventuring. Recommended for four to six characters, levels 1-2 Handouts and pregenerated characters provided Suitable for use with the Dungeons & Dragons Game box and conventional D&D Game rules Features simple rules on outdoors travelling for exclusive players of the D&D Game box Adventure in the monster-filled caverns and dungeons beneath Fort Doom. TSR 9271
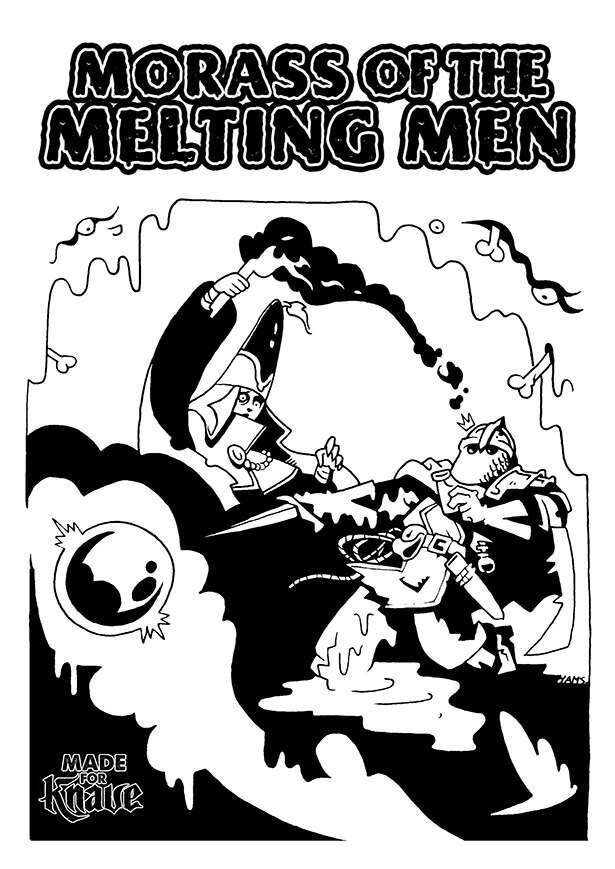
In these lands of eldritch goo, it's a fine line between victory and a sticky situation Tzork, the sentient globe of glass, wasn’t exactly born from a grand spell—it was more of a cosmic "oops". After a backstabbing disciple named Theridus offed his master and snagged the relic, he promised his followers unimaginable power. But instead of turning them into terrifying demons, Tzork turned them into puddles of goo. Now, the once "glorious" cult's mansion is less a temple and more a swamp of melted, failed adventurers, attracting only the most reckless of treasure hunters. 'Morass of the Melting Men' is an adventure for Knave 2e, suitable for low-level PCs. The adventure revolves around an extremely powerful sentient magical item that has gone out of control, melting all the nearby people and turning what was once an evil temple into a swamp of slime, filled with bones and eyeballs. In Morass of the Melting Men, players enter a location flooded with a magical liquid exuding chaotic energy. The longer the PCs remain within the swamp, the more they suffer the unexpected effects of this alien magic. Step inside this morass if you dare — goo and treasure awaits... but mostly goo What you'll find here: A complete 40-page adventure A 20 room dungeon map Several new (and bizarre) magic items such as the magnificent Tray of Force and the powerful Theridus' Head. Several wild random tables of weird and gooey outcomes

A combination wilderness/dungeon module, first searching for then exploring the temple of Tharizdun. Tharizdun is long gone from the place, so there's no epic final fight. Rather, a mysterious Black Cyst waits at the bottom of the dungeon. The encounter with it is almost scripted, having no hazard except for careless/foolish players. Contains several monsters from the Fiend Folio. Loosely follows Lost Caverns of Tsojcanth. TSR 9065

Rumors have been spreading in small towns and hamlets, regions isolated in the far reaches of the wilderness and cut off from major cities and trade routes. Rumors of strangeness in the forest, where the animals suddenly watch with intelligent eyes while the sound of a crone’s laughter pierces the veil of night. Rumors of young men and women disappearing without a trace in the wilderness. Rumors of a cottage that walks on enormous chicken legs. Rumors of Baba Yaga. Those rumors turn out to be true and the Dancing Hut of Baba Yaga has come once again to haunt, confuse, befuddle, and terrorize the far corners of the land. The Grandmother of Witches cackles in her flying mortar as she sails over the trees, a shadow in the darkness, but what does she want? Why has she come? And what strangeness awaits in her fantastic hut on dancing chicken legs? Brave heroes are needed to head out and find the answers to these questions and more! Welcome to the Dancing Hut of Baba Yaga, an adventure unlike any other. Baba Yaga, the Grandmother of Witches, has come to town, and her dangerous and mysterious Dancing Hut beckons adventurers to brave its wondrous depths. Open the doors, unlock the puzzles, and meet the famed witch, her adopted daughters, and a host of other strange characters. This module presents the Dancing Hut and its most famous owner, Baba Yaga, as an adventure site worthy of high-level exploration. You can use the module in many different ways, and the Adventures in the Hut section provides ways to entice characters to seek out Baba Yaga. In general, the adventure environments presented are designed to challenge a party of characters levels 11-16, but with some adjusting and focus on non-combat solutions, a party of lower-level characters could also explore the Dancing Hut.