
The Lost Tombs, Volume 1 Derro swarm in the Abbor-Alz. The Doomgrinder windmill's blades approach their zenith. Strange sightings in Hardby and rumors of a bandit empire in the mountains have commoners and nobles concerned. The Circle of Eight hopes that the key to averting this disaster can be found in the mysteries of a group of five ancient crypts, the Star Cairns. But first someone has to find the fifth cairn.... Five separate adventure sites playable individually or linked together, The Star Cairns can provide a diversion for treasure-hungry adventurers - or can be used as the seeds for an extensive campaign. Although the adventures are designed for four to eight characters of levels 5-8, each section can be adjusted for weaker or stronger groups. TSR 9579

You are Erystelle of Dorneryll, famed elfin champion and magic-user. After years of adventuring, you have come home to the Emerlas - the hauntingly beautiful elfin woodland at the tip of Canolbarth forest. A place of legends and of peace. The journey has been long, but soon the winding forest track will bring you to Dorneryll, the majestic oak tree home of your childhood. Ahead, you glimpse a plume of smoke curling lazily into the sky. Dorneyll is close, and your mind floods with thoughts of home. Suddenly, your reverie is shattered! The thin plume of smoke is gone, an in its place a column of red flame leaps high among the trees. Dorneryll is under attack! Gripping your lance, you urge your mount into a gallop. Starbow surges forward; your war dogs close on her heels... Blade of Vengeance is an adventure for one player and one dungeon master, featuring a lone elf against the forces of evil. Can you save the Emerlas from destruction? The answer waits inside. TSR 9108

In this adventure, the PCs discover that not all souls rest easy, particularly those spirited away to Nightwyrm Fortress. To learn the truth, players must pierce death's veil itself and enter the Shadowfell, where sinister echoes of life wing through eternal gloom. This adventure can be run as a stand-alone adventure or as Part Three of a three-part series of adventures (starting with P1 King of the Trollhaunt Warrens(TM) and P2 Demon Queen's Enclave(TM)) that spans 10 levels of gameplay.

Storms frequently blow from the Cloudscape Mountains, but never one like this: For weeks it has hung over the peaks, casting its dark shadow across the land. Its huge black clouds billow and writhe in an effort to smother the sun. Once so picturesque and enchanting, the Cloudscape Mountains have taken on a sinister appearance. Fear now stalks the land. A malignant entity is growing and festering high in the mountain peaks. With dark tendrils, it reaches out towards the lowlands. No one is safe. Caravans are not arriving at the village of Lurneslye. It is only a matter of time before the villagers fall prey to the dark clouds and the evil they conceal. TSR 9151
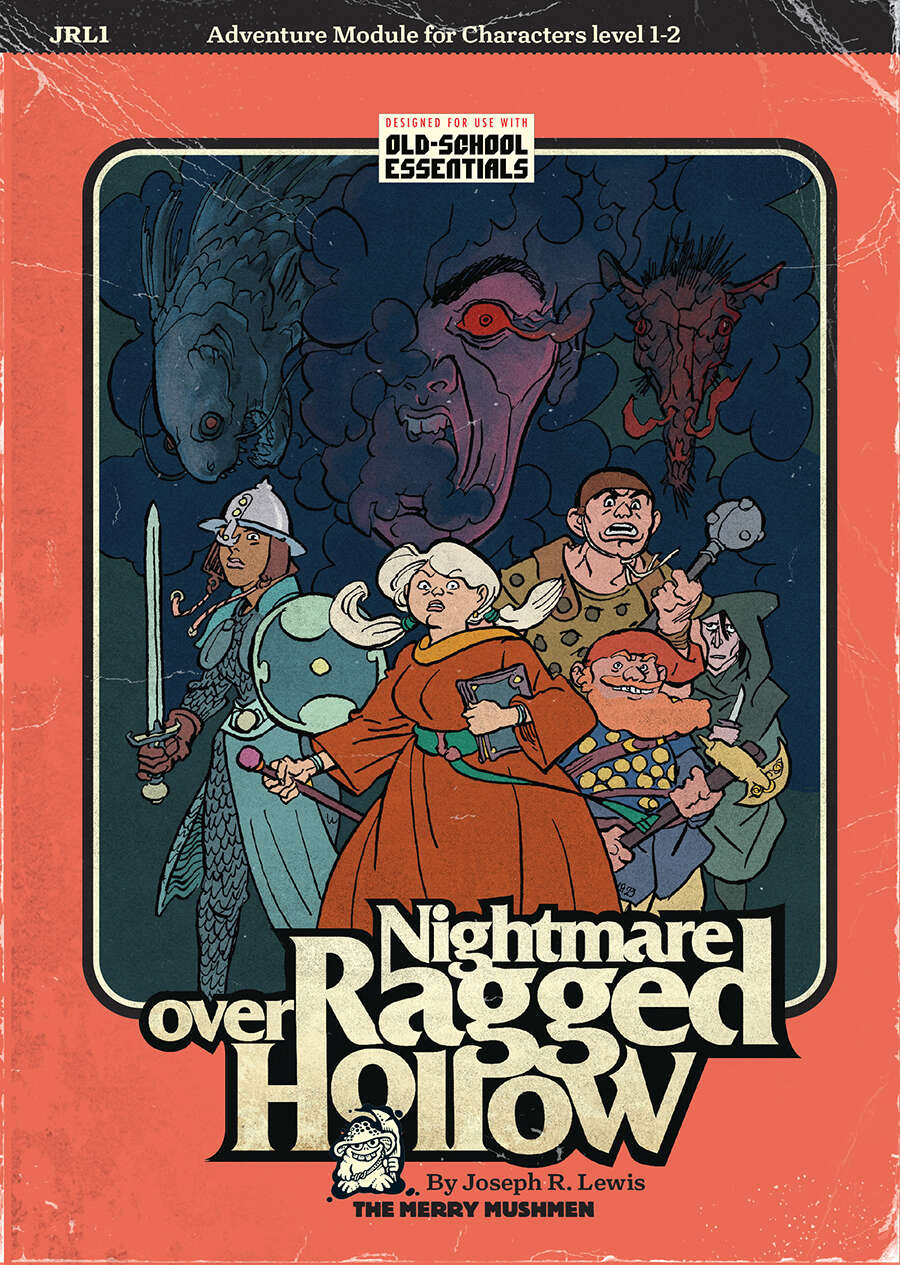
A new, expanded, OSR-ised, prettified edition of Joseph R. Lewis’ Ragged Hollow Nightmare which was rated among The Best by Tenfootpole. Joseph Lewis hit a perfect balance between the classics of dungeonverse fantasy and the whimsy of the folk tales we love so much (as testified by our Folklore Bestiary. we released last year), adding a dash of dreamworld strangeness and a pinch of body horror to spice up his brew. We did our best to respect his recipe when adding our extra material (about 30 pages of it). We worked with Joe and Li-An (the perfect artist to give life to spooky Ragged Hollow and its strange surroundings) to make the best module we could: a solid introduction to old-school gaming for both players and gamemasters. And for the veterans among us, it also makes an excellent, full-fledged campaign starter. Nightmare over Ragged Hollow is a sandbox adventure centred around a quaint town at the edge of the kingdom. But however quiet life in Ragged Hollow is, the town lies between places where you shouldn’t be traveling alone. Places like Gloam Wood (“A witch or two lurk there!”), the Bleak Mountains (“I’m told there are bugbears…”) and their infamous Mount Mourn (“Home, they say, to cursed Dwarven ruins”), not to forget the Wailing Hills (“Bandits on every road!”). There’s even a haunted house by the river (“That mad inventor riddled it with traps!”). But only when an impenetrable dome of golden light materialises around the Temple of Halcyon (“Hey, my kids go to school there!”) do things really get out of hand. Some selfless heroes (or, failing that, a bunch of greedy ne’er-do-wells) should really get involved. One town with three adventure mini-sites Three small dungeons One 50-room dungeon Three hexes with 16 detailed locations Two groups of potential allies or rivals Sixteen pre-generated characters One deadly countdown! Written for the Old-School Essentials (OSE) rule system
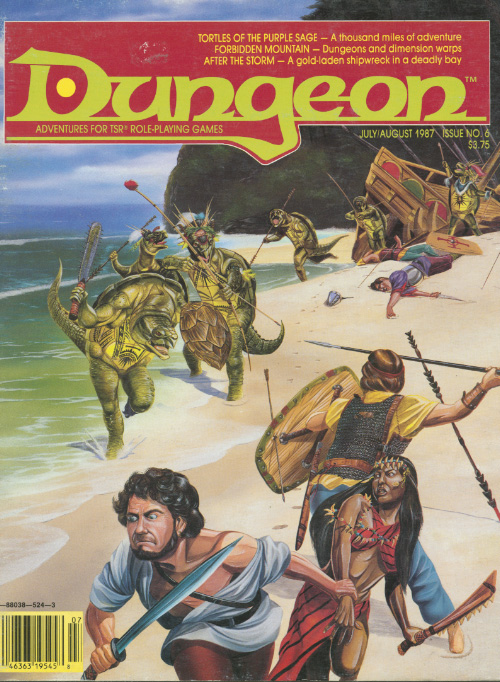
Part 1 of an Expert-level quest into a hostile wilderness. This adventure takes place in the Known World of the D&D game, as outlined throughout the D&D game rule books and modules. The DM may find it useful to consult the Companion and Masters Sets, as well as most of the X-series of Expert Set modules. D&D Expert Set module X9, The Savage Coast, would be especially helpful, as Tortles of the Purple Sage could easily serve and continue that module's direction and plot like, adding a previously undescribed area (the Great Northway) to the Known World. The DM may also place the areas and events of this adventure within an existing campaign setting, as long as the geographical areas of the campaign match those set forth here. Pgs. 40-62

Important: The adventure is 1e but it has monster conversion notes for D&D 4th edition The town of Highport, once a human community overlooking Wooly Bay from its perch on the northern coast of the Pomarj, fell prey to hordes of humanoids swarming out of the jungle-covered hills surrounding the settlement. Though the orcs, goblins, kobolds, ogres, and gnolls razed much of the place in their ferocious rampages, the smoldering ruins they left behind soon became a new kind of community, a place of trade between the humanoid “locals” and the unsavory human traders who have no compunction about doing business with them. Slaves are a commodity in ready supply in Highport’s market, since many pirates raid up and down the coast of the bay, putting fishing villages to the torch and filling their holds with captured refugees. Slavery has become a thriving business in the town, and rumors abound of a cartel of Slave Lords who run things from behind the scenes, filling their coffers in secret from the buying and selling of human chattel. The trade has become so prolific that the good folk to the north have grown tired of these depredations and decided to fight back. Forces of righteousness and honor have recently descended upon Highport, some openly and others in secret, in various attempts to destroy the machinations of the Slave Lords and abolish the abominable enterprise that has taken far too many loved ones from home and hearth. One such doughty servant of goodness is Mikaro Valasteen, a cleric of Trithereon. Mikaro slipped unnoticed past the crumbling walls of Highport with a single mission: to rescue and transport as many slaves to their freedom as possible. Mikaro and a handful of faithful assistants located a number of escaped slaves—as well as rescued a few more not sufficiently restrained and guarded—and shepherded them through the gates and beyond the reach of their humanoid tormentors, returning them to their lands and homes. This covert freedom brigade enjoyed remarkable success early on, since the servants of the Slave Lords were often lax in their vigilance and sloppy in their efforts to prevent loss of the “merchandise.” After one too many shipments never made its destination, the humanoids stepped up their security and the normal channels of escape from Highport closed to Mikaro and his team. He cannot risk exposure by smuggling the freed slaves through the gates as merchandise any longer, since shipments of goods are now regularly stopped and checked. No longer able to free the slaves in that manner, Mikaro began hiding his charges in an abandoned villa in a particularly rundown part of the town. Although they are safe for the moment, their numbers have grown unmanageable, and the priest fears it is only a matter of time before someone slips up and brings slavers to their doorstep. Ever more desperate to find a new means of escape from Highport, Mikaro has started work on a plan that is both daring and dangerous. He intends to use a series of old sewers coupled with natural caverns running beneath the town as an escape route to the sea beyond the walls. But he needs someone to clear out the creatures and pitfalls he knows lie within. Pgs. 2-27

In this scenario, the adventurers pass through magical portals into a series of interlinked chambers. The characters are encouraged by a young scholarly mage to voyage into the Sea of Pastures, to explore a mysterious island connected with a number of recent shipwrecks and disappearances. The island is grassy and windblasted, but eventually the characters discover a stone door leading into a subterranean complex. There, they discover 18 rooms linked by secret passages and magical portals. Most of these rooms have been ransacked by a variety of other survivors, human and monstrous. These survivors are likewise trapped within the labyrinth and are either eking out a miserable existence there or else desperately searching for a means of escape. Also within the building are a number of extraplanar creatures, collectively known as gingwatzim, who can shift between various forms: an energy form (glowing ball of light), an inanimate form (usually a magical weapon), and an animate form (an animal or monster). Eventually the characters may find the exit, and are once again deposited on the dreary islands to await rescue. TSR 9110
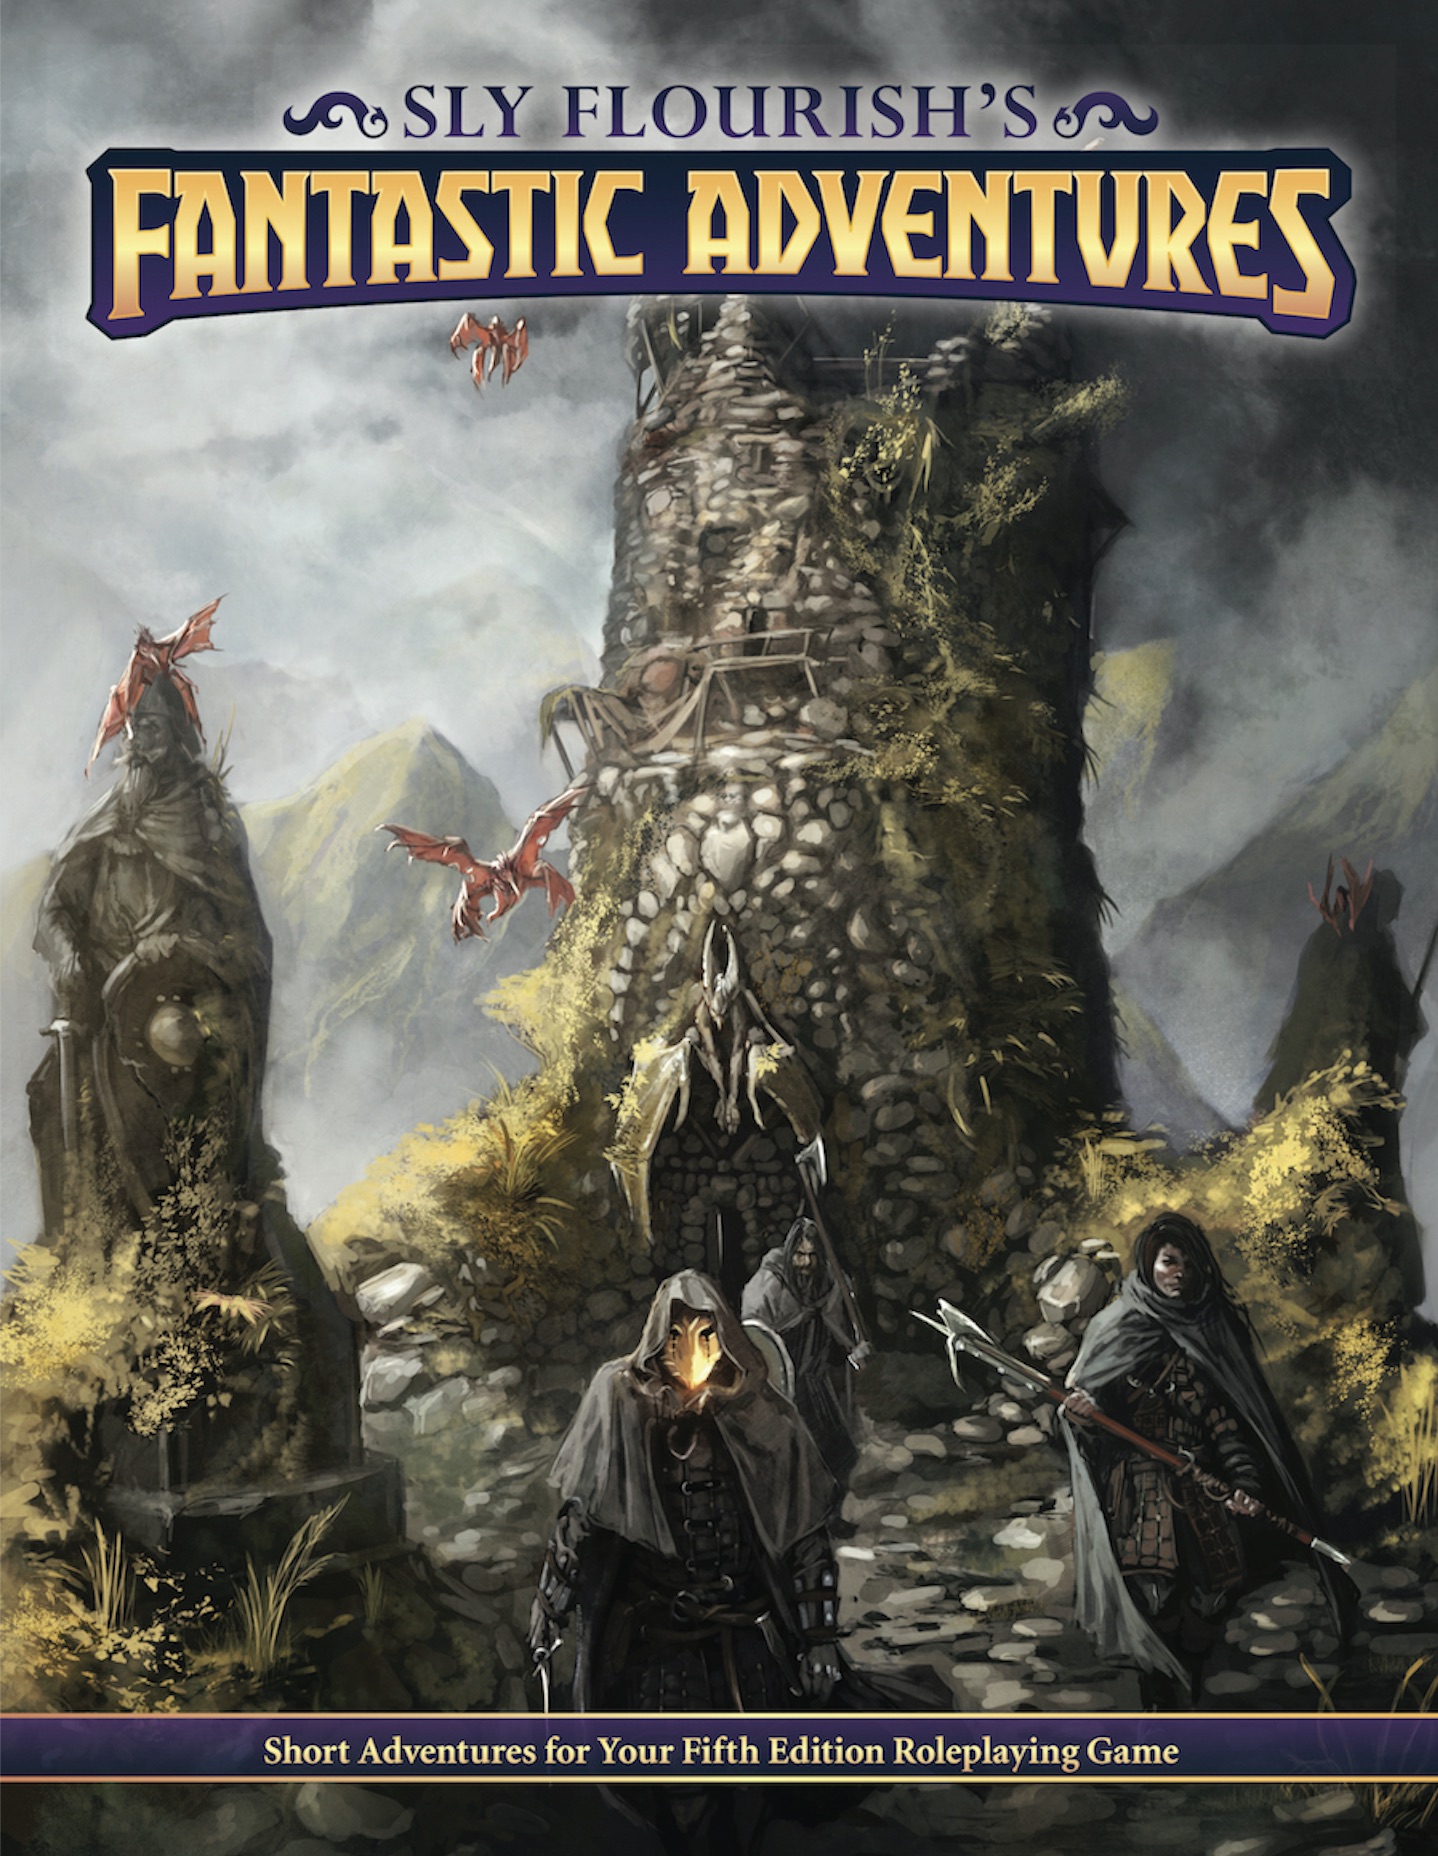
Goblin attacks have always plagued the farmers and merchants who live and travel along the roads leading to Whitesparrow. But a recent rash of new attacks are something different. The goblins of one particular tribe have gotten particularly smart, attacking with careful tactics and cunning ambushes. The village guards haven’t been able to outwit the goblins, even when laying traps of their own and hiring mercenaries to stop them. Even as goblins go, Rosethorn isn’t much to look at. He’s small and runty, and yet a lucky break placed him in charge of the Brownleaf goblin tribe. When he claimed a powerful magic relic from a dead wizard three months ago, Rosethorn found his intellect multiplied many times over. The world began to make a more intricate kind of sense to him, and he saw patterns in the ways other folk traveled the roads. After hiring a spy in Whitesparrow to tell him which wagons to pursue, Rosethorn cunningly bribed the wagons’ guards to throw battles in the goblins’ favor. He then moved the lair of the Brownleaf tribe away from their dank caves and into the ruins of the Bearded Man—an enormous dead tree at the center of the Howling Wood. There, Rosethorn continues his campaign of ambush against the foolish villagers, increasing his wealth and power with each robbery.

A shadow from the past, the Ghost Tower of Inverness has loomed ever larger in the mind of the great Seer of Urnst, Now he has convinced the Duke that an expedition should be organized to go to the ancient keep and recover its greatest treasure — the fabled Soul Gem. TSR 9038

Bad Fruul and his minions have been threatening to overtake the town of Parnast for some time, and intelligence provided by Seer (via Hsing) confirms that an attack is imminent. Despite this, the town is at risk from within as internal politics threaten to tear it apart. It is up to the adventurers to resolve the infighting in Parnast and prepare the town for the hill giant's onslaught.

A One-on-One Competition Module for Thieves Level 8 Your peaceful evening has been interrupted by an unusual request. As a thief, your skills are unmatched, but can you rise to the challenge of thieving for a powerful and frightening wizard? Do you have a choice? The Gem and the Staff is a special One-on-One competition module designed for one player and on Dungeon Master. The Module contains two separate scenarios, so you can switch roles with the other player after the first adventure. Scoring sheets and encounter summaries are provided for each adventure to make running competitions quick and simple. Character figures and a map book are also provided to help visualize the adventures. The player's maps are designed so you can see the rooms as they would appear. Complete DM's Maps are included. TSR 9050

30 Ravenloft adventures inspired by various domains of dread, including Gothic Earth, that can be played as a single campaign! Dreams of Solitude is a collection of thirty exciting adventures that can either be played as a campaign, run as a one-shot, or have pieces taken out to supplement your current home game! You'll meet your match against Atarte, the evil master of dreams, who will task you to defend ancient fortresses from the undead, explore a terrifying maze, fight in the trenches of world war 1 or even a karaoke contest with werewolves! It's SO much fun, and you'll be able to go back for more adventures, again and again! Adventures summary: Demon's Isle: Explore a watery cave and find your way to the Pirate Demon Zekel! Airic's Forest: Survive a forest ruled by werewolves while you try to find the cure for lycanthropy! Fractured City: Enter a glitchy uncompleted illusory town and try to find the "Butcher" that roams the dark alleys. The Heinfroth Heist: Enter Dr. Heinfroth's asylum and steal his journal without becoming his test subject! Tomb of the Hentempet the Red Queen: Face Hentempet the red queen inside her Pharaoh tomb! Graveyard Of invitation: Enter a cursed graveyard and follow the clues to find the reason why the undead have risen! Fey Blood Merchant: Help the Vistani child escape his Rakshasha master before he returns! Horrors in Chateaufaux: Play the role of the Gendarmerie guards and find out who creates chaos in the roads of Dementlieu! On the Run: Explore an ancient tomb and escape the curse that you have unleashed! Vampire Escort Child: Can you help this poor child leave this jail meant for monsters? Defend the Keep!: Command your own military force to defend a keep against waves of undead! Lena's Pets: Explore the heidius laboratory of Frantisek Markov's student and escape before you become body parts for her next experiment! Lava trip: Who would want to be inside an ACTIVE VOLCANO? RUN! Escape Rooms: Find the way to escape before time runs out! How investigative are you? Singing Showdown: Karaoke competition with werewolves??? Labyrinthine Horror: Can you escape the labyrinth before the Vampiric Minotaur catches you? Teety's Hunt for Lulo: Find Teety's elusive love in an enchanted forest of pain! Monster Lab: Create your own Flesh Golem and make sure you are a good parent! Through fire and steel: Run through the No-man's-land while enemy planes and tanks bombard you and assassinate the enemy general! Don't forget to dodge the bullets! Drowning in Filth: Will you manage to escape before you drown in filth? Wilted Roses: Explore the forests of Sithicus and find the Black Rose Effigy! Shyclin’s Circus: An encounter inspired by the Carnival. The joke's on you! Among Us: Can you find shelter in a small cabin found in the woods? The Free Trader, Mist Runner: Avoid the enemy pirate ship at all cost while trying to reach the port with your own ship! The Curious Case of the Man Who Drowned in Air: Solve a detective's case in Victorian era London! Night at the Museum: Protect the museum's artifacts from invisible adversaries! Raid the Shadow: Lay siege on a castle controlled by the undead! Who could be its ruler? Journey to the Center: Control a mechanical worm of Kwalish and drill to the center of the earth to mine mithril! Journey Through Barovia: Visit Barovia's most famous places while trying to solve riddles or die trying! Choose Nothing: Solve a Death Slaad's riddle or get mad! The Final Dream: Tackle Atarte and their illusions in an environment that continiously alters between all of the dream-adventures! Only few can take on a Darklord and live to tell the tale! Published by Mistfactor Press

Only True Heroes Can Find Honor Among Thieves … They lurk in the Ralferst Forest, striking out at all who pass through, robbing traders, assaulting farmers, even killing with impunity. Working from a secret base deep in the forest, a band of thieves has struck fear into the heart of Brandon's Bridge, the little village at the crossing of the Azure River. But now a band of heroes has come, seeking glory and adventure - heroes that might just be up to the challenge of driving away the Thieves in the Forest. Thieves in the Forest is a beginner-friendly, introductory OGL adventure. It features: A wilderness adventure segment featuring the Ralferst Forest, a dense wood crisscrossed with paths and fraught with perils. The nature of the forest and paths makes it easy for less experienced players and GMs to deal with this non-dungeon environment. A double-sided, fold-out poster map (17" x 22") of the thieves' hideout - an ancient ruined temple - suitable for tabletop use with miniatures or counters, for easier handling of tactical combat. Maps created in Profantasy Software's Campaign Cartographer 2, and available for download on the Atlas Games website. GMs can customize and manipulate these maps themelves, if they own CC2, and integrate them into their own game worlds. Published by Atlas Games & Truant Spiele
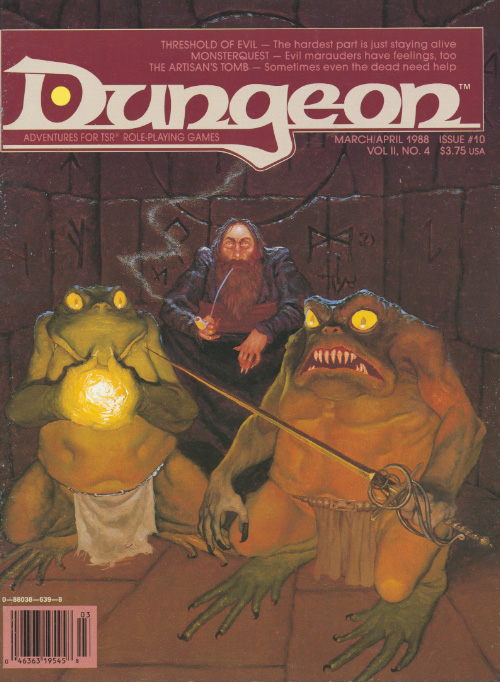
On a storm-blasted mountain lives an immortal Arch-Mage with a foul temper. The townspeople want you to talk to him - and kill him, if necessary. Is immortality worth the price? An Arch-Mage's magics threaten a small village. To protect it the party must brave a dangerous climb, and survive the Mage's warded lair. Pgs. 43-64
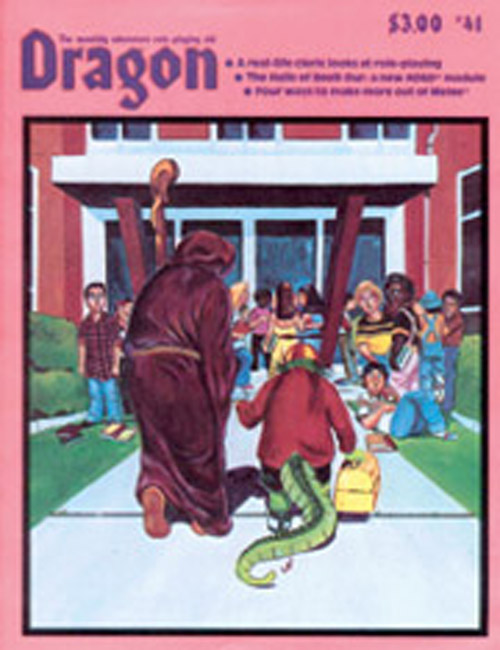
Built into what was thought to be an inactive volcano, the Halls of Beoll-Dur were created as an isolated training ground for dwarven clerics. However, upon their mountain shaking itself awake the dwarves discovered that they shared the mountain with something far more sinister. Few escaped to tell of the massacre as an horde of salamanders rising from the fiery depths, claiming the halls for their king. Now the temple sits desecrated, waiting for the day that hero's will purify it of the evils within. Pgs. M1-M16

This quest is for a party looking to resurrect a character whose corpse is missing body parts necessary for survival. Lower-level resurrection spells don’t work on a creature that is missing a head, heart, or other vital organ. To resurrect the body, the characters turn to Vaprak, patron deity of trolls, and attempt to earn the god’s assistance. However, a band of frost giant hunters intend to destroy Vaprak's temple along with everyone inside it. Includes a quest-related NPC that a player can control if they're waiting for their character to be resurrected.
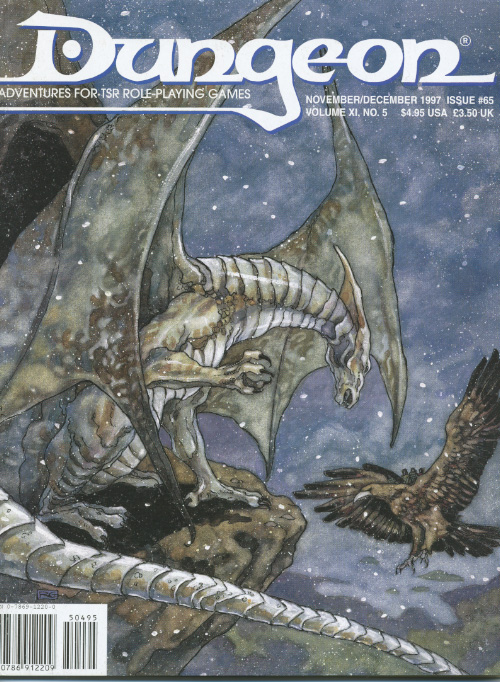
The Ice Tyrant is a Dragonlance Firth Age adventure set in Southern Ergoth, the domain of Gellidus the white dragon. This scenario takes the heroes from a coldswept refuge of the Silvanesti elves to the citadel of Anghanor, left untouched since the Knights of Takhisis' withdrawal in 383 A.C. (just before the Second Catalcysm). The once-familiar locales of Ergoth have changed since the War of the Lance. Now, in the Age of Mortals, most of Southern Ergoth is covered by a great glacier, and the capital city of Daltigoth has fallen to ogres loyal to the brutal dragon overlord Gellidus (known to humans as Frost). The adventure begins when the heroes join a band of Silvanesti renegades who have successfully evaded Gellidus' clutches. The elves plan to strike back at the cruel Ice Tyrant by uncovering his "secret" in Anghanor. --from the adventure. NOTE: this module uses the Fifth Age rules based on the Saga card system. It is supplemented by AD&D rule text boxes. As such, there is no recommended level although Tier 2 play seems appropriate. Includes an overland map and a map of the tower and keep. Pgs. 26-49

When huge stones fall out of the night sky, A deadly curse settles over Gravencross. Help the village exorcise the Demon Stones. “The sun had set an hour ago, and the rain lashed down and the wind howled on the dark moor. A storm this late in the season was unusual, but this one seemed different. The clouds were more menacing, tinged with anger, the rain colder and more biting than usual. Skerrill had to find the lost calf and get him back to the farm before his father came back from the city on business. He’d been looking for two hours now, and he was right in the middle of the moor when the storm hit. He knew he should have turned back as soon as darkness fell, but then he was never the brightest boy in the valley. If only he had remembered to lock the farm gate. The calf was now likely dead anyway having stumbled among the boulders and rocks, panicking in the dark, and then fallen in a floodwater stream and drowned. Either way, he was in more trouble than he could imagine. Suddenly, a bright flash of white light and a roaring peal of thunder were preceded by an explosion as a huge object fell from the sky and impacted the ground of the moor no more than a stone’s throw from him. Dirt, mud, water, and debris erupted from the impact site, flying high into the air and then covering the moor for hundreds of feet all around. Skerrill was knocked to the ground instantly and covered in the fallout from the blast. His ears rang and his head spun, but he staggered to his feet in a daze. He stumbled to where the blast had happened only moments before, and in a depression in the ground lay a huge stone glowing orange as if hot. Skerrill passed out. Two more thunderous explosions crashed in the distance.”
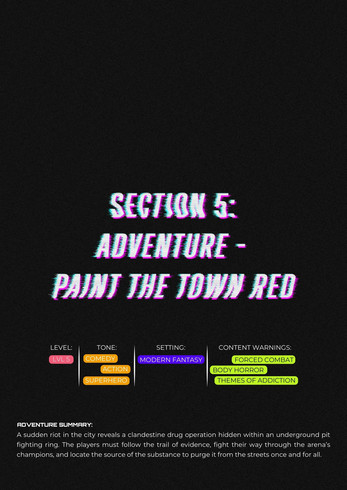
A sudden riot in the city reveals a clandestine drug operation hidden within an underground pit fighting ring. The players must follow the trail of evidence, fight their way through the arena’s champions, and locate the source of the substance to purge it from the streets once and for all.