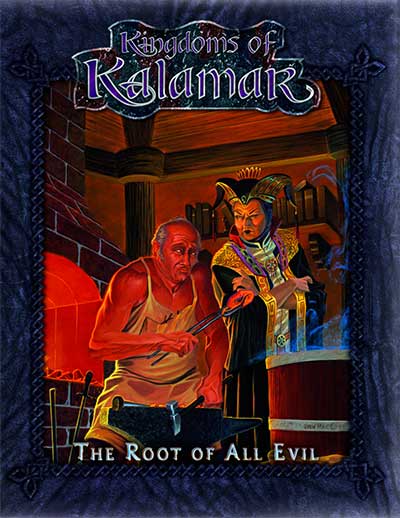
This was supposed to be a simple job! In the small town of Haanex on Reanaaria Bay, the wizard Veoden assembles the PCs to do a simple job: find the remnants of a meteor said to be made of the rare substance mithral. First they must find a map that local rumor tells is guarded by the spirits of the dead. Upon recovering the map and locating the crater, they uncover a plot to create a powerful magical item called the Coin of Power. This artifact is a tool for wickedness and the players soon find themselves on a quest to learn the means to destroy this evil item and its insidious master before she destroys them. Complicating matters is the fact that the one man who can help them was lost during an expedition to the Reelio Jungle months ago and is yet to return. Will the PCs be able to survive the rigors of the jungle and solve the riddle of the tribesmen who live there? The lives of innocents might depend on it! This accessory provides characters with an elaborate storyline and a chance for many varied types of adventure. You will take your PCs from the quiet village of Haanex in northern Reanaaria Bay to the Vry Naasu Headlands, the City-State of Zoa and finally the forlorn Reelio Jungle. The Root of All Evil fantasy game supplement is set in the popular Kingdoms of Kalamar Dungeons & Dragons campaign setting but can be adapated for use in any setting! This module can be used by itself, or as Part One of the Coin of Power trilogy (see also Forging Darkness and Coin’s End).

A special underworld encounter from DUNGEON Adventures! The toll may be higher than you can afford... To travel further into the Underdark the party must cross a bridge spanning a deep chasm. But to cross, they must pay the toll, or risk another route. Pgs. 47-54

You are Erystelle of Dorneryll, famed elfin champion and magic-user. After years of adventuring, you have come home to the Emerlas - the hauntingly beautiful elfin woodland at the tip of Canolbarth forest. A place of legends and of peace. The journey has been long, but soon the winding forest track will bring you to Dorneryll, the majestic oak tree home of your childhood. Ahead, you glimpse a plume of smoke curling lazily into the sky. Dorneyll is close, and your mind floods with thoughts of home. Suddenly, your reverie is shattered! The thin plume of smoke is gone, an in its place a column of red flame leaps high among the trees. Dorneryll is under attack! Gripping your lance, you urge your mount into a gallop. Starbow surges forward; your war dogs close on her heels... Blade of Vengeance is an adventure for one player and one dungeon master, featuring a lone elf against the forces of evil. Can you save the Emerlas from destruction? The answer waits inside. TSR 9108
The Giants are on the March! The Rise of the Runelords Adventure Path continues! Driven to battle by a maniacal warlord, the once-peaceful stone giants of the Storval Plateau threaten to destroy the sleepy town of Sandpoint. Will fast action and quick wits be enough to save the defenseless community? Yet, even if the giants' initial raid can be repelled, only by striking at the heart of their titanic war machine—the black-towered fortress of Jorgenfist—can the menace be quelled. But who knows what mysterious bloodlust spurs the usually peaceful giants to war, or what mysteries lie beneath their ancient fortress?
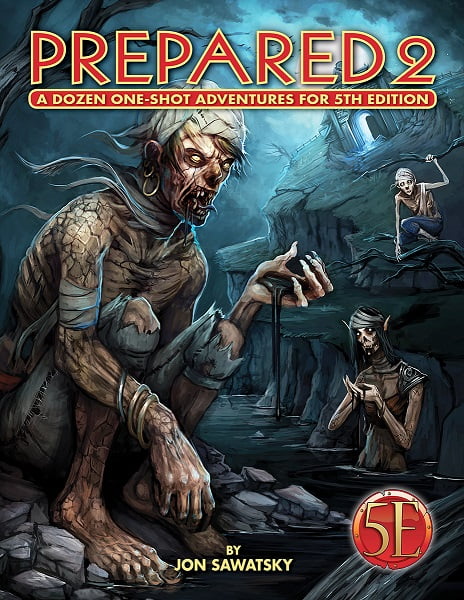
A great threat lopes toward a small city at the edge of a wasteland. One of the leviathans of the wasteland, a gigantic malevolent creature known locally as a “walker,” appears to be on a course directly through the city. The PCs are called to heroism by the city’s council, who have learned that the walker is being directed by a foul darakhul who has gained control of the creature and directs it from atop its shoulders! Scouts have discovered a portal used by the ghoul to teleport atop the walker. With a hastily scrawled map, the party must navigate the wild hills to locate the magical doorway. In this epic and deadly adventure, the party must navigate wild hills, locate a teleportation portal, and slay the Darakhul and his minions on teetering platforms built atop the shoulders of the walker.

Baron Rajiram’s forces have secured the Nelanther Isles and have scoured the Sword Coast for treasures. Now they have begun to explore a mysterious island that recently just popped into existence nearby. SEER seems to believe that an aboleth artifact is their goal. It is up to the adventurers, in competition with the baron, as well as aboleths, the Kraken Society, and the mysterious caretaker of the island, to locate the Eye of Xxiphu and avert catastrophic disaster.

The party is enlisted to assist the Righteous Host, an army formed as a last resort to defend the world against the monsters of Elemental Evil. The host is greatly outnumbered. Its leaders send the party on a series of missions, each of which will give the Righteous Host an edge in the great battle to come. This epic adventure ends with the final push against the forces of Elemental Evil in the Meadows, and the outcome is informed by how effective the party is in their missions... and whether they are willing to risk putting themselves in the front lines. If the Righteous Host loses, players may decide to travel to Hommlet or other nearby towns to defend them. Whether the host is successful or not, players can decide to follow many different plot threads: exploring the Temple of Elemental Evil, finding the lich Kell the Eldest's lair and destroying his phylactory, or following the will of Bitbaern's Shield and discovering historical sites that were previously lost. Pgs. 44-69

Claiming to possess Hartkiller's Horn, Ryndölg makes his move to take control of the Hartsvale. The non-giant residents have been pressed to declare their allegiance or be destroyed. Do they swear fealty to Jarl Ryndölg, or is there another option? Is there another contender to the throne? Sometimes the best choices can be the most dangerous. A Four-Hour Adventure for 5th-10th Level Characters. Optimized for five 8th level characters.

Chaos reigns outside Roslof Keep, and the spread of the violet corruption runs deep within Mithelvarn's Dungeon. Now, the Company of the Ivory Scimitar must not only face the challenges of the Roslof delve, but will also find the dangers of the Kelmalin Wildlands must be overcome as well if they are ever to get to the bottom of the deadly plague that ravages the land. Time is running out, and only those brave enough will be able to face the horrors of the Glade of the Burning Dead and the dark recesses of The Hill. This adventure is formatted to both 1E & 5E gaming rules. Also available in PDF.
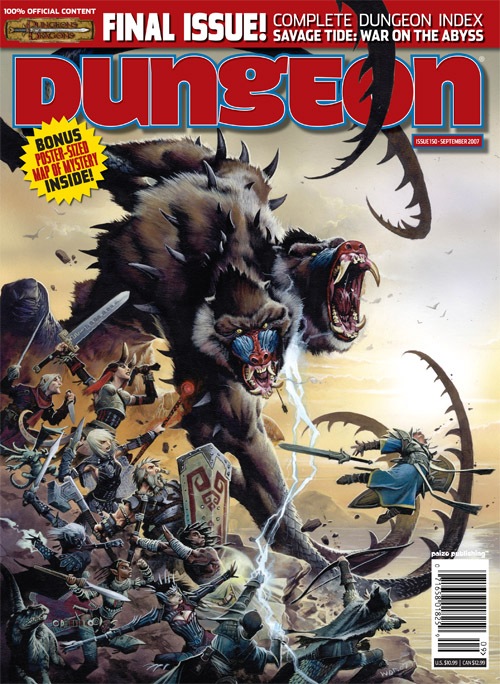
The renegade magic-user Bargle is wanted, dead or alive. Rumor holds that he dwells in the bowels of a nearby abandoned keep, performing all sorts of foul sorcery. Only the truly brave, or perilously foolish, would dare to challenge Bargle in his own domain. Expanded dungeon of the BECMI red box sample dungeon.

Who among you dares to challenge the high seas? Inspired by the tales of Sinbad, Golden Voyages provides teh source material and adventures needed to run a mini-campaign on the Crowded Sea. Detailed backgrounds, perilous locations, and wondrous NPCs populate the enchanted seas. Player characters will discover wildly different adventures as they sail from place to place. DM Notes There are multiple options for plot hooks which is nice, of course they all lead to the same spot, follow clues that take you to all corners of the Crowded Sea to find a Great Treasure. TSR 9366
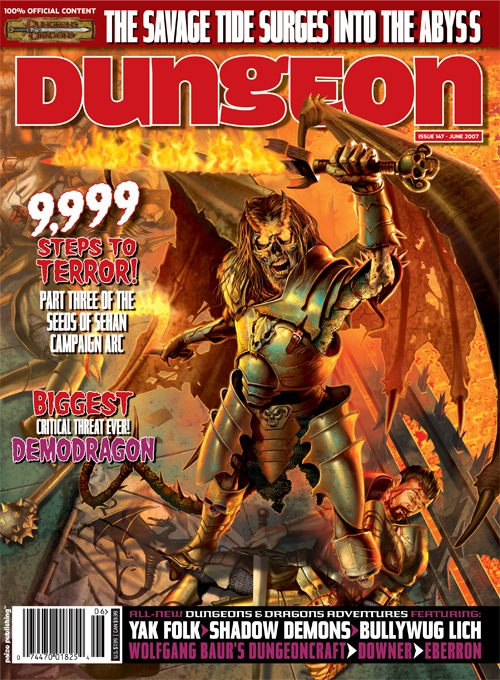
Atop a distant mountain peak, a monstrous entity plots dark deeds. The final chapter of the Seeds of Sehan campaign arc. "To a mind that is still, the whole universe surrenders." Chuang-Tzu. Pgs. 30-47

The trees part before you, revealing the crumbling walls of the ruined keep. Only hours ago, you set off after the marauding orc band responsible for the destruction of the temple of Freya and the theft of its sacred crucible. But something else waits for you within the ruined walls. Something darker and far more sinister. Something that has hidden from the light for ages.
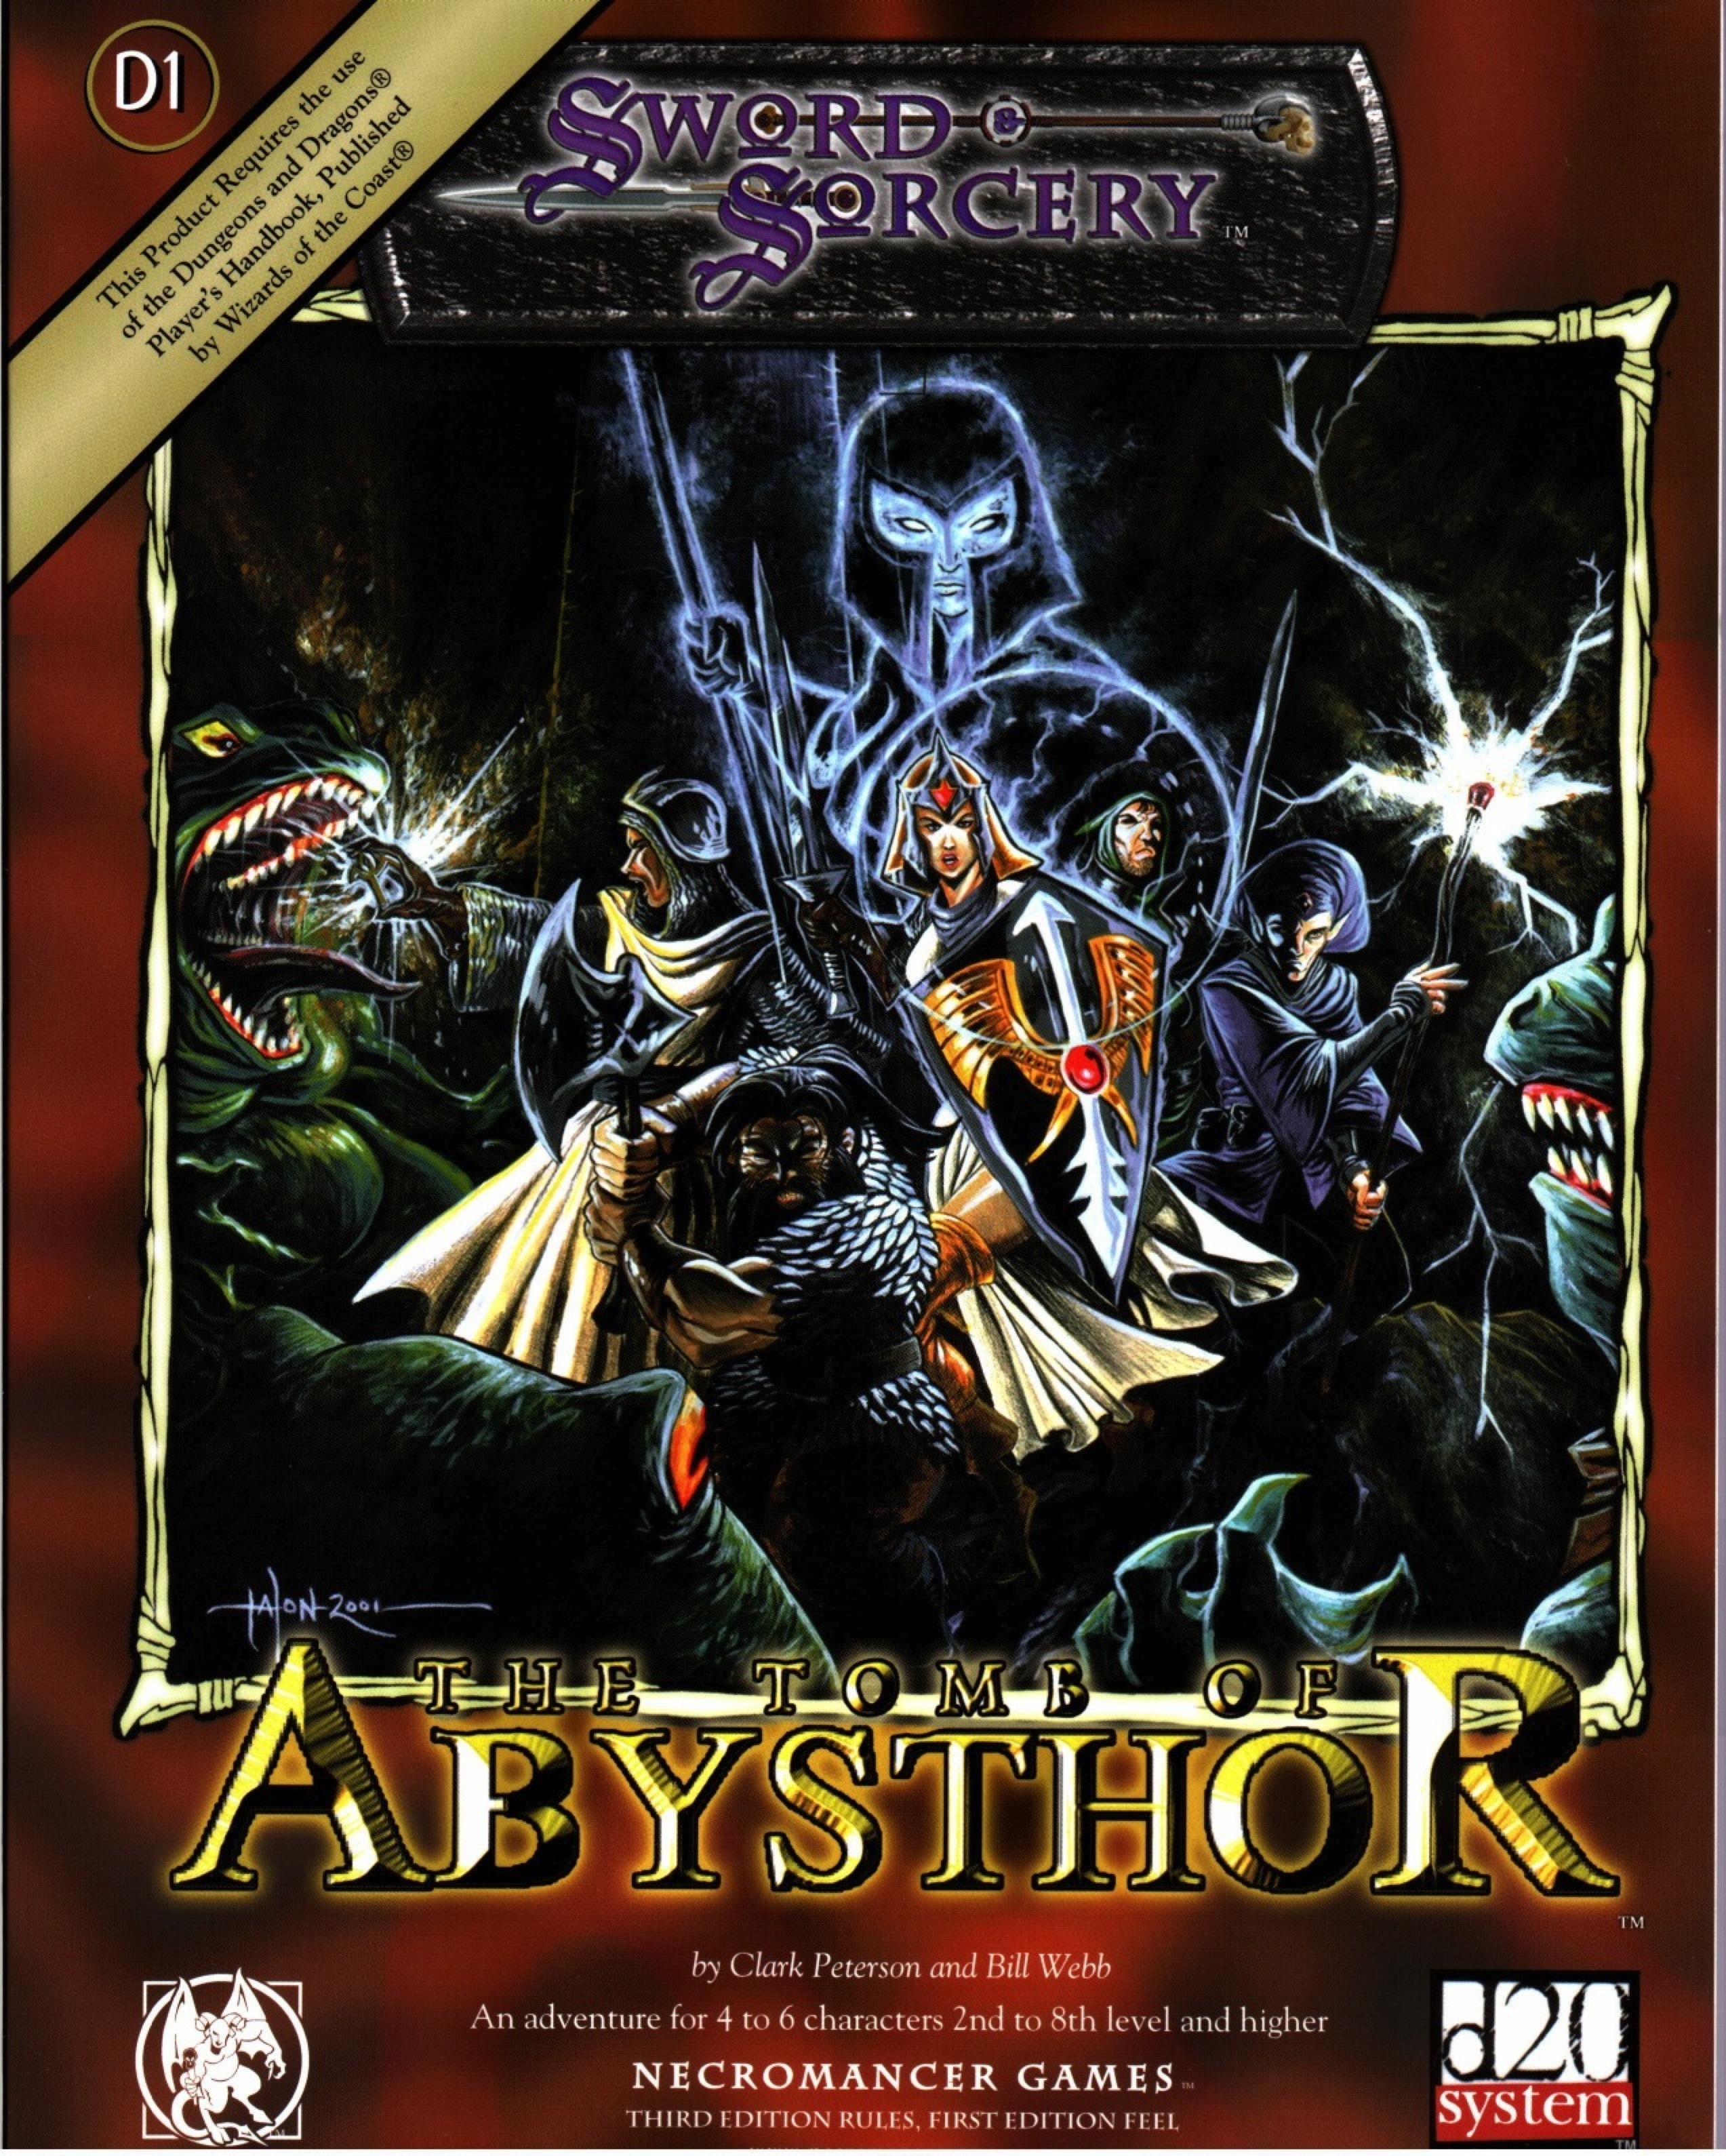
Restore an Abandoned Temple Enter the catacombs near the desecrated Temple of Muir, Goddess of Paladins, and search for the lost tomb of Abysthor. Will your party be able to cleanse the evil that now inhabits these once-sacred halls, and recover the Stone of Tircople? Can your characters survive the traps of an undead sorcerer? Will your players discover the chamber of Living Rock and the secret power it holds? Adventure awaits! Gold and Glory! A fantasy adventure published for the D20 system, The Tomb of Abysthor is the first module in Necromancer Games Dungeon series and can be played as a stand-alone story or in conjunction with The Crucible of Freya and the forthcoming city supplement Bards Gate. What secrets lie hidden in the tomb of Abysthor?

“Gorgoldand’s Gauntlet” takes place in a cave network in the side of a cliff overlooking a lake and can be inserted easily into any campaign. Gorgoldand’s Gauntlet is a site-based adventure with a pre-dominance of puzzles and traps. The PCs discover a map leading to the Gauntlet and explore it looking for treasure. They test their strength and wits against various traps and puzzles created by a gold dragon who converted a cave network into a proving ground to surreptitiously test the abilities of local adventuring bands. If they make it all the way to the end of the Gauntlet, they’ll have the chance to fight a dragon construct made of the dungeon's treasure hoard and have the chance to gain access to a magic item that can have a significant impact on their adventuring careers. Pgs. 39-51
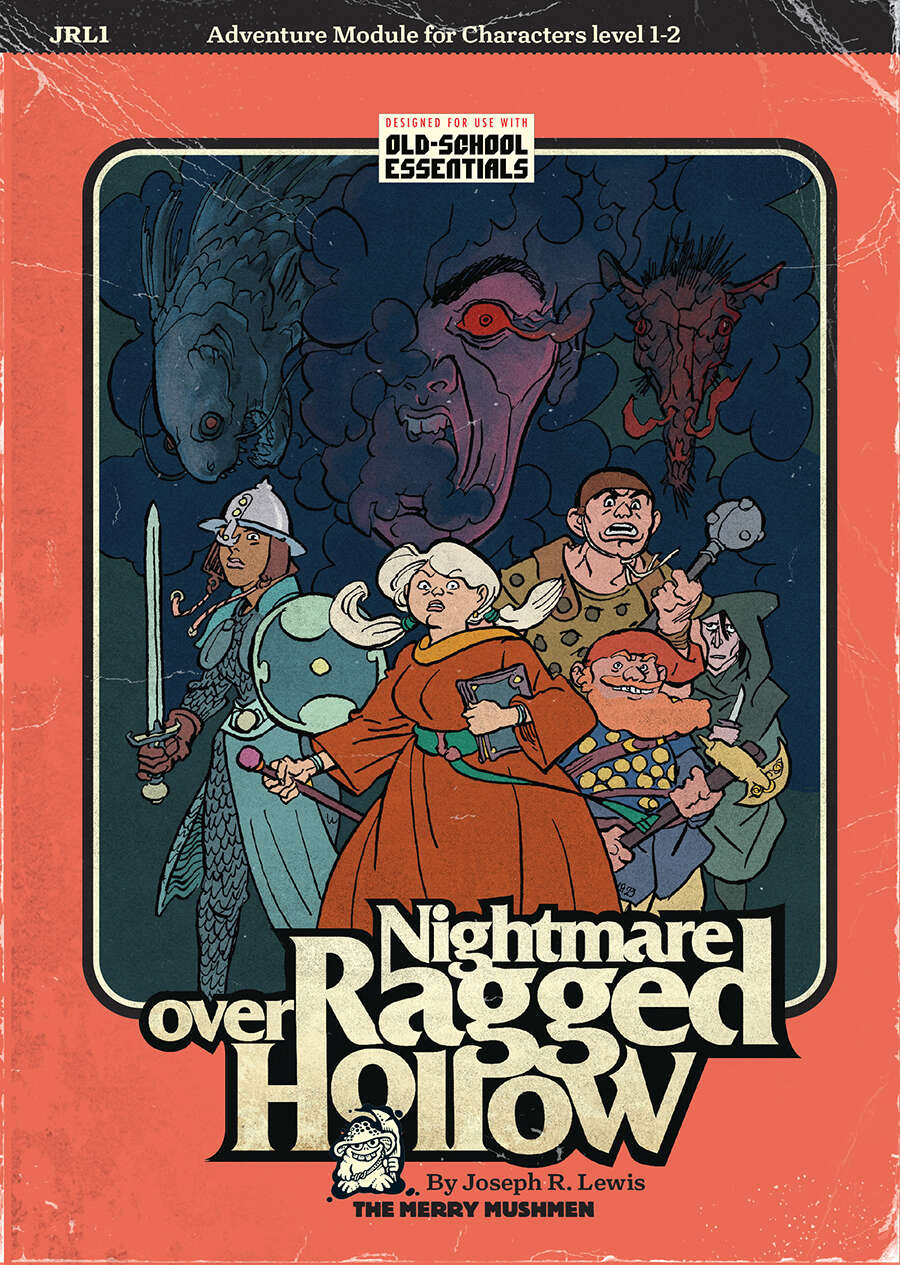
A new, expanded, OSR-ised, prettified edition of Joseph R. Lewis’ Ragged Hollow Nightmare which was rated among The Best by Tenfootpole. Joseph Lewis hit a perfect balance between the classics of dungeonverse fantasy and the whimsy of the folk tales we love so much (as testified by our Folklore Bestiary. we released last year), adding a dash of dreamworld strangeness and a pinch of body horror to spice up his brew. We did our best to respect his recipe when adding our extra material (about 30 pages of it). We worked with Joe and Li-An (the perfect artist to give life to spooky Ragged Hollow and its strange surroundings) to make the best module we could: a solid introduction to old-school gaming for both players and gamemasters. And for the veterans among us, it also makes an excellent, full-fledged campaign starter. Nightmare over Ragged Hollow is a sandbox adventure centred around a quaint town at the edge of the kingdom. But however quiet life in Ragged Hollow is, the town lies between places where you shouldn’t be traveling alone. Places like Gloam Wood (“A witch or two lurk there!”), the Bleak Mountains (“I’m told there are bugbears…”) and their infamous Mount Mourn (“Home, they say, to cursed Dwarven ruins”), not to forget the Wailing Hills (“Bandits on every road!”). There’s even a haunted house by the river (“That mad inventor riddled it with traps!”). But only when an impenetrable dome of golden light materialises around the Temple of Halcyon (“Hey, my kids go to school there!”) do things really get out of hand. Some selfless heroes (or, failing that, a bunch of greedy ne’er-do-wells) should really get involved. One town with three adventure mini-sites Three small dungeons One 50-room dungeon Three hexes with 16 detailed locations Two groups of potential allies or rivals Sixteen pre-generated characters One deadly countdown! Written for the Old-School Essentials (OSE) rule system
Important: The adventure is 1e but it has monster conversion notes for D&D 4th edition The town of Highport, once a human community overlooking Wooly Bay from its perch on the northern coast of the Pomarj, fell prey to hordes of humanoids swarming out of the jungle-covered hills surrounding the settlement. Though the orcs, goblins, kobolds, ogres, and gnolls razed much of the place in their ferocious rampages, the smoldering ruins they left behind soon became a new kind of community, a place of trade between the humanoid “locals” and the unsavory human traders who have no compunction about doing business with them. Slaves are a commodity in ready supply in Highport’s market, since many pirates raid up and down the coast of the bay, putting fishing villages to the torch and filling their holds with captured refugees. Slavery has become a thriving business in the town, and rumors abound of a cartel of Slave Lords who run things from behind the scenes, filling their coffers in secret from the buying and selling of human chattel. The trade has become so prolific that the good folk to the north have grown tired of these depredations and decided to fight back. Forces of righteousness and honor have recently descended upon Highport, some openly and others in secret, in various attempts to destroy the machinations of the Slave Lords and abolish the abominable enterprise that has taken far too many loved ones from home and hearth. One such doughty servant of goodness is Mikaro Valasteen, a cleric of Trithereon. Mikaro slipped unnoticed past the crumbling walls of Highport with a single mission: to rescue and transport as many slaves to their freedom as possible. Mikaro and a handful of faithful assistants located a number of escaped slaves—as well as rescued a few more not sufficiently restrained and guarded—and shepherded them through the gates and beyond the reach of their humanoid tormentors, returning them to their lands and homes. This covert freedom brigade enjoyed remarkable success early on, since the servants of the Slave Lords were often lax in their vigilance and sloppy in their efforts to prevent loss of the “merchandise.” After one too many shipments never made its destination, the humanoids stepped up their security and the normal channels of escape from Highport closed to Mikaro and his team. He cannot risk exposure by smuggling the freed slaves through the gates as merchandise any longer, since shipments of goods are now regularly stopped and checked. No longer able to free the slaves in that manner, Mikaro began hiding his charges in an abandoned villa in a particularly rundown part of the town. Although they are safe for the moment, their numbers have grown unmanageable, and the priest fears it is only a matter of time before someone slips up and brings slavers to their doorstep. Ever more desperate to find a new means of escape from Highport, Mikaro has started work on a plan that is both daring and dangerous. He intends to use a series of old sewers coupled with natural caverns running beneath the town as an escape route to the sea beyond the walls. But he needs someone to clear out the creatures and pitfalls he knows lie within. Pgs. 2-27
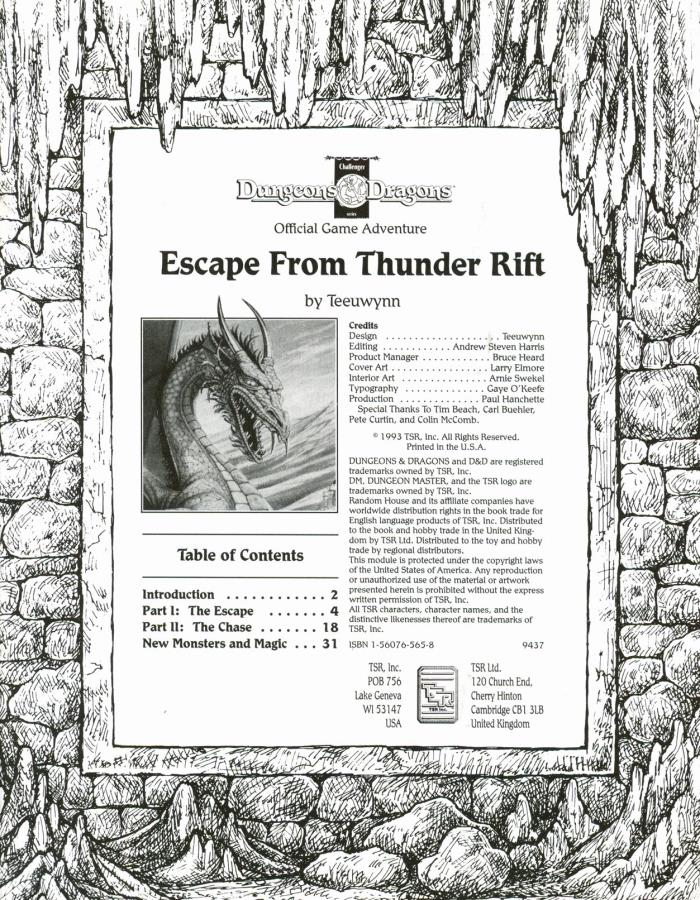
An emissary from the dwarven community of Hearth-Home approaches the player characters, beseeching them to aid the dwarves in finding a powerful mage who might bring disaster upon not only their mountain fortress, but all of the Thunder Rift! Escape from Thunder Rift adventure leads the heroes into a dark dungeon where they may discover a gate between the valley of Thunder Rift and the World of Mystara. Packaged with a DM screen. TSR 9437

Some dozens of leagues to the north and west of the STEADING OF THE HILL GIANT CHIEF (Module G1 of this series), amidst the tallest mountain peaks, is the stronghold of Grugnur, Lord of Frost Giants. As frost giants have been amongst those who have been in the reaving bands, the party is to deal with them as the hill giants have been dealt with. Death and destruction are to be meted out to the frost giants in the same measure they gave to the peoples below. This module contains background information, referee's notes, two level maps, and exploration matrix keys. It provides a complete module for play of ADVANCED DUNGEONS & DRAGONS, and it can be used alone or as the second of a three-part expedition adventure which also employs DUNGEON MODULE G1 (STEADING OF THE HILL GIANT CHIEF) and DUNGEON MODULE G3 (HALL OF THE FIRE GIANT KING). TSR 9017
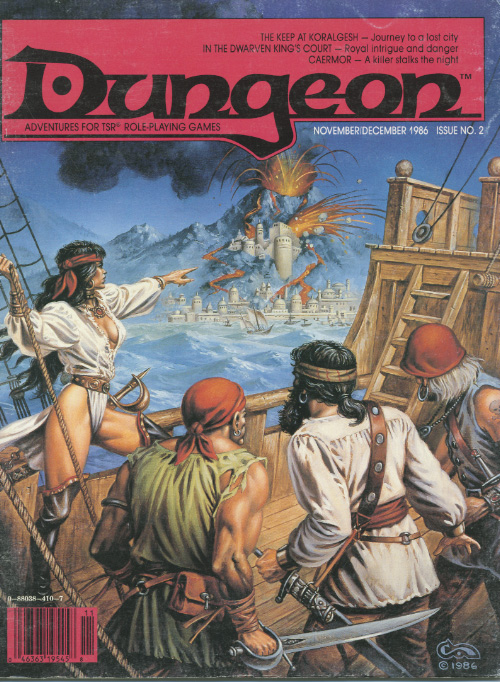
Buried in fire, but hardly dead. Only the Keep survived the destruction of Koralgesh, but few adventurers will survive the terrors that now stalk the lost Keep's halls. Players hear rumours of the Keep at Koralgesh and then traverse it to acquire the treasure within. Pgs. 45-64