"It shines in the night. Ogres run in terror of it. It kills by sight and by touch. It never stops hunting - and it's hunting for you." Vengeance denied in life is reborn in death. Druida Glanadyl, a female elf adventurer, seeks aid from the PCs in avenging the mysterious deaths of her family members. The horror that haunts Elfswood can be attributed to a spirit (odic) of a vengeful cleric, Irkthorn Balin. Pgs. 16-28 & 64

In the ruins of Kiris Dahn, a human town, lies a 'Slaying Stone'. The stone is said to have the power to kill any foe, though the stone is consumed in the process. The party will venture into the ruins which are the home to an assortment of goblins, hobgoblins, and kobolds. However, a mercenary band of orcs have been hired (by a benefactor who is not met in the module) to search the ruins for the Stone, and the party must find it first. The party must use caution and stealth to move through the town without alerting the denizens or the mercenaries while searching strategic points around the abandoned town to find the Stone. Eventually, the party should find the stone under the protection of an indifferent Brass Dragon.

The PCs must infiltrate a city ruled by monsters to search for the spymaster that holds the key to saving a besiged nation.
Two centuries past, the dwarven smith Durgeddin the Black carved a secret stronghold from the caverns riddling a hill known as the Stone Tooth. Laboring ceaselessly in their halls under the mountain, Durgeddin’s clan forged enchanted weapons for use in their vendetta against the orcs that had driven them out of their old homes. Durgeddin and his followers are long dead, but the dwarf-hold is not empty. Deadly peril waits in the caverns beneath the Stone Tooth, as well as Durgeddin’s hidden armory of matchless weaponry. The Forge of Fury is a dungeon crawl, or site-based adventure, describing the ruined stronghold of Khundrukar. The characters come to the Stone Tooth in search of a hidden cache of Durgeddin’s superior blades. They find the old stronghold inhabited by a number of dangerous monsters.
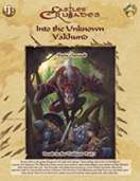
No introductions are necessary for I know well who you are, my intrepid adventurer. A weary traveler indeed. Have a seat, my friend, before you enter the Graffenvold and traverse its byways. Have you come here to rest, to leave the muddy tracks and sharp edges of the world behind? Is that, it my fine fellow? Or have you come to beat down the Lords of this Land and submit them to your will? Which is it fellow, the easy or the hard road you are after? I fear you have gone beyond yourself, and here in Inzae your mistake may be your doom. For beyond yonder door is a fearful world clinging desperately to life. Its denizens struggle against a vast array of malignant forces that seek to drag them deeper into the pits of the Maelstrom. And even here, in this backwater called the Reintier, you will find no respite from this meaningless and overwhelming struggle. So take heed traveler, take heed as you enter the Graffenvold, it will do you well to remember that this is a deadly world and lest you take care, you will be engulfed in its dying spasms. Traveling south in the goblin kingdoms is always frought with danger. So many will go only so far as the Baron's outpost, The Vakhund, The Watchdog Tower, and reside there in safety while merchants and others fare their way down the road. But what happens when the Vakhund is attacked by goblins, orcs and bandits? A princess is kidnapped, and only a dangerous trip into the dark, infested goblin kingdoms will reveal the answer. A Castles & Crusades adventure intended for 4-8 characters of levels 1-2, Vakhund: Into the Unknown marks Part 1 in the thrilling Death on the Treklant Trilogy and introduces the grimly realistic World of Inzae. Those brave enough to enter her Maelstrom and become heroes shall linger long in the halls of valor and memory.

Stonefang Pass wends its way through the mountains of the Stonemarch, home to brutal tribes of orcs. The time has come to clear the pass and gain a foothold, so that it can be used for trade between the town of Winterhaven and the lands beyond the mountains. Brave adventurers are needed to rid the pass of monsters and liberate Stonefang Keep from the orcs. Who’s up for the challenge?

A vast, sprawling mega-dungeon beneath the ruins of a nearby castle. Reports have surfaced of stockpiles of wealth within the passages. Regions previously devoid of monsters are reported to teem with renewed activity. Magical and mundane traps have brought foolhardy explorers to their doom. Changes within the passages and chambers have rendered old maps and knowledge dangerously unreliable if not outright useless. To the bold and daring, only one message needs to be heard: the castle and its dungeons are once more ripe for exploration, and new legends are ready to be made. Note: This adventure requires three books for it to be complete (sold as a package): Adventure Book, Map Book, and Illustration Book. Published by BRW Games

There's trouble in Allesley! An Eastbrook farm has been attacked and people slain. But by what? The people are frightened, the Reeve is concerned, and the Constable wants you to figure out what’s going on. The last time this happened, goblins attacked the town. Does this mean war? This is the first adventure in a series to come in 2017 which builds on the introductory mini-adventure in the Eastbrook starting area.

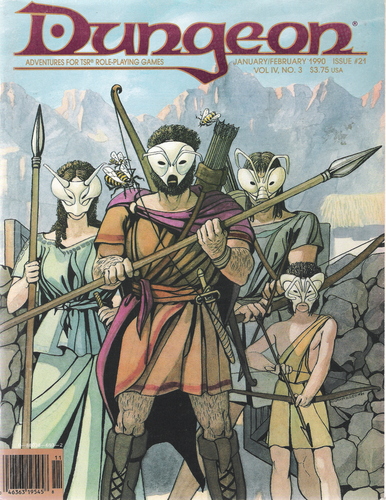
Somewhere ogre the rainbow.... You and your fellow humanoids are going to be diplomats! Can you say "disaster?" I knew you could. This module is made for humanoid monster PCs created with GAZ10 (The Orcs of Thar Gazetteer). That module is required to play through this adventure. The players start in the village of Flooshpragh, which acts as the horde center for the Rude Mongrel tribe of goblinoid races. Unknown to the players, the tribe has grown unmanagebly large, and the chief has marked the players as expendable individuals! Many subtle clues exist throughout the module to clue the players into this betrayal. The adventure proceeds through a town with roleplaying opportunities, a tower dungeon, and finishes by the players unknowingly pranking a human wizard. Pgs. 50-64
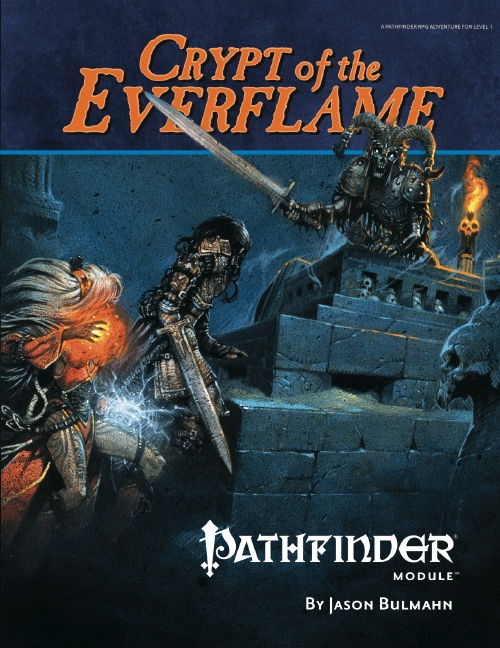
The young heroes of the town of Kassen are ready for their coming-of-age ceremony, an old tradition in which they retrieve a piece of the eternal flame burning in the tomb of the town's founder. Yet when they arrive there, they find only the corpses of their fellow townsfolk, dead bandits, and mysterious animated skeletons. The novice heroes must brave the traps and perils of the Crypt of the Everflame, discover the source of the corruption that has awakened an ancient evil, and defeat a menace that seeks vengeance against Kassen and its people. Part One of Price of Immortality.

This deluxe adventure takes heroes into the ruins of Gardmore Abbey, a monastery that was once the base of a militant order of paladins devoted to Bahamut. According to legend, the paladins brought a dark artifact back from a far crusade and stored it in their abbey for safekeeping, and evil forces gathered to assault the abbey and take it back. What the legends don’t tell is that this artifact was actually the Deck of Many Things, a force of pure Chaos. This adventure brings characters into the extensive dungeons beneath the ruins - dungeons that are warped and twisted with the raw forces of Chaos surrounding the cards of the deck.

The wizard Kavorquian is dead. But certain items belonging to his adopted son were in the wizard's keeping at the time of his demise. Now someone must venture into the silent vaults of Kavorquian's stronghold and recover the missing property. Queen's Harvest picks up its story where B11, King's Festival, left off. It can be played as a sequel to that adventure or as a complete adventure in itself. It is tailored for beginning Dungeon Masters and players and contains helpful hints on adventuring and the land of Karameikos. The story develops simply, but ultimately leads the player characters into the nether reaches of Penhaligon's politics to confront Ilyana Penhaligon, mad pretender to the throne! TSR 9261
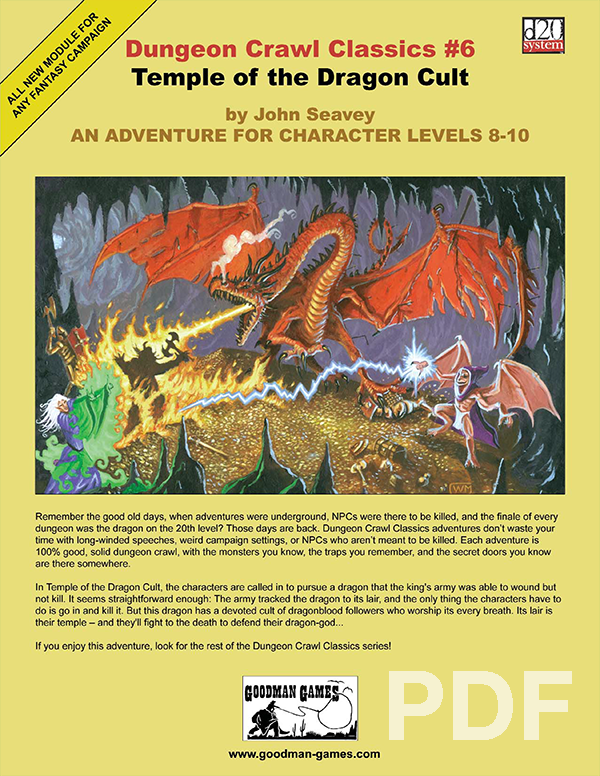
In Temple of the Dragon Cult, the characters are called in to pursue a dragon that the king’s army was able to wound but not kill. It seems straightforward enough: the army tracked the dragon to its lair, and all the characters have to do is go in and kill it. But this dragon has a devoted cult of dragonblood followers who worship its every breath. Its lair is their temple — and they’ll fight to the death to defend their dragon-god…
The trouble began several weeks ago when a duergar excavation team went to work in a long-abandoned temple. Drawn to the temple by stories of riches and artifacts, the duergar hired several giants as laborers before cracking the temple’s sealed doors. The largest of the giants, a loathsome Thursir mutant named Huppo, used his acidic vomit to expedite tunneling into the temple’s collapsed hall of worship. Then, Huppo found the horn—an unusual instrument made from a single piece of stone, with a mouthpiece so intricate only a master carver could have made it. The horn became the giant’s obsession. Seeing only the horn’s potential sale value, the dwarves demanded Huppo turn it over to them, but Huppo refused. To force compliance, the dwarves stopped feeding the gluttonous brute, but Huppo had already found his own source of food; in deep areas of the temple, worms were chewing out of the rocks, and Huppo ate them by the fistful. He also played the horn. Then, after several days of blowing the horn and devouring the strange worms, Huppo released a belch so noxious the dwarves had no choice but to lock him in a sealed chamber and carefully consider their next move. The horn’s call, however, had caught the attention of passing nomadic orcs. They set up camp outside the temple entrance in the hope of finding the horn and its player. That’s the current situation at the temple: the giant refuses to stop blowing the horn and belching out deadly clouds of stomach gas; the dwarves are frightened and edgy while their leader is obsessed with malevolent whispers; orcs are threatening to overrun the place; and the population of worms grows steadily as something awakens deep in the stone beneath the sanctuary of belches.

Dragonspear Castle. All who live within several hundred miles have heard the name and know its import. Once home to the proud and the brave, it stands now a ruin, cloaked behind a history of murder and diabolic plots. Few go there, for the only reward to be found is death. Rumors abound that Dragonspear holds a portal to the sinister planes, but until now those have been unfounded. Following a great battle against orcs and trolls from the High Moor who had taken possession of the castle, a temple to ward against further evil was established. However, by the Time of Troubles, that temple and its clergy had disappeared. Now, a horde of fiends and monsters has amassed at Dragonspear Castle, and it terrorizing the surrounding countryside. The portal is active, that is for certain. The army of Daggerford needs reinforcements! Is you party made of the stuff of heroes? Hordes of Dragonspear can be played using either the Battlesystem miniatures rules, or the quick combat resolution system found in DMGR2, The Castle Guide. Alternatively, a few simple changes render the entire module playable without any special rules. TSR 9369

The mists have led you deep into Glumpen Swamp to a den of great evil. Within, the unliving son of an unliving god awaits the peace of death that eternally eludes him. Will you grant him his rest, or realize the part he is to play in things to come? Part Seven of Misty Fortunes and Absent Hearts.

Faced with an unusual alliance of giants raiding the countryside, the party must venture into the steading of hill giant chief Nosnra and uncover maps to the locations of the other giant strongholds. “Steading of the Hill Giant Chief ” can be run as a stand-alone adventure, or you can play it as the first part of a four-part series that continues with “Warrens of the Stone Giant Thane” (Dungeon 198), “Glacial Rift of the Frost Giant Jarl” (Dungeon 199), and “Hall of the Fire Giant King” (Dungeon 200). The adventure is part of the Against the Giants series originally by Gary Gygax, hence the writing credit.

This adventure takes place in the Moonsea of Faerûn. The players have been brought to Melvaunt to search for the missing scions of the city's great families. To the north, in Thar the orc tribes converge on the ruined fortress of Xul-Jarak, flocking to the banner of a charismatic warlord. There, he intends to sacrifice the scions of the great families of Melvaunt in a bloodritual to Gruumsh. The players will escape Melvaunt, search along the wilderness of Thar for the Fortress of Xul-Jarak, and then explore the dungeons of the ruined fortress and hopefully rescue the scions before they are sacrificed. There also is a Web Enhancement by Eric Cagle on the archives of wizards of the coast's website designed to scale the adventure to level 8. For example, it replaces the Owlbear with a Tyrannosaurus. This is an easy to scale adventure with much of the player's difficulty coming from intelligently avoiding problems, choosing how to approach each floor in the most tactical way, and quickly adjusting when something goes wrong. The adventure has sidebars including common orc battle cries (In Orc!), ready to use orc names, weather and random encounter table in Thar, a description of what happens if the party fails or partially succeeds, and suggested minis for each of the encounters. There is even an extended description of the bloodspear ritual, an event the party is not meant to encounter in a normal run. The appendix is detailed for all the humanoid characters including the scions and their equipment, the named villains, and variety of unnamed orcs the party will encounter. The fortress also offers an opportunity to introduce the players to the Underdark and the Zhentil Keep. There is a passage to the Underdark the players can accidentally explore, and return to later. Emissaries from Zhentil Keep have come to watch the ritual and have their own motivations. These npcs provide an opportunity for exposition and role playing at a point which otherwise might be combat heavy, acting as a valve for the first floor - helping or hurting the party with subtle magic should the difficulty be off.

Are your player's moving out of Velkenvelve? Enjoying a stroll along the shores of the Darklake? On a day trip from Gracklstugh to Neverlight Grove? Sightseeing near Blingdenstone? Then Journey Through the Center of the Underdark is for you. Journey Through the Center of the Underdark contains several detailed encounters ideal for fleshing out traveling days between locations in Out of the Abyss. Furthermore, these encounters could be readily inserted into any 5th Edition Dungeons & Dragons Underdark oriented Forgotten Realms or home campaign setting. Designed for a party of 4-6 fourth through sixth level characters, with easy notes for adjusting encounter difficulties for lower or higher level groups, Journey Through the Center of the Underdark should provide 8-10 hours of exciting in game adventure. Written for your Rage of Demons Out of the Abyss campaign, Journey Through the Center of the Underdark is ideal for any descent into the depths your characters might take. Enjoy!

Shall you claim the glory of heroes, or accept your doom? You have raised the ire of the goblin warlord, and now you flee his kingdom with war parties hot on your trail. You must reach the borderland town of Felsentheim, for if you do not, no alarm will sound to hearken the coming of the Dogs of War and your bodies will lie in the forest grass, forgotten by all but the worms! Shall you claim the glory of heroes and warn the people or accept your doom and suffer death in the Treklant? Enter again the World of Inzae, where all things slip into the Maelstrom, and from hence true heroes are born.