
To Find the Immortals! The all-powerful Immortals have vanished! The quest to locate them has led across the Atlass Ocean and the land of Shahjapur, where moguls hunt tigers, un-touchables respectfully avoid higher castes, and holy fakirs perch immobile for years on end. In this land of shrines and elephants and shapeshifting assassins, resolution may lie at the end of the mysterious "Emerald River." But no one knows the location of this river and no map shows its bed. Does the answer lie within the Temple of Eight Sweet Winds? Hopefully so, for time grows short. The Immortals themselves must be found and enlisted - to stave off the approaching cataclysm called: NIGHTSTORM! Nightstorm is the third adventure for the D&D Hollow World Campaign Set. The Hollow World boxed set is required to play. This 65-page adventure fits easily into your existing campaign, either as a stand-alone adventure or part of the history-spanning Blood Brethren trilogy. These three lined modules can be played in any order - but the adventure ends here! This adventure is designed for four to six characters of levels 8 to 10. Easily Adaptable to the AD&D Game! TSR 9311
Sometimes things are not what they seem. While the PCs are sailing through pirate-infested waters, a crewman spots the floating wreckage of a sailing ship. Two survivors are standing on the deck waving frantically. The survivors — an eccentric old man, and a noble woman, claim to be merchants from Waterdeep, but are in fact pirates. During an attack on a merchant vessel, the old man, a mage, had missed with a fireball and hit their own ship causing serious damage and killing several crew mates. As punishment, the pirate leader left them marooned on the wreckage, taking the ship they had attacked. This is a short module focused on roleplay. Combat is unlikely as the pirates have no reason to attack or threaten their rescuers. The female survivor seeks a hidden treasure, which could provide a hook for ongoing adventure. While the module isn't explicitly written for solo play, it could be easily adapted for any group size provided the power balance between rescuer and pirate is maintained. Pgs. 24-25

Life on the Moonsea isn't easy. Bandits, pirates, and cruel lords dominate the land, threatening those who make an honest living there. Now, a new scourge is prowling the waters: A ghost ship has been striking small coastal villages, leaving its victims whispering about the "eye of the dracolich."

Chapter 1 - When a relative of someone close to the characters goes missing from a nearby village, the players are asked to investigate. The party has to recover stolen goods from a thief before setting out from the City of Ravens Bluff. They travel through the wilds of Vesperin in search of the missing person, finding trouble and helping locals along the way. Chapter 2 - As the journey continues, the party arrives in a small hamlet suffering from a strange blight. The players will need to investigate the situation and choose sides in a longstanding feud between the mayor and a local magic user. Chapter 3 - After clearing a tribe of violent orcs from a nearby mountain pass to protect the residents of a town, the party will have to enter the lair of a long-dead dragon to rescue their quarry from a band of goblinoid slavers, where they discover an entrance into a dwarven city, lost and forgotten centuries ago. Chapter 4 - The party will have to traverse the ruins of the dwarven city, avoiding hazards and battling the horrors that lurk there, to uncover the identity of the slaver's leader. A discovery that will lead them through a treacherous forest to the city of Tsurlagol in search of a pirate ship called the Star Carver, and its drow captain, The Viper's Kiss. Along the way, they meet an unlikely ally. Chapter 5 - Once they arrive in Tsurlagol, the players will have to choose between gaining the assistance of the city council to fight the pirates head on, or making a deal with the Viper's Kiss, herself. The path they choose will either lead to an epic battle on the Sea of Fallen Stars, or into the deadly sewers and tunnels beneath the city to face an enclave of wererats, undead, and a tribe of mad, kraken-worshipping kuo-toa, in search of a fabled relic. The Laughing Horde of Ruin, Part 1 is the first module of an original 5e adventure campaign. It is designed for character level 1-5, and uses material from the Dungeon Master's Guide, Monster Manual, and Volo's Guide.

A barque with a bark; or, You can't be Sirius! Another day, another kidnap victim to rescue - but this victim has four feet and likes old soup bones. An adventure with some bite. Sir Veneti of Chardon's prize mastiff was stolen just before the city's mastiff duel. He knows that it was his biggest rival, Sir Machi. Sir Veneti needs the party to seize Sirius, the mastiff, from a ship called Gale's Teeth. What the party doesn't know is that a pirate stranged in town is also planning a heist on this ship the very same night that they plan to steal back the mastiff! This adventure has opportunities for both combat and roleplaying, and allows for multiple ways for the players to finish the adventure. Pgs. 32-38

Chapter 2: The Sinister Secret of Saltmarsh In this version of the adventure, the characters find navigational charts and logs aboard the Sea Ghost that implicate its crew as slavers. Ned Shakeshaft is a Scarlet Brotherhood agent. He makes an attempt to foil the characters, but his true intent is to surrender and implicate Gellan Primewater as a key villain. The distraction afforded by the lizardfolk and the looming sahuagin threat gives the Scarlet Brotherhood the opportunity to bring more agents into town. posing as mercenaries brought in by Anders to protect the town. If Gellan can be removed from the council, Solmor might ask one of the characters to take his place.

'Help wanted: Fearless crew to stop undead pirates. Pay bills before applying." The first thing you'll hear is dead silence. The party must hunt down a ghostship disrupting commerce in the trade port of Koll. At least, everyone thinks it's a ghostship, the party may discover otherwise.

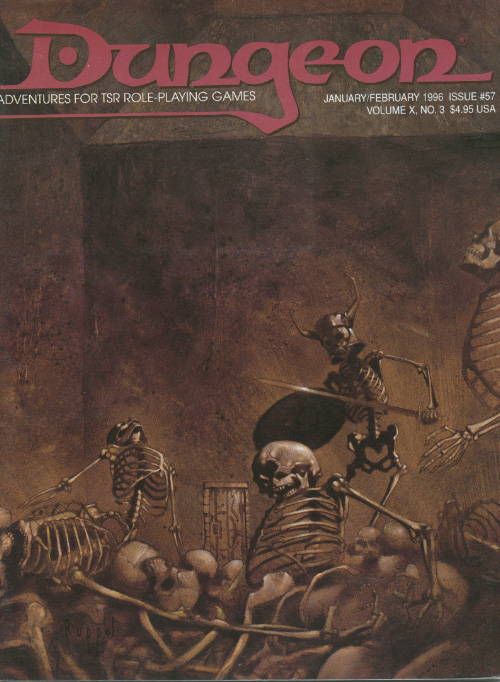
Though small, Seawell is a prosperous trading town with a good location on the coast. Next to it is a long peninsula that features mostly swamplike terrain. The inhabitants of this peninsula include tribes of lizardfolk, plus several kinds of reptiles and amphibians. Most of these creatures don't bother the town, and Seawell's militia is experienced at repulsing raids by the more aggressive lizardfolk. A large reef extends the entire length of the peninsula on the side away from Seawell. This great wall of coral is a favorite site for fishermen, but it has always presented a serious hazard to ships approaching from that direction. Thus, about 45 years ago, the people of Seawell built a lighthouse on a small promontory near the reef, about 200 yards from the shoreline. Operated by a family that lived inside it, this lighthouse ensured that ships could easily steer clear of the reef. A few weeks ago, ships stopped arriving from that direction. Three ships are now overdue, and the people of Seawell have begun to suspect foul play. Thus far, however, they have not been able to investigate because of increased raiding by the lizardfolk. Something has stirred them up, and the town militia has been too busy repulsing raids to mount an expedition to the reef. Wreck Ashore is a short D&D adventure for four 1st level player characters (PCs). The scenario takes place on and around a swampy peninsula that juts out from a longer stretch of coastline. Along one side of this peninsula stretches a dangerous reef. Just offshore on the reef side stands a lighthouse built to warn ships of the danger. At the base of the peninsula on the side away from the reef is a small port town called Seawell.
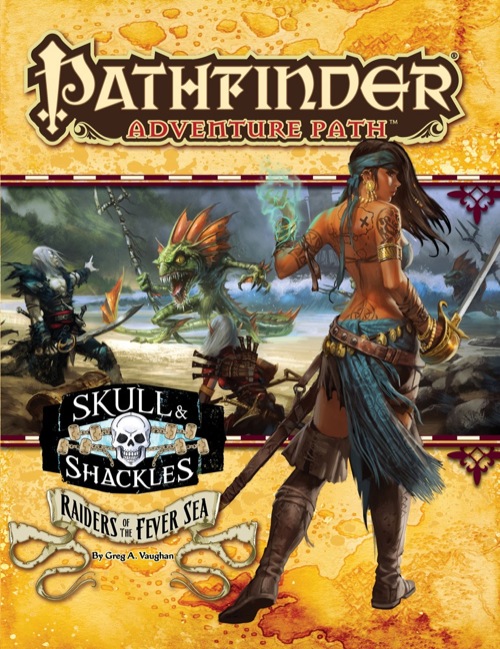
The second installment of the Skull and Shackles Pathfinder adventure path. Bound for adventure upon the pirate vessel they've taken as their own, the heroes face a sea of dangers as they chart a course to become true Free Captains of the Shackles. But life as a pirate doesn't prove any easier now that they're in command, as deadly sea monsters, the corpses of drowned scalawags, and raiders from the deep rise to oppose them. When a most unusual map falls into the adventurers' hands, they have the chance to change their fate in a shingle daring raid. Is it the heroes' destiny to be the next victims of the merciless waves, or will fortune smile upon them and spur their rise as the newest and most infamous pirates of the Shackles
Provost Faurious has procured an Aethervane, an astrolabe-like instrument tied to Kythri that's used to navigate manifest zones. Unfortunately for the Provost, the Riedran ship that was carrying the Aethervane across the Sea of Rage to deliver it to their agent in Regalport fell victim to piracy. The player characters are dispatched to Regalport to meet up with the Provost’s agent there and petition High Prince Rygar for more information about the stolen cargo. When the characters dock in Regalport, they meet the Provost’s contact and are ushered into a meeting with High Prince Rygar. Wishing to show his intolerance for piracy, Rygar charters one of his own ships for the party’s use as they investigate the stolen cargo. Upon arriving at the crash site of the stolen cargo, the party is set upon by a fleet of pirates known as the Wind Whisperers. When things turn sour, a new surprise reveals itself as an unnatural storm rolls in, a stolen airship at its heart. The Wind Whisperers have found a way to convert the Aethervane to serve their own purposes. Seeking aid from Rygar and House Lyrandar, the heroes chase after the pirates by sail and airship. As they do, they are bedeviled by the Chaos Fleet—strange ships sailed by an even stranger crew that are drawn to the Aethervane and the chaos it brings. In a final airborne confrontation, the party boards the rogue airship and retrieves the sought-after artifact, with a chance to salvage or sink the stolen vessel in the process…
Living pirates are a common enough hazard around the islands known as the Serpent's Teeth. A dead one is even more trouble- especially when his treasure has been stolen. Characters who successfully complete this adventure should be of sufficient level to tackle the award-winning Freeport trilogy, Death in Freeport, Terror in Freeport, and Madness in Freeport. Pgs. 84-103

This adventure works best after going through the original trilogy (Death, Terror, and Madness in Freeport). After exposing the madness and corruption of the previous Sea Lord, a succession crisis is upon Freeport. There are no heirs to the seat of power, leading the Captains' Council to overturn the Law of Succession. But opening up succession plunges the city into chaos as various factions vy for the title. The PCs will need to survive riots and secret plots to make sure the right man (or woman) ends up with the job.

Dracula, the Lord of Shadow and Darkness, has covered the land in shadow and dispatched armies of monsters and undead from his magical castle. His armies threaten to overrun major cities and plunge the world into a literal Dark Age. The last of the vampire-hunting clan that traditionally opposed him has disappeared, and still the armies advance. He must be stopped. If that's not enough motivation, it is well-known that his castle is full of magical items and great riches... but also great danger. If you've ever wanted D&D and Castlevania to meet, look no further. This adventure is exactly what you wanted. Every area of the castle poses different and unique challenges to keep the party engaged and on their toes. Written for the DM as a ready-to-run adventure, it is designed for four to six characters. The adventure starts at level 3 at the outer defenses of the castle, and ends with the party advancing to level 13 after defeating Dracula in an epic battle. The adventure includes documentation to help even a new DM succed, including suggestions for how to run each of the area "boss" monsters in combat. There are approximately 50 new enemies and over 3 dozen new magical items. It also comes with a list of suggested music for many areas of the castle, and a 25-page campaign log recounting an actual tabletop play-through of this adventure from the DM's perspective.
A party of adventures has gone missing and the inhabitants of a local town have been acting strangely it is up to the party to figure out what is going on and stop what ever force are at work on the towns people
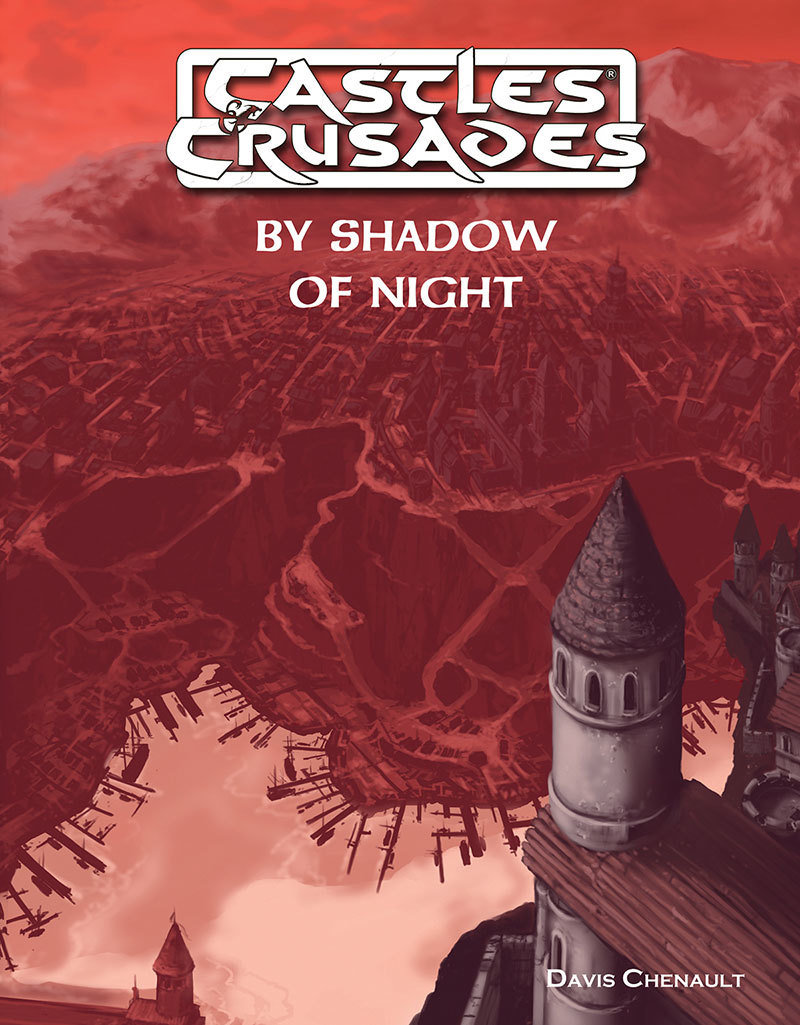
The City of Bergholt lies upon the southern shores of the Interzae. Her crumbling walls and ancient cobbled streets are little more than a backwater, controlled by powerful merchants and thieves. In these darkened streets and twisted alleys people claw their way to the top through violence and guile. In Bergholt, the fear lingers in every shadow. In By Shadow of Night you’ll find a complete detailed description of Bergholt, a rich cast of NPCs who all have their own plots and plans, over 20 encounter areas, including a small dungeon and a large fold-out map of the city. All this setting material comes to life in the dark and deadly adventure, also included within, that is By Shadow of Night. By Shadow of Night picks up after the Death in the Treklant series, available from Troll Lord Games, though it can be a stand-alone adventure if desired.
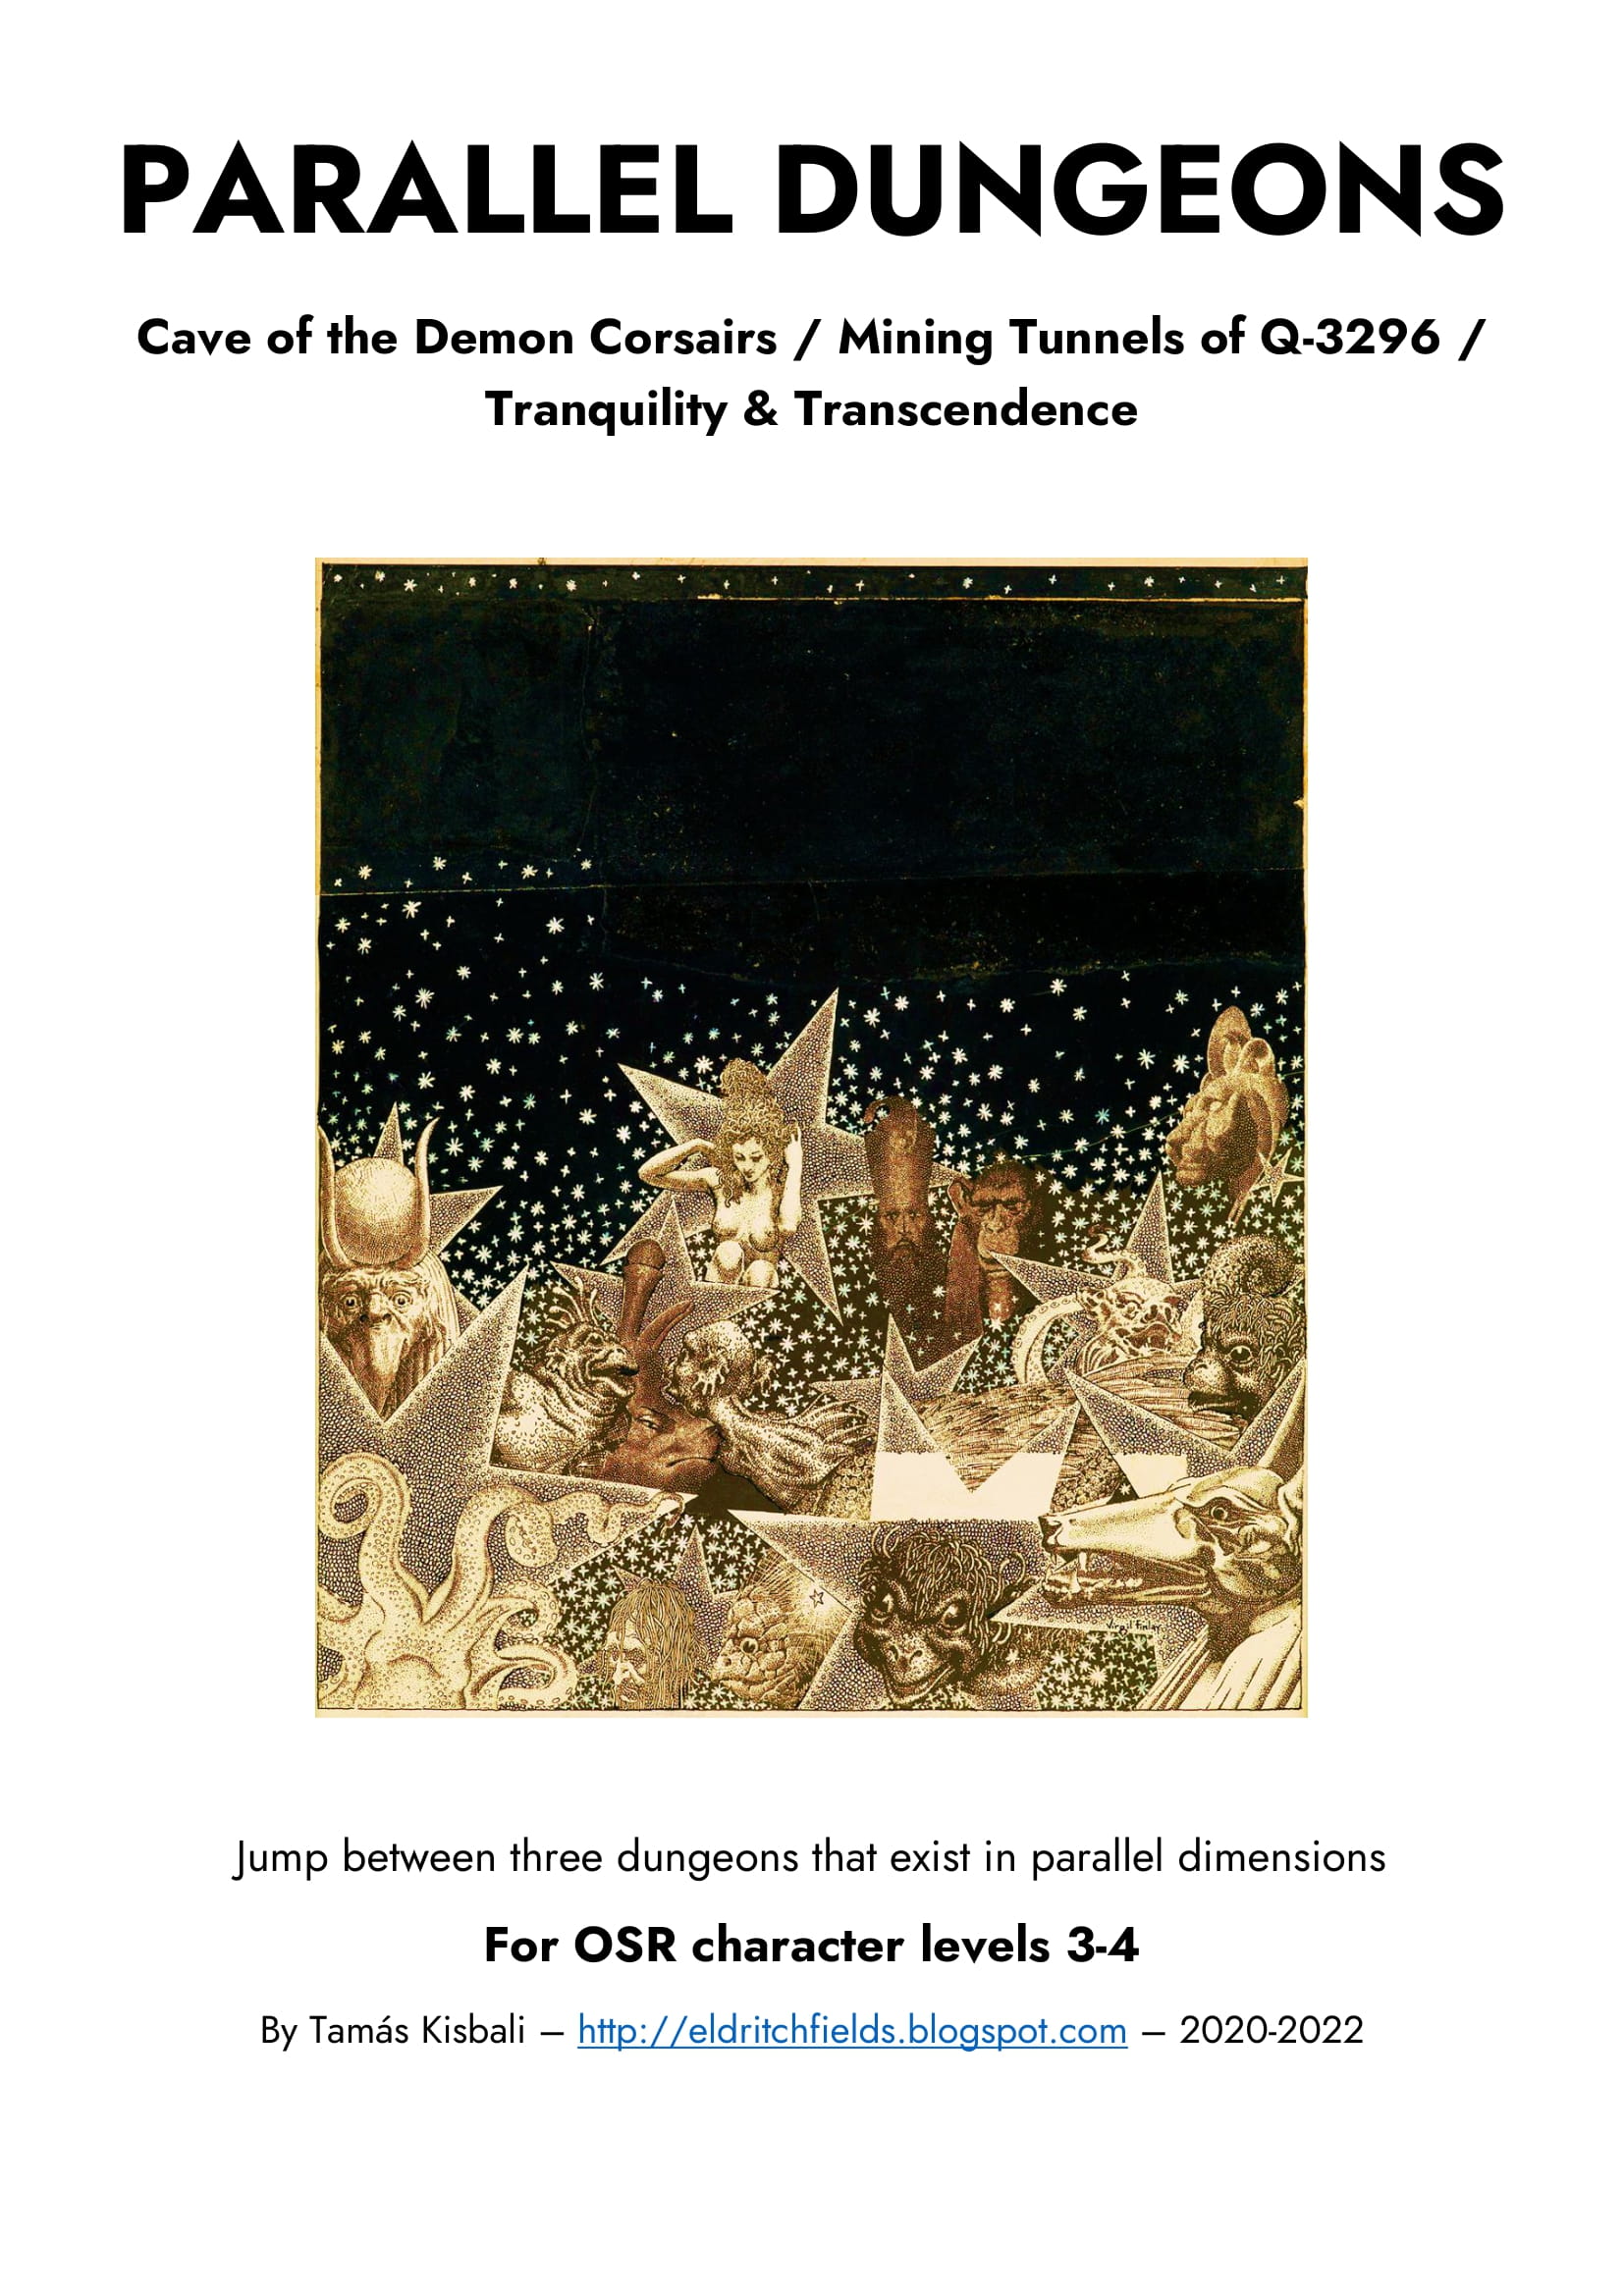
Three dungeons in one! The party is given a "dimension shifting device" and sets out to explore a 15-area cave, simultaneously occupied by the DEMON CORSAIRS, the remnants of an ASTEROID MINING OPERATION, and the MONASTERY OF TRANQUILITY & TRANSCENDENCE! The three dungeons are presented in three columns, so when the characters shift from one dimension into another, it's easy to find the corresponding area description. For use with old-school or OSR RPG systems. Recommended for character levels 3-4. Published by Eldritch Fields.

Nestled on the coast of the Azure Sea is Saltmarsh, a sleepy fishing village that sits on the precipice of destruction. Smugglers guide their ships to hidden coves, willing to slit the throat of anyone foolhardy enough to cross their path. Cruel sahuagin gather beneath the waves, plotting to sweep away coastal cities. Drowned sailors stir to unnatural life, animated by dark magic and sent forth in search of revenge. The cult of a forbidden god extends its reach outward from a decaying port, hungry for fresh victims and willing recruits. While Saltmarsh slumbers, the evils that seek to plunder it grow stronger. Heroes must arise to keep the waves safe! Ghosts of Saltmarsh combines some of the most popular classic adventures from the first edition of Dungeons & Dragons including the classic ‘U’ series and some of the best nautical adventures from Dungeon magazine: The Sinister Secret of Saltmarsh Danger at Dunwater The Final Enemy Salvage Operation Isle of the Abbey Tammeraut’s Fate The Styes All adventures have been faithfully adapted to the fifth edition rules of Dungeons & Dragons. Furthermore, this book includes details on the port town of Saltmarsh, as well as plenty of hooks to kick-off each adventure. Play through each story in a seafaring campaign leading characters from level 1 through level 12, or pull out sections to place in ongoing campaigns in any setting. The appendices also cover mechanics for ship-to-ship combat, new magic items, monsters, and more! “The Saltmarsh series consistently ranks as one of the most popular classic D&D adventures,” said Mike Mearls, franchise creative director of D&D. “With its ties to ocean-based adventuring, it was an obvious step to augment it with additional sea-based adventures and a robust set of rules for managing a nautical campaign.” Hoist your sails, pull up anchor, and set a course for adventure!
By any other name A jewel rose has been stole and its up to the PCs to recover it in this arabain themed adventure. Pgs. 28-47 & 65
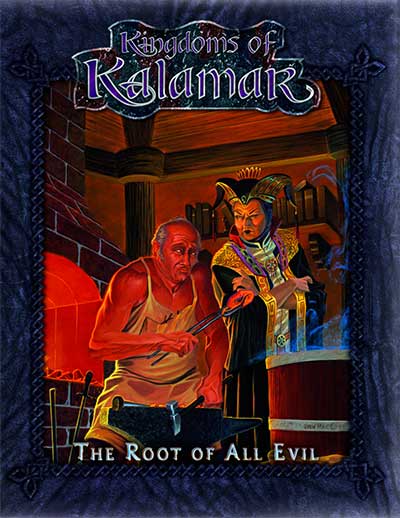
This was supposed to be a simple job! In the small town of Haanex on Reanaaria Bay, the wizard Veoden assembles the PCs to do a simple job: find the remnants of a meteor said to be made of the rare substance mithral. First they must find a map that local rumor tells is guarded by the spirits of the dead. Upon recovering the map and locating the crater, they uncover a plot to create a powerful magical item called the Coin of Power. This artifact is a tool for wickedness and the players soon find themselves on a quest to learn the means to destroy this evil item and its insidious master before she destroys them. Complicating matters is the fact that the one man who can help them was lost during an expedition to the Reelio Jungle months ago and is yet to return. Will the PCs be able to survive the rigors of the jungle and solve the riddle of the tribesmen who live there? The lives of innocents might depend on it! This accessory provides characters with an elaborate storyline and a chance for many varied types of adventure. You will take your PCs from the quiet village of Haanex in northern Reanaaria Bay to the Vry Naasu Headlands, the City-State of Zoa and finally the forlorn Reelio Jungle. The Root of All Evil fantasy game supplement is set in the popular Kingdoms of Kalamar Dungeons & Dragons campaign setting but can be adapated for use in any setting! This module can be used by itself, or as Part One of the Coin of Power trilogy (see also Forging Darkness and Coin’s End).

Once every decade, the tides of the Empyrean Ocean recede far enough to reveal the highest eaves of a mysterious undersea tower. Long ago this was an eldritch fastness of Sezrekan the Elder, the most wicked wizard ever to plague the Known World, but now the tower is known simply as the final resting place of the fabled Black Pearl – an artifact rumored to bring doom upon all who dare to posses it. Tonight the moon nearly fills the sky, and the tides have already begun to recede. Adventurers have eight short hours to explore the tower before the dark waters return. The fabled Black Pearl will be theirs for the taking…if they can survive the Pearl’s curse.